Have you ever wanted to unlock the true potential of an Arduino? With the help of powerful port expanders, this is no longer a wish- it’s a reality. Whether you’re new to Arduinos or a seasoned pro, these tips will teach you all about the amazing capabilities of port expanders and how they can revolutionize your Arduino projects. Allow yourself to take advantage of everything that Arduino has to offer with these simple yet powerful Port Expander tips.
What are Arduino Port Expanders for?
Arduino port expanders can be used to give your Arduino projects additional inputs and outputs. By connecting an Arduino port expander to the I2C bus of your Arduino, you gain access to a variety of digital input/output (I/O) pins, which can then be used for a wide range of applications.
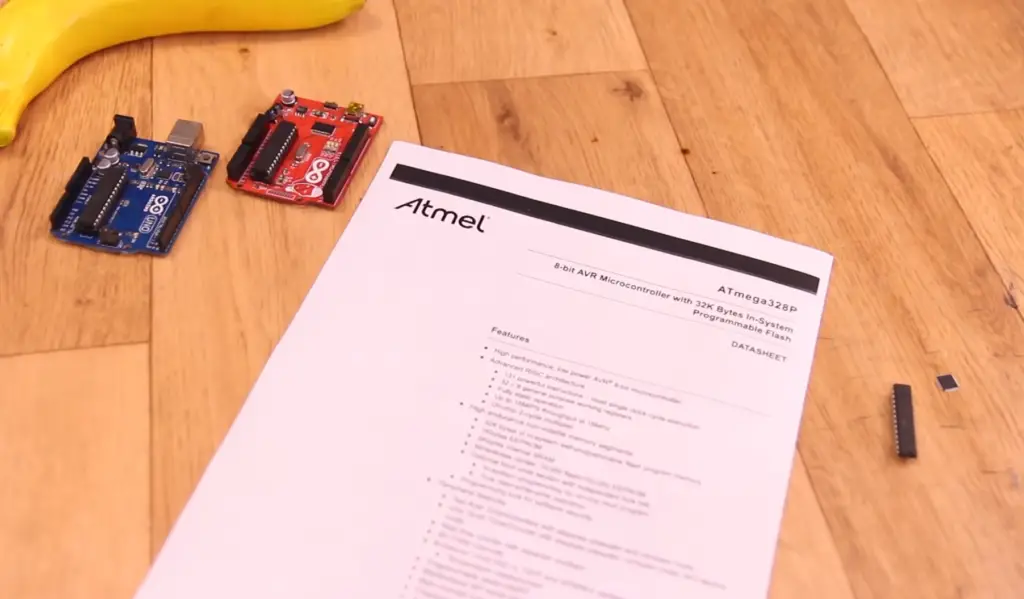
Port expanders are especially useful when you have limited space on your project or need to save power, as the majority of them require very little current draw and can be stacked with other components to reduce board size.
Finally, port expanders provide a cost-effective solution for expanding the capabilities of your Arduino projects without having to invest in more expensive modules like shields or hats. With their various I/O pins, port expanders offer great flexibility and are compatible with most Arduino boards [1].
I2C Arduino port expanders
I2C MCP23017: Arduino Port Expander
The MCP23017 is a dedicated, integrated circuit designed to expand the input/output (I/O) ports of an Arduino board. The module gives you 16 additional I/O pins when interfaced with an Arduino microcontroller. You can use these I/O pins for many different tasks such as reading digital sensors or controlling different external components like LEDs, motors, and servos.
The MCP23017 uses the I2C communication protocol which allows multiple devices on the same bus so that many MCP ICs can be connected together without any conflicts in addressing them. Each device has a unique address and can communicate independently with any other device connected to the bus.
Because it’s an I2C device, the MCP23017 requires only two digital pins from your Arduino board for communication. This makes it great for applications where you need to conserve pins, such as when dealing with an ATmega328p or similar microcontroller that has limited I/O ports.
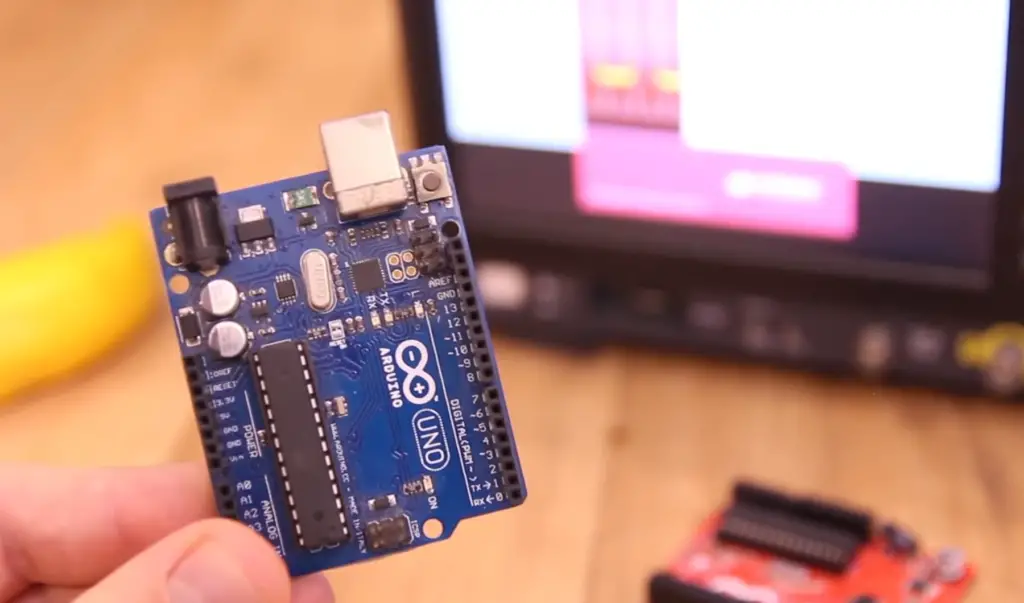
The MCP23017 also has several features such as open-drain outputs and configurable interrupt generation which make it a very versatile and useful component for any project.
To use the MCP23017 in your project, you will need to connect its 7 address lines on the left side of the IC (A0-A6) to a set of resistors and then tie them all together to ground via a single pull-down resistor. Doing this allows you to set the address of the IC, so that it can be uniquely identified on the bus. You will also need to connect the I2C SCL and SDA lines (as well as power and ground) from your Arduino board to those same pins.
Once you have all of this wired up, you can then use a library such as “mcp23017” for your programming language of choice to control each pin on the IC individually. This makes it easy to read digital sensors or control other devices using just two dedicated pins on your Arduino board.
The MCP23017 is an incredibly useful component when you need more inputs/outputs than what’s available on your microcontroller, but don’t want to use up all your valuable I/O pins. With a few simple connections, you can quickly get set up and start controlling multiple devices with just two pins!
I2C PCF8574: Arduino Port Expander
The PCF8574 is another integrated circuit designed specifically for expanding the number of digital inputs and outputs (I/Os) available on an Arduino board. Like the MCP23017, it uses I2C protocol which allows multiple devices on the same bus so that many ICs can be connected together without any conflicts in addressing them.
The PCF8574 has 8 I/Os which can be individually configured as either inputs or outputs, and the I2C communication protocol requires only two digital pins from your Arduino board for communication. This makes it perfect for applications where you need to conserve pins, such as when dealing with an ATmega328p or similar microcontroller that has limited I/O ports.
The PCF8574 also has several other features such as open-drain outputs and configurable interrupt generation which make it a very versatile and useful component for any project.
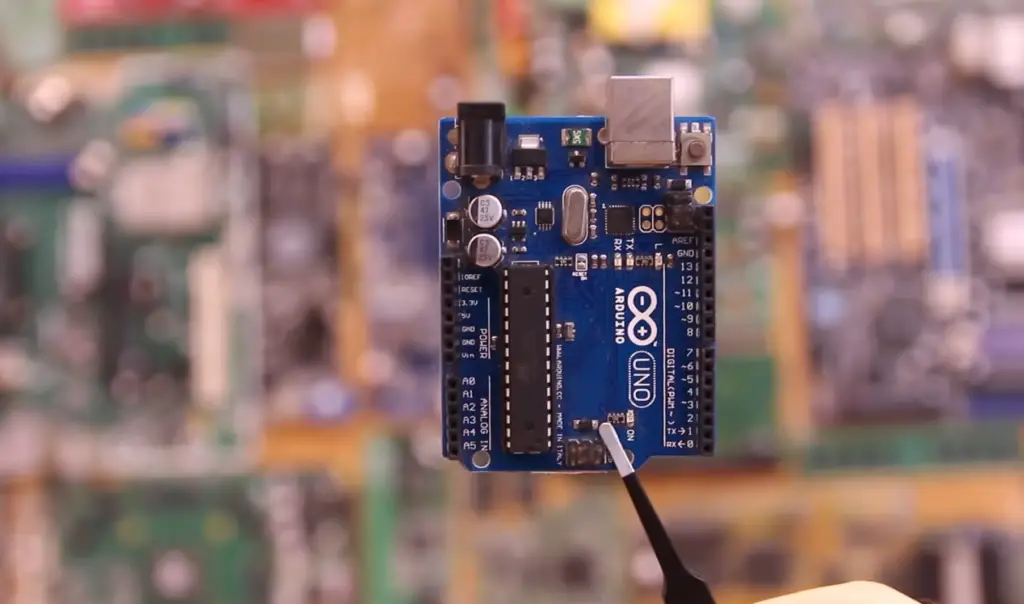
Using the PCF8574 in your project, follow these steps: connect the 7 address lines (A0-A6) on the left side of the IC to a set of resistors and then tie all lines together to the ground using a single pull-down resistor. This sets the IC’s address to allow for unique identification on the bus. You will also need to connect your Arduino board’s I2C SCL and SDA lines (as well as power and ground) to the same pins.
Once you have connected all the wires, you can use a special code in your programming language to control each pin on the IC. This means you only need two pins from your Arduino board to read digital sensors or control other devices [2].
SPI Arduino port expanders
SPI MCP23S17: Arduino Port Expander
The MCP23S17 is a port expander that provides 16 additional I/O pins using the SPI interface. This allows you to connect multiple devices to the same Arduino, giving you more flexibility and control over your project.
The MCP23S17 supports open-drain outputs, which means it can sink current but not source it. This makes it ideal for applications like LED driving, as outputting low will turn on an LED, and outputting high turns off the LED. It also has interrupts for each pin, making it easy to detect changes in input logic levels without continuously checking them. With pull-up resistors already integrated into the chip, all you need to do is enable them and set the desired logic level for each pin.
The MCP23S17 is easy to use and can be controlled by sending SPI commands from Arduino. It also has a wide range of features that make it great for more complex projects. For example, it can be used to control multiple relays or motors simultaneously using PWM signals. And with additional registers, you can set up all sorts of custom logic levels and behaviors between pins. So if you’re looking for an easy way to expand your Arduino’s I/O capabilities, then the MCP23S17 is worth considering!
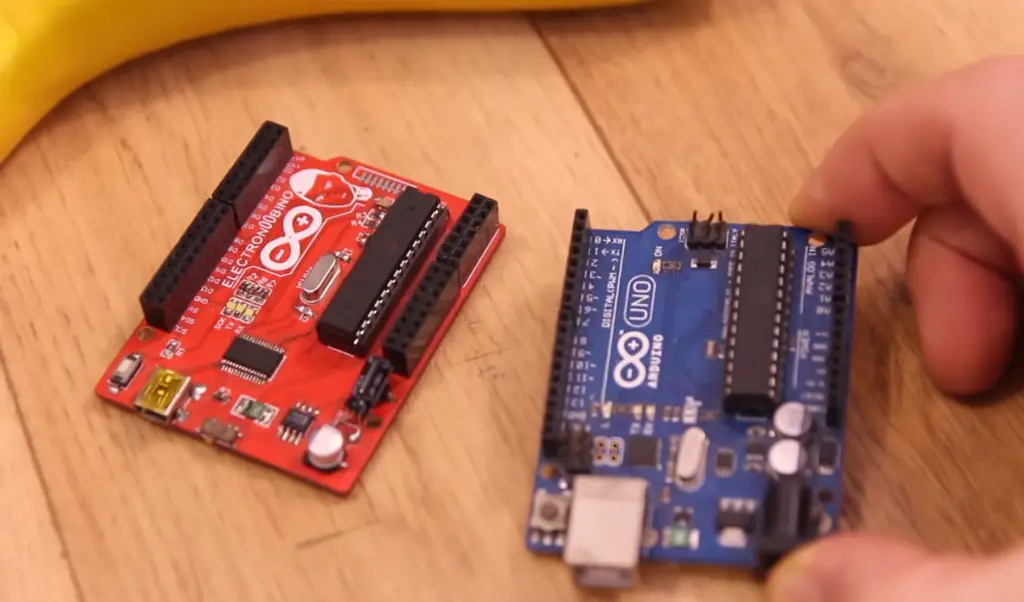
SPI 74HC595 parallel output: Arduino Port Expander
The 74HC595 is an 8-bit parallel output shift register from Texas Instruments. It provides 8 additional I/O pins with the help of just 4 Arduino pins. In addition to that, it can also be used as a port expander for multiplexing applications. The 74HC595 is capable of sinking current so it’s perfect for driving LEDs and other low-power devices. It has 3 control lines: Clock, Latch, and Data which makes it easy to integrate into your project using code written in the Arduino IDE.
The 74HC595 is great for simple projects that require extra inputs or outputs without adding extra components or wires. It can be used to drive LED matrices, seven-segment displays, and much more!
SPI 74HC165 parallel input: Arduino Port Expander
The 74HC165 is an 8-bit parallel input shift register from Texas Instruments. It provides 8 additional I/O pins with the help of just 3 Arduino pins. The 74HC165 is capable of sourcing current so it’s perfect for reading digital inputs like push buttons, switches, and more. It has two control lines: Clock and Load which makes it easy to integrate into your project using code written in the Arduino IDE.
The 74HC165 is great for projects that require extra inputs without adding extra components or wires. It can be used to read sensors, decode RFID tags, and much more! So if you’re looking for an easy way to expand your Arduino’s I/O capabilities then the 74HC165 is worth considering.
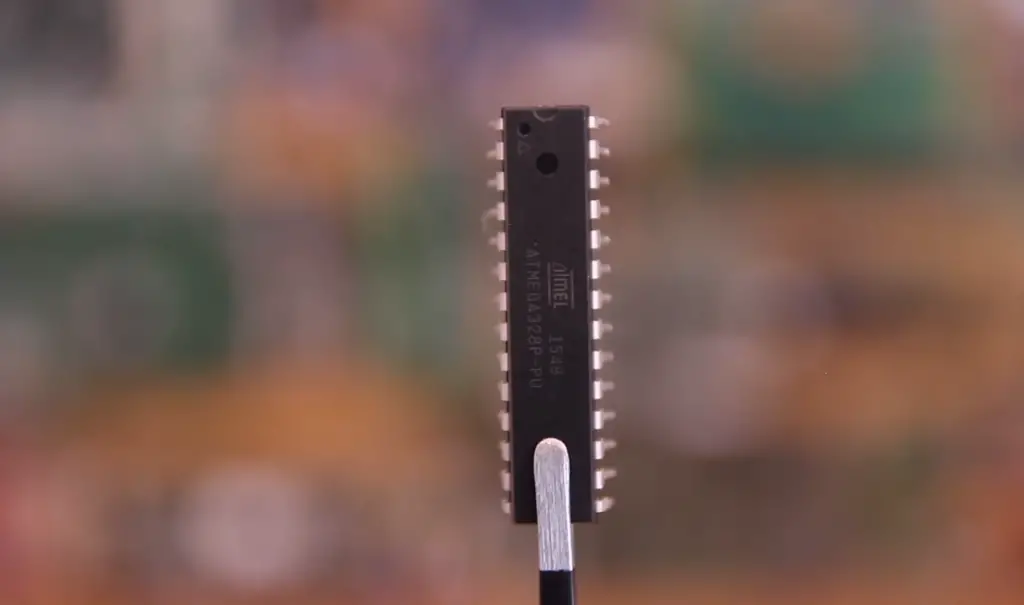
All three of these port expanders are easy to use and can add a lot of flexibility and control to your projects. Whether you need more outputs, inputs, or both, these SPI Arduino port expanders have got you covered!
How do port expanders work?
Port expanders work by allowing multiple devices to be connected to a single port. They have an input port, where the device is plugged in, and multiple output ports for additional devices. By using a port expander, users can connect several different types of peripheral devices to a single computer or laptop with only one available port. This eliminates the need for additional adapters and cables and allows users to save space on their desktops.
Ultimately, port expanders provide a fast, reliable way to connect multiple devices to one single port, eliminating the need for extra cables and adapters. By providing added convenience as well as protection against power surges, port expanders make it easy for users to maximize their desktop space and increase efficiency when connecting multiple devices.
FAQ
How to test MCP23017?
The MCP23017 can be tested by using a logic analyzer, an oscilloscope, or any other debug tool of your choice. Connect the MCP23017 to a microcontroller that is connected to the debug tool and test for correct input and output signals from the device. Ensure that all pins are receiving proper voltages and verify that all operations are taking place as expected. If any faults occur while testing the MCP23017, then it may need to be replaced or repaired to work correctly again. Additionally, you should also check for external connections such as SPI bus lines and I2C interface lines if applicable. Once everything is verified, it should become easy to identify possible issues related to the device itself.
How to use PCF8574 with Arduino?
The PCF8574 is a popular I2C expander used to add additional ports of digital input/output lines. It can be used with Arduino’s I2C bus pins for communication and control. You will need to install the Adafruit_PCF8574 library from the Library Manager in the Arduino IDE, or download it from GitHub. After installing the library, you will need to include it in your sketch before using it:
“`
#include
“`
You can then set up an instance of the object, by passing in the address and port type as arguments:
“`
Adafruit_PCF8574 pcf8574;
“`
Once the object is set up, you can use the available functions to read from or write to pins on PCF8574. For example, to read a value from an input pin, you would use:
“`
int value = pcf8574.read(pinNumber);
“`
Similarly, writing values out of an output pin would look like this:
“`
pcf8574.write(pinNumber, value);
“`
What are the 28 pins in Arduino?
Arduino boards come in many different shapes and sizes, but all of them have at least 28 pins. These pins are used for power, communication, analog inputs, and digital I/O. The first 14 pins are power-related including ground and Vcc (3.3V or 5V). The next 8 pins are communication pins including UART, SPI, and Serial Peripheral Interface bus (SPI). Four more pins are available for Analog Inputs with 10 bits of resolution each. Finally, 6 digital I/O lines can be used as either input or output depending on the application’s needs.
What is a logic level shifter?
A logic level shifter is an integrated circuit that converts voltages from one logic level to another. It is used to adapt two devices with different voltage levels for communication, or even to allow communication between two chips on the same board but using different voltages. Most commonly, logic level shifters are used in I2C and SPI interfaces, where a device may need 5V signals while another may only accept 3.3V signals.
Logic level shifters come in various forms such as unidirectional, bidirectional, open-drain driver or tri-state buffer types. Depending on the application’s needs and the type of logic being used (TTL or CMOS), a suitable type of logic level shifter should be selected. Additionally, it is important to ensure that the logic level shifter can provide enough current to drive the load.
What is a voltage regulator?
A voltage regulator is an electrical component used to maintain steady output voltages, regardless of changes in input voltage or load conditions. It does this by regulating the output current and limiting any excess or sudden increases in current. Voltage regulators are commonly used in devices such as computers, phones, and other electronic equipment where it is important to maintain a steady power supply for safe operation.
Voltage regulators come in different forms depending on their type and application. Examples include linear voltage regulators which dissipate excess power as heat, switching-mode regulators which use capacitors, transistors, and inductors for regulation, and low dropout (LDO) regulators which offer better performance than linear regulators when low output voltages are required.
What is an I2C bus?
I2C stands for Inter-Integrated Circuit and is a two-wire serial communication protocol used for short-distance data exchange between devices in embedded systems. The I2C bus uses two lines: one line called SDA (data line) and another line called SCL (clock line). It allows multiple devices to be connected together with very little wiring, as only two wires need to be connected between each device.
I2C is widely used in embedded systems because it can handle both slow and fast data transmission rates, supports multiple masters (i.e. devices that control the bus) and can also run on multiple voltages with a logic level shifter. Additionally, it is very easy to use compared to other communication protocols such as SPI or RS232.
Can I use pin 13 Arduino?
Pin 13 on the Arduino can be used as an output pin, for example, to control an LED. Pin 13 also has an internal pull-up resistor attached, which is often useful when using it as an input. It can also be used to generate interrupts through the attachInterrupt() function in the Arduino IDE. Additionally, pin 13 can be used with I2C and SPI communication protocols. However, due to its special status as an “L” LED indicator pin, it should not be used if precise timing is required. Pin 13 may also interfere with other pins connected to external components or shields, such as LCD screens or sensors. Therefore it is best practice to use another pin if possible instead of pin 13.
Useful Video: Port Register Control | Increase speed of Read/Write – Arduino101
Conclusion Paragraph
Arduino port expanders are a great tool for making complex projects more attainable. They can be used to increase the number of available inputs or outputs while also freeing up space on your board. Furthermore, they can help reduce the cost of materials needed for a project, as they eliminate the need for multiple separate boards. Finally, port expanders allow you to control multiple devices simultaneously with one interface, greatly simplifying many tasks. With so many advantages that port expanders provide, it is no wonder why they have become an essential tool in any maker’s arsenal.
References
- https://www.circuitbasics.com/how-to-use-an-mpc23017-port-expander-on-the-arduino/
- https://www.best-microcontroller-projects.com/arduino-port-expander.html





Leave a Reply