
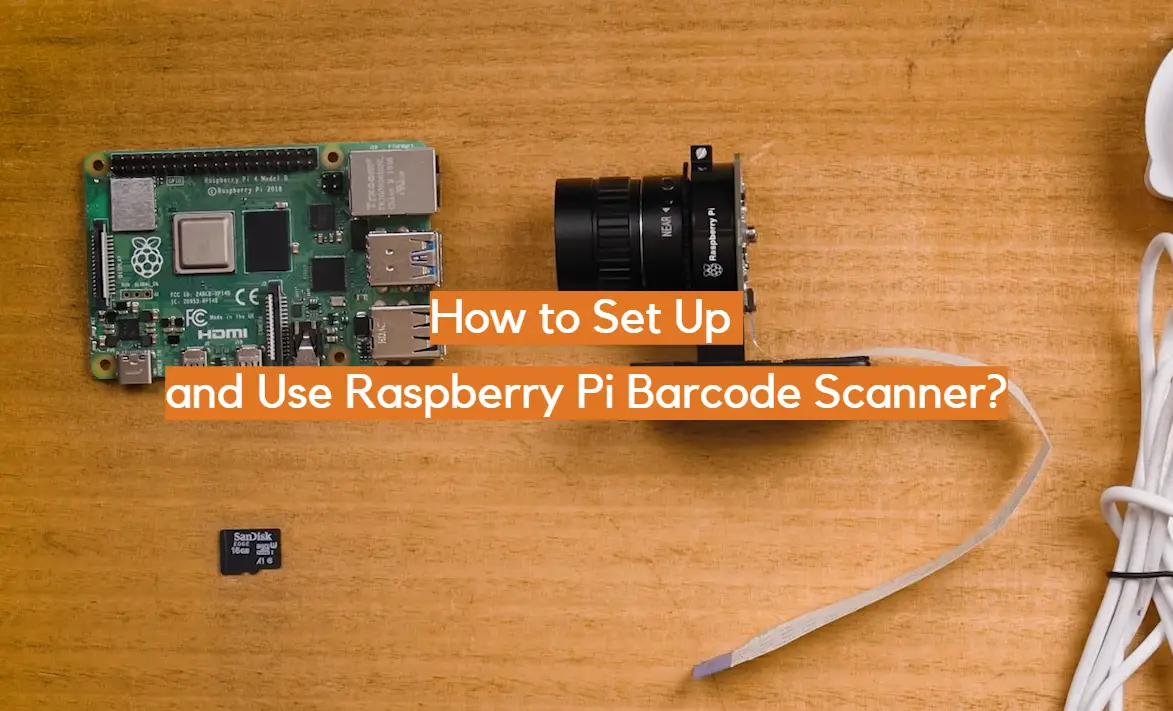
Raspberry Pi is a small, low-cost, and versatile computer that can be used for various projects such as learning to code, creating gaming systems, or even building your own home automation system. One of the many exciting possibilities with Raspberry Pi is setting it up as a barcode scanner.
Barcode scanners have become an essential tool in businesses and homes alike, making tasks such as inventory management and grocery shopping more efficient. With Raspberry Pi, you can create your own barcode scanner that is customizable to fit your specific needs.
In this guide, we will walk you through the steps of setting up and using a Raspberry Pi barcode scanner.
Components Required to Interface Barcode Scanner with Raspberry Pi
To start the project, you will need a few essential components. These components can be easily obtained either by purchasing them online or by visiting your local electronics store. Here’s a detailed list of the components required to interface a barcode scanner with Raspberry Pi:
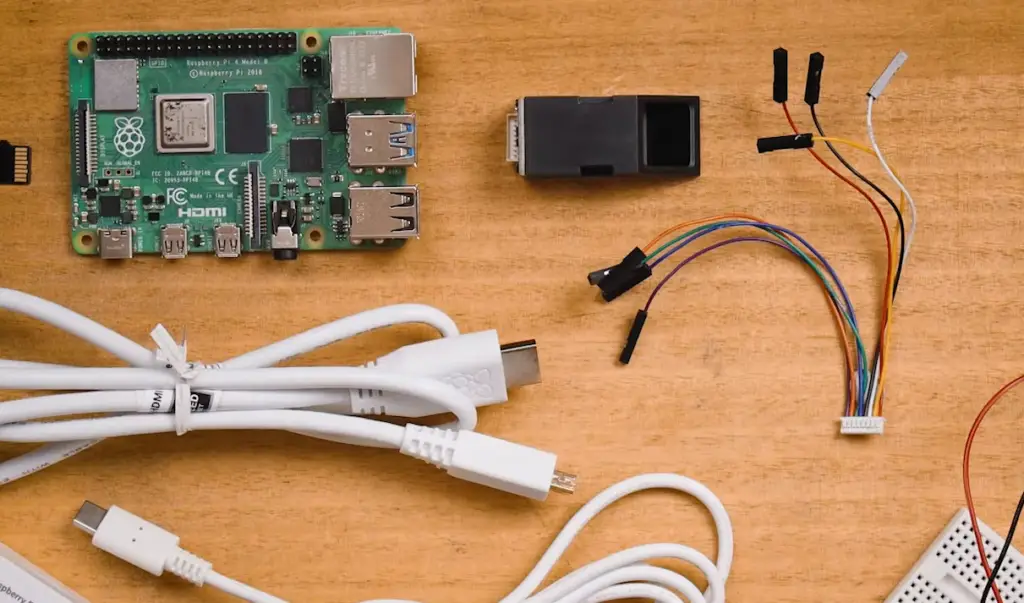
- Raspberry Pi board (Model 3 or higher): This powerful single-board computer will serve as the brain of your project, providing the necessary processing power and connectivity options.
- MicroSD card with Raspbian OS installed: The MicroSD card acts as the storage medium for the operating system, allowing you to boot up the Raspberry Pi and run your barcode scanner application smoothly.
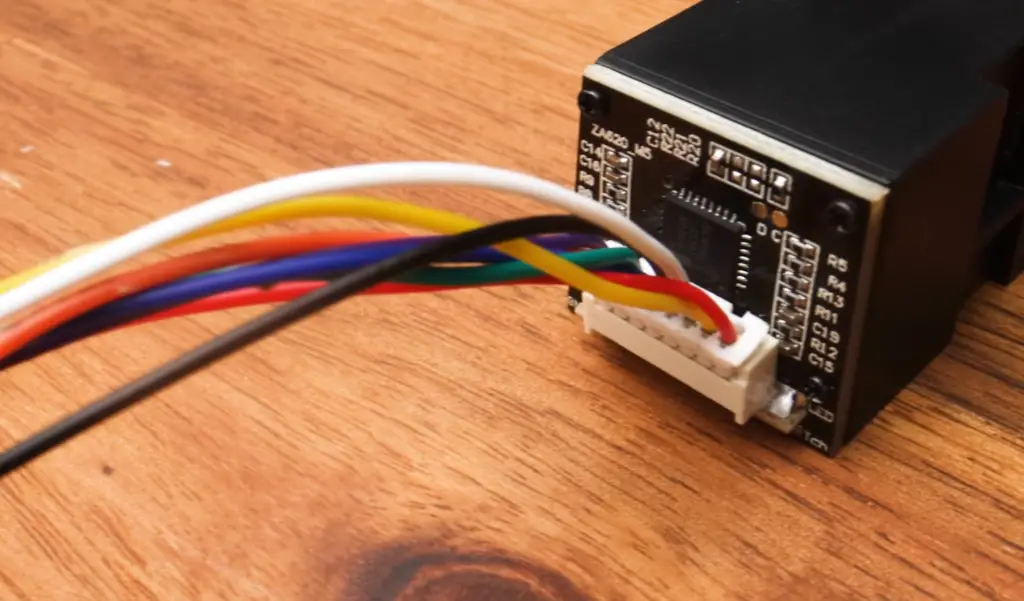
- USB Barcode Scanner: This is the key component that will enable your Raspberry Pi to read barcodes. Look for a reliable USB barcode scanner that is compatible with Raspberry Pi.
- Breadboard: A breadboard provides a convenient platform for prototyping and connecting various electronic components. It allows you to easily connect and disconnect wires without soldering.
- Jumper wires: These wires are used to establish connections between different components on the breadboard, ensuring proper communication and power supply.
- USB cable (Type A to micro-B): This cable is used to connect the Raspberry Pi board to the USB barcode scanner, facilitating data transfer and communication.
- Power supply for Raspberry Pi: A stable power supply is crucial to ensure the proper functioning of the Raspberry Pi board. Make sure to use a power supply that matches the power requirements of your specific Raspberry Pi model.
- HDMI cable (optional, for connecting to a monitor): If you want to connect your Raspberry Pi to a monitor or display, an HDMI cable will be needed for video output.
- Computer or laptop with an SD card reader: You will need a computer or laptop with an SD card reader to flash the Raspbian OS onto the MicroSD card. This step is necessary to set up the operating system before starting the project. [3]
By gathering these components, you will have everything you need to successfully interface a barcode scanner with Raspberry Pi and embark on your project journey. Happy tinkering!
Basics of Simple Barcode Scanner Operation
To read a barcode, the scanner emits a vibrant red laser light, which illuminates the lines and spaces. As the scanner moves across the barcode, it diligently measures the intensity of the reflected light and subsequently converts it into electrical signals. These signals, in turn, are meticulously decoded by the scanner’s internal processor, ultimately generating the desired output.
Now that we have delved into the intricacies of how barcode scanners operate, we can proceed to the next exciting phase of this journey: setting up your very own Raspberry Pi barcode scanner. [3]
Types of Barcodes and Compatibility with Raspberry Pi
Before we delve into the setup process, it’s crucial to familiarize yourself with the various types of barcodes and their compatibility with Raspberry Pi. This knowledge will empower you to make informed decisions when selecting a barcode scanner for your project.
One commonly used barcode type is the EAN (European Article Number). Widely utilized in European countries, EAN barcodes are essential for retail product labeling, facilitating efficient inventory management and sales tracking.
Another widely employed barcode type is the UPC (Universal Product Code). It is primarily utilized in the United States and Canada for product identification, enabling seamless integration with point-of-sale systems and supply chain management.
In addition to EAN and UPC, there is the QR code. This two-dimensional matrix barcode can store more information than traditional barcodes. QR codes are commonly used in advertising, promotions, and event ticketing. Their versatility and capacity for storing extensive data make them a popular choice in various industries.
When it comes to compatibility with Raspberry Pi, most USB barcode scanners are plug-and-play devices that seamlessly integrate with the Raspberry Pi operating system. However, it’s always prudent to verify the compatibility of your chosen barcode scanner with Raspberry Pi before making a purchase. This simple step ensures a smooth setup process and avoids any potential complications down the line. [3]
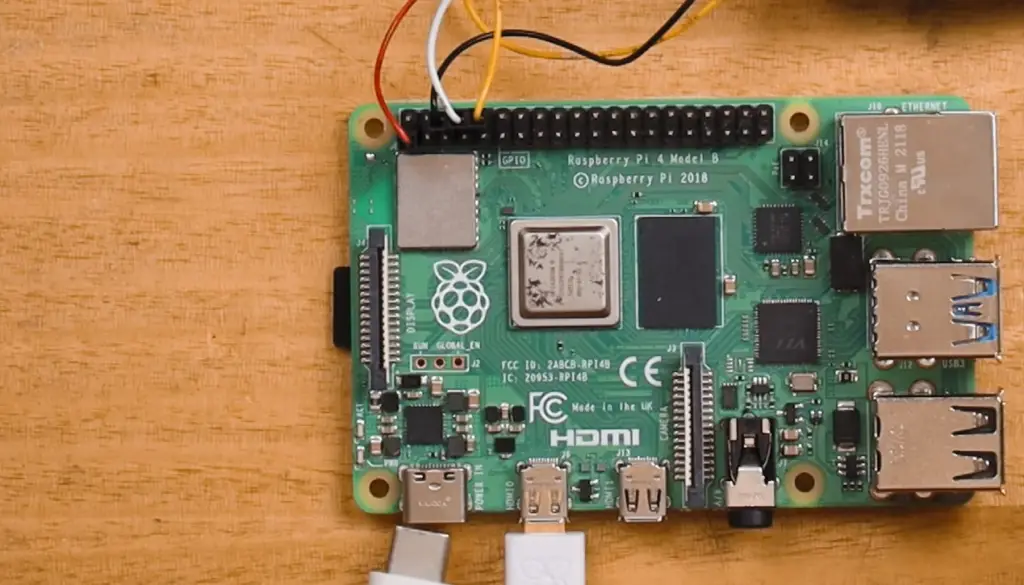
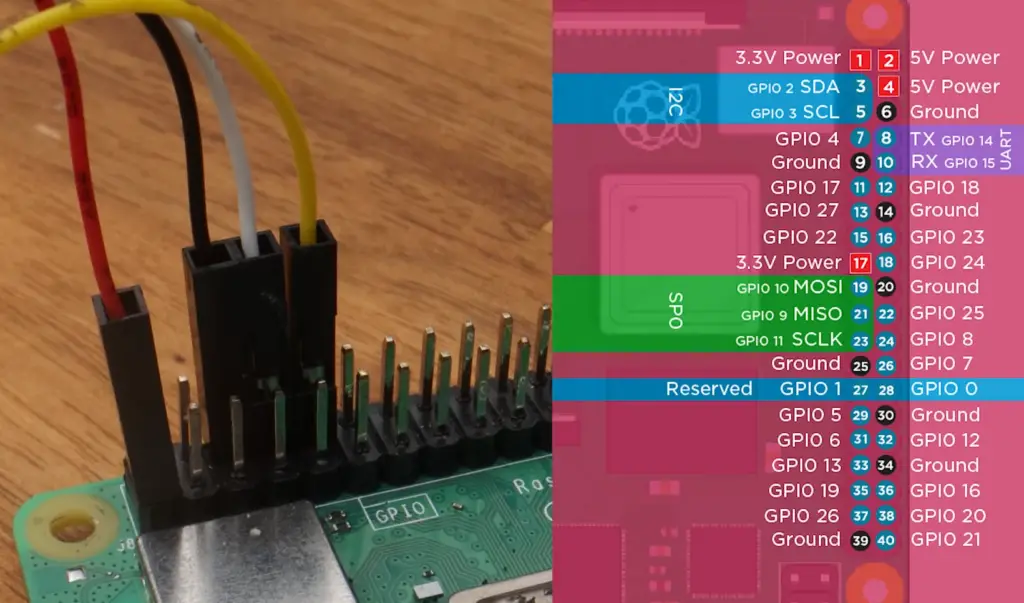
Step 1: Parts Assembly
The first step in setting up a barcode scanner with Raspberry Pi is assembling the physical components. Begin by placing the Raspberry Pi board on a flat surface, ensuring that it is positioned away from any conductive materials that may potentially cause short-circuiting.
Next, carefully insert the MicroSD card containing the Raspbian OS into its designated slot on the Raspberry Pi board. Take your time to securely fit the MicroSD card into place, ensuring a proper connection.
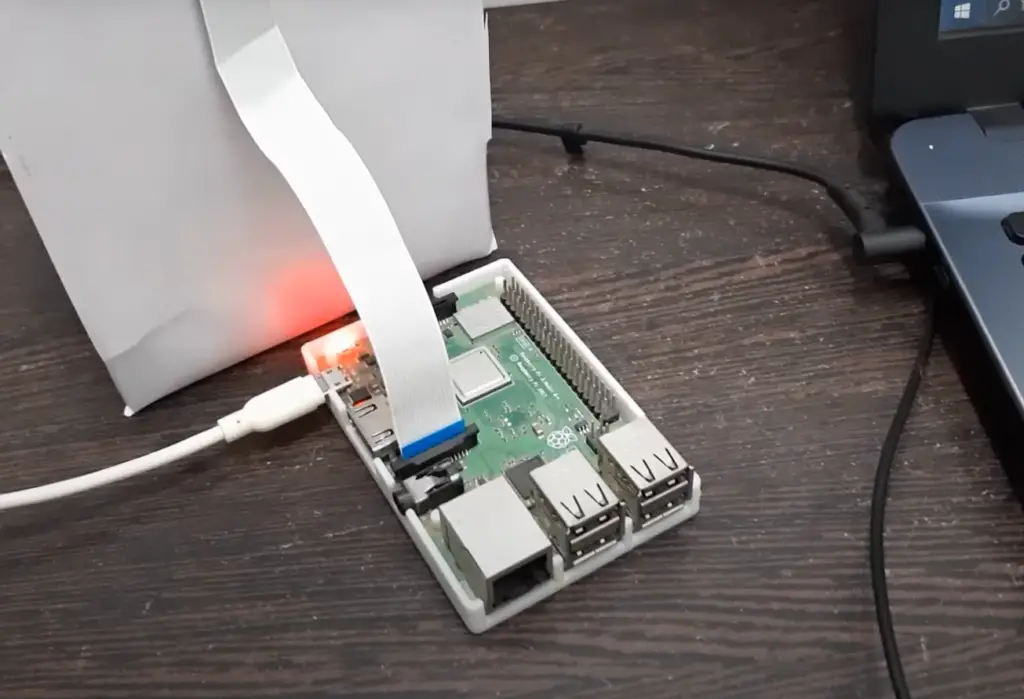
Afterward, connect the USB barcode scanner to one of the available USB ports on the Raspberry Pi board. Make sure to choose a port that is easily accessible and provides a stable connection for the scanner.
If you wish to connect your Raspberry Pi to a monitor or display, now is the opportune moment to do so. Simply insert one end of the HDMI cable into the designated HDMI port on your Raspberry Pi board, and securely plug the other end into an HDMI port on your monitor or display. This will allow you to visualize the output from your Raspberry Pi.
Lastly, connect the power supply to your Raspberry Pi board. Ensure that all the components are properly assembled and connected before proceeding to the next step. Take a moment to double-check the connections to avoid any potential issues during operation.
Once all the components are assembled and connected, you’re now fully prepared to move on to the next step with confidence. [2]
Step 2: Setup the Raspberry Pi Operating System
With all the physical components in place, it’s now time to set up the Raspberry Pi operating system. This step is crucial as it allows you to access the full functionality of your barcode scanner.
The recommended operating system for Raspberry Pi is Raspbian OS. It is a free and open-source operating system based on Debian Linux, specifically designed for Raspberry Pi devices. To set up Raspbian OS, you will need a computer or laptop with an SD card reader and an internet connection.
Start by downloading the latest version of Raspbian OS from the official Raspberry Pi website. Once the download is complete, use software such as Etcher to flash (or write) the operating system onto your MicroSD card. This process will create the necessary boot files, allowing your Raspberry Pi to boot up with Raspbian OS.
After successfully flashing Raspbian OS onto your MicroSD card, safely eject it from your computer or laptop and insert it into its designated slot on the Raspberry Pi board. Power up your Raspberry Pi, and you should be greeted with a login prompt. [2]
Step 3: Programming Raspberry Pi to Read Barcode Scans
Once you have successfully set up the Raspberry Pi operating system, it’s now time to program it to read barcode scans. This involves using a programming language such as Python and installing the necessary libraries and packages that enable barcode scanning functionality.
Fortunately, there are multiple open-source libraries available for barcode scanning on Raspberry Pi, making the process relatively straightforward. One commonly used library is called “zbar”. It provides a simple interface for scanning barcodes and QR codes using a USB camera or webcam connected to the Raspberry Pi.
To install zbar, open a terminal window on your Raspberry Pi and enter the following commands:
“`
sudo apt-get update
sudo apt-get install libzbar0
pip3 install pyzbar
“`
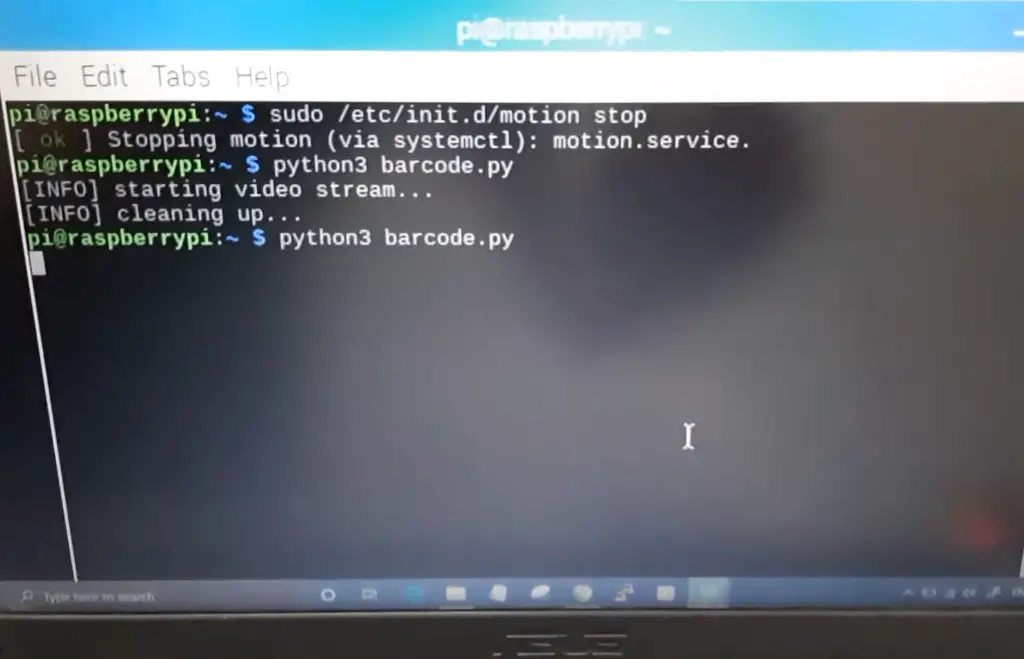
Once the zbar library is installed, you can start coding your barcode scanner using Python. The code typically involves initializing the USB barcode scanner, capturing images from a connected camera or webcam, and decoding the scanned barcode image using zbar’s functions.
Alternatively, you can use pre-written packages such as “pyBarcodeScanner” that provide a ready-made interface for integrating barcode scanning into your Raspberry Pi projects. These packages often come with extensive documentation and support, making it easier for beginners to get started. [2]
Step 4: Code Testing and Implementation
After successfully programming your Raspberry Pi to read barcode scans, it is crucial to thoroughly test the code before deploying it in a live environment. This involves scanning a variety of different barcodes and meticulously verifying that the output is consistently accurate.
Once you are completely satisfied with the functionality and reliability of your barcode scanner, you can confidently begin implementing it in a wide range of projects. Depending on the specific nature of your project, you may need to make necessary adjustments to the code to meet your unique requirements and specifications.
The potential applications for Raspberry Pi barcode scanners are truly limitless. They can be effectively utilized in inventory management systems, enabling seamless and efficient tracking of products and supplies.
Moreover, these scanners can also be employed to effortlessly track attendance of event attendees, ensuring streamlined and accurate data collection. Additionally, Raspberry Pi barcode scanners have found great utility in automated ticketing systems, simplifying the process of ticket validation and enhancing overall efficiency.
The versatility and adaptability of this remarkable device open up a world of possibilities, empowering you to explore and innovate in various domains. Embrace the boundless potential of Raspberry Pi barcode scanners, and unlock new dimensions of efficiency and convenience in your projects. [1]
Step 5: Additional Info and Resources
Potential Use Cases For Your Raspberry Pi Barcode Scanner
Here are some potential use cases for your Raspberry Pi barcode scanner:
- Inventory Management Systems: As mentioned earlier, Raspberry Pi barcode scanners can be used to efficiently track and manage inventory. By scanning barcodes on products, supplies or equipment, you can effectively monitor and maintain a detailed record of stock levels, reducing the likelihood of human error and streamlining the restocking process.
- Attendance Tracking: Another useful application for Raspberry Pi barcode scanners is attendance tracking. Whether it’s in a classroom setting or at a large event, these scanners can be used to scan attendee badges or tickets, automatically logging their presence and providing an accurate record of attendance.
- Automated Ticketing Systems: In addition to tracking attendance, Raspberry Pi barcode scanners are also commonly used in automated ticketing systems. By scanning barcodes on tickets, these systems can quickly and accurately validate the authenticity of tickets, reducing the risk of fraud or counterfeit tickets.
- Library Management: Libraries can also greatly benefit from Raspberry Pi barcode scanners. By scanning the barcodes on books, library staff can keep track of when books are checked out and returned, as well as maintain a digital record of library inventory.
- Retail Checkout: Traditional cash registers can be expensive and cumbersome for small businesses. Raspberry Pi barcode scanners, combined with a point-of-sale software, can provide an affordable and efficient alternative for small retailers. By scanning barcodes on products, items can automatically be added to a customer’s bill, making the checkout process faster and more accurate. [1]
FAQ
How do I setup and install a barcode reader?
To successfully set up and install a barcode reader using a Raspberry Pi, follow the comprehensive steps outlined in this document. It is highly recommended to use the zbar library, a reliable and efficient solution for barcode scanning. Before implementing the code in a live environment, it is essential to thoroughly test its functionality to ensure accurate and reliable results. Taking these precautions will help you achieve a seamless and effective barcode scanning system using your Raspberry Pi.
How to implement a barcode scanner in PHP?
When it comes to barcode scanning in PHP, you have a variety of options to choose from. Two popular libraries, “zend-barcode” and “php-barcode-reader”, can seamlessly integrate into your PHP code, allowing you to harness the power of barcode scanning. It’s important to keep in mind, though, that while these libraries work well in most scenarios, they may not be the best fit for use with a Raspberry Pi. So, make sure to consider the specific requirements of your project before making a decision.
What programming language is used in a barcode scanner?
The programming language used in a barcode scanner will depend on the specific device or platform being used. For instance, when it comes to Raspberry Pi, Python is commonly chosen due to its ease of use and extensive libraries available for barcode scanning. However, other languages such as C++, Java, and JavaScript can also be utilized depending on the specific library or software being used. The choice of programming language ultimately depends on the requirements, compatibility, and preferences of the developers or users.
How does a barcode scanner work step by step?
A barcode scanner is a device that operates by utilizing a light source, commonly a laser or LED, to emit illumination onto the barcode. When the light reflects off the barcode, it generates contrasting bars and spaces. The scanner then interprets these patterns and converts them into data. This data is subsequently subjected to further processing in order to accurately identify the product or retrieve the relevant information linked to the barcode. By employing this sophisticated technology, barcode scanners have revolutionized the way we track and manage inventory, streamline checkout processes, and facilitate efficient data capture in various industries.
How do you get data from a barcode?
Data from a barcode is obtained by using a barcode scanner, a device that employs light to capture the contrast between bars and spaces in the barcode. This information is then translated into data, which can be further processed and utilized for a wide range of applications, including but not limited to inventory management and product identification. By leveraging the power of barcode technology, businesses can streamline their operations, enhance efficiency, and ensure accurate tracking and identification of their products throughout the supply chain.
How do I get product information from the barcode?
Product information from a barcode can be obtained by scanning the barcode with a compatible scanner. This data is then processed and compared to a database, which contains information related to the product associated with the barcode. The product information can include details such as name, price, and description.
How do barcode scanners collect data?
Barcode scanners are electronic devices that collect data by using a light source, typically a laser, to scan the barcode. The light beam emitted from the scanner illuminates the barcode, and the reflected pattern is captured and interpreted into data. This data is then transmitted to a computer or device for further processing and analysis.
In addition to their primary function, some barcode scanners come equipped with additional features to enhance usability. For instance, certain models may offer wireless connectivity options, enabling real-time transmission of data. This allows for seamless integration with various systems and applications, streamlining inventory management, sales transactions, and other related operations.
With their ability to efficiently collect and interpret barcode data, barcode scanners have become indispensable tools in industries such as retail, logistics, and healthcare.
Useful Video: How To Scan QR Codes With A Raspberry Pi + OpenCV + Python
Conclusion
In conclusion, setting up and using a Raspberry Pi barcode scanner can greatly benefit various industries and applications. By following the steps outlined in this document, you can easily set up your own barcode scanner and start utilizing its capabilities. Remember to continuously stay updated on new developments and releases within the Raspberry Pi community to further enhance your projects. With a little creativity and exploration, the possibilities are endless with your Raspberry Pi barcode scanner. Happy coding!
References
- https://www.instructables.com/USB-Barcode-Scanner-Raspberry-Pi/
- https://circuitdigest.com/microcontroller-projects/interfacing-usb-barcode-scanner-with-raspberry-pi-4
- https://raspians.com/how-to-set-up-and-use-raspberry-pi-barcode-scanner/