
Port forwarding is a fundamental and indispensable aspect of networking. It plays a crucial role in enabling remote computers to access local services or applications securely. By creating a designated pathway through your network, it meticulously directs incoming traffic from external sources to a specific device or service on the local network, ensuring seamless connectivity and efficient communication between different network components. This powerful networking technique acts as a gateway, facilitating smooth and uninterrupted data transmission, and empowering users to leverage the full potential of their network infrastructure.
How to Do Port Forwarding in Raspberry Pi
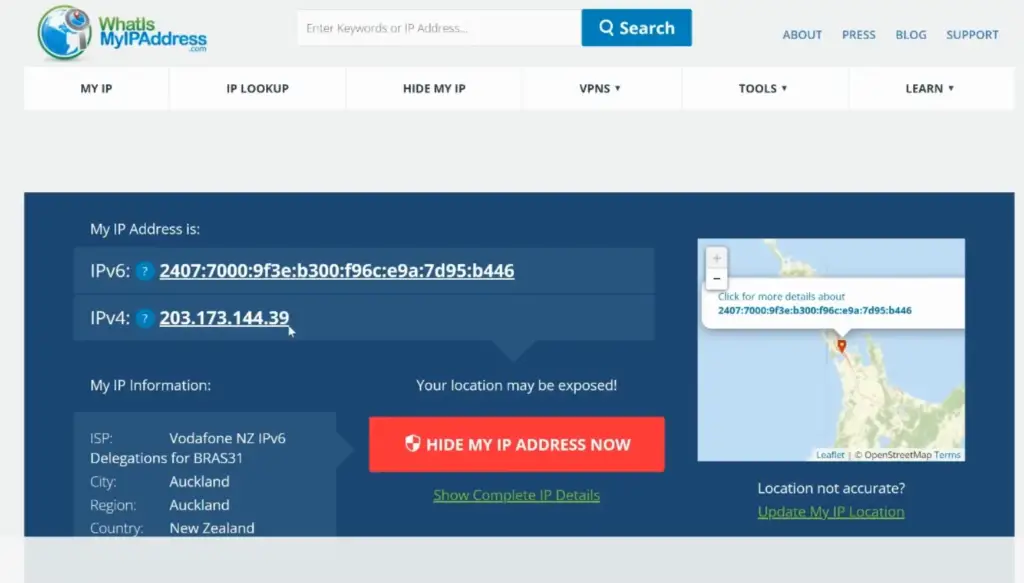
Step 1. Login into ISP Gateway
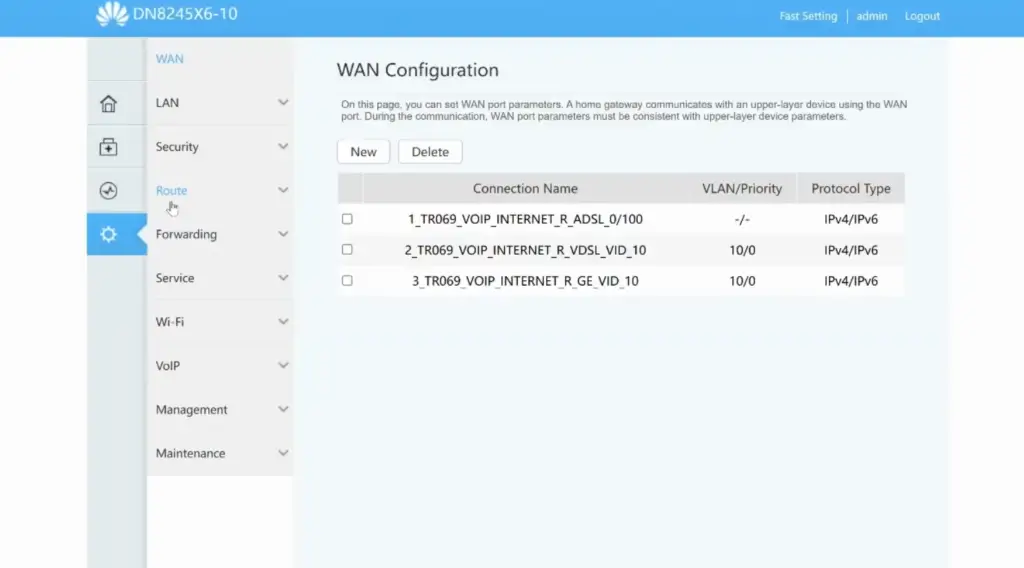
Once you have entered the IP address, you will be prompted to enter the login credentials provided by your Internet Service Provider (ISP). This is typically a combination of a username and password. After successfully logging in, you will be directed to the gateway’s admin panel.
Within the admin panel, you will find a variety of network settings that you can access and modify. Look for the port forwarding or virtual server settings, which will allow you to redirect incoming network traffic to your Raspberry Pi. By configuring the appropriate port forwarding rules, you can ensure that specific requests are directed to the correct port on your Raspberry Pi, enabling it to communicate with external devices or services.
By taking these steps and configuring port forwarding correctly, you can enhance the functionality and accessibility of your Raspberry Pi within your network. [1]
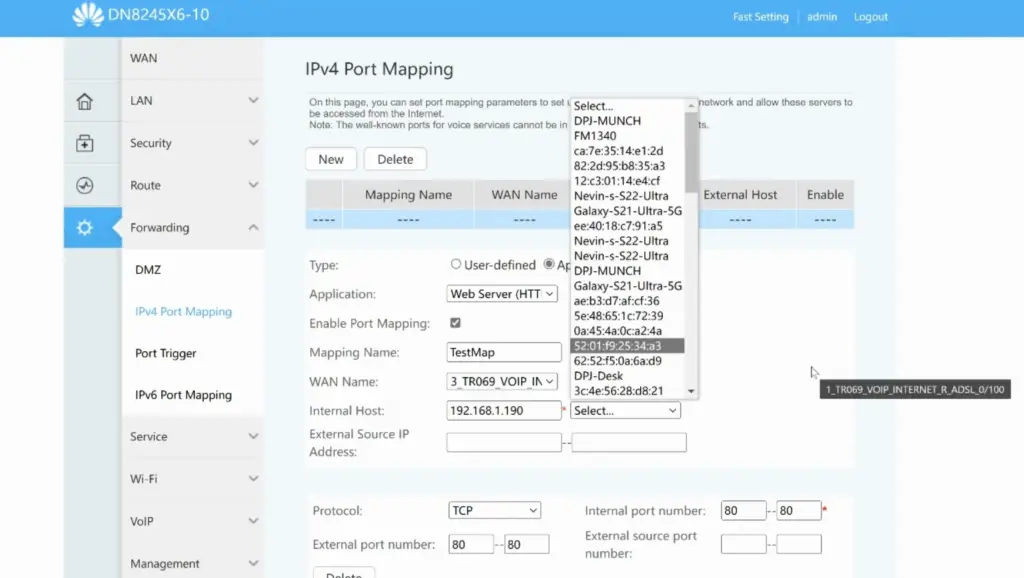
Step 2. Create a service and port to forward
The next step in port forwarding is to create a service and specify the port that you want to forward. A service can refer to any application, device, or service running on your Raspberry Pi that requires external access. Examples of services include web servers, file sharing services, remote desktop connections, and even gaming servers.
Once you have identified the specific service that needs to be accessed externally, you will need to enter its details in the appropriate field within the port forwarding settings. This includes providing information such as the service’s name, IP address, and other relevant configuration options.
Additionally, it is important to specify the corresponding port number that will be used to route incoming traffic to your Raspberry Pi. This allows the router to distinguish between different services and forward the incoming traffic to the correct destination within your network.
By carefully configuring the port forwarding settings with the necessary service details and corresponding port numbers, you can ensure that your Raspberry Pi is accessible from external networks, allowing you to utilize its capabilities to the fullest extent. [1]
Step 3. Test if it works
After setting up the port forwarding rules, it is essential to thoroughly test if it is functioning correctly. This can be done by attempting to access your Raspberry Pi’s service or application from an external network, such as your mobile device’s cellular network or a friend’s Wi-Fi network.
To perform the test, use a different device that is connected to a separate network and attempt to connect to the service using your Raspberry Pi’s IP address and the specific port number you configured for the forwarding. Make sure to note down the IP address and port number for easy reference.
If the test is successful, you should be able to access the service or application on your Raspberry Pi from the external network, indicating that the port forwarding is working as intended. You can try accessing a web server, SSH, or any other service/application you have set up.
However, if the connection is unsuccessful, it may indicate that the port forwarding settings are not configured correctly. In this case, you may need to revisit and adjust your port forwarding settings until you achieve a successful connection. It is also important to ensure that any firewalls or security measures on your network are not blocking incoming traffic to the specified port.
Taking the time to thoroughly test your port forwarding setup will help ensure that you can access your Raspberry Pi’s services or applications from anywhere, enhancing remote access and convenience. [1]
Step 4. This isn’t secure without a firewall
While port forwarding is an essential tool for accessing services or applications on your Raspberry Pi externally, it is important to note that it can also pose security risks if not configured properly. By opening specific ports and allowing traffic from external sources, you are essentially exposing your network to potential threats.
To mitigate these risks, it is crucial to have a strong firewall in place to monitor and filter incoming traffic. A firewall acts as a barrier between your network and external sources, only allowing authorized traffic to pass through. This helps protect your network from unauthorized access and potential malicious activities.
By enabling a firewall and regularly updating your devices, you can ensure optimal security while still benefiting from the convenience of port forwarding for accessing your Raspberry Pi’s services and applications. Taking these additional steps will provide an extra layer of protection and peace of mind. [1]
Troubleshooting Port Forwarding
Common Issues
While port forwarding can greatly enhance the functionality and accessibility of your Raspberry Pi, it is not without its challenges. Some common issues that may arise when setting up port forwarding include:
- Incorrectly configured port forwarding settings: This can lead to a misdirection of incoming traffic, resulting in connectivity issues. It is important to carefully review and double-check the port forwarding settings to ensure they are accurately configured.
- Firewall or security measures blocking incoming traffic: Sometimes, the firewall or other security measures in place can inadvertently block the incoming traffic required for port forwarding. It is crucial to verify that these security measures are not interfering with the intended functionality of port forwarding.
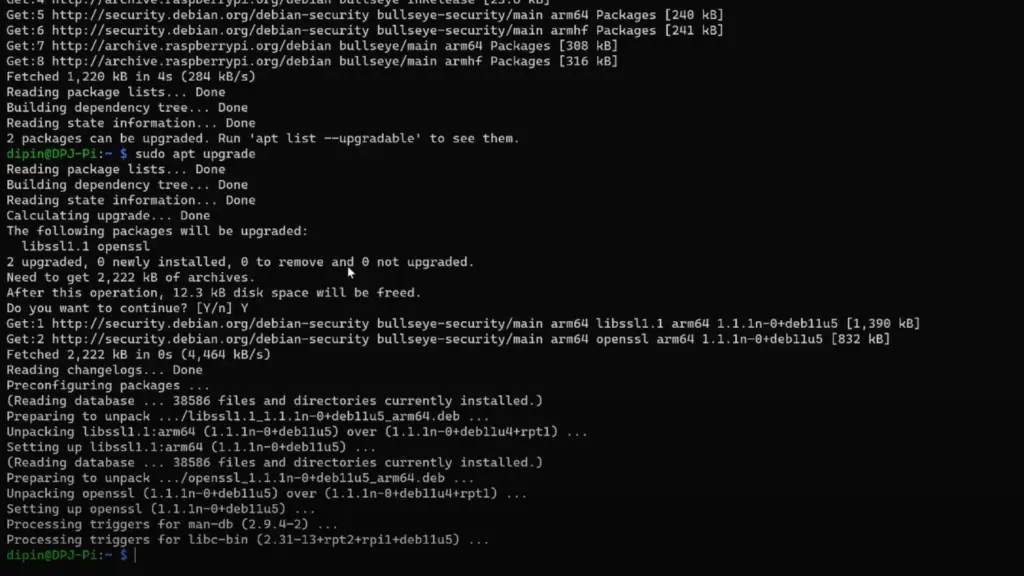
- Outdated firmware on the router or Raspberry Pi: Outdated firmware can sometimes cause compatibility issues and potential vulnerabilities. Keeping the firmware on both the router and Raspberry Pi up to date is essential to ensure optimal performance and security.
To troubleshoot these issues, it is essential to double-check the port forwarding settings and make sure they are set up correctly. Additionally, it is important to ensure that your firewall or security measures are not blocking the incoming traffic. If necessary, you may need to update the firmware on your devices to address any potential vulnerabilities. Taking these steps will help ensure a smooth and efficient port forwarding setup for your Raspberry Pi. [3]
Consulting Online Resources
If you encounter any difficulties while setting up port forwarding, don’t worry! There are numerous online resources available that can assist you in navigating through the process smoothly. You can consult forums and communities specifically dedicated to Raspberry Pi or networking, where experienced users are more than willing to share their tips and advice. Additionally, the official websites of your router manufacturer may provide detailed support articles or step-by-step guides on how to set up port forwarding for their specific devices. These resources can serve as invaluable references when troubleshooting any issues that may arise during the port forwarding process, ensuring a seamless and hassle-free experience. [3]
How to Set Up Dynamic DNS?
Dynamic DNS, or Domain Name System, is a service that automatically updates the IP address associated with your Raspberry Pi when it changes. This is especially useful for remote access as it allows you to use a customized domain name to connect to your Raspberry Pi instead of constantly having to track and update its changing IP address.
To set up dynamic DNS for your Raspberry Pi, follow these steps:
- Sign up for a dynamic DNS service provider, such as No-IP or DynDNS. These services allow you to associate a custom domain name with your Raspberry Pi’s changing IP address, ensuring that you can always access it remotely.
- On your Raspberry Pi, install a dynamic DNS client, such as ddclient or inadyn. These clients are responsible for updating the IP address associated with your custom domain name whenever it changes.
- Configure the dynamic DNS client with your account information from the service provider. This typically involves providing the domain name, username, password, and other necessary details.
- Set up port forwarding for the specific ports you want to access remotely on your router, as discussed in the previous sections. Port forwarding allows incoming connections to reach your Raspberry Pi by redirecting them to the appropriate ports.
- Test the connection by attempting to access your Raspberry Pi’s services using the customized domain name provided by the dynamic DNS service. This will ensure that the dynamic DNS setup is working correctly and that you can access your Raspberry Pi remotely.
When properly set up, dynamic DNS can provide a more convenient and reliable way to remotely access your Raspberry Pi’s services or applications without having to constantly track and update its IP address. This is especially beneficial for users who frequently travel or change networks. So, it is highly recommended to set up dynamic DNS alongside port forwarding for optimal remote access experience. [2]
Setting Up Cloudflare for Added Security
To use Cloudflare with your Raspberry Pi, follow these steps:
- Sign up for a Cloudflare account and add your domain. If you do not have a custom domain, you can create one for free on services like Freenom.
- Change your domain’s nameservers to point to Cloudflare’s nameservers provided in your account settings.
- Enable “Cloudflare proxy” for the specific subdomain that points to your Raspberry Pi’s IP address. This will hide your Raspberry Pi’s IP address and provide an extra layer of security against potential attacks.
- Set up port forwarding for the specific ports you want to access remotely on your router, as discussed in the previous sections.
- Test the connection by attempting to access your Raspberry Pi’s services using the customized domain provided by Cloudflare. This will ensure that everything is set up correctly and that you can access your Raspberry Pi’s services remotely.
By using Cloudflare, you can not only enhance the security of your remote connections but also speed up the performance of your Raspberry Pi by leveraging its global network. However, it is essential to note that there may be some additional costs associated with using certain features of Cloudflare, so make sure to check their pricing plans before enabling them. So, if security and performance are your top priorities, it is highly recommended to set up Cloudflare alongside port forwarding for your Raspberry Pi. [2]
FAQ
How do I port forward my Raspberry Pi Minecraft server?
To port forward your Raspberry Pi Minecraft server, you will first need to configure your router’s settings to allow incoming connections on the specific port used by your Minecraft server. This usually involves accessing your router’s settings through a web browser and finding the port forwarding section. From there, you can enter the necessary information, such as the local IP address of your Raspberry Pi and the port used by the Minecraft server. Once set up, you should be able to access your Minecraft server remotely using your public IP address and the specific port number.
How do I allow ports on my Raspberry Pi?
To allow ports on your Raspberry Pi, you will need to configure your firewall settings. By default, Raspberry Pi uses a firewall called iptables that blocks all incoming connections. To allow specific ports, you will need to add rules to the iptables using the command line or a graphical interface like UFW (Uncomplicated Firewall). You can also use port forwarding on your router to allow incoming connections on specific ports, as discussed in the previous sections.
How do I setup port forwarding?
To set up port forwarding, you will need to access your router’s settings and find the port forwarding section. From there, you can enter the necessary information, such as the local IP address of your Raspberry Pi and the specific ports you want to forward. This will allow incoming connections to reach your Raspberry Pi on those specific ports. It is also essential to properly configure any firewalls and security measures to ensure the safety of your network. It is recommended to refer to your router’s manual or consult with your internet service provider for specific instructions on setting up port forwarding.
How do I access my Raspberry Pi from an outside network?
To access your Raspberry Pi from an outside network, you will need to set up port forwarding on your router and potentially use a dynamic DNS service or Cloudflare for added security. This will allow incoming connections to reach your Raspberry Pi remotely using its public IP address or custom domain name. It is also essential to properly configure any firewalls and security measures to ensure the safety of your network. It is recommended to refer to your router’s manual or consult with your internet service provider for specific instructions on accessing devices remotely.
How do I access my Raspberry Pi from my computer?
To access your Raspberry Pi from your computer, you will need to know its local IP address and use a remote desktop application. First, you can find the local IP address of your Raspberry Pi by using the “ifconfig” command on Linux or the “ipconfig” command on Windows. Then, you can use applications like VNC Viewer or TeamViewer to establish a remote desktop connection to your Raspberry Pi using its local IP address. It is essential to ensure that both devices are connected to the same network for this method to work. Additionally, setting up port forwarding and dynamic DNS or Cloudflare can allow you to access your Raspberry Pi from outside networks as well.
How to port forward on Linux?
The process of port forwarding on Linux depends on your specific distribution and network setup. However, it generally involves using the iptables and editing its configuration files or using a graphical interface like UFW (Uncomplicated Firewall). You can also use tools like PortKnox or Firewalld to manage your ports easily. It is recommended to refer to your distribution’s documentation for specific instructions on port forwarding.
Does SSH work over the Internet?
Yes, SSH (Secure Shell) can work over the internet if properly configured. However, it is generally not recommended to expose SSH directly to the internet as it can pose a security risk. Instead, using port forwarding and other security measures like key authentication and fail2ban can help secure your SSH connections when accessing your Raspberry Pi remotely.
Useful Video: How to Access your Raspberry Pi Website over the Internet (with port forwarding)
Conclusion
In conclusion, port forwarding is a crucial aspect of setting up remote connections to your Raspberry Pi. By properly configuring port forwarding on your router and utilizing tools like dynamic DNS or Cloudflare, you can access your Raspberry Pi’s services from outside networks securely and efficiently. It is essential to ensure that all necessary security measures are in place to protect your network and devices. With the right setup, you can easily access your Raspberry Pi remotely and utilize its capabilities to their fullest potential. We hope this guide has provided helpful information on how to port forward your Raspberry Pi. Good luck with your projects!
Happy coding!
References
- https://fedingo.com/how-to-do-port-forwarding-in-raspberry-pi/
- https://raspians.com/how-to-port-forward-raspberry-pi/
- https://pimylifeup.com/raspberry-pi-port-forwarding/