
Are you struggling to set up port forwarding for your Raspberry Pi? Do you want a secure and efficient way to run tasks remotely on the device? Well, you’re in luck – in this post we will explore how to safely and effectively set up port forwarding with a Raspberry Pi. We will discuss common issues that can arise during setup and show step-by-step instructions so that even those just starting out have the resources they need! So whether you’ve already started setting up port forwarding or are just getting started, read on for an easy guide with all the info you need.
What is a Raspberry Pi?
The Raspberry Pi is powered by an ARM processor and runs on Linux operating system software. This makes it an ideal choice for projects such as creating a media center, playing games, or programming. It is also popular for use in robotics and physical computing projects. The Raspberry Pi has an Ethernet port as well as a variety of ports for connecting peripherals such as cameras, keyboards, and mice.
The Raspberry Pi can be used to build all sorts of projects, from home automation systems to weather stations to digital signage systems. It is powerful enough to run many of the applications used in industry, such as web servers and databases.
The Raspberry Pi can be programmed using a variety of languages, including Python, Java, C++, and more. With its small size and low cost, it is an ideal platform for education and experimentation. For those who want to learn how to program or create electronics projects, the Raspberry Pi is an excellent starting point.
The Raspberry Pi can also be used as a powerful and affordable server for home-based web applications, IoT devices, or data analysis projects. With its low power consumption and small size, it makes an ideal platform for these kinds of applications. [1]
What are the Functions and Features of Raspberry Pi?
Raspberry Pi offers many of the same features and functions as a typical desktop computer, like playing high definition video, displaying images and making music. The Raspberry Pi also has several key features that make it stand out from other microcomputer systems:
- Hardware: Its hardware is based on the ARM architecture, which is widely used in embedded systems and mobile devices. This allows for a much smaller form factor compared to typical desktop computers.
- Software: It runs on Linux, an open source operating system developed by the creators of Ubuntu. It also supports a range of programming languages, including Python and C++.
- Connectivity: The model is equipped with an Ethernet port and two USB ports, as well as a 40 pin GPIO (General Purpose Input/Output) header that can be used to connect components such as sensors or motors.
- Durability: The system is designed for long-term use, with durability at the top of its list of features. It uses a microcontroller that can withstand temperatures from -20 to 85 degrees Celsius.
- Cost: It is very affordable, with prices ranging from $5 to $50 depending on the model.
The system is a versatile device that offers a lot of potential for users. It can be used for many different purposes, including home automation, robotics, and even simple programming projects. For anyone looking to get started with a small computer project, the Raspberry Pi is a perfect choice. [2]
How to Work with Raspberry Pi?
If you’re looking to delve into the world of Raspberry Pi, there are a few basic steps you need to know. The first step is getting your Raspberry Pi board set up with all the necessary components. You will need a power supply, an SD card with an operating system installed, and possibly some other accessories like a case and keyboard. The next step is connecting your Raspberry Pi to the network using either an Ethernet cable or Wi-Fi, depending on what you have available. Finally, you need to configure the settings of the operating system so that it’s ready for your projects.
Once everything is set up properly, there are a few ways you can start working with Raspberry Pi. The most popular method is using the Python programming language, which is a great way for beginner coders to get started. There are also various libraries and resources available that will make your Raspberry Pi projects easier. [3]
Why Do Port Forwarding in Raspberry Pi?
Port forwarding is a networking technique used to allow devices on the Internet to connect to your Raspberry Pi. When port forwarding is enabled, you can access features of the Raspberry Pi remotely, such as its web server, multimedia services or other applications. [4]
In order for port forwarding to work properly, you need to know what type of information (IP addresses, ports, protocol) your router needs to forward and how to configure it. Additionally, it is important to know what kind of security measures you should take when port forwarding.
Port forwarding is a great way to keep your Raspberry Pi secure while still allowing remote access. By setting up the correct ports and protocols you can ensure that only the desired services and devices are able to access the Raspberry Pi.
Another advantage of port forwarding is that it allows you to limit which IPs have access to the Raspberry Pi. This can help reduce unwanted traffic and improve speeds for users who do need access.
Plus, port forwarding is an easy way to set up a VPN connection from remote locations if you choose to do so. This is especially helpful if you need to access the Raspberry Pi from another location, such as a remote office or when traveling.
Overall, port forwarding can be a great way to securely access your Raspberry Pi and its services while still allowing you to keep it secure. By understanding what ports and protocols to configure, you can ensure that only the desired services have access to your Raspberry Pi. [5]
How to Do Port Forwarding in Raspberry Pi?
Port forwarding is a process that allows the Raspberry Pi to connect to an outside network by rerouting incoming traffic from a port on the router to a port on the Raspberry Pi. This can be used for remote access, connecting to other devices or hosting a web server. With port forwarding, you can access your Raspberry Pi from any computer or device connected to the same network or even from any device connected to a different network. [6]
In this guide, we will show you how to set up port forwarding for your Raspberry Pi so that you can access it remotely.
Step 1: Check Your Router’s Network Settings
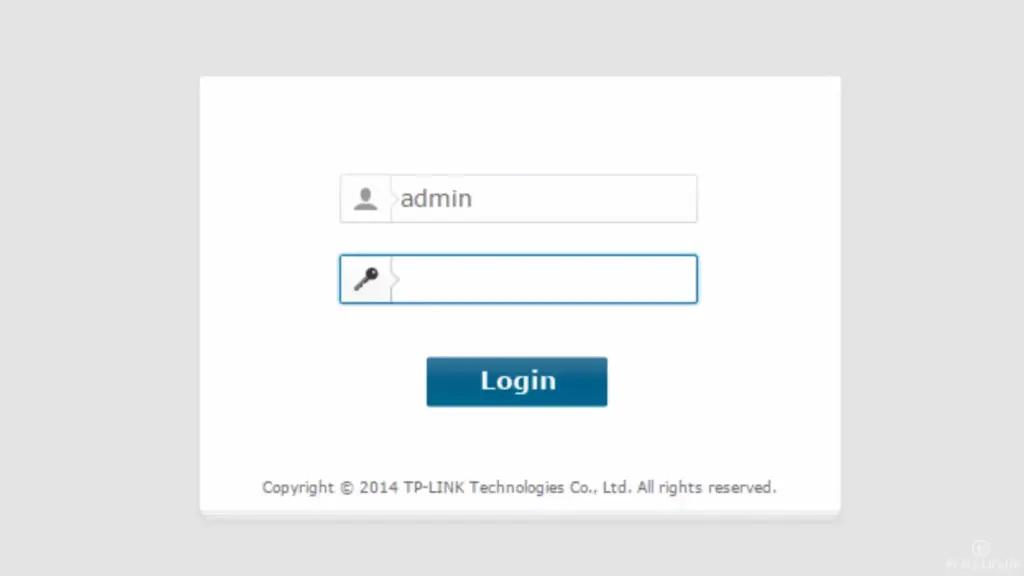
Before setting up port forwarding on your Raspberry Pi, you need to check the network settings of your router. To do this, open the web browser on any device connected to your router and type in the IP address of your router in the address bar (usually something like 192.168.1.1). You will then be asked to enter a username and password which should be provided by your internet service provider.
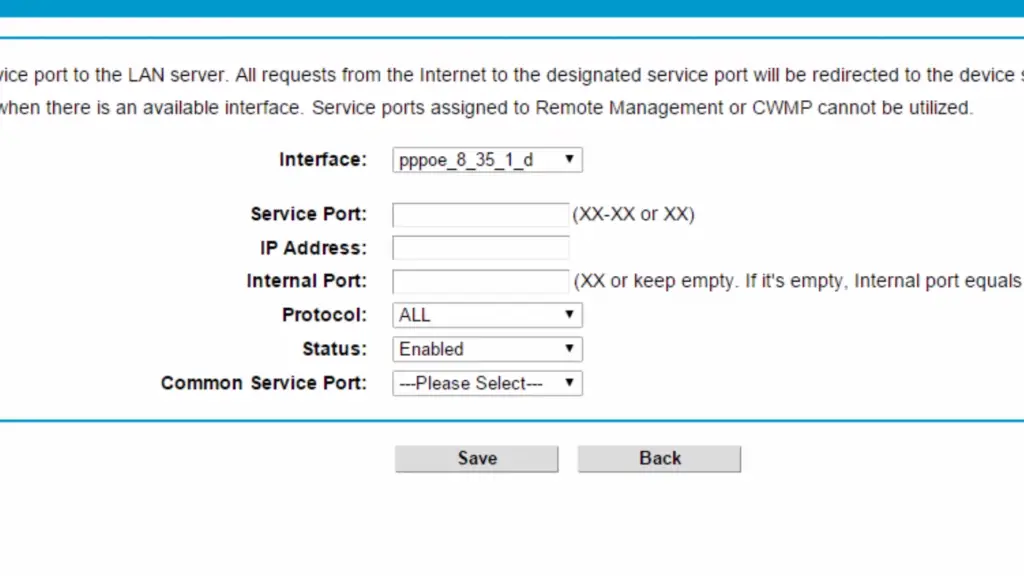
Step 2: Configure Your Router’s Port Forwarding
Once you have located the port forwarding section of your router, you can set up a rule that will forward all traffic from one port to another. To do this, add a new rule and enter the following details:
- Source IP: Enter the internal IP address of your Raspberry Pi (This can be found by typing in ‘hostname –i’ into the terminal);
- Source Port: Enter the port you want to forward traffic from;
- Destination IP: Enter your Raspberry Pi’s internal IP address again;
- Destination Port: Enter the port you want to forward traffic to.
Once these details have been entered, click save and your rule should be active. You can now access your Raspberry Pi from any device connected to the same network.
Step 3: Connect To Your Raspberry Pi Remotely
If you want to access your Raspberry Pi from a device connected to a different network, you will need the public IP address of your router. This can be found by typing ‘what is my ip’ into Google and it should return an IP address.
Once you have the public IP address of your router, open the terminal on any device connected to a different network and enter the following command:
ssh user_name@public_IP
Replace ‘user_name’ with your Raspberry Pi username and ‘public_IP’ with your router’s public IP address. You will then be asked to enter a password and you should now have remote access to your Raspberry Pi.
By following these steps, you can easily set up port forwarding on your Raspberry Pi and access it remotely from any network. This is a great way to allow external access to your Raspberry Pi so that you can use it as a web server, connect to other devices or access it remotely. [7]
Problems with Raspberry Pi Port Forwarding
If you’re having difficulty using a Raspberry Pi for port forwarding, there are several potential causes and solutions. First, make sure that your router’s settings are correctly configured. If necessary, power cycle the router to reset it and ensure that all required ports are open. Additionally, double-check any firewall configurations or security software running on the machine in question. These can also interfere with port forwarding.
If these basic steps don’t resolve the issue, you may need to update your router’s firmware or even replace it if it is no longer receiving updates. If the problem persists after that, there might be an outdated version of Raspbian OS running on your Raspberry Pi. Try reinstalling the latest version and then reconfigure the port forwarding settings accordingly.
In some cases, resetting an Ethernet cable can also resolve port forwarding issues. To do so, disconnect the Raspberry Pi from the router and unplug the Ethernet cable. Wait a few moments before plugging it back in. This often eliminates any temporary networking problems that may have arisen due to hardware or software conflicts.
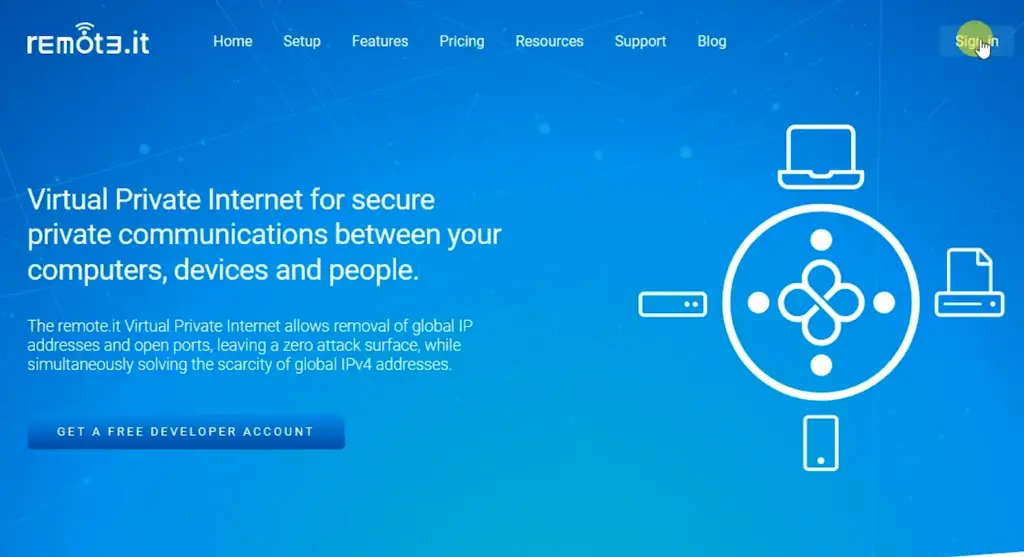
If all else fails, consider using a cloud-based port forwarding tool like RemotePC. With this, you can easily configure and manage your Raspberry Pi’s ports from the comfort of any browser window, no matter where you are located. It also adds an additional layer of security to your network since all traffic is routed through its secure servers. [8]
FAQs
How do I port forward my Raspberry Pi website?
Port forwarding your Raspberry Pi website with a router may require some configuration and setup. Typically, you will need to set up port forwarding on your router so that any requests for the specific IP address or domain name are forwarded to the correct computer (the Raspberry Pi). You can find instructions on how to do this online, but it is recommended that you consult with your router’s manufacturer for more detailed information. Additionally, you may need to set up a static IP address or configure port forwarding rules on your Raspberry Pi itself, depending on your setup. If you are using a Raspberry Pi behind a firewall or other advanced network security device, additional configuration may be required.
How to port forward Raspberry Pi for SSH?
If you want to access the Raspberry Pi remotely, port forwarding is essential. It will allow you to connect to your Raspberry Pi from outside your local network. This tutorial provides step-by-step instructions on how to port forward your Raspberry Pi for SSH (Secure Shell) logins:
- Connect a monitor and keyboard to your Raspberry Pi via HDMI and USB.
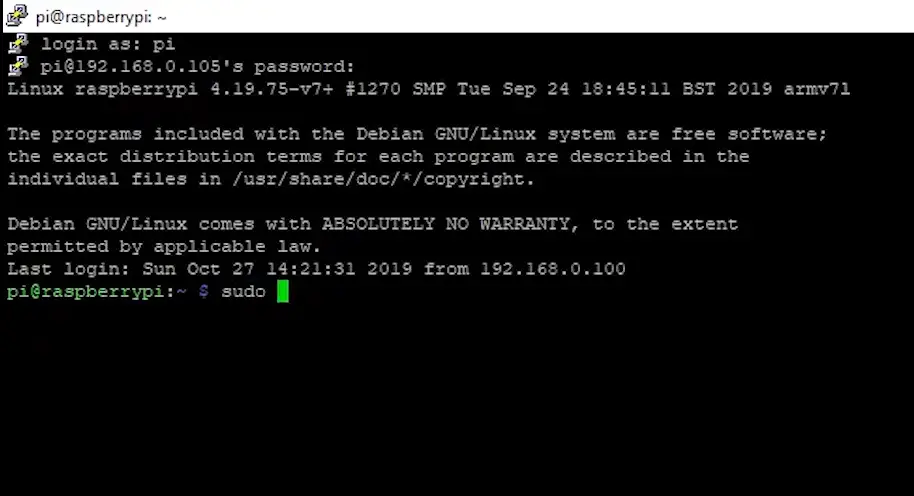
- Log in with the default credentials (username: pi, password: raspberry)
- In the Terminal window, enter the command sudo raspi-config to open the Raspberry Pi Configuration menu. Navigate to ‘Advanced Options’ and then select ‘Port Forwarding’.
- Select ‘Enable Port Forwarding’ and enter the port number you would like to forward. You can use the default port (22).
- Select ‘OK’ to save your changes.
- Open a web browser on another device and type in your Raspberry Pi’s IP address followed by a colon, then the external port you chose earlier (e.g. 192.168.1.20:22). This will take you to the login page.
- Log in using the same credentials as before; you should now be connected remotely!
How do I set up a port on my Raspberry Pi?
If you are looking to set up a port on your Raspberry Pi, the process is relatively straightforward. First, you will need to locate the IP address of your Raspberry Pi. This can be done by entering “arp -a” into your command line interface (CLI) or by using a network scanning tool such as Angry IP Scanner.
Once you have identified the IP address, you will need to open up a terminal window and enter the command “sudo iptables -A INPUT -p tcp –dport [port number] -j ACCEPT”. This command will set your desired port number into the iptables configuration which is used by your Raspberry Pi for incoming traffic.
You can also configure your Raspberry Pi to allow specific IP addresses or ranges to access the port. To do this, you will need to enter the command “sudo iptables -A INPUT -s [IP address]/[netmask] -p tcp –dport [port number] -j ACCEPT”. This command will enable traffic from the specified IP address to connect to the desired port.
How can I access my Raspberry Pi remotely from another network?
When you want to access your Raspberry Pi from another network than the one it is connected to, port forwarding becomes necessary. This allows you to remotely access the Pi through a secure connection without needing to set up a Virtual Private Network (VPN). To do this, you must configure your router to forward traffic on certain ports to the internal IP address of the Raspberry Pi.
It is important to select a port that is not already taken by another service, so it is best to choose one above 1024 because these are usually free for use. You will also need to know the internal IP address of your Raspberry Pi and the port you have chosen for the forwarding. This information can be found in your router’s DHCP client list.
Useful Video: How to Access your Raspberry Pi Website over the Internet (with port forwarding)
Conclusion
Raspberry Pi is an interesting and creative tool for computing projects that call for the ability to port forward. However, due to some of its peculiarities compared to more traditional IT systems, caution should be taken to ensure everything works as intended. It pays to take some time to research the specifics and adjust settings accordingly before attempting a port forward. Additionally, instructions regarding each individual router manufacturer and specific model may vary slightly, so extra research would help confirm specific steps necessary for the process. Making sure firewalls or security software are not hindering any port forwarding attempts is also important prior to beginning a port forwarding initiative with Raspberry Pi. Ultimately, following all the tips provided here should ensure successful use of the Raspberry Pi and give users much more control over what they can do with it.
References
- https://www.raspberrypi.org/help/what-%20is-a-raspberry-pi/
- https://www.simplilearn.com/tutorials/programming-tutorial/what-is-raspberry-pi
- https://www.imore.com/how-get-started-using-raspberry-pi
- https://jfrog.com/connect/post/raspberry-pi-port-forwarding-easy-way-to-ssh-vnc-web-view-remotely/
- https://pimylifeup.com/raspberry-pi-port-forwarding/
- https://fedingo.com/how-to-do-port-forwarding-in-raspberry-pi/
- https://raspians.com/how-to-port-forward-raspberry-pi/
- https://mender.io/blog/remote-inspect-your-device-without-using-traditional-raspberry-pi-port-forwarding