
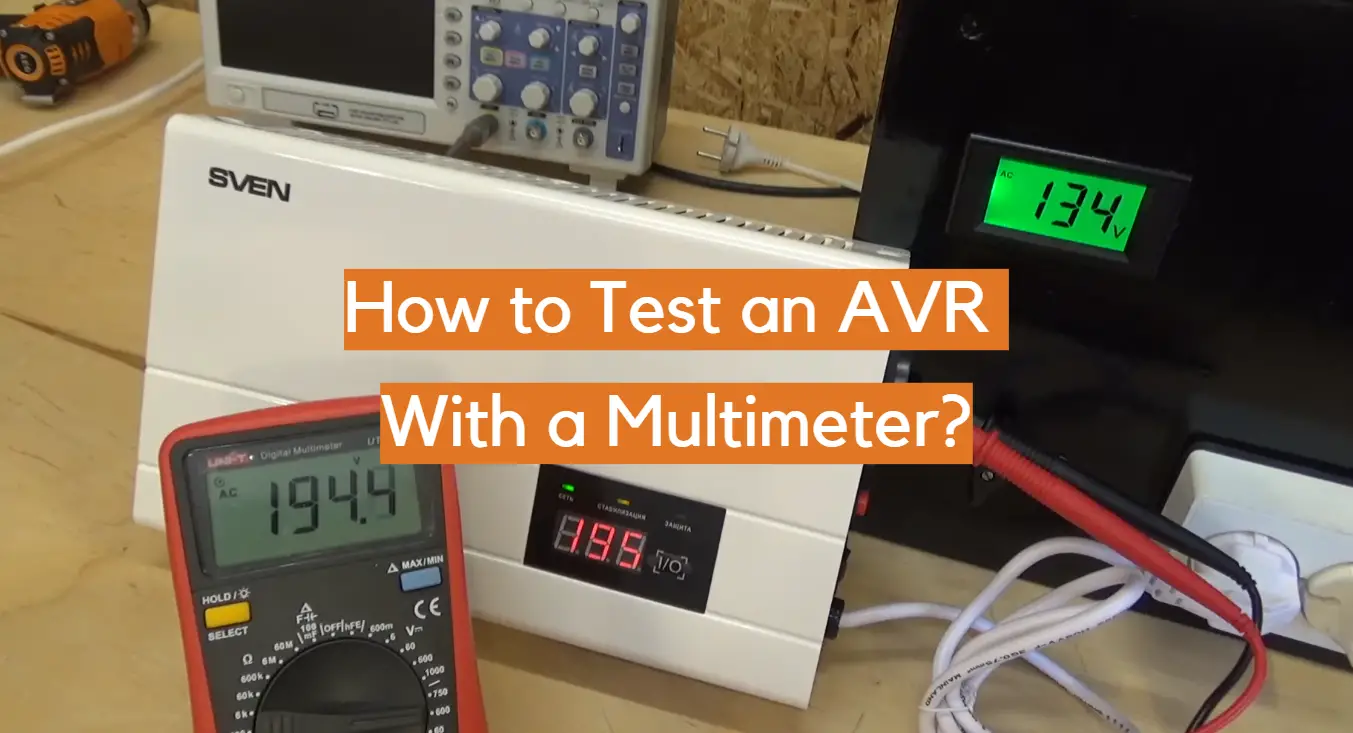
If you’re working with AVRs, you’ll want to know how to test them properly. In this blog post, we’ll show you how to use a multimeter to test an AVR. We’ll go over the basic steps of setting up the multimeter and taking measurements. With this knowledge, you’ll be able to get accurate readings from your AVRs and make sure they’re functioning properly.
What is AVR (Automatic Voltage Regulator)?
It does this by controlling the voltage output from the generator or alternator, which is then sent to the power source. This ensures that the equipment connected to it will have a stable source of electricity, helping them run more efficiently and reliably. [1]
What Do Automatic Voltage Regulators Do?
For reliable and consistent power in alternating current (AC) electrical systems, an Automatic Voltage Regulator (AVR) is the ideal choice. This device helps ensure that output voltage remains steady regardless of any changes or fluctuations in input voltage. It works by monitoring the output of an AC generator and adjusting its internal settings automatically as needed to maintain a constant voltage level despite changes in load or other environmental conditions. An AVR typically includes a controller, transducer (input sensor), analog to digital converter, amplifier circuit, and control logic circuitry.
Additionally, it can be used for applications such as motor speed control or emergency lighting systems. [2]
What Causes AVR Failure?
Sudden Power Changes
AVRs are designed to regulate the voltage in an AC circuit. When sudden power changes occur, like a brown-out or surge, the AVR can be damaged and fail.
Improper Wiring
Incorrect wiring can result in an overload of power being transmitted to the AVR, significantly shortening its lifespan.
High Ambient Temperatures
Overheating can cause components within the AVR to degrade over time, leading to poor performance or complete failure of the unit.
Aging Effects
With age, components within the AVR wear out gradually causing them to work less efficiently until they finally give out completely.
Excessive Vibration
Too much vibration on your electrical system can shift wires and cause the AVR to malfunction.
Rust or Corrosion
Corrosion on the electrical system can damage parts of the AVR, causing it to fail.
Overload
If an excessive amount of power is running through the AVR, it can cause overload and eventually lead to a complete failure.
Short Circuit
If there is a short-circuit in the electrical panel, the AVR can be damaged or destroyed.
Uneven Generator Engine Speed
When the generator’s engine operates at an irregular rate, it can overload the AVR and cause it to malfunction.
Excessive Noise or Interference
Noise or interference can cause the AVR to malfunction, leading to partial or total failure.
Water Damage
If water seeps into the electrical panel and contacts the AVR, it can cause a short circuit and lead to failure. [3]
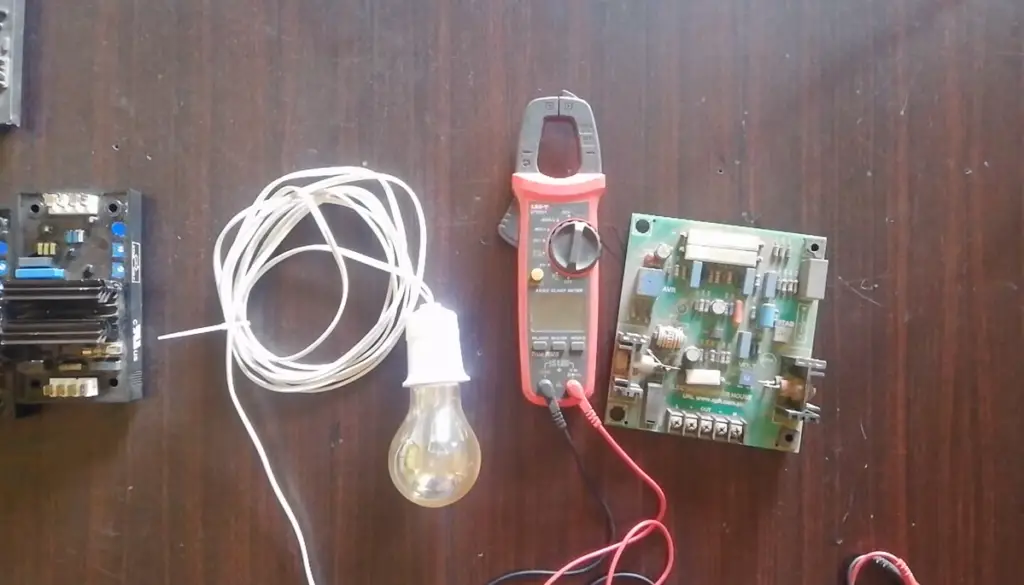
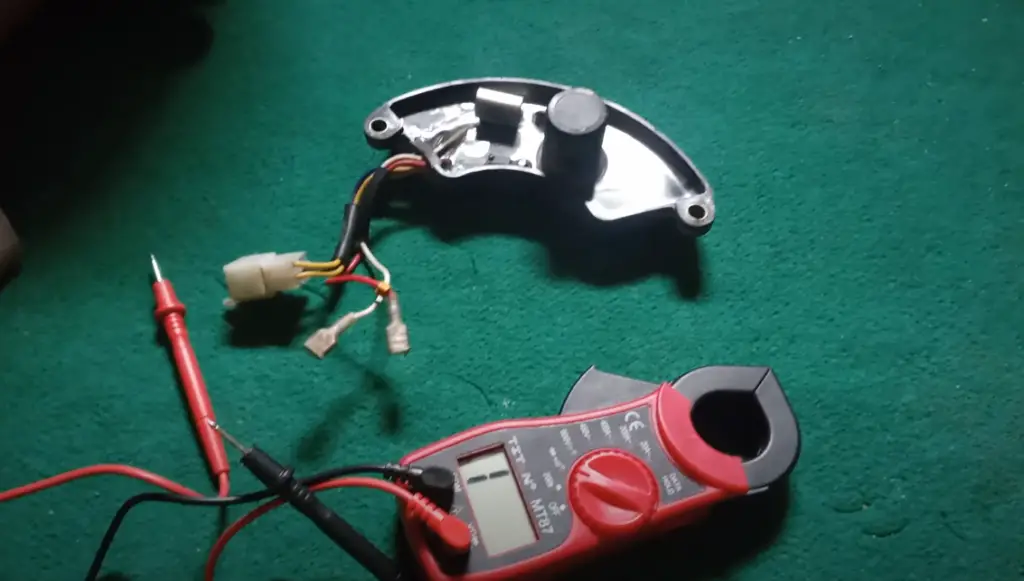
How To Test An AVR With A Multimeter?
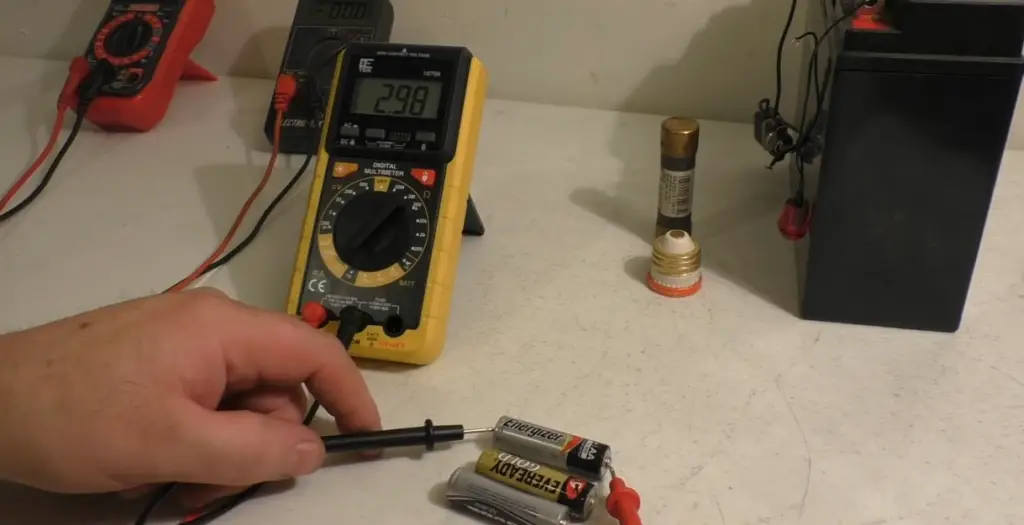
Testing an AVR using a multimeter is a simple process that can help identify problems with the AVR before it fails. Before testing, make sure you have the right safety precautions in place and that you have read the manufacturer’s instructions for the multimeter.
To begin, set your multimeter to measure AC voltage (VAC). Connect one of the probe leads to the positive side of your AVR’s power supply and connect the other lead to ground (GND). Then turn on your device and note the reading. If it is within acceptable range, then your AVR is functioning properly, but if not, then you may need to further investigate.
Next you will want to check that all connections are secure and that there are no shorts or other issues in the AVR’s wiring. Do this by connecting one lead to the positive side of the AVR power supply, then testing each connection point for continuity. If any connections test as open circuits, investigate further to find out why and fix any problems found.
Finally, you should also check the AVR’s output signals to make sure they are at an acceptable level. To do this, connect your multimeter leads across each signal line going from the AVR and measure its voltage. The values should be within their specified range or else you may need to adjust settings or replace components of your device.
By following these steps, you can easily test an AVR with a multimeter and identify any issues with the device before it fails. [4]
How To Troubleshoot An AVR?
If you’re having trouble with your AVR and it’s not working as expected, there are a few steps you can take to troubleshoot the issue. First, make sure all of your connections are secure and properly connected. Check for any loose or damaged wires and make sure that nothing is too tight or pinched.
Next, check the voltage readings of your circuit with a multimeter. This will help determine if the power supply is providing enough current to operate the AVR correctly. It’s also important to test each pin on the microcontroller itself to ensure that there is no short-circuit present in the device. If either of these tests come back negative, then further investigation may be needed to understand what’s causing the issue.
Finally, if all of the above tests have failed to identify the problem, then it may be time to replace the AVR altogether.
Good luck!
FAQ
How do I know if my AVR is good or bad?
You can test an AVR with a multimeter by measuring the voltage output of the AVR. If the voltage output is within specification, then it is considered to be good. If not, then it may need to be replaced. It’s important to check all connections and components for signs of damage before testing the AVR.
What should I look for when testing an AVR?
When testing an AVR, you should make sure that none of the pins have shorts or are damaged in any way. You should also check if there is proper continuity between each pin and its corresponding connection point on your circuit board. Finally, measure the voltage output—it should be within manufacturer specified specifications.
Are there any safety precautions I should take when testing my AVR?
Yes, there are several safety precautions you should always take when dealing with electricity. Make sure to turn off the power before measuring or handling components, and disconnect all sources of electricity from the circuit board. Also, use an insulated multimeter probe as a precaution against electric shocks. Finally, keep your hands dry and wear rubber gloves whenever possible.
What is an acceptable voltage output for an AVR?
The voltage output for any given AVR will vary depending on its make and model. Generally speaking, a good voltage output should be within 10% of the manufacturer’s specified value. For example, if the manufacturer states that the device has a maximum output of 5 volts, then anything between 4.5 and 5.5 volts is considered acceptable.
Can I use a multimeter to check other components of my circuit board?
Yes, you can use a multimeter to test other components on the circuit board as well. This includes resistors, capacitors, transistors, and diodes. Make sure you know how to properly set up your multimeter for each type of component before connecting it—this will help ensure accurate results and avoid any potential damage to the device or circuitry.
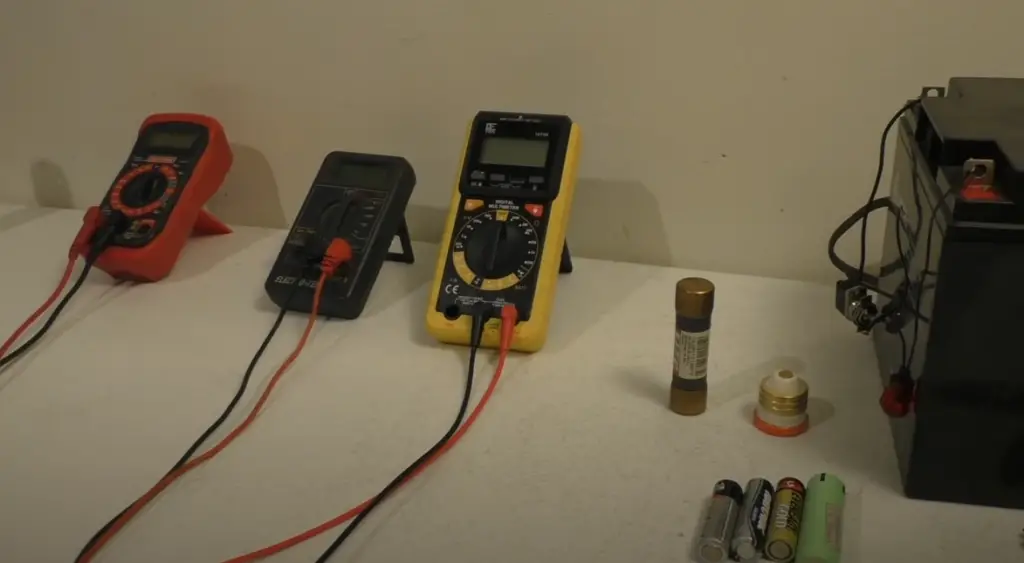
Are there any tools I need for testing an AVR?
The only tool you’ll need for testing an AVR is a multimeter with probes that are rated for at least 10 V DC (volts direct current). You should also have a basic set of tools that can be used for connecting components and wires, such as pliers, wire strippers, and screwdrivers. Additionally, it’s helpful to have a magnifying glass or microscope so you can inspect the board for damage without having to use the multimeter.
Do I need any special knowledge before testing an AVR?
It’s important to have some knowledge of electronics and electrical systems before conducting tests on your AVR. Familiarity with terms like voltage, current, resistance, inductance, and capacitance is essential for understanding what the results mean when testing different components on your circuit board. You may also find it helpful to read through the device’s user manual before beginning any testing. Additionally, it’s a good idea to be familiar with the proper safety precautions when dealing with electricity.
How long will AVR last?
The life span of an AVR is largely dependent on factors such as usage, environment, and the quality of the product. Generally speaking, an AVR should last between 5 to 10 years with proper care and maintenance. However, it may be beneficial to periodically test your AVR with a multimeter in order to ensure that it is still functioning properly before any problems arise. This will not only help you identify any potential issues but also give you peace of mind. With regular testing and maintenance, you can make sure your AVR lasts for many years to come!
What is AVR output voltage?
AVR output voltage refers to the amount of power being supplied from the AVR (automatic voltage regulator) unit. Generally, it is specified as a percentage of rated voltage, such as 110V or 220V for residential homes. AVRs are used in various applications to provide a stable level of output voltage and current across different electrical loads. Testing an AVR with a multimeter can help you determine whether an AVR is functioning properly and supplying the correct voltage needed by your equipment. To test an AVR using a multimeter, set the meter to AC volts and connect one lead of the meter to each terminal on the AVR device. Next, measure the output voltage while slowly increasing the input load on the system. If the output voltage does not increase beyond a certain point, the AVR is malfunctioning and needs to be replaced. Additionally, if the output voltage drops significantly at maximum load, then this indicates an overloaded system.
Can a generator run without AVR?
Yes, generators are capable of running without an AVR (Automatic Voltage Regulator). An AVR is used to maintain a steady output voltage for the generator regardless of varying input load. Without an AVR, the output voltage can fluctuate depending on the speed at which the generator is spinning, as well as other factors. However, running without an AVR may cause damage to equipment due to the potentially unstable power supply. It is highly recommended that you use an AVR for reliable and safe operation of your generator.
Useful Video: How to check AVR with Multimeter
Conclusion
Testing an AVR with a multimeter is a straightforward process that yields reliable results in terms of measuring the basic features of an AVR, such as resistance and voltage. To begin testing, it is important to choose the correct settings on the multimeter for current measurements. Once this is done, make sure all connections are properly made before making any readings. From there, you can use the multimeter to accurately measure voltage, resistance or other characteristics of the AVR under test. With practice, anyone can become comfortable using a multimeter to test an AVR.
This guide should help you understand how to use a multimeter to test an AVR by providing detailed instructions on selecting the right settings and taking accurate readings. Additionally, it should provide an overview of the different types of readings taken and how they can be used to test AVRs. With a basic knowledge of multimeters, anyone can become comfortable using them to test AVRs efficiently and accurately.
References
- https://www.specialtyproducttechnologies.com/superiorelectric/blog/top-5-features-of-automatic-voltage-regulators
- https://woodstockpower.com/blog/what-is-an-automatic-voltage-regulator-avr/
- https://jurnal.umj.ac.id/index.php/JASAT/article/download/5261/3552
- https://geekyengineers.com/how-to-test-an-avr-with-multimeter/
- https://rankedgenerators.com/generator-avr-testing/