Arduino is an open source platform that allows users to create a variety of interesting projects. LED lights are one popular application of the Arduino platform, and it’s relatively easy to get started with basic projects. In this article, we will be discussing all things Arduino LED projects. We will answer some of the most common questions that people have about this topic, and provide some useful tips to help you get started. Whether you are a beginner or an experienced Arduino user, there is something for everyone in this guide!
Arduino in General
It’s intended for anyone making interactive projects. Arduino boards are able to read inputs – light on a sensor, a finger on a button, or a Twitter message – and turn it into an output – activating a motor, turning on an LED, publishing something online.
The Arduino platform has become quite popular with both hobbyists and professionals due to its low cost, wide variety of components that can be connected to it (including LEDs), and the simple programming language which allows users to quickly write programs to interact with their components. The wide variety of shields (electronic circuits you can plug directly onto the Arduino) available makes connecting various components to the Arduino very easy.
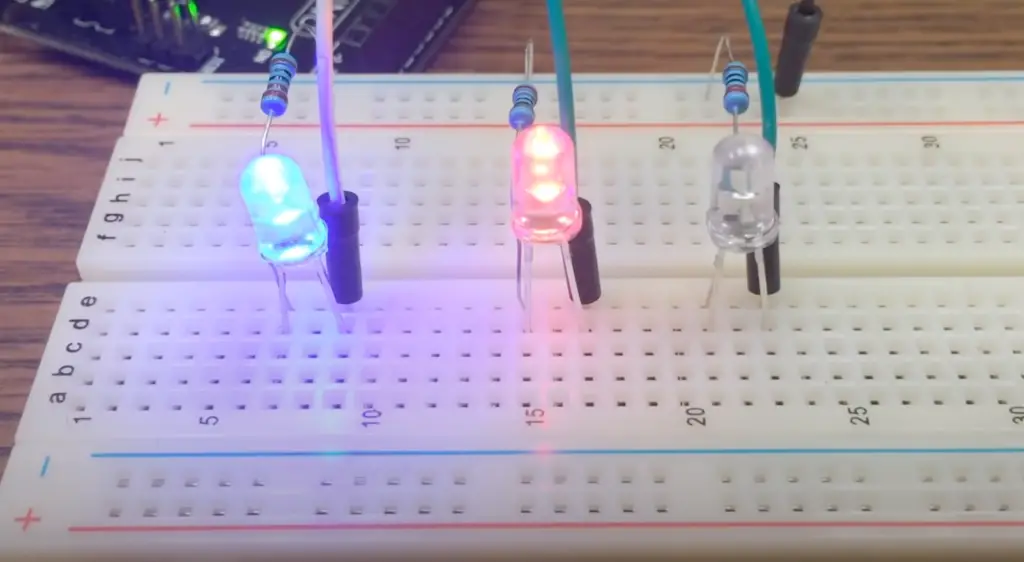
Arduino boards can be used to make almost anything smart, from a simple light switch that turns on and off depending on the time of day to a complex machine that senses its environment and responds accordingly. It’s all up to your creativity and ambition.
To start your project, you need to install a development environment – either the open-source version available through their website or a third-party product such as Atmel Studio or Visual Micro. The development environment allows you to write programs in C/C++ based language that will run on your Arduino board and make it interact with its components.
The components you’ll need for an Arduino project depends on what you’re trying to do. Generally speaking, you’ll need an Arduino board (like the Uno R3), some wiring cables, LEDs, resistors, sensors (like PIR motion detectors) and other electronic components as necessary. You may also need a breadboard to help you make the connections between components.
Once you have all the parts, it’s time to start setting up your project. The first step is to read the manual that came with your Arduino board and familiarize yourself with its features and functions. Look up tutorials online or consult an expert if you’re having trouble getting things set up properly.
The next step is to sketch out what you want your Arduino project to do and plan out how each component will fit together. This can involve drawing diagrams, writing down code and making sure everything is connected correctly in order for it to work as intended.
Finally, once everything is connected and programmed, it’s time to test it out and see if it works the way you intended. Start by testing small parts, then gradually add on more components until all the pieces are in place. [1], [2]
What to Consider Before Starting an Arduino Project
While Arduino projects can be a lot of fun, there are some things you should consider before getting started.
Consider your experience
By far the most important factor when building an Arduino project is the level of experience you have with electronics and programming.
If this is your first time working with Arduino or electronics in general, it’s best to start out with something small and simple that won’t require too much technical knowledge.
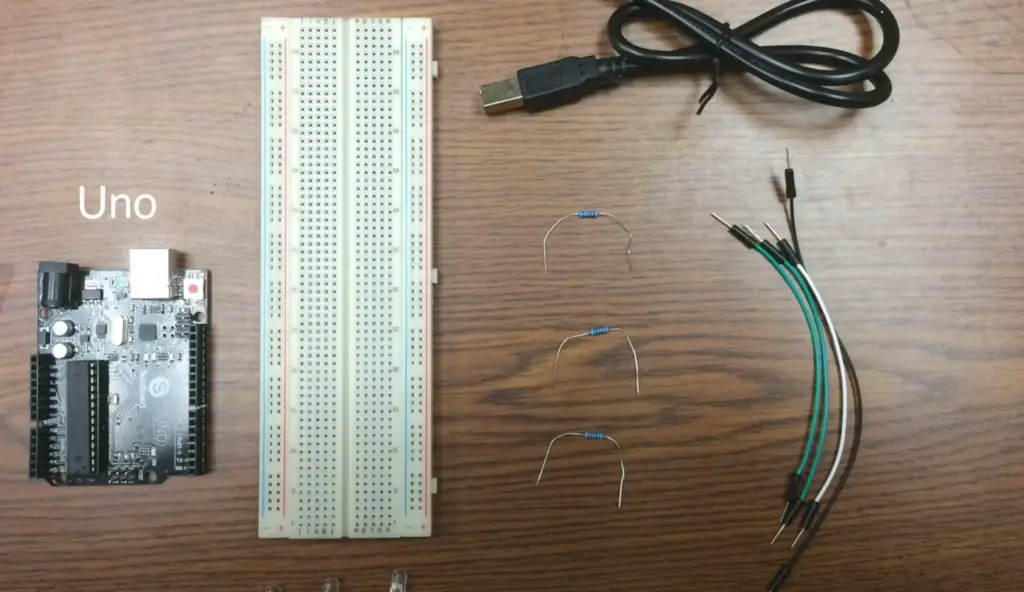
There are plenty of tutorials online that will walk you through the basics, but if you’re feeling overwhelmed it might be better to consult a professional or take a course on the subject before embarking on a big project.
Consider your budget
Arduino projects can range from very cheap to quite expensive depending on how many components you need and what quality they are. Before starting a project, make sure you have enough money to purchase all the necessary parts and equipment. It may be tempting to cut corners by buying cheaper components, but in the long run this could end up costing you more as they are less reliable and may not last as long as more expensive ones.
Choose a board to work with
When beginning a project involving Arduino, you must decide which board is best for your needs.
There are many different types of Arduino boards, ranging from the very basic (the Uno) to more advanced types such as the Mega and Due. Choosing the right board for your project depends on what components you plan to connect and how much memory or processing power you need for your program.
The Nano board and the Uno board are both popular choices as they offer a wide range of features, such as built-in USB connection, analog pin inputs, digital input/output ports and more. Some boards may have specific requirements that need to be met before the project can begin. For example, some boards require an external power supply while other models might need special shields or add-ons.
Research
Once you’ve chosen a board to work with, it’s important to do some research on the components you will be using for your project. Understanding how each component works together is essential for successful Arduino projects. It’s also important to understand the specifications of the components you are using, such as voltage and current requirements, pinouts, etc.
Gather all the parts
Once you’ve done your research and have a clear understanding of what components are necessary, it’s time to gather all the parts. Depending on the complexity of the project, you may need multiple Arduino boards, resistors, capacitors, transistors, LEDs and other electrical components. Be sure to double check that all the parts you’ve gathered are compatible with your board.
Don’t forget about the memory limit
When working with Arduino LED projects, it is essential to consider the memory limit of your board. There are many factors that determine the amount of available memory on an Arduino board such as the type and number of components you’ll be using in your project. Without proper management, attempting to run complex functions or store more than a few variables can quickly eat up all available RAM which can cause unexpected behavior and system crashes.
To avoid this issue, you should always plan ahead before starting a project by making sure your code does not exceed the memory limit for your chosen board. If necessary, you can use external storage such as EEPROMs, SD cards or even USB flash drives to store additional information if needed.
Patience
When working on Arduino projects, it’s important to remember that Rome wasn’t built in a day. It can take time and patience to get things working properly so be prepared for some trial and error along the way. Many problems can be solved through trial and error or by reviewing your code with a critical eye. If all else fails, there are plenty of online communities dedicated to Arduino where you can ask questions and share insights with experienced users. With enough effort, persistence and patience, you’ll eventually reach your goal! [2]
Best Arduino LED Projects
Now that you know a bit more about Arduino, let’s take a look at some of the best LED projects you can make with it. LEDs are particularly useful for creating interactive lighting effects and colorful displays, as well as providing visual feedback when interacting with other electronic components.
Arduino Blinking LED Project
By far the most popular project for Arduino beginners is the LED blinking circuit.
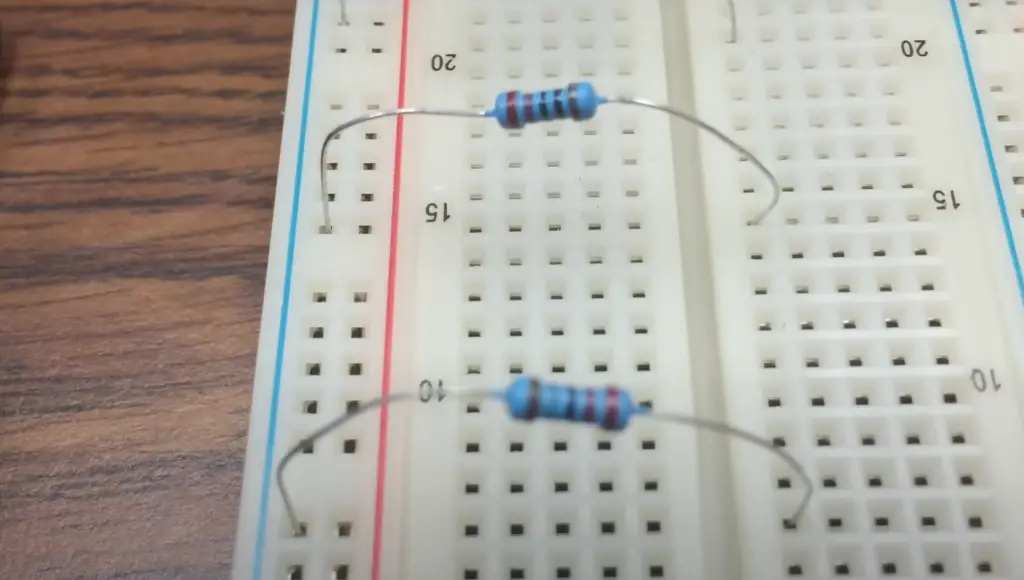
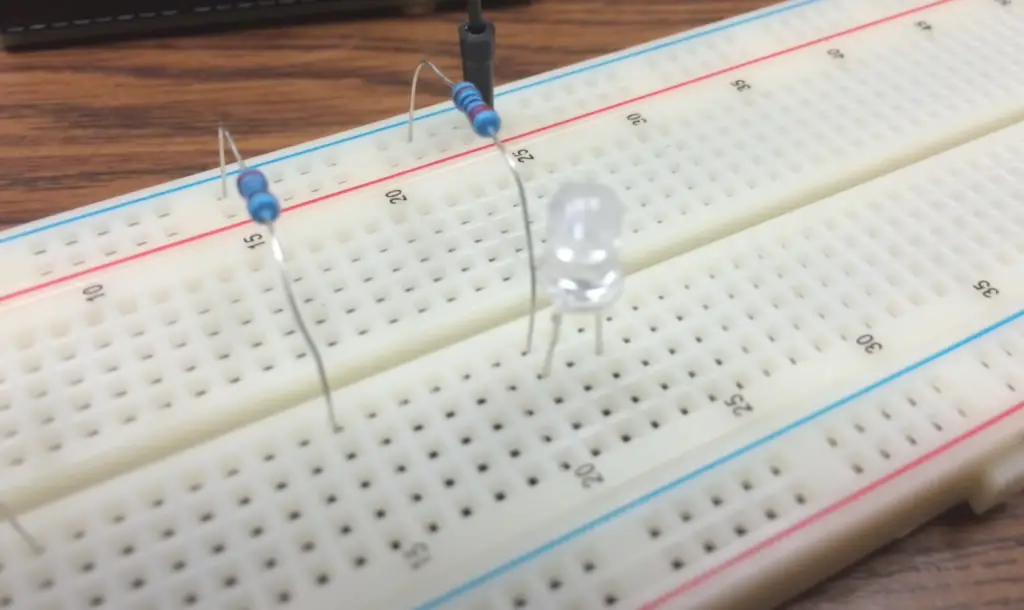
To begin, you’ll need a few components: an Arduino UNO microcontroller board, breadboard, jumper wires, 330-ohm resistor, red LED and connecting wire.
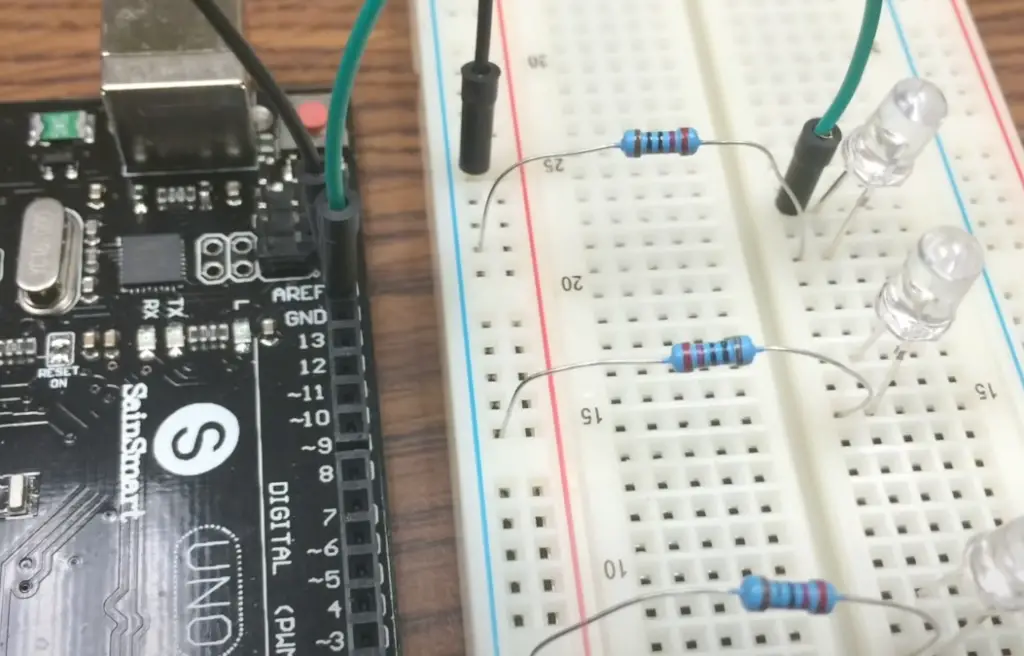
First, plug in the jumper wires into the breadboard so they are in two separate rows. Then plug an anode of the LED to the pin 11 of Arduino through a resistor. Connect the cathode of the LED to the GND pin of the Arduino. Now you’ve built a basic circuit, with power flowing through the resistor and into the LED.
It’s important to use a resistor with the LED to limit the current flowing through it and prevent damage. Without a resistor, too much current would run through the LED and burn it out.
Now that you have your circuit setup, let’s write some code. You can use any text editor to create a new sketch or program for Arduino. Start by including a few libraries in the first line of code:
void setup() {
// initialize digital pin 11 as an output.
pinMode(11, OUTPUT);
}
// the loop function runs over and over again forever
void loop() {
digitalWrite(11, HIGH); // turn the LED on (HIGH is the voltage level)
delay(1000); // wait for a second
digitalWrite(11, LOW); // turn the LED off by making the voltage LOW
delay(1000); // wait for a second
}
Finally, upload your code to Arduino. When you press the reset button, the LED should start blinking. You’ve successfully built your own Arduino blinking LED project! Arduino projects like this are often used to learn about programming basics and creating basic circuits. With a little more practice and knowledge, you can take on even more challenging Arduino projects that involve more inputs and outputs.
Arduino 7 Segment Display Clock Project
A 7 segment display is a great way to add an easy-to-read clock to your Arduino project. In this tutorial, we’ll show you how to build a clock with seven segments and an Arduino Uno board.
First off, gather all the materials needed for the project. These include: an Arduino Uno board, a 7 segment display, breadboard, jumper wires, 74HC595 IC and DS3231 RTC Module.
Now, let’s discuss what’s so special about a 7 segment display. A 7 segment display is a type of LED that can display numbers from 0 to 9, as well as other characters like the letters “A” through “F”. Each of its segments can be controlled independently, allowing you to create any number of configurations.
IC 74HC595 is important for this project because it will help to reduce the number of digital pins used on your Arduino Uno board. The 74HC595 can act as a shift register that stores 8 bits of data and outputs it one bit at a time. This is useful in our clock project since we only have 6 digital pins available on an Arduino Uno board.
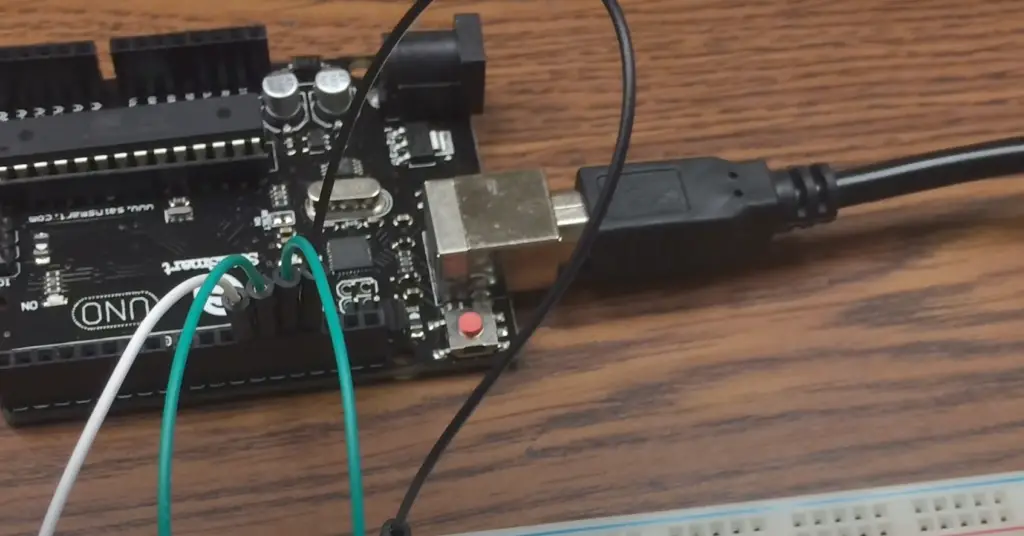
The DS3231 RTC module provides the time information for our clock project. It works by using a quartz crystal to measure the passing of time, and then it communicates this information through I2C communication protocol over SDA/SCL lines.
Once you’ve gathered all the components and understand their role in the project, it’s time to start building!
First begin by connecting the DS3231 to Arduino Uno. Connect the SDA/SCL lines to pin A4, VCC to 5V, GND to GND. Next, connect the 74HC595 chip. Connect the MR/SR pins to ground and Vcc each to 5V respectively. Connect OE (output enable) to ground, SH_CP (SRCLK) to digital pin 6, 12-ST_CP (RCLK) to digital pin 6 and DS (data in) to digital pin 4 on your Arduino Uno board.
Now establish the connection between a 7 segment display and IC 74HC595. Connect the pins of a 7 segment display (from A to G) to the pins on the IC 74HC595 (from Q0 to Q6 respectively).
Next, connect the D1-D4 pins of the display to digital pins 10, 11, 12 and 9 of the Arduino board respectively.
Once you have connected all the components properly, you can now begin writing your code for the project!
In this program, we will use the library functions provided by RTClib to get accurate time information from the DS3231 RTC module and then send it out through IC 74HC595 chip to display on the 7 segment display.
To install the necessary libraries use the following code:
#include
#include
Next, you will need to define the pins in order to control the operation of IC 74HC595.
#define latchPin 5
#define clockPin 6
#define dataPin 4
#define dot 2
Now write the code that will store the converted time values into a byte array and then send it to the 74HC595 IC. It’s also worth declaring the object for the DS3231 RTC module to make the code more readable.
int h; //Variable for hour
int m; //Variable for minute
int thousands;
int hundreds;
int tens;
int unit;
bool h24;
bool PM;
DS3231 RTC;
Start the I2C communication using the following code:
Wire.begin();
Now, define pin modes in order to make GPIO pins work as output or input depending on their use.
pinMode(9,OUTPUT);
pinMode(10,OUTPUT);
pinMode(11,OUTPUT);
pinMode(12,OUTPUT);
pinMode(latchPin, OUTPUT);
pinMode(clockPin, OUTPUT);
pinMode(dataPin, OUTPUT);
pinMode(dot,OUTPUT);
Set the format of the clock to 24-hour mode.
void loop ()
{
digitalWrite(dot,HIGH);
int h= RTC.getHour(h24, PM); //To get the Hour
int m = RTC.getMinute(); //TO get the minute
int number = h*100+m;
After writing the piece of code responsible for obtaining the digits, write a code that will separate the digits into its hundreds, tens and units.
int thousands = number/1000%10;
int hundreds = number/100%10;
int tens = number/10%10;
int unit = number%10;
Define a switch case and write the code that will take each of these values and output them accordingly.
switch (t)
{
case 0:
unit = 63;
break;
case 1:
unit = 06;
break;
case 2:
unit =91;
break;
case 3:
unit=79;
break;
case 4:
unit=102;
break;
case 5:
unit = 109;
break;
case 6:
unit =125;
case 7:
unit = 07;
break;
case 8:
unit = 127;
break;
case 9:
unit =103;
break;
}
Next, send the digits in binary form to display on the 7 segment display.
digitalWrite(9, LOW);
digitalWrite(latchPin, LOW);
shiftOut(dataPin, clockPin, MSBFIRST,thousands);
digitalWrite(latchPin, HIGH);
digitalWrite(9, HIGH);
delay(5);
This code will repeat itself to display accurate time information on the 7 segment display. Once you have completed writing your code and connected all the components properly, you can run the program and watch your project come alive! [3], [4]
FAQ
Can you control lights with an Arduino?
Yes, you can control lights with an Arduino. To do this, you will need to connect a LED and resistor to the Arduino board. The LED is connected in series with the resistor so that the current passing through the circuit is properly limited to reduce damage to the LED. The code for controlling the light output is written in a programming language such as C++ or Python and uploaded to the Arduino board using an IDE like Arduino Studio. Once programmed, the Arduino board controls when the LED turns on and off by manipulating hardware registers and digital pins. With some extra components it’s also possible to use PWM (pulse width modulation) signals to dim lights or create special effects like fading lights in and out.
In addition, external sensors and components can be used to further control the brightness or color of lights. For example, a light sensor connected to the Arduino board can be used to detect ambient light and adjust the brightness of an LED accordingly. Similarly, an RGB LED can be controlled using 3 separate digital pins on the Arduino board for each color channel. By varying the amount of current flowing through each channel it’s possible to achieve different colors from the same LED.
Can I use an LED without an Arduino resistor?
It’s not recommended to use an LED without a resistor on your Arduino. LEDs require current limiting, which is achieved by using a resistor in series with the LED. Without one, you run the risk of burning out or damaging your LED. You can also damage other components if the current draw gets too high.
This will allow you to protect your component from over-current and maintain peak performance from your project. Depending on the type of LED being used, different resistors may be required for optimal results.
Can Arduino power an LED strip?
Yes, Arduino can power an LED strip. With the appropriate components, it is possible to hook up and program various types of LEDs using Arduino. Depending on the type of LED and the project being planned, there are a few different options for powering them with Arduino.
For example, you can use a transistor circuit to control higher current LEDs such as WS2812B addressable RGB LEDs or 12V strips that require more power than what an Arduino can provide directly from its pins. Alternatively, if your project only requires low-power 5v LEDs, then you can connect them directly to digital output pins on your Arduino board.
You can also connect a power supply to your Arduino board in order to power up the LEDs. The choice of power supply will depend on the type of LED being used, as well as the overall current draw for the project.
Does Arduino have an in-built LED?
Yes, Arduino has an in-built LED located at pin 13 or pin 22 on the board, depending on model. This is a user-controlled LED and can be used for debugging purposes or other projects. The in-built LED can be accessed by connecting it to a digital pin of any Arduino board, such as the Uno, Nano, or Mega.
The advantage of using this LED is that it already comes with the board, so you don’t need to purchase extra components specifically for lighting up your project. Additionally, unlike other LEDs that require resistors to reduce current flow and protect them from burning out due to high voltage levels, no additional protection is needed as long as you are using the 5V output from the Arduino.
***
Useful Video: Arduino Tutorial: LED Sequential Control- Beginner Project
Conclusion
Arduino is a versatile platform that can be used to create a variety of projects with LEDs. With the right components, knowledge, and creativity, you can make amazing projects with Arduino and LEDs.
The possibilities are almost endless! In this article we have covered two interesting projects. The first is a simple LED blinker, which is a great place to start for beginners. The second project is a bit more advanced and involves controlling a 7 segment LED display.
When building an LED project with Arduino, think about how the various components interact and consider ways to optimize the circuit design before jumping in feet first. This will help ensure that your project is successful and efficient! Furthermore, remember to consult safety guidelines when working with electronics.
With careful planning and diligence, you’ll be able to create amazing LED projects using Arduino in no time! We hope this guide provided useful resources and tips so that you can get the most out of your project.
Happy creating!
References
- https://learn.sparkfun.com/tutorials/what-is-an-arduino/all
- https://mycuriositybot.wordpress.com/2019/02/22/points-to-keep-in-mind-before-starting-with-an-arduino-project/
- https://arduino-tutorials.net/tutorial/blinking-led-on-breadboard-with-arduino
- https://circuitdigest.com/microcontroller-projects/arduino-7-segment-display-clock







Leave a Reply