
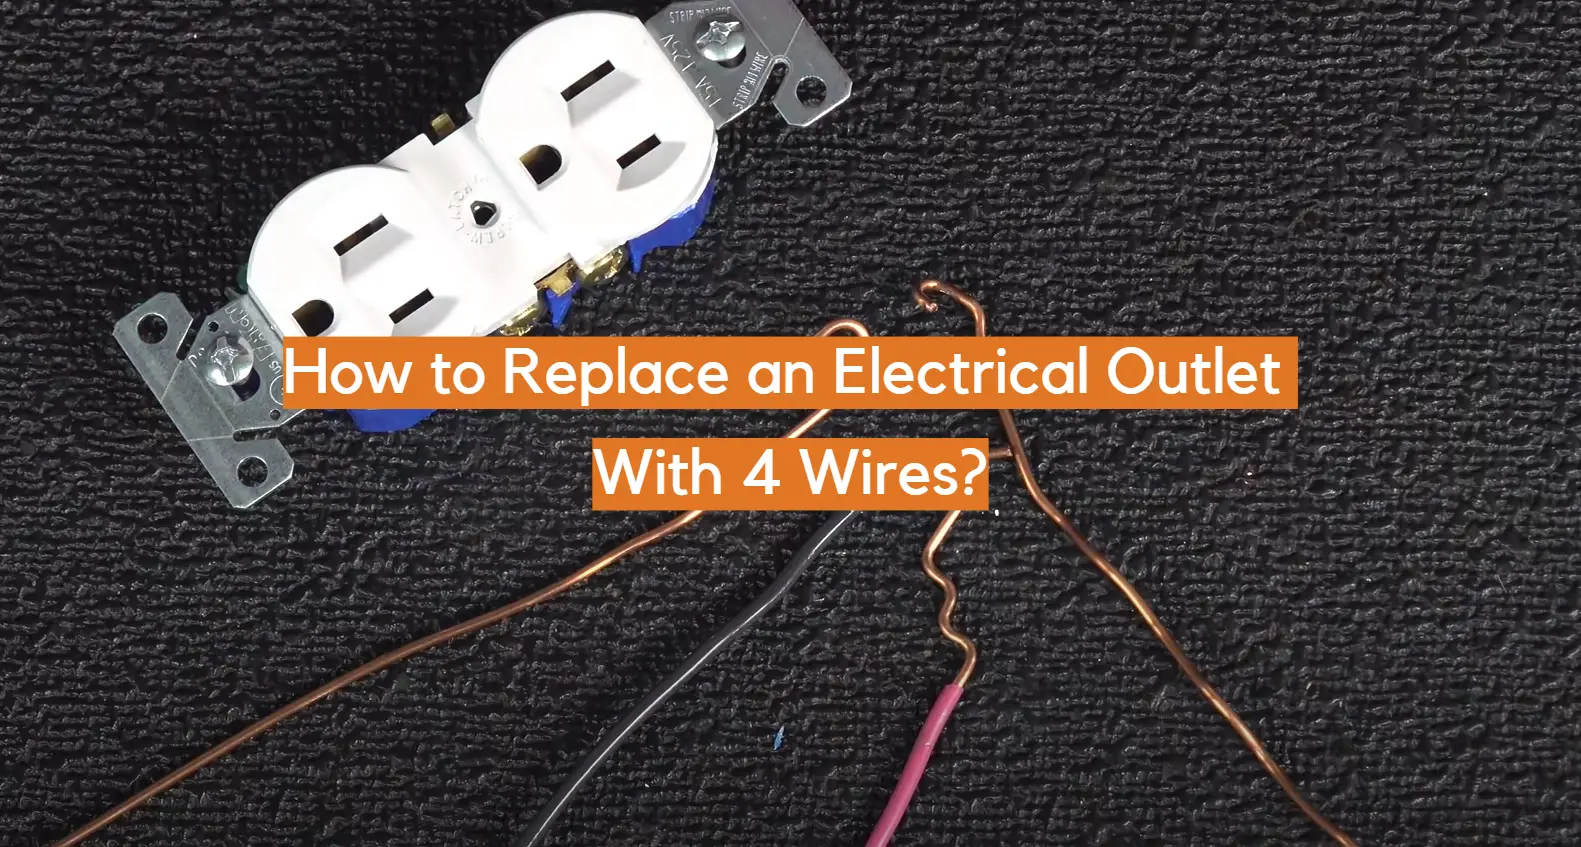
Replacing an electrical outlet can seem intimidating, but it doesn’t have to be! With a few simple tools and safety precautions, you can successfully replace an electrical outlet with four wires. Before getting started, make sure you know the basics of how electricity works and understand the type of work involved in replacing your outlet. Once you’ve reviewed the steps below, you’ll be an expert on replacing your electrical outlet with four wires.
Identifying the Circuit Rating
The first step in replacing your electrical outlet with four wires is to identify the circuit rating. The circuit rating will tell you the amperage of the wiring required for your project. You can find this information on the existing outlet or in your home’s wiring diagrams.
Tools & Materials Needed
Before replacing an electrical outlet with 4 wires, make sure you have the right items. Here’s a list of tools and materials that you may need:
- Electrical outlet box
- GFCI (Ground Fault Circuit Interrupter) or AFCI (Arc Fault Circuit Interrupter)
- Wire stripper/cutter
- Flathead and Phillips screwdrivers
- Electrical tape or wire nuts
- Voltage tester
- Non Contact voltage detector
- Electrical box cover plate
- 4 wires (black, white, red, and bare copper/green). [3]
Instructions
Turn off the Power
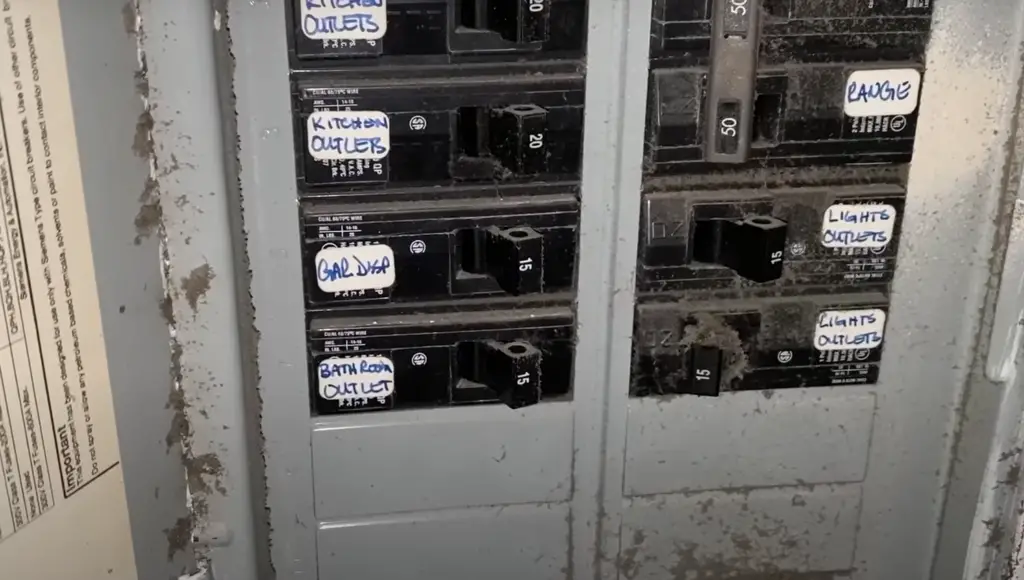
1. Start by turning off the power to the circuit you’re going to work on at your home’s electrical panel. You should also remove any light bulbs or other items connected to this circuit so they don’t become a hazard during the project.
2. Locate the outlet that you are replacing—you will need to find out which breaker controls it before you can proceed. [1]
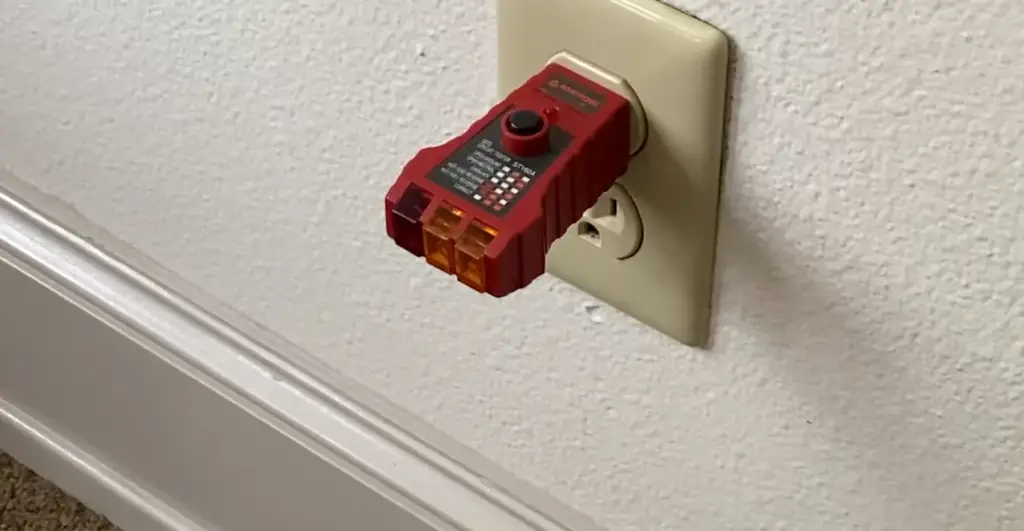
Test for Power
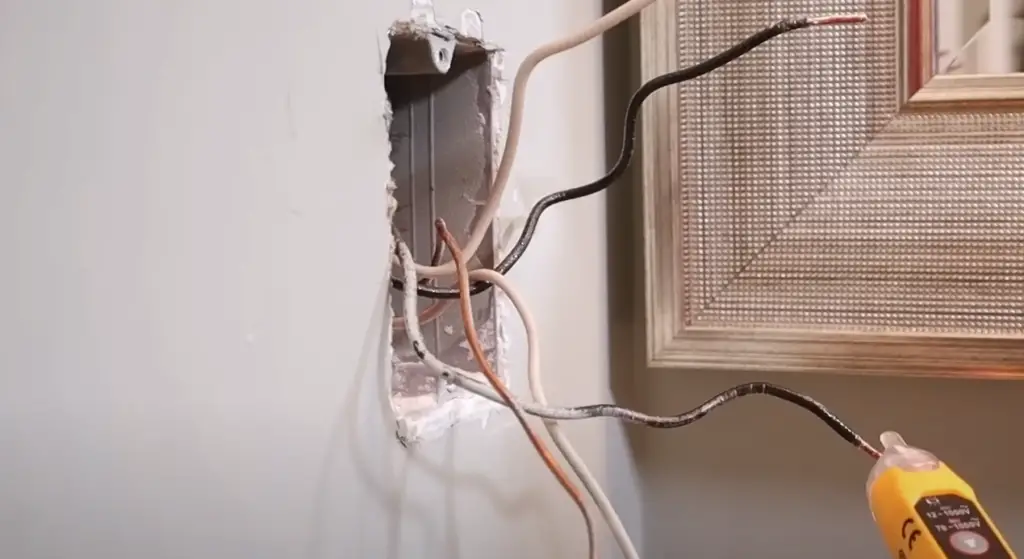
3. To be sure the power is off, test it with an electrical tester or a ground fault circuit interrupter (GFCI).
4. Once you’re certain that the power is off, it’s time to begin disassembling the old outlet and prepare for installation of the new one. [1]
Open the Outlet
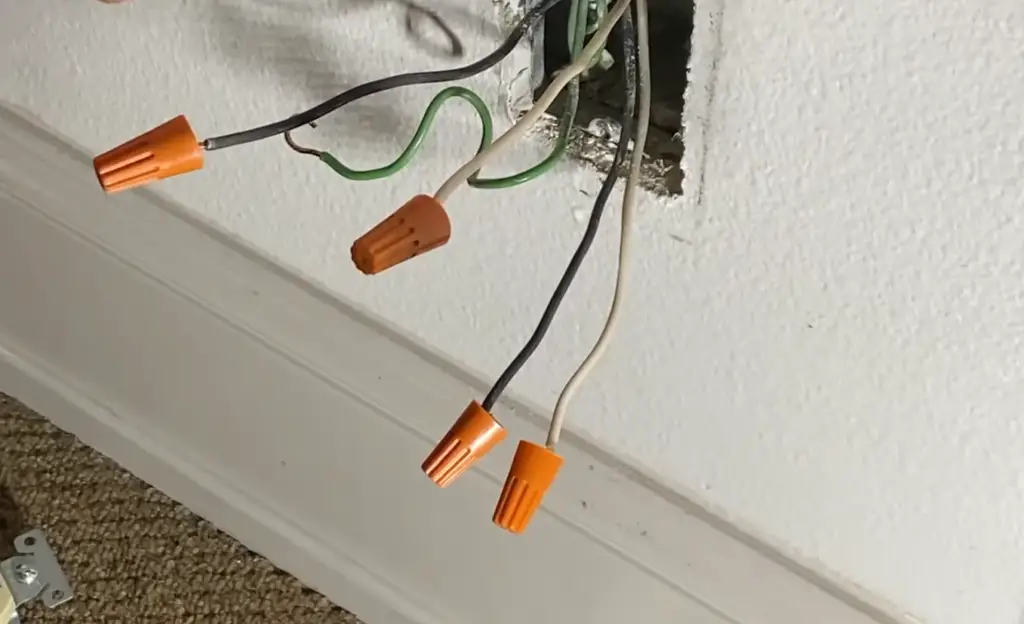
5. Unscrew the faceplate and remove it to expose the wires inside. You should be able to see four wires: two black, one white, and one green (the ground wire).
6. Detach each of the four wires from their respective screws on the old outlet.
7. Carefully inspect all of the wiring for signs of wear or damage. If you find any, replace the affected wire before moving on to the next step. [1]
Examine the Wiring
8. Before you install the new outlet, take a close look at the existing wiring configuration. Make sure that the hot (black) wires are connected to the brass screws and the neutral (white) wire is connected to the silver screw. The green ground wire should be attached to the green ground screw on the new outlet.
9. If all of the wires are connected correctly, you can start to install the new outlet. [1]
Confirm the Receptacle Amperage
10. Before you begin, make sure the new outlet is rated for the same amperage as the old one. If it isn’t, you may need to adjust your wiring or buy a different receptacle.
11. Follow the manufacturer’s instructions for installing the new outlet and connecting the wires to its screws. Make sure that all of them are tightly secured and that the wiring is not touching any live parts of the outlet. [1]
Remove the Receptacle
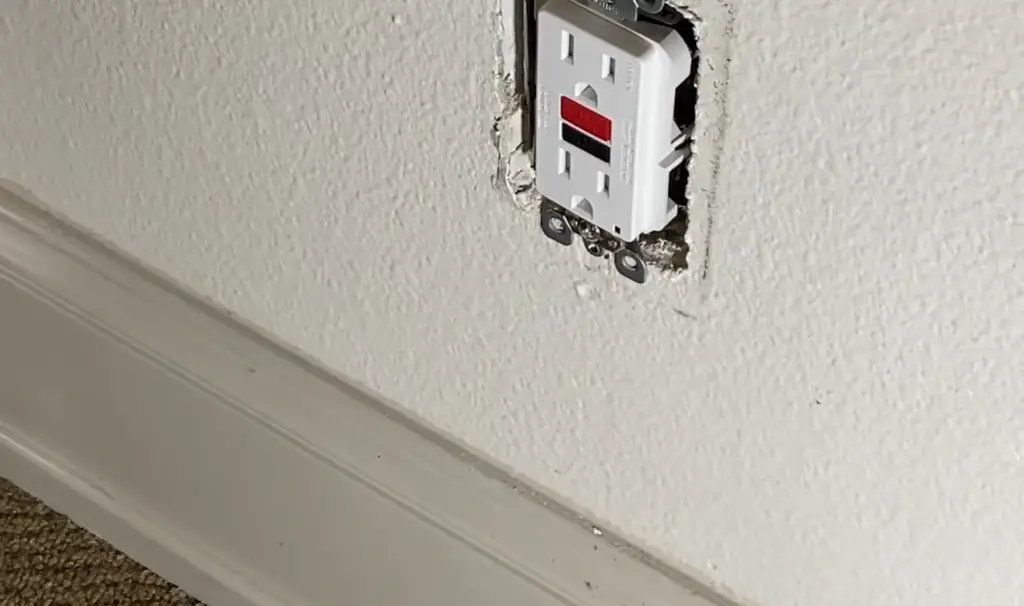
12. Once you’ve confirmed that the outlet is secured in place, mount the faceplate and secure it with the screws provided.
13. Turn on the power to the circuit at your home’s electrical panel and test your work by plugging something into the new outlet. If everything works properly, you can be confident that you’ve successfully replaced the outlet. [1]
Connect the New Receptacle
14. If you encounter any issues when testing the new outlet, double-check your wiring and make sure that all of the connections are secure.
15. And with that, you’ve successfully replaced an electrical outlet with four wires! Now, you can go back to using electricity in your home safely and securely. Congratulations! [1]
Mount the Receptacle and Turn on the Power
16. Finally, if you have any questions or concerns about the process of replacing an outlet, it’s always best to consult a qualified electrician for advice. They can help ensure that everything is installed correctly and up to code.
17. That’s all there is to it—you’re now ready to enjoy your newly installed outlet! [1]
When to Replace an Outlet Receptacle?
Knowing when it’s time to replace an electrical outlet receptacle is important. Here are some signs that you should be aware of:
- If there is any visible damage or wear and tear on the outlet, such as cracks in the plastic casing or a broken prong, it’s time to replace it.
- If it’s been more than 10 years since your outlet was last replaced, it’s a good idea to replace it. Outlets wear down over time from regular use and may no longer be safe.
- If you have an old two-prong outlet (without the third hole for ground) that hasn’t been updated in recent years, you should replace it with one that has a ground.
It is important to remember that all electrical work should be performed by a qualified and experienced electrician and not attempted by yourself if you are not experienced. [3]
Safety Considerations
When replacing an electrical outlet with four wires, safety must be the top priority. It is essential to make sure that all connections are secure and properly insulated.
Outlet Variations
Split Receptacles
If you have a split receptacle, then both halves are powered by the same circuit. You will need to replace each half of the receptacle with separate outlets. The two hot wires (black) and one neutral (white) will connect to the bottom outlet. The red wire and other white wire should be twisted together and connected to the top outlet. If your receptacle has a ground wire, then connect it to the green screw at the bottom of the outlet. [2]
Switch Controlled Outlet
If you have an outlet that is controlled by a switch, then you will need to replace it with an outlet that is designed for this purpose. This type of outlet has black and white wires connected to each side. You will also need to connect the other wires that are connected to the switch. The red wire should be attached to the brass screw on one side of the outlet and the black wire should be attached to the silver screw on the other side. Make sure you attach the ground wire (if present) to both outlets, attaching it to the green screws. [2]
GFCI Receptacles
GFCI receptacles are specialized outlets designed to protect against electrical shock. Replacing a GFCI is slightly different than other outlets, as you will need to make sure the wires are properly connected and the “test” and “reset” buttons are properly functioning. To replace your GFCI outlet, connect the black wire to the brass screw on one side and the white wire to the silver screw on the other side. Attach the ground wire (if present) to both outlets, attaching it to the green screws. Finally, press the test button to make sure that it is working properly. [2]
Troubleshooting
If you’re having trouble installing your new 4-wire electrical outlet, there are a few troubleshooting tips that may help.
- Make sure the connections are secure. If any of the connections feel loose or aren’t securely fastened, disconnect everything and start over.
- Check for short circuits by testing each connection with an electrical tester.
- If the outlet is not properly grounded, use a grounding wire to complete the circuit.
- In some cases, it may be necessary to replace the old wiring with new 4-wire wiring. Be sure to check your local building codes before beginning this process. [3]
FAQ
What is a 4 outlet called?
A 4 outlet is a type of electrical outlet that is capable of handling four wires. These outlets are often used to power devices such as electric stoves, dryers, and air conditioners. The four outlets can be wired in different configurations depending on the device being powered.
How do you wire a 4 way GFCI outlet?
Wiring a 4-way GFCI outlet requires some knowledge of electrical wiring principles. The first step is to turn off the power from the main breaker box and test that no power is present at the outlet to be replaced. Once it has been established that there is no power, then you can disconnect the existing outlet and replace it with a new GFCI outlet. To wire the GFCI outlet, you’ll need to connect the incoming hot and neutral wires to the two brass terminals of the GFCI, then connect the outgoing hot and neutral wires to the silver terminals.
How many wires can go in one plug?
Most plug outlets are limited to two wires, but some types of plugs can accommodate four wires. It is important to check the type of plug you have before adding additional wires. If your outlet has three or four slots, it probably has a capacity for more than two wires. However, if the outlet has only two slots and no ground wire, then it can only accommodate two wires. Some outlets are designed so that you can add a ground wire if needed.
Are 2 wire outlets safe?
Two wire outlets are generally safe when installed and wired properly. However, they cannot provide the same level of protection as three-wire outlets because they do not include a ground wire. In addition, two wire outlets may not be able to support devices requiring greater amounts of power. It is always best practice to use three-wire outlets when possible for added safety and convenience.
Why do some plugs only have 2 wires?
Two wire outlets are typically found in older homes that were built prior to the National Electrical Code requirement for three-wire outlets. Some newer homes may also have two-wire plugs because the builder chose not to adhere to the code when constructing the home. Regardless, two wire outlets should be replaced with three-wire outlets whenever possible for increased safety and convenience.
Can I use a plug without holes?
No, you cannot use a plug without holes. All electrical plugs have at least two holes that the wires must pass through in order to make contact with the outlet. If there are no holes in the plug, it is not suitable for use as an electrical connection. If you are using wiring without holes, you will need to use a different type of connector or splice to make the connection.
Can I remove the ground from a plug?
No, you should never remove the ground from a plug. The ground provides an important safety mechanism in case of a power surge or fault that could cause electric shock. Removing the ground can create a hazardous situation and may void any warranties associated with the device being powered by the outlet.
What happens if you wire a plug wrong?
If you wire a plug wrong, it can cause the device or appliance being powered to malfunction. In some cases, wiring a plug incorrectly can even be dangerous, as there is a risk of electrical shock or fire. It is important to always double-check your work and make sure that all wires are connected securely before turning on the power. Additionally, it may be helpful to consult a qualified electrician if you are unsure of how to properly wire an outlet.
Can wiring an outlet wrong cause a fire?
Yes, wiring an outlet incorrectly has the potential to cause a fire if not done properly. Electrical fires can be caused by incorrect wiring, loose connections, damaged insulation, or faulty equipment. To ensure that your outlets are wired correctly and safely, it is important to adhere to local codes and consult a qualified electrician when in doubt.
How do you know if an outlet is wired wrong?
If you suspect that an outlet may have been wired incorrectly, there are a few signs to look for. First, inspect the outlet for any frayed or exposed wires, which could be a sign of improper wiring. Next, check for loose connections by gently tugging on each wire to make sure it is secure. If the outlet feels warm to the touch, this may indicate that it is overloaded and not wired correctly.
Useful Video: How to Install GFCI Outlet (4 Wires)
Conclusion
Replacing an electrical outlet with four wires is not difficult if you have a clear understanding of the wiring process. Remember to always switch off power before attempting any kind of repair or replacement on electrical outlets. It’s also important to double-check your connections and make sure they are secure and tight. Finally, be sure to test your new outlet before replacing the wall plate so you can be sure it is working as expected. With the right tools and a little patience, you can successfully replace an electrical outlet with four wires in no time!
We hope these tips on How to Replace an Electrical Outlet With 4 Wires have been useful. If you have any further questions or need additional help, please consult a qualified electrician for assistance. Good luck!
References
- https://azinspect.com/replace-an-electrical-outlet-video/
- https://www.thespruce.com/replace-an-old-electrical-outlet-1821526
- https://wiringsolver.com/how-to-install-a-gfci-outlet-with-4-wires/