Arduino is a microcontroller board that allows you to create interactive objects, such as robots and musical instruments. It can be used for a variety of applications, from prototyping to manufacturing products. In this article, we will provide a comprehensive guide on Arduino for beginners. We will answer some common questions about Arduino projects for beginners, and provide useful tips to get you started. Let’s get started!
Microcontroller Boards in General
They typically feature a variety of I/O interfaces, sensors and components to enable embedded programming and application development. The microcontroller board often includes an integrated circuit that contains all the necessary hardware for running programs, such as memory, processor, clock oscillator, analog-to-digital converters, and digital-to-analog converters.
Different microcontroller boards are designed for different applications. For example, some boards may be used in robotics projects or industrial automation systems while others may be used in home automation or consumer electronics. Additionally, the board can vary in terms of its size and complexity, ranging from single chips to full-sized boards with multiple features and components.
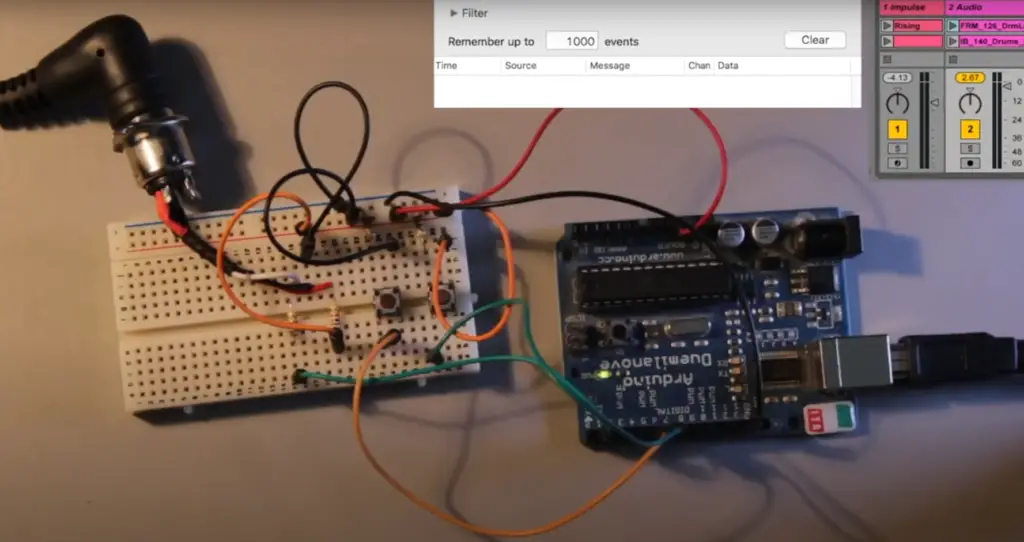
The microcontroller board can be programmed for a variety of tasks, including controlling motors, monitoring sensors, running LED displays, powering devices like robots or drones, processing data from connected peripherals such as keyboards and cameras, sending data from one device to another via Wi-Fi or Bluetooth connections, and more. As technology advances and new applications are developed, the possibilities are practically endless. [1]
Arduino in General
It can be used to build a variety of projects, from simple LED blinkers to more complex robotic systems. It features microcontrollers, a range of input/output pins, and other components.
In the Arduino system, there are two main parts: the hardware and the software. The hardware consists of physical components such as the board itself, wires, resistors, LEDs, etc., while the software is made up of programs written in C or C++ which can control how these components interact with each other. An Arduino board runs on an ATmega328P processor with 32kB of Flash Memory and 2kB of RAM. This makes it an excellent choice for low-memory projects.
The Arduino IDE (Integrated Development Environment) makes it easy for anyone to write code for their Arduino projects. The IDE provides a text editor, where the user can type their code and then upload it to their board. It also has a library of useful functions that can be used in programs and even tutorials for getting started with the basics.
The most popular projects that use Arduino are usually those involving robotics or any other automated system. With its versatility, the possibilities are almost endless when it comes to creating something unique and interactive. If you’re looking to get started with Arduino projects, there are plenty of beginner tutorials available online that will teach you how to make simple programs such as blinking an LED or making a basic motor move. Once you have mastered these basics, more complex tasks can be attempted depending on your creativity and skill level. [2]
Why is Arduino Useful?
Arduino is an incredibly useful platform due to its flexibility and accessibility. It can be used in a variety of projects, from basic electronics to more complex robotic systems. It’s also relatively easy to learn how to program for Arduino, making it a great introduction into the world of programming and robotics.
One of the main advantages of using Arduino is its ability to work with various sensors and components. This makes it possible to build interactive systems that respond to their environment, such as heat or light sensors or motion detectors.
The low cost of Arduino components also makes them accessible for everyone, even those on a tight budget. Additionally, the availability of libraries containing functions for working with different pieces of hardware makes it easier for beginners to get started with a project.
Lastly, the open-source nature of Arduino allows for powerful software and hardware customization that can suit any need. Whether you want to build something simple or complex, Arduino has the potential to make it happen!
With all these advantages, it’s no wonder why Arduino is becoming so popular for projects such as robotics, home automation systems, drones and much more. [2]
Getting Started with Arduino Projects
Getting started with your first Arduino project can seem like an intimidating task. However, by following some simple steps and understanding the basics, you’ll be able to make headway on your project quickly. Here are some tips for getting started with your first Arduino project:
Consider your experience
When starting an Arduino project, the most important thing to consider is your own experience level. While Arduino projects for beginners may be relatively simple, more complex tasks will require a much higher level of knowledge and skill. Even if you have some experience with microcontrollers or coding, it’s important to evaluate your current technical proficiency before getting started.
If you are just beginning with Arduino projects, start with something that seems manageable and achievable like an LED blinking circuit or basic temperature sensor. Work up from there as your skillset grows and improves – take on bigger challenges such as creating larger-scale pieces of hardware or developing complex software applications. With each new accomplishment in the world of Arduino projects, you’ll gain invaluable knowledge and experience that can be applied to the next project.
Choose Your Board
The first step to getting started with Arduino projects is to choose the right board for your project. The two most popular boards are the Uno and the Nano. Both of these boards provide a variety of features that make them ideal for projects, but they also have their own unique benefits and drawbacks.
For instance, the Uno is a better choice if you’re looking for more inputs/outputs or want to use shields or other expandable peripherals. On the other hand, the Nano is smaller and easier to use in confined spaces. It also has fewer pins but allows you to power it without an external source. So depending on your project’s requirements, consider which board provides the best solution before making a purchase.
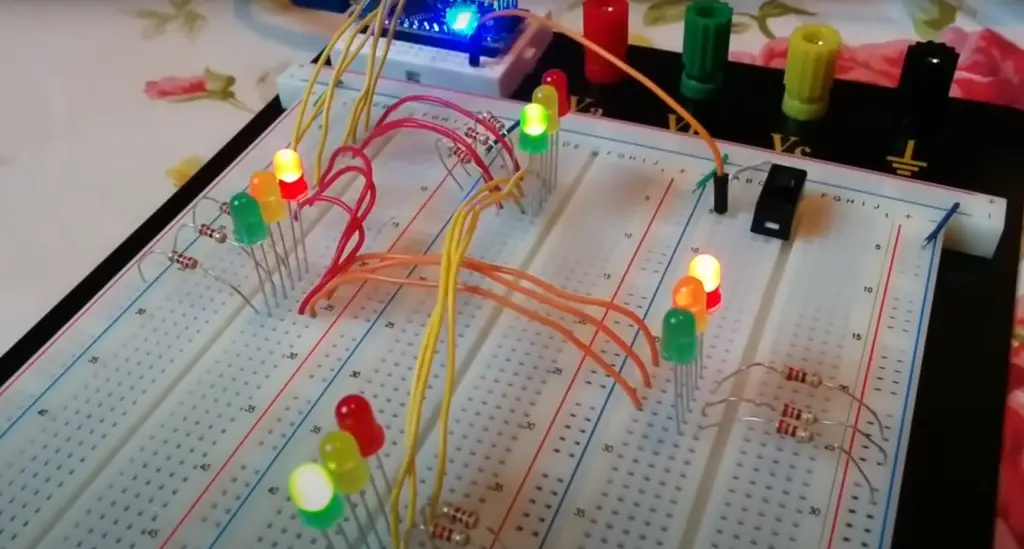
Learn the basics of ports and serial communication
Obviously, one of the key things you need to understand before beginning any Arduino project is the basics of ports and serial communication. Ports and serial communication involve sending electrical signals back and forth between two devices, usually a computer or microcontroller (such as an Arduino) and another device. You’ll need to have some understanding of how these two types of communication work before attempting any project with an Arduino.
Research Your Project
Researching your project is essential when starting out with something new. You’ll want to understand the components you’ll need, and how they interact together. You can find plenty of resources online for specific projects, such as tutorials on building a robot or controlling an LED light.
Look up tutorials online or read books that explain the basics of Arduino programming and hardware. This will give you a better understanding of what components are needed for your project and how they interact with each other.
Gather Your Components
Once you know what components are needed for your project, it’s time to gather them all in one place. You can buy individual parts from various suppliers, or get Arduino starter kits which include everything required for basic projects. Be sure to double-check that all the necessary parts are included before starting your project. [3]
Best Arduino Projects for Beginners
Now that you’ve considered your experience level and project goals, it’s time to decide which Arduino projects for beginners you should try. Some popular beginner projects include a temperature sensor, an FM radio receiver, or a motion-activated light switch. All of these use basic components that can be easily programmed using the Arduino platform. In this section we will cover several projects that are suitable for beginners and provide an overview of the components necessary to complete them.
Arduino Heartbeat Sensor
The Arduino Heartbeat Sensor is a fun and easy project for beginners. It uses an LED to detect the pulse of a living person and it will show the heart rate on a small LCD display. This project requires some basic knowledge of electronics, but it isn’t difficult even for those who have never soldered.
To get started, you’ll need an Arduino board, heartbeat sensor, battery holder (for power supply), push button breadboard (to hold components in place), resistor, wires, and two LCD displays. Once you have all these parts together you can begin building your circuit.
First, you will need to calculate the heartbeat speed. This is done by counting the number of heartbeats in a given time period, usually 10 seconds or so. This can be done by using the following code:
Five_pusle_time=time2-time1;
Single_pulse_time= Five_pusle_time /5;
rate=60000/ Single_pulse_time;
where time1 is first pulse counter value
time2 is list pulse counter value
rate is final heart rate.
Next, you will need to get something that will detect your heartbeat, in our case a Heart beat sensor module. Connect all the components according to the following guide:
Establish a connection by directly connecting the Heartbeat Sensor Module’s output pin to Arduino’s Pin 8. Then ensure, Vcc and GND are connected to Vcc and GND.
Now it’s time to connect LCDs, use a 4-bit module to connect both of them. The pins RS, RW, and En are directly connected to the Arduino’s 12th pin, ground connection (GND), and 11th pin respectively. Subsequently, data pins D4-D7 will be linked to arduino’s pins 5, 4, 3 and 2. Add two push buttons to your circuit– one connected to your Arduino’s pin 7, the other to its pin 6.
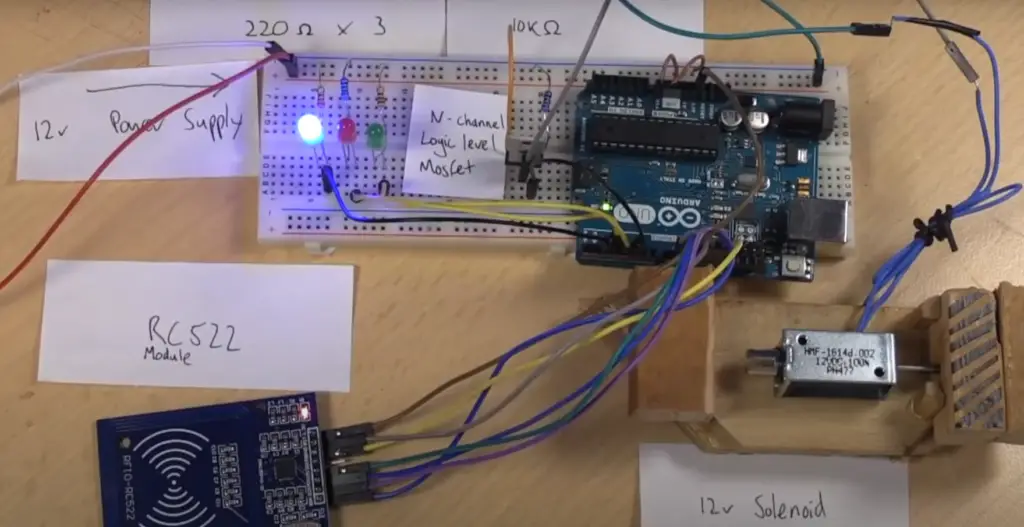
Finally, program your Arduino board with code that will detect a pulse and display the current heart rate on your LCD display. We provided the code below. Have fun!
#include
LiquidCrystal lcd(12, 11, 5, 4, 3, 2);
int in = 8;
int Reset=6;
int start=7;
int count=0,i=0,k=0,rate=0;
unsigned long time2,time1;
unsigned long time;
byte heart[8] =
{
0b00000,
0b01010,
0b11111,
0b11111,
0b11111,
0b01110,
0b00100,
0b00000
};
void setup()
{
lcd.createChar(1, heart);
lcd.begin(16,2);
lcd.print(“Heart Beat “);
lcd.write(1);
lcd.setCursor(0,1);
lcd.print(“Monitoring”);
pinMode(in, INPUT);
pinMode(Reset, INPUT);
pinMode(start, INPUT);
digitalWrite(Reset, HIGH);
digitalWrite(start, HIGH);
delay(1000);
}
void loop()
{
if(!(digitalRead(start)))
{
k=0;
lcd.clear();
lcd.print(“Please wait…….”);
while(k<5)
{
if(digitalRead(in))
{
if(k==0)
time1=millis();
k++;
while(digitalRead(in));
}
}
time2=millis();
rate=time2-time1;
rate=rate/5;
rate=60000/rate;
lcd.clear();
lcd.print(“Heart Beat Rate:”);
lcd.setCursor(0,1);
lcd.print(rate);
lcd.print(” “);
lcd.write(1);
k=0;
rate=0;
}
if(!digitalRead(Reset))
{
rate=0;
lcd.clear();
lcd.print(“Heart Beat Rate:”);
lcd.setCursor(0,1);
lcd.write(1);
lcd.print(rate);
k=0;
}
}
Arduino Digital Thermometer Project
This project can be used to read the temperature of your home, office, or any other environment you’re interested in monitoring.
To make an Arduino digital thermometer, you’ll need an Arduino board (either Uno or Nano will work), a temperature sensor (such as the TMP36), and some basic components such as resistors, and of course an LCD screen.
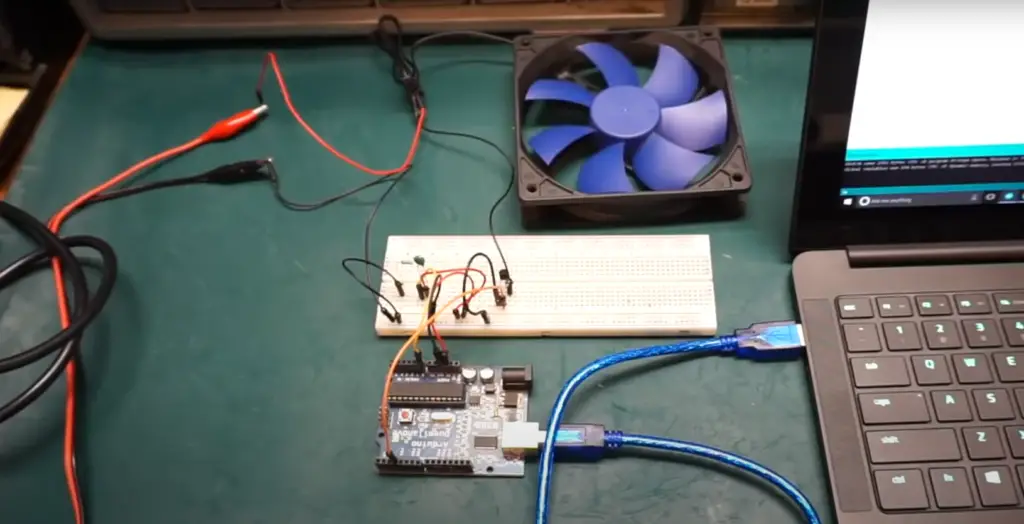
First, create a circuit which will be able to read the temperature from the sensor and display it on the LCD screen. Make sure that you connect all of your components properly, as incorrect wiring can cause errors in your readings.
Connect an LCD screen to Arduino in 4-bit mode. Arduino’s digital pins 2, 3, 4, 5, 6 and 7 are connected to the RS, EN ,D4 ,D5 ,D6 and D7 data pins of an LCD respectively. Next, connect a temp sensor to Arduino’s pin A0.
Write a program in code to read the data from the temperature sensor and display it on an LCD screen. Program your Arduino board accordingly so that it can read the values from the temperature sensor and display them on the LCD. To do this, open the Arduino IDE and write a program that will take an input from the temperature sensor, process it, convert it into Fahrenheit or Celsius (depending on which scale you prefer), then finally display it on the LCD screen.
#include
LiquidCrystal lcd(7,6,5,4,3,2);
#defining A0 sensor
byte degree[8] =
{
0b00011,
0b00011,
0b00000,
0b00000,
0b00000,
0b00000,
0b00000,
0b00000
};
void setup()
{
lcd.begin(16,2);
lcd.createChar(1, degree);
lcd.setCursor(0,0);
lcd.print(” Digital “);
lcd.setCursor(0,1);
lcd.print(” Thermometer “);
delay(4000);
lcd.clear();
lcd.print(” Circuit Digest “);
delay(4000);
lcd.clear();
}
void loop()
{
/*———Reading Temperature——-*/
float reading=analogRead(sensor);
float temperature=reading*(5.0/1023.0)*100;
delay(10);
/*——Displaying Result——*/
lcd.clear();
lcd.setCursor(2,0);
lcd.print(“Temperature”);
lcd.setCursor(4,1);
lcd.print(temperature);
lcd.write(1);
lcd.print(“C”);
delay(1000);
}
This code will display the temperature readings in degrees Celsius on the LCD screen. After completing this project, you will have a fully functional digital thermometer that can monitor and keep track of temperatures in any environment!
Arduino Keypad Calculator Project
Next project up on our epic list of Arduino projects is the keypad calculator. Building a calculator with Arduino might seem like an intimidating task but if you break it down into smaller parts and take it one step at a time, you’ll soon find that it’s not too difficult!
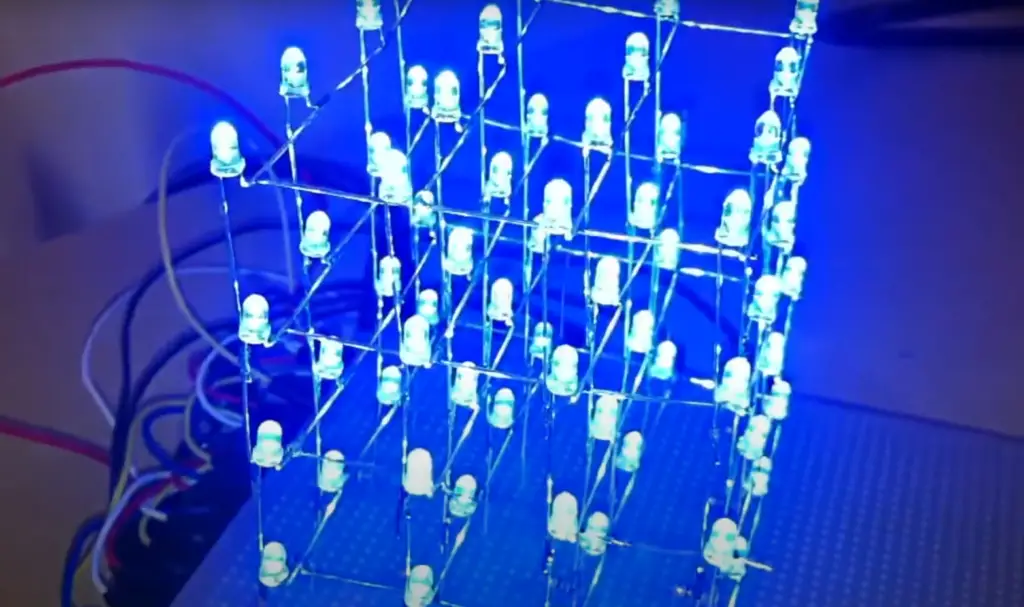
For this project we will be using a 4*4 keypads, a 16×2 LCD display, 9V Battery, breadboard and an Arduino Uno.
First, start by assembling the circuit. The +5V and ground connection will be established from the 5V and ground pins of your Arduino board respectively. Next, you will need to power your Arduino board with the 9V battery.
Next, connect the keypad with the Arduino by connecting the respective keypad pins to the analog pins of the Arduino. the 1st pin of the keypad should go to the D0 of the Arduino, the 2nd pin to D1 and so on for all the pins.
After this, you will have to connect your LCD display with the Arduino Uno. Connecting it is simple; just make sure you match up the right wires with the D8 and D9 pins of the Arduino.
Next come the data pins. Attach the data pin (pin 11) to the D10/D11/D12/D13 pins of Arduino respectively. Next, connect the +5V pin to the Vdd pin of the LCD. Finally, connect the Vss,Vee and RW pins of LCD (pin 1,3 and 5) to ground for completing the circuit.
After you have completed wiring, you should download an Arduino library which will help us to read and display values from the keypad in our LCD display. The LCD library should already be installed in your Arduino IDE so you only need to download the library for the keypad.
Once both libraries are installed, you can start coding. Since this project is fairly simple, you shouldn’t have too many issues. In our program, we will be using a function which will read and display values from the keypad in decimal format on the LCD screen.
First, you need to define the keymap. This can be done like this:
const byte ROWS = 4; // Four rows
const byte COLS = 4; // Three columns
// Define the Keymap
char keys[ROWS][COLS] = {
{‘1′,’2′,’3′,’A’},
{‘4′,’5′,’6′,’B’},
{‘7′,’8′,’9′,’C’},
{‘*’,’0′,’#’,’D’}
};
byte rowPins[ROWS] = { 0, 1, 2, 3 };// Connect keypad ROW0, ROW1, ROW2 and ROW3 to these Arduino pins.
byte colPins[COLS] = { 4, 5, 6, 7 }; // Connect keypad COL0, COL1 and COL2 to these Arduino pins.
Keypad kpd = Keypad( makeKeymap(keys), rowPins, colPins, ROWS, COLS ); // Creating the Keypad
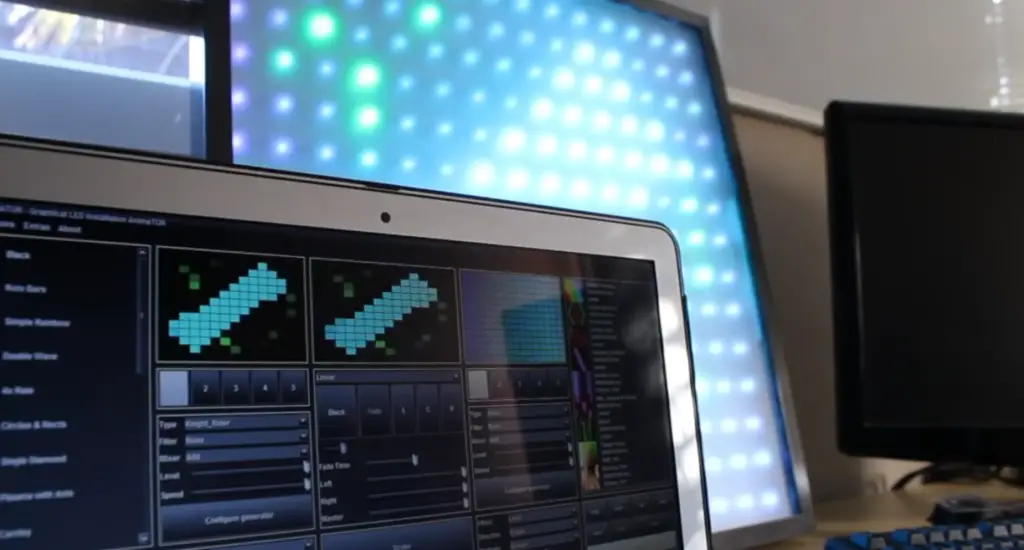
As you can see, each row and column is connected to a particular pin on the Arduino. Now you have to define the pins the LCD is connected to:
const int rs = 8, en = 9, d4 = 10, d5 = 11, d6 = 12, d7 = 13; //Pins to LCD is connected to
LiquidCrystal lcd(rs, en, d4, d5, d6, d7); //creating the LCD
Now it’s finally time to code out the calculator. We begin by defining the variables which will store the input from the keypad and making sure that the LCD will accept the value and display it.
long Num1,Num2,Number;
char key,action;
boolean result = false;
void setup() {
lcd.begin(16, 2);
lcd.print(“DIY Calculator”); //An intro message
lcd.setCursor(0, 1); // Setting the cursor to column 0, line 1
lcd.print(“-CircuitDigest”); //An intro message
delay(2000); //Wait for display to show info
lcd.clear(); //Then clean it
}
void loop() {
key = kpd.getKey(); //storing pressed key value in a char
if (key!=NO_KEY)
DetectButtons();
if (result==true)
CalculateResult();
DisplayResult();
}
void DetectButtons()
{
lcd.clear(); //Then clean it
if (key==’*’) //If cancel Button is pressed
{Serial.println (“Button Cancel”); Number=Num1=Num2=0; result=false;}
if (key == ‘1’) //If Button 1 is pressed
{Serial.println (“Button 1”);
if (Number==0)
Number=1;
else
Number = (Number*10) + 1; //Pressed twice
}
if (key == ‘4’) //If Button 4 is pressed
{Serial.println (“Button 4”);
if (Number==0)
Number=4;
else
Number = (Number*10) + 4; //Pressed twice
}
if (key == ‘7’) //If Button 7 is pressed
{Serial.println (“Button 7”);
if (Number==0)
Number=7;
else
Number = (Number*10) + 7; //Pressed twice
}
if (key == ‘0’)
{Serial.println (“Button 0”); //Button 0 is Pressed
if (Number==0)
Number=0;
else
Number = (Number*10) + 0; //Pressed twice
}
if (key == ‘2’) //Button 2 is Pressed
{Serial.println (“Button 2”);
if (Number==0)
Number=2;
else
Number = (Number*10) + 2; //Pressed twice
}
if (key == ‘5’)
{Serial.println (“Button 5”);
if (Number==0)
Number=5;
else
Number = (Number*10) + 5; //Pressed twice
}
if (key == ‘8’)
{Serial.println (“Button 8”);
if (Number==0)
Number=8;
else
Number = (Number*10) + 8; //Pressed twice
}
if (key == ‘#’)
{Serial.println (“Button Equal”);
Num2=Number;
result = true;
}
if (key == ‘3’)
{Serial.println (“Button 3”);
if (Number==0)
Number=3;
else
Number = (Number*10) + 3; //Pressed twice
}
if (key == ‘6’)
{Serial.println (“Button 6”);
if (Number==0)
Number=6;
else
Number = (Number*10) + 6; //Pressed twice
}
if (key == ‘9’)
{Serial.println (“Button 9”);
if (Number==0)
Number=9;
else
Number = (Number*10) + 9; //Pressed twice
}
if (key == ‘A’ || key == ‘B’ || key == ‘C’ || key == ‘D’) //Detecting Buttons on Column 4
{
Num1 = Number;
Number =0;
if (key == ‘A’)
{Serial.println (“Addition”); action = ‘+’;}
if (key == ‘B’)
{Serial.println (“Subtraction”); action = ‘-‘; }
if (key == ‘C’)
{Serial.println (“Multiplication”); action = ‘*’;}
if (key == ‘D’)
{Serial.println (“Division”); action = ‘/’;}
delay(100);
}
}
void CalculateResult()
{
if (action==’+’)
Number = Num1+Num2;
if (action==’-‘)
Number = Num1-Num2;
if (action==’*’)
Number = Num1*Num2;
if (action==’/’)
Number = Num1/Num2;
}
void DisplayResult()
{
lcd.setCursor(0, 0); // set the cursor to column 0, line 1
lcd.print(Num1); lcd.print(action); lcd.print(Num2);
if (result==true)
{lcd.print(” =”); lcd.print(Number);} //Display the result
lcd.setCursor(0, 1); // set the cursor to column 0, line 1
lcd.print(Number); //Display the result
}
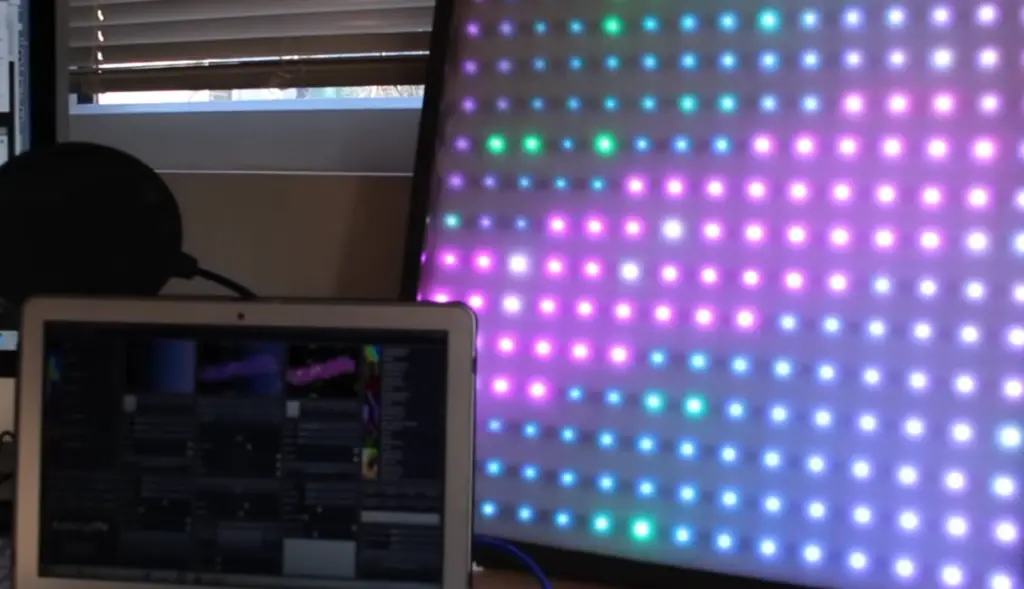
What this code does is detects any buttons pressed and calculates the result with addition, subtraction, multiplication or division. It then displays the result on an LCD display. If no button is pressed, then nothing is displayed.
The code begins by declaring the variables that are used to store the input numbers, the result and the action (addition, subtraction, multiplication or division).
To detect any button presses, a loop is set up which watches for any key values from ‘1’ to ‘9’, ‘0’, ‘A’, ‘B’, ‘C’ and ‘D’. Depending on which one is detected, it assigns that value to Number. The buttons in column 4 represent addition (A), subtraction (B), multiplication (C) and division (D). If a cancel button (*) is pressed, then all values are reset back to 0. If the equals button (#) is pressed, then it stores the first number as Num1, and assigns the result to true.
Then the code sets up the LCD display and starts the serial communication.
This code allows users to quickly input two numbers into a calculator and get results without having to type out the equation each time. It also reduces any human error when entering equations. This could be used in various projects such as controlling robotics with Arduino or making home automation systems! [4], [5], [6]
FAQ
Is Arduino a C or Python?
Arduino is actually its own programming language, based on the popular programming languages C and C++. It has been specifically designed to make it easier for people with no prior coding experience to get started building projects with embedded microcontrollers.
While many of the same concepts exist in C or Python, such as variables and functions, they are written out differently in the Arduino language. Furthermore, there are certain aspects of programming that have been simplified in the Arduino language, making it more user-friendly for beginners who may not understand complex syntaxes or advanced coding techniques.
What are the easiest Arduino projects?
The easiest Arduino projects for beginners are those that require basic circuitry and programming. Examples of such projects include:
- Blinking LED: In this project, a red LED is connected to an Arduino board and programmed to blink on and off. This is the simplest form of programming and use of Arduino boards.
- Light Sensor: A light sensor can be used to detect changes in the ambient light levels and control outputs accordingly. It requires some knowledge of Arduino programming but is still quite simple.
- Temperature Monitor : An Arduino compatible temperature monitor can be constructed with low cost components and programmed to measure temperature readings over time. This project utilizes both basic electronic components as well as simple programming techniques to achieve interesting results.
What are some simple Arduino projects?
A blinking light circuit. This is one of the simplest and most common Arduino projects you can create, and it’s great for learning how to write code and use an Arduino board. All you need is a few components, such as an LED, resistor and breadboard, along with an Arduino Uno or compatible controller board. Once these are all wired together, you just have to write a basic sketch in the Arduino IDE that blinks the LED on and off at different intervals.
An LCD display circuit. This project involves wiring up an LCD display to your Arduino board so that you can print messages onto the screen without having to use any serial communication tools like Serial Monitor or PuTTY. You will need to use a few extra components, such as an LCD display, potentiometer and 10K resistor. Once these are all wired together correctly, you will be able to write code that prints text messages onto the screen from the Arduino IDE.
A light sensor circuit. This is another popular Arduino project for beginners, because it involves learning how to use sensors with your board. You will need to wire up a photoresistor and LED to your Arduino board in order to create this circuit. Then you can write code in the Arduino IDE that monitors changes in light levels and turns on or off an LED based on those readings.
What projects can you do with an Arduino?
When you’re just starting out with Arduino projects, it can be daunting to decide where to begin. Thankfully, there are countless projects that any beginner can make with an Arduino. Here are some of the most popular and creative Arduino projects for beginners:
- Robotics: With an Arduino board and a few simple components such as motors, wheels, sensors, and microcontrollers you can create basic robots or even more advanced autonomous robots.
- Home Automation: You can use your Arduino to control lights, appliances, fans and other devices in your home.
- LED Projects: There are plenty of fun LED projects available online that allow you to customize the color and brightness of LEDs using code.
Is Arduino good for beginners?
Yes, Arduino is a great platform for beginners. It is easy to learn, with step-by-step tutorials and plenty of online resources available. The Arduino IDE (Integrated Development Environment) makes it simple for new users to write code, upload sketches to their board, and debug errors that may occur. Additionally, its open source nature makes it easy to access the documentation and hardware schematics needed to get started on projects. Furthermore, there are many different types of boards available like the Uno or the Nano which both offer features tailored towards different needs such as size or power consumption.
Still, when choosing an Arduino board for beginners it is important to consider the project requirements. Different boards offer different features and, depending on the project, one might be more suitable than another. Furthermore, other components such as sensors or actuators should also be taken into account when choosing an Arduino board.
Useful Video: 15 Great Arduino Projects for beginners
Conclusion
Arduino is one of the most popular microcontrollers available, and it is an excellent platform for creating projects for beginners. Projects range from simple LED light displays to more complicated robotics. Once you have mastered the basics of Arduino programming, you can move onto more advanced concepts like motors, sensors and external hardware. The possibilities are endless with Arduino!
In this article we have covered three interesting Arduino projects for beginners. From heartbeat sensor to a digital thermometer and finally a keypad calculator. Each of these projects is a great way for beginners to get started on their Arduino journey.
Creating a project with Arduino requires knowledge in several areas such as electronics, coding, soldering and assembling. With patience and practice, anyone can become proficient at building their own Arduino-based projects. Experimenting with new ideas is exciting and often inspiring; Arduino allows makers to bring their dreams into reality. Whether your goal is to make something fun or something useful, this guide has helped show how easy it can be to start building with Arduino.
Good luck and happy making!
References
- https://www.elprocus.com/different-types-of-microcontroller-boards/
- https://learn.sparkfun.com/tutorials/what-is-an-arduino/all
- https://mycuriositybot.wordpress.com/2019/02/22/points-to-keep-in-mind-before-starting-with-an-arduino-project/
- https://circuitdigest.com/microcontroller-projects/arduino-calculator-using-4×4-keypad
- https://circuitdigest.com/microcontroller-projects/digital-thermometer-using-arduino
- https://circuitdigest.com/microcontroller-projects/heartbeat-monitor-project-using-arduino







Leave a Reply