
Testing the O2 sensor on your car is a crucial part of ensuring that it’s running in top condition. Luckily, it’s a process that can be easily completed with a multimeter. In this guide, we’ll walk you through the steps involved in testing your O2 sensor using a multimeter. We’ll also provide some tips on how to get the most accurate results from your tests. So, whether you’re just getting started with car maintenance or you’re looking for a more reliable way to test your O2 sensor, this guide has you covered!
Oxygen Sensors and Their Types

The most common type of oxygen sensor is the zirconia oxygen sensor. This type of sensor uses a solid electrolyte made from zirconium dioxide (ZrO₂). The electrolyte is sandwiched between two electrodes, usually made from platinum or palladium.
When exposed to an oxygen-containing gas, the zirconia produces a small electrical current that is proportional to the concentration of oxygen in the gas. This current is measured by the electrodes and used to calculate the oxygen concentration.
Zirconia oxygen sensors are used extensively in automotive engines because they are resistant to poisoning by lead and other contaminants found in gasoline.
Another type of oxygen sensor is the galvanic cell oxygen sensor. This type of sensor uses two dissimilar metals, such as copper and zinc, that are exposed to an oxygen-containing gas. The two metals produce a small electrical current that is proportional to the concentration of oxygen in the gas.
Galvanic cell oxygen sensors are less common than zirconia oxygen sensors, but they have some advantages over zirconia sensors, including lower cost and higher accuracy at very low oxygen concentrations.
Oxygen sensors are also used in respiratory therapy to measure the concentration of oxygen in a patient’s blood. This information is used to adjust the flow of oxygen-enriched air that the patient is breathing.
Finally, oxygen sensors are used in industrial process control applications to monitor the level of oxygen in gasses and liquids. This information is used to control the process and ensure that it is operating safely. [1], [2], [3]
What are the Signs of Malfunctioning Oxygen Sensors?
Before deciding how to test O₂ sensor, it’s important to know the symptoms of a failing one. There are several signs that may indicate your O₂ sensor needs to be replaced.
Bad smell from the exhaust
If you notice a sulfur smell coming from your car’s exhaust pipe, it could be caused by a malfunctioning O₂ sensor. The sensor is responsible for maintaining the air to fuel mixture in the engine. If it’s not working correctly, too much fuel will be burned and produce a sulfur smell.
Jumping engine RPMs
One of the more common symptoms of a failing O₂ sensor is erratic engine behavior. A faulty sensor can cause the engine to rev erratically, or stall completely. If you notice your RPMs jumping while driving, it’s worth checking your O₂ sensor.
Poor fuel efficiency
A failing O₂ sensor can also cause your car to become less fuel efficient. When the O₂ sensor is not functioning properly, it can cause the engine to run “rich” or “lean.” This means that too much or too little fuel is being burned, which ultimately lowers your gas mileage. [1]
Locations of Oxygen Sensors
Oxygen sensors are located in a variety of places, depending on the application. In automotive engines, oxygen sensors are typically located in the exhaust manifold or in the catalytic converter.
Another possible sensor location is between the catalytic converter and the exhaust outlet. This location is less common, but it has the advantage of being able to measure the oxygen content of the exhaust gas before it is diluted by atmospheric air. [2]
How to test an Oxygen Sensor with a Multimeter
Now that you know the types and locations of oxygen sensors, it’s time to learn how to test one with a multimeter.
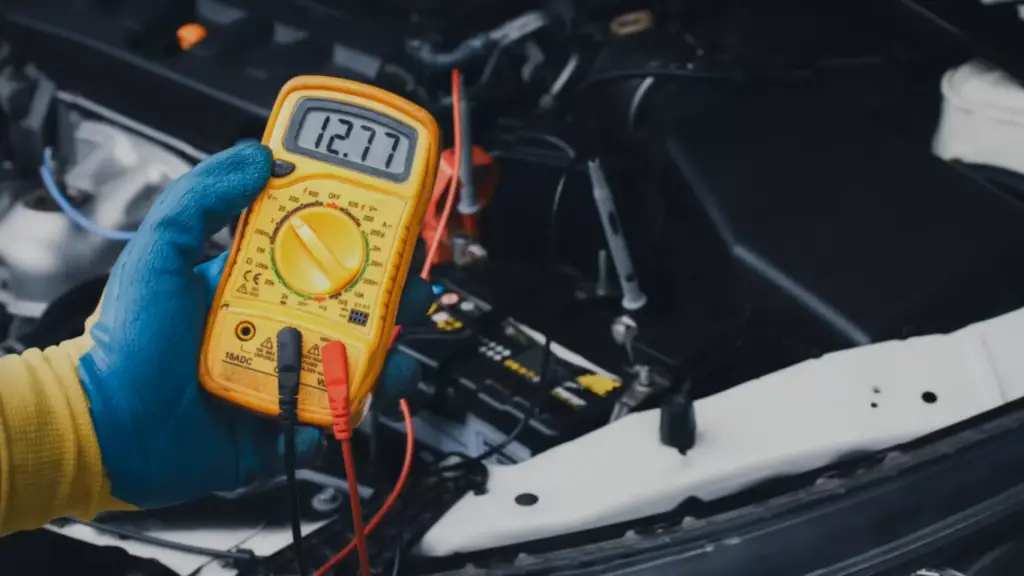
We suggest you using a digital multimeter for this test, as it is more accurate than an analog multimeter. [4]
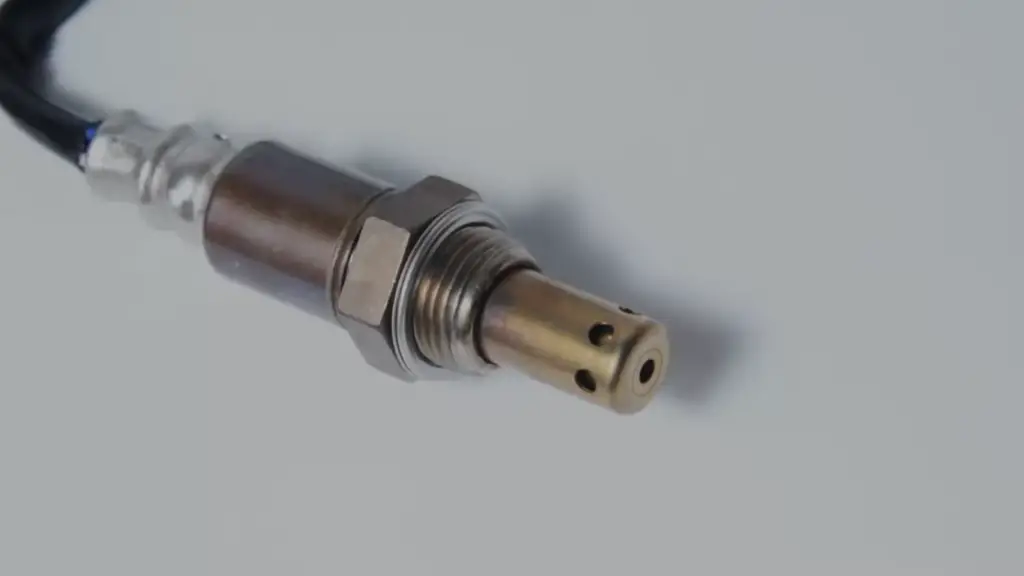
Visually examine the wires of your O2 sensor
First, you’ll want to take a look at the wires of your O2 sensor. Check for any fraying or damage that may have occurred over time. Also, make sure that the wires are securely connected to the terminals. If everything looks good, then you can move on to the next step.
Never test an oxygen sensor if it’s damaged or has loose wires, as this is a potential safety hazard. You aren’t only risking an electric shock, but you could also start a fire.
You may also want to test your oxygen sensor with an OBD-II scanner. This is a tool that can read and diagnose engine codes. If your oxygen sensor is faulty, it will often trigger a check engine light. An OBD-II scanner can tell you what the code is, and help you troubleshoot the problem. [1]
Follow the manufacturer precautions
When you are going to test an oxygen sensor, the essential thing you need to do is to read the manufacturer precautions. These precautions will vary depending on the make and model of your vehicle.
For example, some vehicles have special procedures for testing the oxygen sensors. Others may require that the engine be at a certain temperature before testing can begin.
Be sure to follow all of the manufacturer’s instructions carefully to avoid damaging the oxygen sensor or causing injury to yourself. We also recommend wearing safety glasses and rubber gloves for this test, as electrical current can be dangerous. [2]
Checking heating element resistance
One of the first things you need to do when testing an oxygen sensor is to check the resistance of the heating element. The heating element is responsible for keeping the oxygen sensor at a high enough temperature to function properly.
Set multimeter to resistance
To check the resistance of the heating element, set your multimeter to the ohms (Ω) setting. Luckily most multimeters come with this setting so you shouldn’t have any problems with this stage.
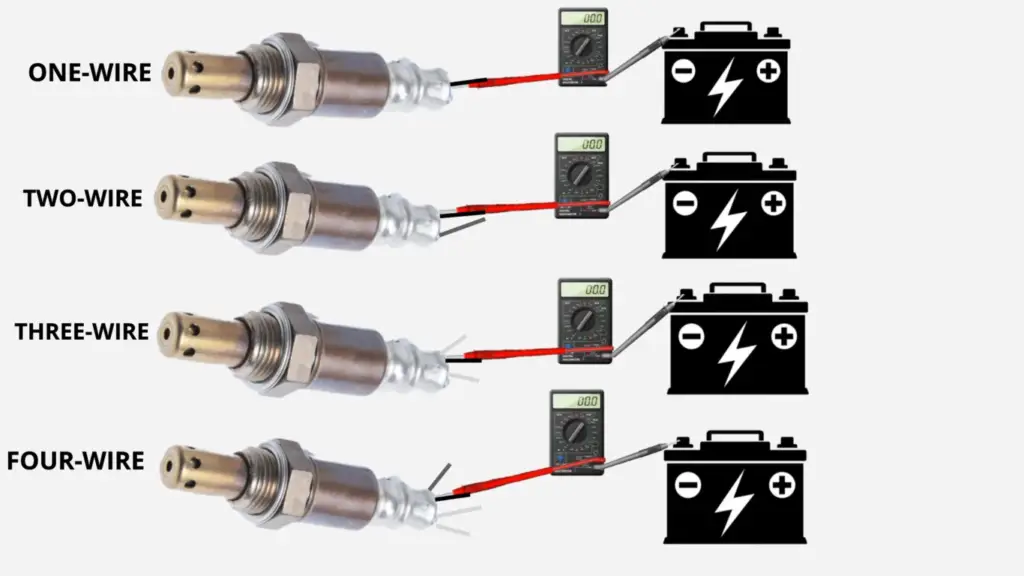
Connect the test leads
Next, connect the test leads to the multimeter. Multimeters come with two leads, one red and one black. The red lead is typically connected to the positive terminal, while the black lead is connected to the negative terminal.
Take one of the leads and connect it to the heater power pin on the oxygen sensor. Then, take the other lead and connect it to the ground connector pin.
If you’re not sure which terminal is which, consult your vehicle’s owner manual or repair manual.
Evaluate the results
Now, take a look at the multimeter reading. The resistance of the oxygen sensor heater should be within the range specified by the manufacturer. Normally, if the heater is cold you should look for a reading between 10 and 20 Ohms.
If the reading is outside of this range, it means that there is a problem with the heating element and the oxygen sensor will need to be replaced. [2], [3]
Checking the voltage
Another test you can do with a multimeter is to check the voltage of the oxygen sensor. This test is important because it will tell you if the sensor is getting power from the vehicle’s electrical system.
Set your multimeter to 1-volt range
To begin, set your multimeter to the one-volt range. Oxygen sensors work using millivolts, so you won’t need a higher range. Keep in mind that your multimeter will display readings in volts, not millivolts.
To get an accurate reading, you’ll need to convert the voltage into millivolts. For example, if your multimeter reads 0.01 volts, that is equal to ten millivolts.
Back probe your oxygen sensor
Normally, you would test the voltage of an oxygen sensor by touching the multimeter leads to the terminals of the sensor. However, this can be difficult to do on some vehicles.
Instead, we recommend using a technique called back probing. This involves inserting a pin into the output wires of the oxygen sensor, near where they connect to the vehicle’s electrical system.
Probe your oxygen sensor
Next, you’ll need to probe the wires of your oxygen sensor. For this test, you want to connect the red lead to the back probe pin. Then, take a black probe and touch any metal surface close to you. This will serve as your ground.
Remember, the connection needs to be secure in order for the test to work correctly. If the leads are loose, you’ll get an inaccurate reading. To make the job easier for you, you can use alligator clips to attach the leads to the back probe pin and ground.
Warm up your car
To ensure accurate readings, you need to have your car’s engine warmed up before testing the oxygen sensor. This means you need to start your engine and let it run until it reaches an operating temperature of at least 600°F.
For most vehicles, this will take about 15-20 minutes. However, some vehicles may require a longer warm-up time. Be sure to check your vehicle’s owner manual for specific instructions.
Once the engine is warmed up, you can proceed with the test.
Check the results
Once you’ve completed the test, it’s time to check the results. As a general rule of thumb, you want to see a fluctuating voltage reading between 0.1-1 volts.
If your multimeter is displaying a still value or no reading at all, that means there’s an issue with the sensor or the wiring. In either case, you’ll need to have your vehicle inspected by a professional mechanic.
Low readings also indicate a problem, but it’s usually with the vehicle’s exhaust system. If you’re seeing readings that are lower than 0.05 volts, we recommend taking your car to a mechanic for further diagnosis.
FAQ
Can you test 02 sensors with a multimeter?
Yes, you can test your 02 sensor with a multimeter. There are a few things that you need to keep in mind when testing your oxygen sensor.
How do you test if an 02 sensor is bad?
There are a few ways that you can test whether or not your O₂ sensor is working properly. One way is to use a multimeter. To do this, first locate the O₂ sensor. It will be located near the exhaust manifold, and will have one or two wires coming out of it. Once you have found it, probe it with a multimeter. Depending on your issue, you will want to check it either for resistance or voltage.
How many ohms should an O2 sensor have?
The oxygen sensor has a range of readings that is considered normal. Resistance readings will usually fall between 10Ω and 20Ω. If the reading is outside of this range, then the oxygen sensor may be damaged and will need to be replaced.
How do you check O2 sensor ohms?
To check the O sensor’s ohms, you’ll need a multimeter. To do this, connect one lead of the multimeter to the ground wire of the O sensor and touch the other lead to the heater power terminal. The multimeter should show you the reading in ohms. The ideal resistance for most O sensors is between 10 and 20 ohms.
Useful Video: HOW TO TEST AN OXYGEN SENSOR
Conclusion
Oxygen sensors are an important part of any engine management system. By monitoring the oxygen content of the exhaust gasses, they help the engine run at its most efficient. A faulty oxygen sensor can cause a number of problems, including poor fuel economy and increased emissions. If you suspect that your oxygen sensor is not working properly, it’s a good idea to test it with a multimeter. In this guide we covered how you can test your oxygen sensor’s voltage and resistance. With a little patience and careful troubleshooting, you should be able to identify and fix the problem without too much difficulty. Thanks for reading! I hope this guide was helpful.
References
- https://electrouniversity.com/how-to-test-o2-sensor-with-multimeter/
- https://gtc.ca/blog/testing-oxygen-sensors/
- https://toolsweek.com/how-to-test-o2-sensor-with-multimeter/
- https://www.fluke.com/en-us/learn/blog/electrical/what-is-a-digital-multimeter