
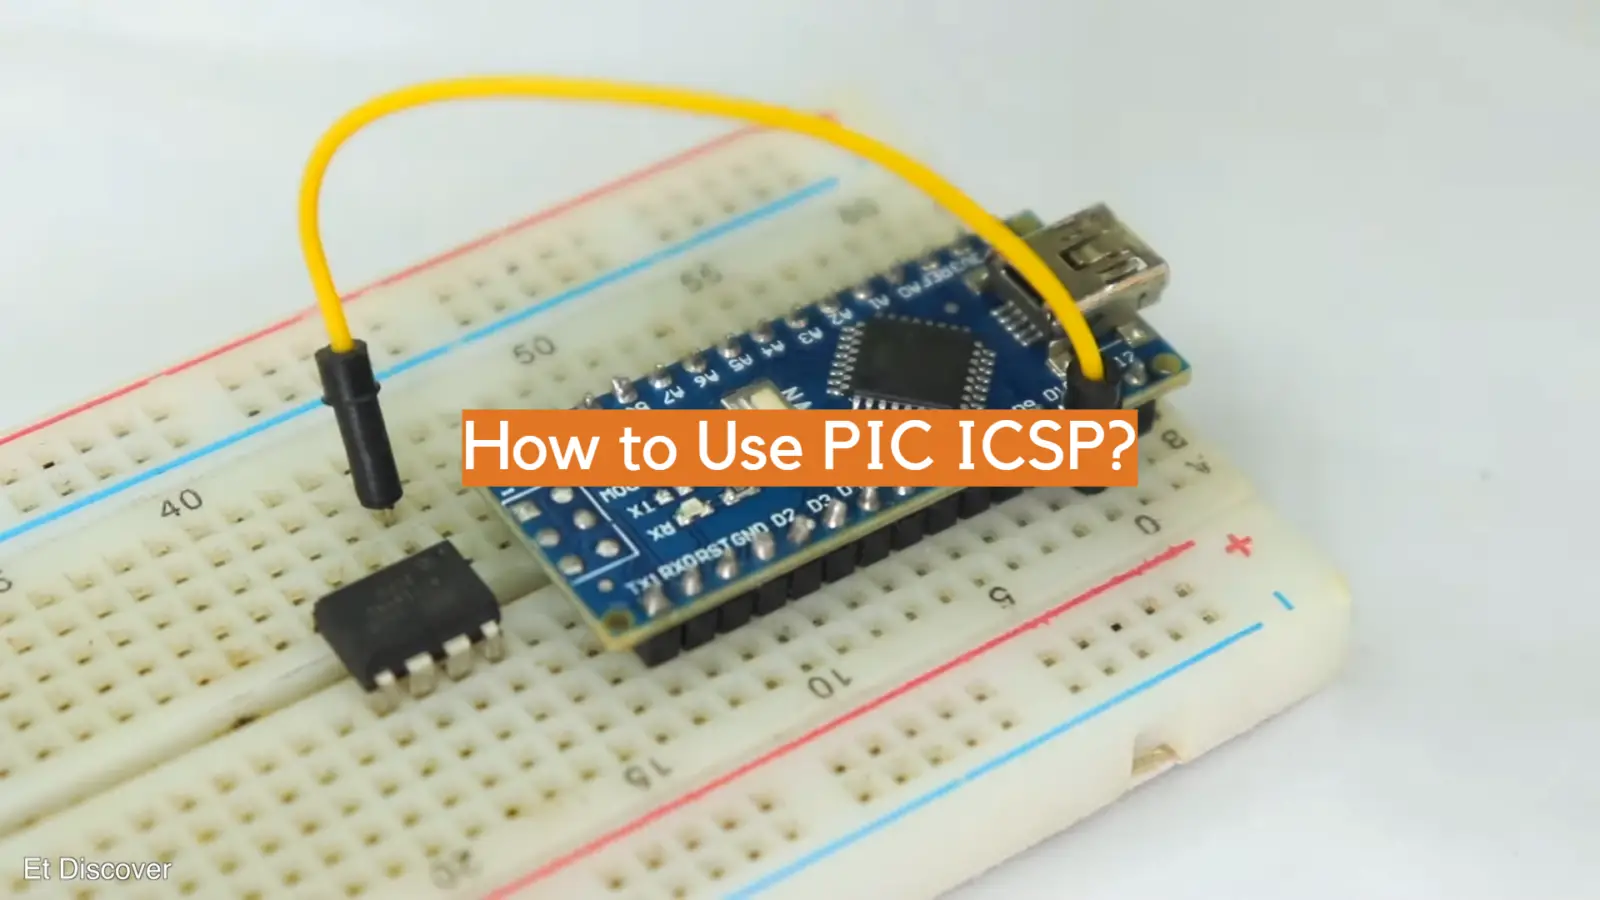
Do you want to get up to speed with the PIC ICSP interface, but feel overwhelmed or intimidated by all the technical jargon? If so, don’t worry! This easy-to-follow guide will teach you everything you need to know about using the PIC ICSP interface and help make it an easy and enjoyable experience. By the end of this article, you’ll understand exactly how to use PIC ICSP and be able to quickly incorporate it into your own projects.
What is PIC ICSP?
PIC ICSP (In-Circuit Serial Programming) is a method used to program microcontrollers with the help of an external programming device. It allows for direct access to memory locations and registers on the device, giving greater flexibility when designing embedded systems.
The PIC ICSP protocol uses two wires, MCLR (Master Clear) and PGD (Program Data), which are connected between the programming device and the microcontroller to establish communication and enable data transfer between them. This type of communication eliminates the need for an extra circuit board or adapter, reducing cost and complexity in embedded system designs.
Overall, PIC ICSP is a powerful tool for designing and programming small and complex embedded systems. It enables designers to create custom systems with fewer components while still maintaining reliability and performance. With its increased flexibility and cost-effectiveness, it has become increasingly popular among embedded system designers [1].
Benefits of PIC ICSP
PIC ICSP provides several benefits that make it attractive for embedded system design. These include:
- Improved Design Flexibility: By allowing direct access to memory locations and registers on the device, PIC ICSP provides greater flexibility when designing embedded systems. This eliminates the need for extra components and circuit boards, allowing designers to create custom systems with fewer components while still maintaining reliability and performance.
- Reduced Time and Cost: PIC ICSP makes it possible to update and reprogram microcontrollers without having to remove them from their circuit boards, which reduces the overall complexity of system designs. Furthermore, it eliminates the need for an extra adapter or programmer, reducing the time and cost associated with debugging embedded systems.
- Increased Reliability: The communication protocol used in PIC ICSP ensures that data is transferred accurately between devices, resulting in reliable operation of the system. This helps prevent errors due to incorrect connections or faulty programming.
Overall, PIC ICSP provides several advantages that make it a powerful tool for embedded system design. It enables designers to create custom systems with fewer components while still maintaining reliability and performance, reducing the time and cost associated with debugging.
Understanding ICSP for PIC Microcontrollers
Step 1: Why ICSP?
In-Circuit Serial Programming (ICSP) is a method for programming a PIC microcontroller without having to remove it from the circuit. This allows you to make changes and updates to your code quickly and easily, without having to pull out the chip every time.
Step 2: What Does ICSP Involve?
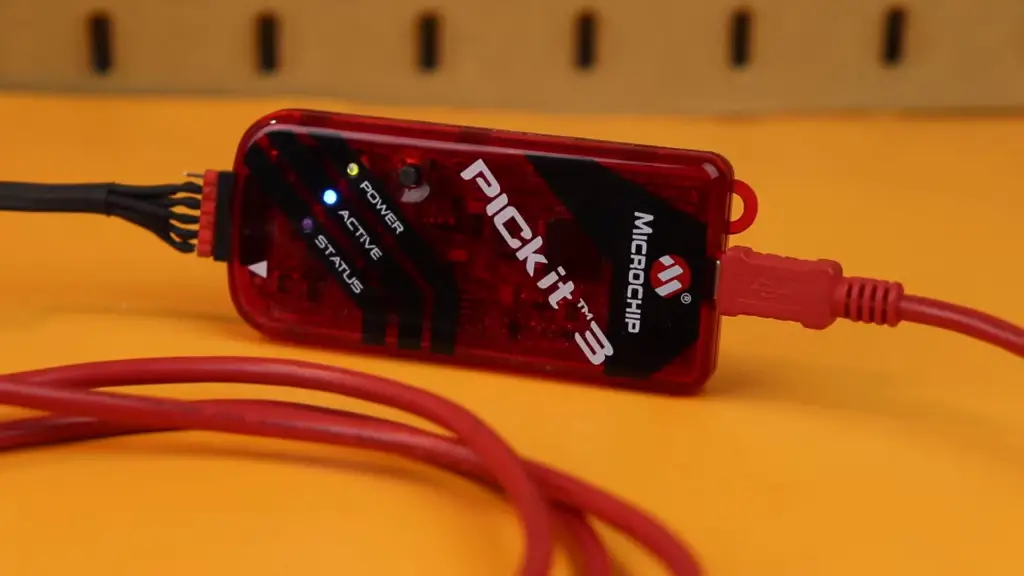
For ICSP programming, all you need is an ICSP programmer, such as a PICKit2 or a Microchip ICD3. These devices are connected directly to the PIC microcontroller’s pins via special programming cables. Once connected, the programmer can upload new code into the chip’s memory using its own dedicated software package.
Step 3: How Is ICSP Done?
The actual ICSP programming process is fairly simple. First, the programmer is connected to the appropriate pins on the microcontroller (usually 3 pins – MCLR, PGD, and PGC). Then, a special programming voltage is applied via the programmer, which activates the chip’s write-enable line. This allows data to be transferred from the programmer into the PIC’s memory. Once complete, the programming voltage can then be removed and normal operation of your circuit can resume.
Step 4: What Are The Benefits Of ICSP?
The primary benefit of ICSP is that it allows you to make changes and updates to your code quickly and easily without having to remove the chip from its circuit or solder new components in place. This makes debugging and troubleshooting much simpler, as you can make changes without having to start from scratch. Additionally, ICSP helps reduce the risk of damaging components due to soldering errors or other mistakes.
Step 5: ICSP Programmers
As mentioned previously, ICSP requires a special programmer device to make the connections and upload code. Popular devices include the Microchip PICKit2, ICD3, and MPLAB X IDE Integrated Software. Each of these programs is designed to work with specific microcontroller models, so be sure to select one that matches your application. Additionally, most programmers come with their own dedicated software package for programming the chip from a computer [2].
PIC ICSP Signals
VPP Signal (Signal a programming action)
VPP (Voltage Programming Pulse) is a signal that is used to command microcontrollers to enter programming mode. The VPP pin is held high while the microcontroller performs its programming operations, allowing the programmer access to memory cells and configuration settings.
PGC Signal (Clock input for instructions)
PGC (Programming Clock) signal provides the clock input for instructions sent to the microcontroller by the programmer. This signal is always provided in pairs with the PGD signal so that data can be transmitted serially from the programmer to the microcontroller.
PGD Signal (Data Input/Output for Instructions)
The PGD (Programming Data) signal is used as an input/output for instructions sent to the microcontroller by the programmer. This signal is always provided in pairs with the PGC signal so that data can be transmitted serially from the programmer to the microcontroller.
MCLR Signal (Reset Signal)
The MCLR (Master Clear Reset) signal is used as a reset signal for the microcontroller. This will usually be tied to VCC and pulled low before programming begins, allowing the programmer to reset the device and issue new commands. In some cases, however, it may also be necessary to pulse this pin with a special sequence of pulses when entering programming mode.
VCC Signal (Power supply voltage level)
The VCC (Voltage Common Collector) signal is used to provide a power supply voltage level to the microcontroller. In addition, this pin can also be used as an input/output for programming data in some cases.
GND Signal (Ground reference signal)
The GND (Ground Reference) signal is used as a ground reference for the device and helps ensure that signals are at the correct voltage levels when being transmitted. This pin should always be connected to a low-impedance source of ground to prevent any interference or electrical noise from affecting the operation of the circuit.
VDD/VCC Signal (Power)
The VDD/VCC (Power) signal is used to provide power to the microcontroller. This can be either a regulated voltage source or an unregulated supply such as a battery. In some cases, this pin may also be used as an input/output for programming data.
PGM Signal (Low volt programming signal)
The PGM (Programming Mode) signal is used to provide a low-voltage programming signal to the microcontroller. This will usually be tied to VCC and pulled low before programming begins, allowing the programmer access to memory cells and configuration settings.
These are the signals typically found on ICSP headers for Microcontrollers. By understanding these signals, you can better understand how ICSP works and troubleshoot any issues that might arise during the programming or debugging of your projects [3].
How do you integrate and test your PIC ICSP programming software with other devices and systems?
Choose the right programmer
The first step to integrating and testing your PIC ICSP programming software with other devices and systems is to choose the right programmer for the job. Many different types of programmers are available, so make sure you select one that is compatible with the device or system you’re using. You should also be aware of any special features your programmer may have that could help in the integration process.
Connect the ICSP pins
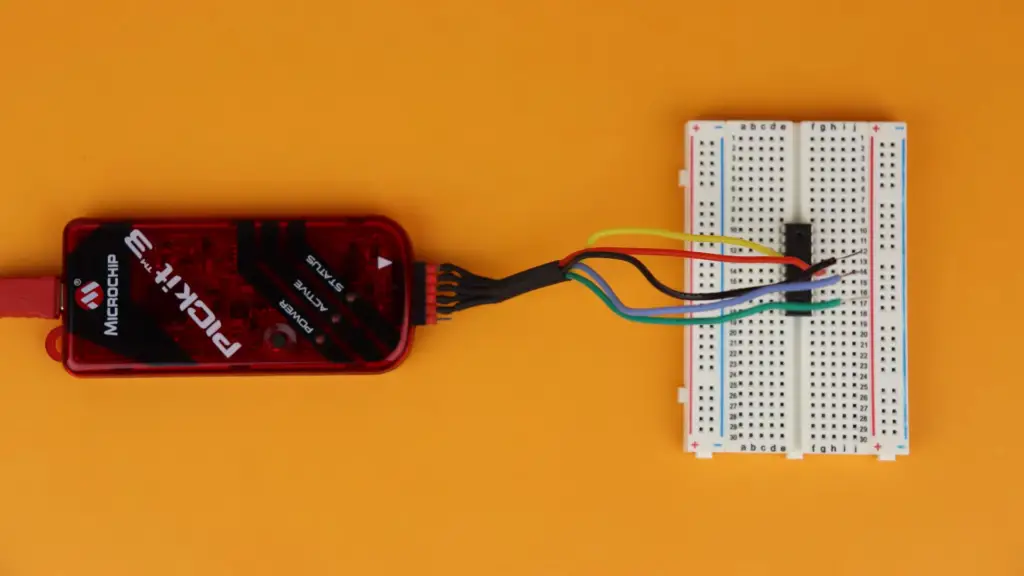
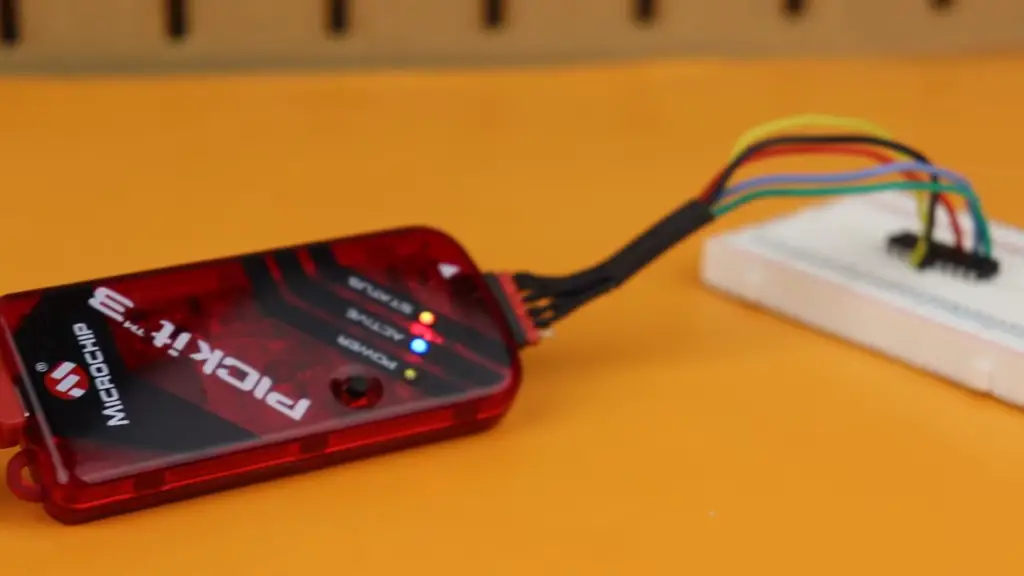
Once you’ve chosen the right programmer, the next step is to connect it to the ICSP pins on your device or system. Depending on the type of programmer you have, there may be different ways of doing this. Make sure that all connections are secure and properly insulated before continuing with the integration process.
Write and compile the code
Once the programmer is connected, you can begin writing and compiling your code. Make sure that all code is thoroughly tested before attempting to integrate it with other devices or systems. Any issues should be addressed before continuing.
Transfer and verify the code
At this stage, you should transfer the code onto your device or system and verify that it is functioning correctly. If any errors are found during this step, make sure they are addressed before continuing with the integration process.
Test and debug the code
It’s time to test and debug your code. Make sure that all tests are thorough and take into account all possible scenarios. If any errors are found during this step, they should be addressed before the integration process can be completed successfully. By taking these steps, you can ensure that your PIC ICSP programming software is properly integrated and tested with other devices and systems.
Improve and optimize the code
You should take the time to improve and optimize your code. This will ensure that your software is running as efficiently as possible and can help to prevent any issues that may arise in the future. Be sure to thoroughly test all changes before moving on with the integration process.
Here’s what else to consider
Before attempting to integrate and test your PIC ICSP programming software with other devices and systems, make sure you have all the necessary tools and materials ready. Make sure that you understand how the integration process works so that you can anticipate any potential issues. Finally, it’s important to keep abreast of any updates or changes to the software as well as new developments in the field to ensure that your software remains up-to-date. With these tips in mind, you should be able to successfully integrate and test your PIC ICSP programming software with other devices and systems [4].
FAQ
How to use a PIC microcontroller?
Using a PIC microcontroller is relatively straightforward, but there are a few key steps that must be undertaken to ensure proper operation.
- First, you will need to download and install the necessary development tools for your specific model of PIC microcontroller. This includes the programming software, such as MPLAB X IDE or Microchip Studio, as well as any other device-specific drivers and libraries that may be required for your specific model.
- You must then connect the PIC microcontroller to your computer via either a USB cable or serial port. Depending on the type of connection used, you may also need to install additional hardware such as an In-Circuit Serial Programming (ICSP) adapter.
- Once connected, you can begin to develop and program the PIC microcontroller using your chosen development environment. This includes writing code, compiling it into a binary format that can be understood by the PIC microcontroller, and then programming it onto the device itself.
- Finally, it is important to regularly monitor the operation of your PIC microcontroller in order to ensure proper operation and avoid any potential hardware or software issues. This can involve periodic testing, debugging programs, as well as monitoring vital performance metrics such as power consumption and clock speed.
With these steps in mind, anyone should be able to effectively use a PIC microcontroller for their desired application. If you are having difficulty getting started or have any questions, there are many online resources available such as tutorials and forums that can provide additional support.
How does ICSP work?
In-Circuit Serial Programming (ICSP) is a technique used to connect and program microcontrollers, such as PIC microcontrollers. The ICSP adapter is connected to the target device either through an external port or by directly soldering the pins onto the circuit board. Once connected, the user can then send instructions from their programming software (such as MPLAB X IDE or Microchip Studio) to the ICSP adapter which will in turn be relayed to the target device.
The advantage of using ICSP over other methods of programming is that it allows for easy and reliable reprogramming of devices without having to remove them from the circuit board. This makes it especially useful in situations where multiple iterations and modifications are required during development.
The ICSP adapter itself is relatively simple and consists of a set of pins that connect to the target device, as well as a USB connection for connecting to the computer. Typically, the user will simply need to plug in their adapter and select it within their programming software before they can begin sending instructions.
In general, using ICSP is an easy and reliable way to program PIC microcontrollers and other similar devices. With this method, users can quickly and easily make changes or debug issues without having to remove the device from its circuit board.
What are the common applications of PIC microcontrollers?
PIC (Peripheral Interface Controller) microcontrollers are used in a wide variety of embedded applications, ranging from consumer electronics to industrial automation.
Common applications include automotive engine control systems, home security systems, motor drivers and controllers, robotics, medical devices, and much more. The versatility of PIC microcontrollers makes them well-suited for a variety of tasks including data acquisition and processing, controlling motors or actuators, sensing temperature or other environment conditions, monitoring safety systems, and providing wireless communication capabilities.
Due to their compact size and low power consumption, they are also often used in battery-powered devices such as portable electronics such as phones or tablets. PIC microcontrollers can also be found in household appliances such as washing machines and refrigerators. Ultimately, any application that requires the use of an embedded processor is a potential use case for PIC microcontrollers.
What is ICSP communication?
In-Circuit Serial Programming (ICSP) is a method of communication that allows for the programming and debugging of microcontrollers, such as PIC microcontrollers. The ICSP adapter acts as an intermediary between the target device (in this case the PIC microcontroller) and the user’s computer. It consists of a set of pins that are connected to the target device, either by external ports or via soldering directly onto its circuit board.
Once all components are connected, the user can then send instructions from their chosen programming software (such as MPLAB X IDE or Microchip Studio) to the ICSP adapter which will in turn be relayed to the target device. The main advantage of using ICSP is that it allows users to reprogram their devices without having to remove them from the circuit board, which makes it incredibly useful in situations where multiple modifications or iterations are required during development.
How do I use PIC k150?
To use the PIC K150 microcontroller, you will first need to download and install the necessary development tools for your specific model. This includes the programming software, such as MPLAB X IDE or Microchip Studio, as well as any other device-specific drivers and libraries that may be required. Once all of the software is installed, you can then connect the PIC microcontroller to your computer via either a USB cable or serial port. Depending on the type of connection used, you may also need to install additional hardware such as an In-Circuit Serial Programming (ICSP) adapter. From there, you can begin developing and programming the PIC microcontroller using your chosen development environment. This includes writing code, compiling it into a binary format that can be understood by the PIC microcontroller, and then programming it onto the device itself.
Finally, it is important to regularly monitor the operation of your PIC microcontroller to ensure proper operation and avoid any potential hardware or software issues. This can involve periodic testing, debugging programs, as well as monitoring vital performance metrics such as power consumption and clock speed. With these steps in mind, anyone should be able to effectively use a PIC K150 for their desired application. If you are having difficulty getting started or have any questions, there are many online resources available such as tutorials and forums that can provide additional support.
Why is ICSP important?
ICSP is a useful technique for programming microcontrollers without the need to remove them from the circuit board. It is particularly helpful for prototyping and debugging as modifications can be easily tested without altering the hardware.
The main advantage of using ICSP is its speed and convenience, as well as its reliability compared to other methods such as manually rewiring a device’s pins or soldering additional components onto the circuit board. By connecting an ICSP adapter directly to the target device’s pins, users can send instructions to it almost instantaneously with no risk of damaging the hardware.
How to choose an ICSP adapter?
When choosing an ICSP adapter, it is important to consider the target device and its programming requirements. The adapter should be compatible with both the microcontroller as well as the development software that will be used. Additionally, some adapters are designed specifically for certain models or manufacturers so it is best to research any compatibility issues before purchasing an adapter.
It is also important to make sure that the pins on the adapter match up with those on the target device. This includes not only ensuring correct pin count but also verifying that all pins are correctly labeled and oriented correctly. Finally, users should check to ensure that their chosen ICSP has a sufficient power rating to properly support their target device and avoid any potential damage from overloading. With these factors in mind, users should be able to find an appropriate ICSP adapter for their needs.
Useful Video: How to get source code onto a PIC microcontroller
Conclusion Paragraph
Using a PIC ICSP programmer is a very cost-effective and convenient way to program microcontrollers. Having an ICSP programmer allows you to quickly program your devices without having to use more expensive or complex programming tools. It also helps you save time by allowing you to quickly test code before deploying it onto the device. With its easy setup, user-friendly interface, and low cost, the PIC ICSP programmer is a great tool for anyone who wants to experiment with microcontroller programming.
Overall, using a PIC ICSP programmer makes microcontroller programming easier and more accessible, even for those just starting out in embedded systems development. With its quick setup and straightforward operation, it’s no wonder that the PIC ICSP programmer has become such an essential tool for embedded systems enthusiasts.
References
- https://pic-microcontroller.com/details-of-pic-icsp-and-how-to-use-it-for-pic-microcontrollers
- https://www.instructables.com/Understanding-ICSP-for-PIC-Microcontrollers/
- https://www.best-microcontroller-projects.com/pic-icsp.html
- https://www.linkedin.com/advice/0/how-do-you-integrate-test-your-pic-icsp-programming