Are you looking for a way to remove soldered pins from your electronic devices? Desoldering is an important skill in electronics and the ability to do so can be beneficial for those working on repairing or replacing parts within their devices. But before you attempt to desolder anything, it’s essential that you understand the basics of how to safely do so. In this blog post, we’ll cover everything you need to know about desoldering pins safely and correctly: The proper tools and equipment needed, what temperature setting is needed, safety precautions during the process, trouble-shooting tips if something goes wrong as well as some helpful tips along the way. So whether you’re a complete beginner who needs help understanding the basics of desoldering or an experienced technician ready for more advanced techniques – our ultimate guide on how best to approach removing soldered pins will provide all that information and more!
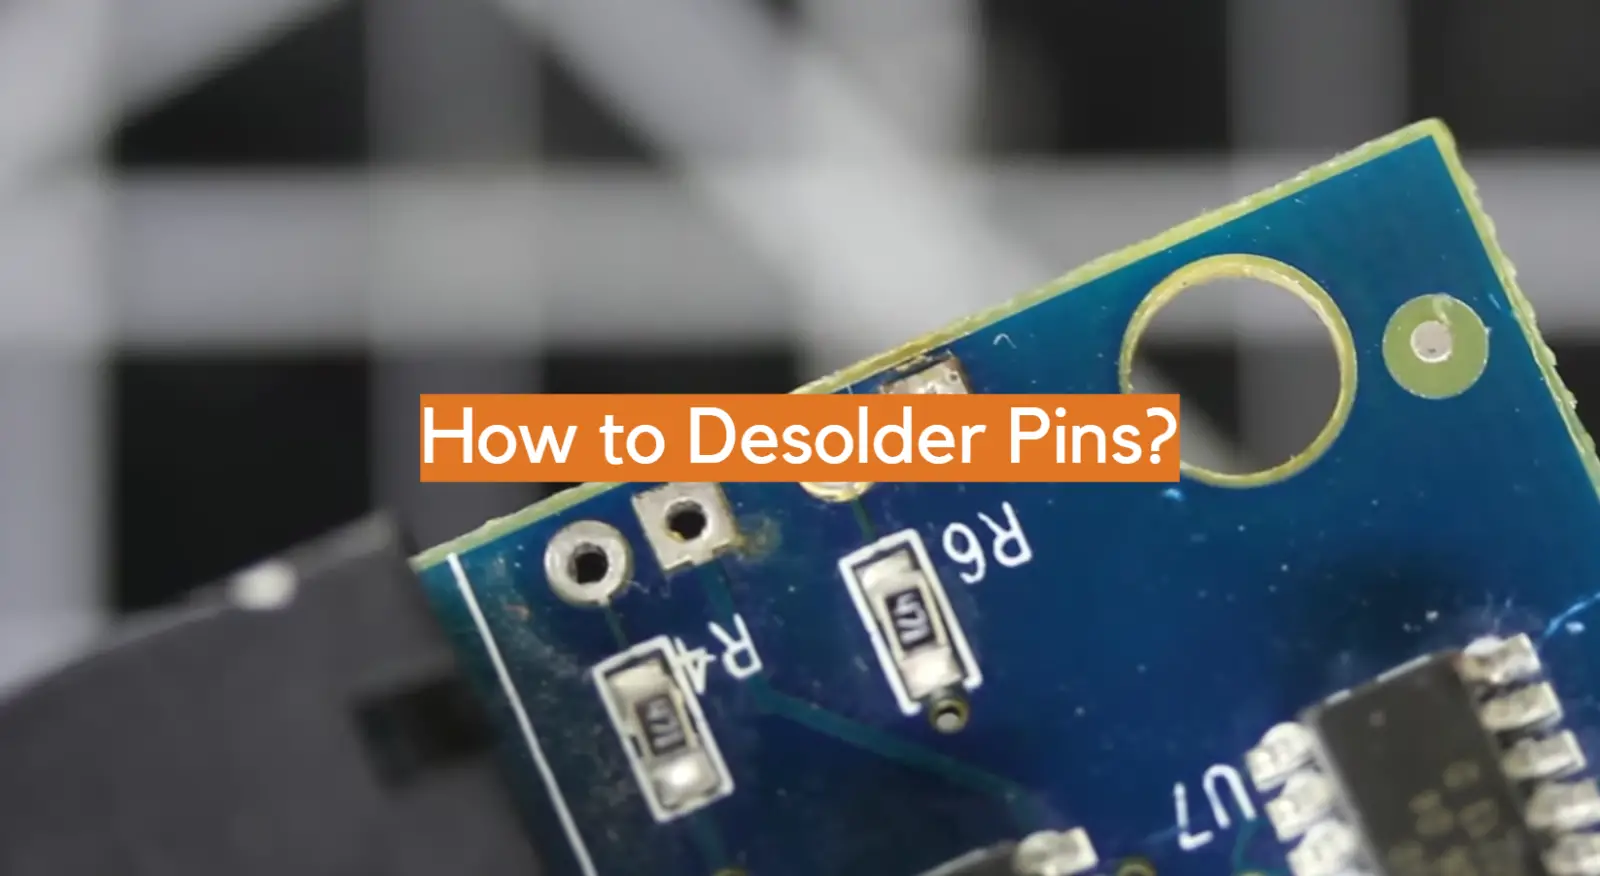
How to Desolder Pins?
Cut the Joints of the Headers
Using a pair of pliers, gently cut the joints of the headers that you want to desolder.
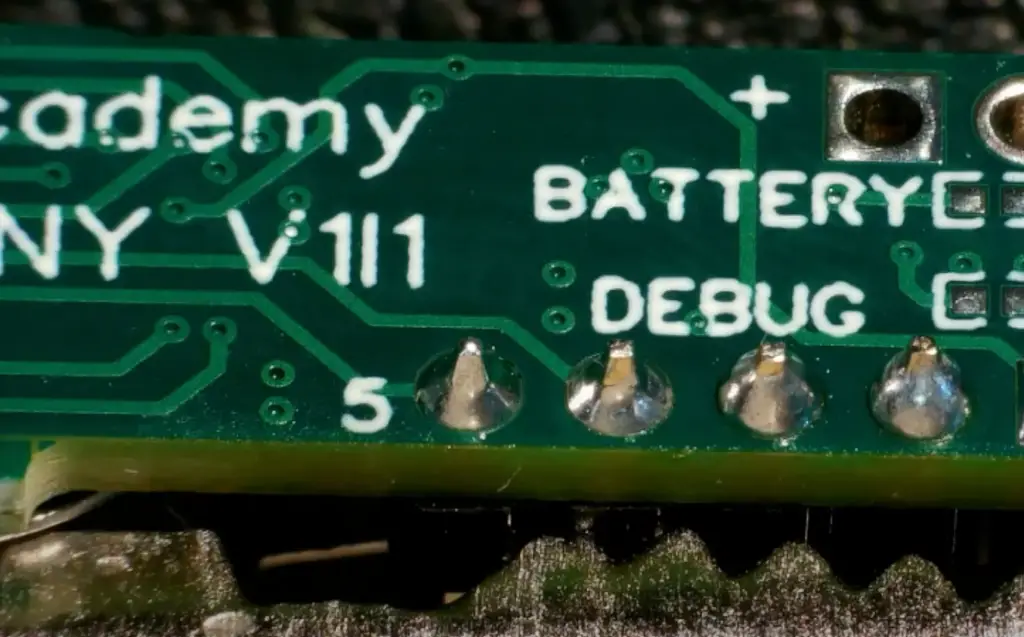
Clean Out the Black Plastic
Before beginning the desoldering process, it is important to make sure that all of the black plastic around the pins has been removed. This will ensure easier access to the pins, making desoldering much simpler. To do this, take a pair of pliers and gently pull away any excess black plastic material surrounding the pins. Be careful not to damage any of the other components in the circuit board while doing so. [1]
Remove the Golden Pins
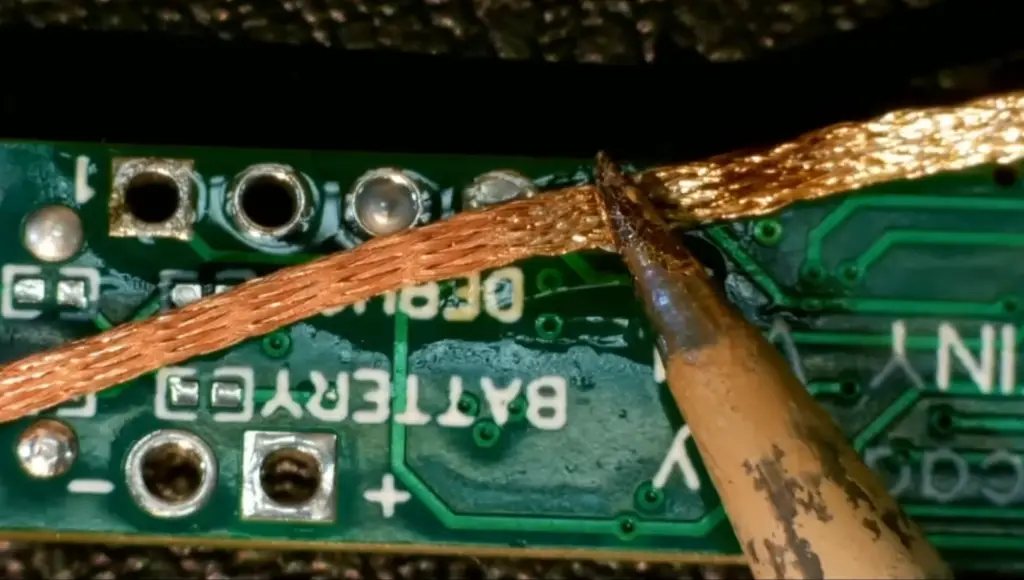
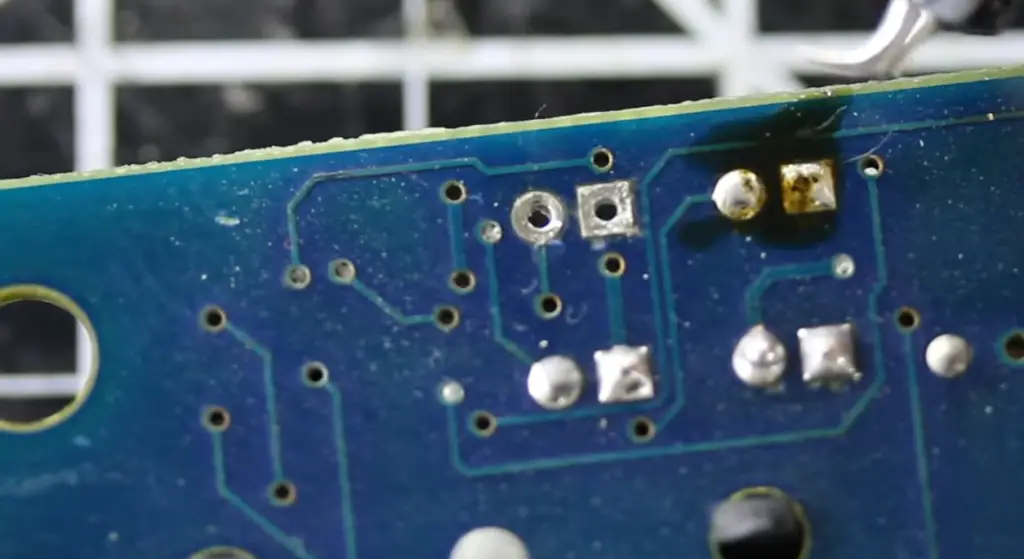
Once the black plastic has been removed, it is time to start removing the pins. To do this, you will need a soldering iron and some solder wick. Start by heating up the top of each pin with the soldering iron for a few seconds. Once heated, press down on the solder wick over the heated area firmly until all of the excess solder is absorbed. Then, gently pull out each gold-colored pin from its hole in the circuit board. Removing stubborn pins from the circuit board can be a challenging task that requires patience. Care must be taken to prevent damage to the pins or other components during the process.
Clean Up Using Solder Wick
After removing all the pins, use a fresh solder wick to clean up any remaining melted solder. This will help to ensure that all of the excess material has been cleaned up and that there are no loose pieces of metal on the circuit board. Doing this step can be tedious, but it is important in order to prevent any short circuits from occurring later on.
Verify No Crucial Pins Have Been Damaged
Finally, take a close look at each pin to make sure that none of them have been damaged in the process. If there are any signs of damage, it is best to replace the pins with new ones before continuing.
By taking these steps, you can ensure that no crucial pins are removed or damaged when desoldering components from circuit boards. Between each step, double-check the work done and verify that everything is going according to plan – this will help to catch any mistakes early on and prevent further problems. [2]
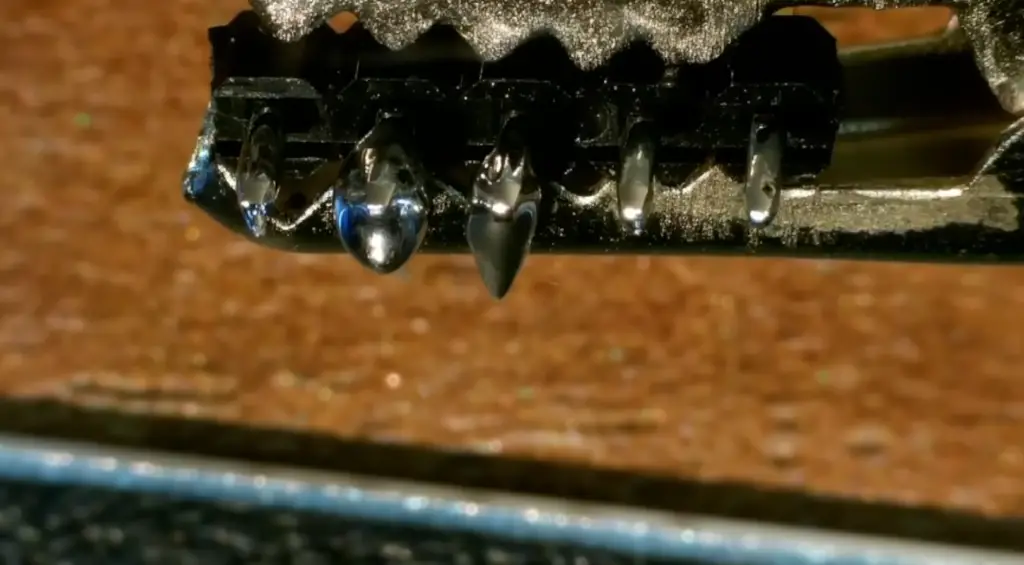
Is Flux Bad For Soldering?
No, flux is not bad for soldering. In fact, flux is a necessary component of any successful soldering job. Flux helps to ensure that solder forms a strong bond between the two pieces being joined and prevents oxidation from occurring on the surface of the metal parts. Flux also serves as a protective barrier between metals and helps improve electrical conductivity. When used correctly, flux can help ensure that your soldering projects come out looking professional. However, if too much flux is used or if it has not been cleaned off properly after use, it can cause damage to components or create an undesirable connection. It is important to follow the manufacturer’s instructions when using flux in order to ensure optimal results with your soldering projects.
What Temperature Is Needed For Desoldering Wick?
For optimal results when desoldering pins with a desoldering wick, a temperature of at least 350°F (177°C) is recommended. It’s important to keep in mind that this temperature can vary depending on the type of soldered components and other factors. Applying too much heat, or holding the heat for too long can damage the component and/or circuit board, so it’s best to err on the side of caution and not increase the temperature beyond what is needed. To help adjust the temperature accurately, use an adjustable soldering iron with a digital display that shows precise temperatures.
Additionally, it may be beneficial to cover exposed areas of the circuit board with Kapton tape to prevent any possible damage from excessive heat. Finally, be sure to use a pointed tip when applying the soldering iron to the desoldering wick – this will help ensure an even and consistent spread of heat across the area while also preventing unnecessary damage to the surrounding components.
Desoldering pins with a desoldering wick is an efficient and low-cost way of removing unwanted solder joints from electronic components or circuit boards, however it’s important to make sure that you are using the correct temperature for optimal results and safety. Following these tips can help ensure that your soldering projects go smoothly without any costly mistakes or damage. [3]
Is Solder Toxic To Touch?
The answer to this question depends on the type of solder used. Lead-based solder is toxic if it is touched or inhaled in large quantities, but non lead-based solders are not harmful when touched in small amounts. To avoid any potential health risks, it is important to wear personal protective equipment such as gloves and a respirator while desoldering pins. Additionally, proper ventilation should be employed during the process and any excess solder should be disposed of safely and responsibly. If you believe you have been exposed to excessive levels of lead-based solder, seek medical attention immediately.
What Chemicals Remove Solder?
When desoldering pins and other parts from a circuit board, chemicals can help dissolve the solder. Some of the most commonly used chemicals for this purpose are flux, liquid soldering flux, and rosin-based flux. Flux is a material that assists in the flow of solder when soldering electronic components. Liquid soldering flux is usually composed of alcohols or glycol ethers. It helps to flush away impurities and oxidation on metal surfaces before soldering occurs. Rosin-based flux is more acidic than liquid soldering flux and provides a more reliable bond between surface mount devices (SMD) and their pads. Additionally, some specialized solder wick products contain compounds which can also be used to remove solder and clean up metal surfaces.
When desoldering, it is important to use the appropriate type of flux for the job. The wrong kind of flux can actually hinder the flow of solder and lead to poor connections. Additionally, certain types of chemicals are more effective than others in different situations. For instance, liquid soldering flux may be better for removing small components from circuit boards and rosin-based flux may work better when dealing with larger parts or SMD devices.
Once all of the necessary materials have been gathered, heat can then be applied to the pins or part that needs to be desoldered. This can be done using a soldering iron, hot air gun, or other type of heating device. Once the solder has melted, it can then be removed with tweezers or a vacuum desoldering tool. Additionally, chemicals such as flux and solder wick can also help to break down any remaining residue. With a bit of patience and practice, it is possible to successfully remove pins and parts from circuit boards without damaging them in the process.
When done correctly, desoldering pins and other components from a printed circuit board is an important skill for anyone working in electronics repair. By knowing how to properly use tools such as fluxes, soldering irons, and other heating devices, it is possible to safely desolder pins and parts without damaging them. [4]
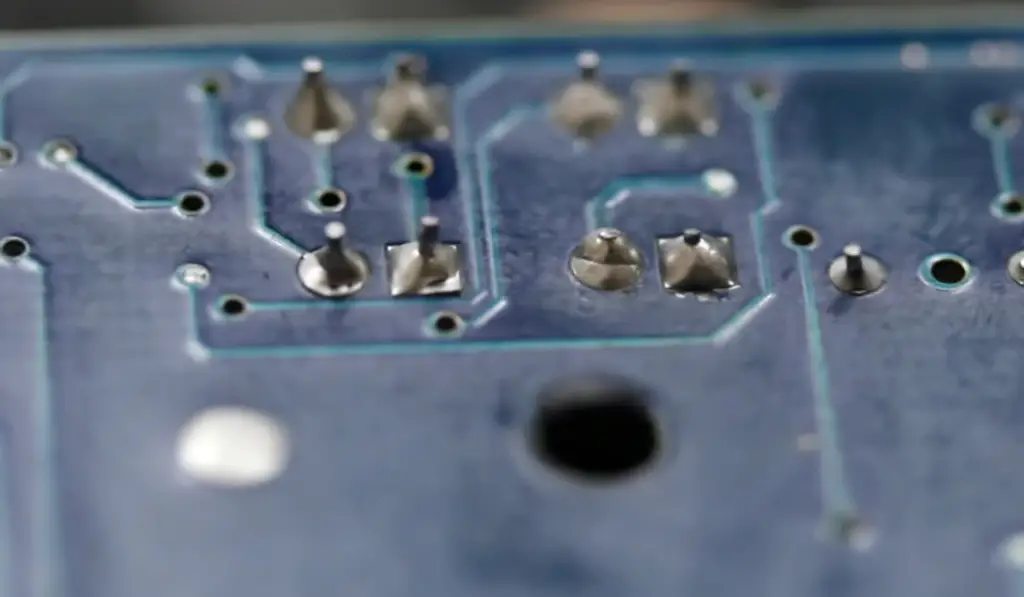
Why Can’t You Melt Solder?
Soldering requires specialized tools and techniques to achieve a safe, secure connection between two electronic components. One of the most important steps in soldering is desoldering. Desoldering involves melting away the solder that connects two pins or leads together in order to remove one or both of them from a circuit board or other electronic device. However, it’s important to note that you can’t just melt away solder; doing so could cause permanent damage to your device due to heat buildup and corrosion.
How to Use a Desoldering Pump?
Using a desoldering pump is the most effective way to remove unwanted solder from electronic components. First, select an appropriate size of desoldering pump for your job. A small-sized pump will work well on smaller jobs, whereas larger pumps are better for bigger projects.
Start by heating up the tip of the soldering iron and pressing it against the pin that you want to desolder. This should melt the solder around the pin so that it can be removed more easily. Keep in mind that applying too much heat may damage some components, so use moderate heat only as needed.
Once the solder has melted, press down gently on the part that contains the pin with tweezers or pliers while pushing the plunger of the desoldering pump. This will create a vacuum which should draw out the melted solder from around the pin.
Once all of the solder has been removed, clean up any remaining residues with a damp cloth or by using some isopropyl alcohol and a cotton swab. Be sure to wipe off excess moisture from electronic components to prevent them from shorting out and becoming damaged.
Finally, once you’re satisfied that all of the solder has been completely removed, you can carefully move on to soldering the new pins into place. Remember to take your time and be careful not to burn yourself with hot metal or cause any damage to fragile components when soldering.
By following these steps, you should be able to successfully desolder pins and replace them with new ones without any issues. Just make sure that you don’t apply too much heat or force when using your desoldering pump and take the necessary precautions to protect your components from becoming damaged. With a bit of practice, you can soon become an expert in soldering and desoldering pins! [5]
FAQ
How do you get solder off pins?
The best way to get solder off pins is to use a soldering iron and desoldering tool. To do this, heat up the solder on the pin with the soldering iron until the solder melts away from the pin. Then, use a desoldering tool such as a vacuum pump or wick to suck up and remove any excess melted solder from the area around the pin. Finally, use tweezers or pliers to pull away any remaining pieces of solder that may be stuck on the pin. By following these steps, you should be able to
easily remove all of the solder from pins without damaging them.
How do you desolder pins without a wick?
A common method for desoldering pins without a wick is to use a solder sucker. This device uses a spring-loaded plunger and vacuum pressure to pull the molten solder away from the joint, allowing you to remove the pin with tweezers or pliers. To use a solder sucker effectively, apply it directly to the joint while holding the heat source in place until you feel resistance – this means that the solder has melted – then press down on the plunger of the solder sucker quickly and firmly. The molten solder will be sucked up into the tube, leaving behind an empty hole where your pin was. You can then remove any remaining residue with some flux and gently extract the pin using tweezers or pliers. It is important to be gentle when extracting the pin as it can be fragile and breaking it could damage your circuit board. Once extracted, you should use a desoldering braid or flux paste to clean up any other solder residue from the board before inserting a new pin.
How do you desolder pins with a wick?
Using a wick is one of the most popular methods for desoldering pins. It involves using a copper braid to draw solder away from the joint. To use this method, you will need some sort of wicking material, heat source (such as an iron) and flux core solder. First, apply the flux core solder to the joint area that needs to be desoldered. This helps with better heat transfer and prevents oxidation from occurring while you are working on it. Next, position your wick over the joint area and press down slightly. Apply heat to both sides of the joint from your iron or other heat source; this helps create a strong bond between the two components being soldered together. Finally, as the solder melts and is drawn away by the wick, you can gently remove any remaining bits that may be stuck. Once all of the solder has been removed, you’re done! Your pins should now be ready for resoldering. Be sure to wear protective gloves when handling molten solder and take all necessary safety precautions.
Useful Video: Desoldering | Soldering Basics | Soldering for Beginners
Conclusion
Desoldering pins is a delicate task that requires skillful hands and patience. It is important to choose the right desoldering tool, make sure the temperatures are not too hot, keep track of all parts of hardware being soldered and unsoldered, use flux when necessary, be aware of environmental hazards, and clean up any leftover solder with an appropriate solvent. With some practice and patience, anyone can learn how to desolder pins properly. After developing your skills in this process you can move on to more complex tasks like replacing components or rewiring circuits. Once you become familiar with these steps you will find it easier to work with electronics backplane connectors without damaging them or having other problems during assembly. Good luck!
References
- https://www.instructables.com/How-to-Desolder-Headers/
- https://www.instructables.com/The-Ultimate-Guide-to-Desoldering/
- https://www.wikihow.com/Desolder
- https://forum.arduino.cc/t/is-desoldering-header-pins-needed-sometimes/1024328
- https://pinside.com/pinball/forum/topic/desoldering-headers






Leave a Reply