
The Raspberry Pi is a popular small computer that can be used for various projects and experiments. It’s compact size, low cost, and versatility make it a great platform for learning about electronics and programming.
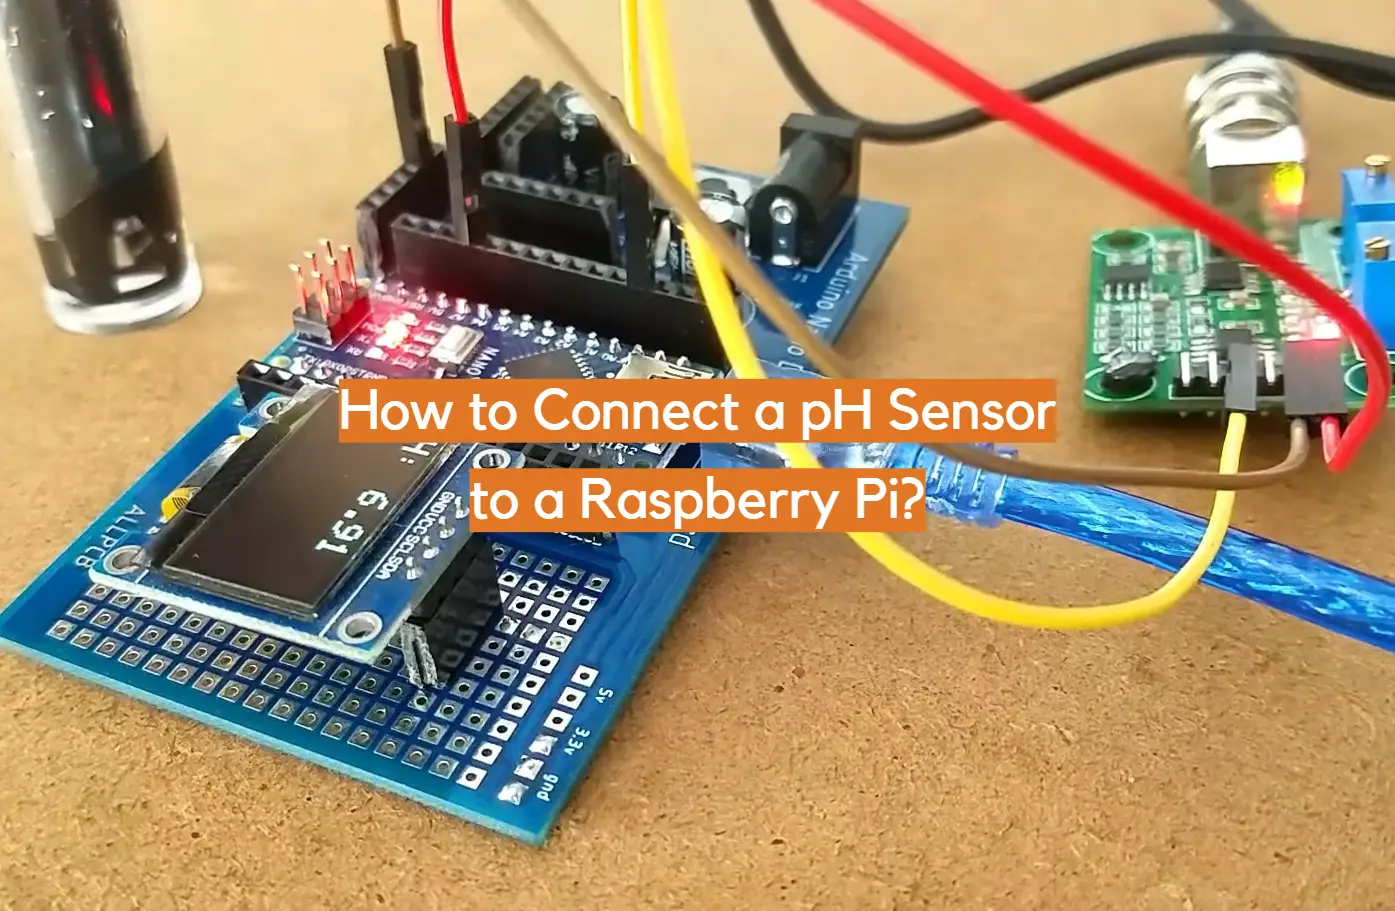
One common project involving a Raspberry Pi is connecting sensors to collect data. One type of sensor that can be connected is a pH sensor, which measures the acidity or alkalinity of a solution. In this guide, we will discuss how to connect a pH sensor to a Raspberry Pi and use it to collect and analyze data.
What is pH?
The measurement and monitoring of pH levels are of great importance in various industries. In agriculture, pH levels are crucial for determining soil acidity or alkalinity, which directly affects plant growth and nutrient availability. In environmental science, pH is used to assess the health of aquatic ecosystems, as changes in pH can impact the survival and reproduction of aquatic organisms. Additionally, in the food production industry, pH monitoring is essential for ensuring food safety and quality, as certain pH levels can inhibit the growth of bacteria and extend shelf life.
By accurately measuring and monitoring pH levels, industries can make informed decisions, implement appropriate corrective measures, and maintain optimal conditions for various processes and applications. [3]
Why should I use a Raspberry Pi?
The Raspberry Pi, a versatile and powerful tool, is a game-changer for collecting and analyzing data from various sensors, including pH sensors. With its multitude of input/output (I/O) pins, you can effortlessly connect and interact with external devices, expanding your possibilities beyond imagination.
What sets the Raspberry Pi apart is its user-friendly operating system and programming environment, making it accessible even for beginners. Its intuitive interface allows for seamless navigation and hassle-free coding, giving you the freedom to explore and experiment.
Moreover, utilizing a Raspberry Pi grants you remarkable flexibility and customization. You have the freedom to handpick the ideal sensor for your project, determine the frequency of data collection, and define specific actions based on sensor readings. This opens up an entire world of possibilities for innovative experimentation and immersive learning experiences.
Embrace the Raspberry Pi, and unlock a world of endless opportunities to delve into the realms of data analysis, sensor technology, and personalized automation. Let your imagination run wild as you embark on this exciting journey of discovery and innovation. [3]
Sensors
Before delving into the specifics of connecting a pH sensor to a Raspberry Pi, it is crucial to have a comprehensive understanding of the basic components involved. A sensor, in essence, is a sophisticated device designed to detect and promptly respond to physical or chemical changes occurring in its immediate environment. It accomplishes this by converting these changes into electrical signals, which can subsequently be analyzed and interpreted for further understanding.
When it comes to connecting a sensor to a Raspberry Pi, it is often necessary to employ an interface that facilitates seamless communication between the two devices. This interface can take the form of a breakout board, which offers convenient access to the sensor’s pins and simplifies the wiring process.
In the vast realm of sensors, an array of options is readily available, each serving a distinct purpose and boasting unique functionality. Temperature sensors, for example, enable the measurement and monitoring of ambient temperature, while light sensors are essential for gauging the intensity of light in a given environment. Motion sensors, on the other hand, detect movement and provide valuable insights into occupancy and activity. And of course, pH sensors play a crucial role in determining the acidity or alkalinity of a liquid solution. Familiarizing oneself with the capabilities and limitations of different sensor types is of utmost importance, as it allows for informed decision-making when selecting the most suitable sensor for any given project. [3]
How to get measurements?
Now that you have a fundamental understanding of pH, including its importance in various applications, let’s explore how you can leverage the capabilities of the Raspberry Pi to connect and interact with a pH sensor.
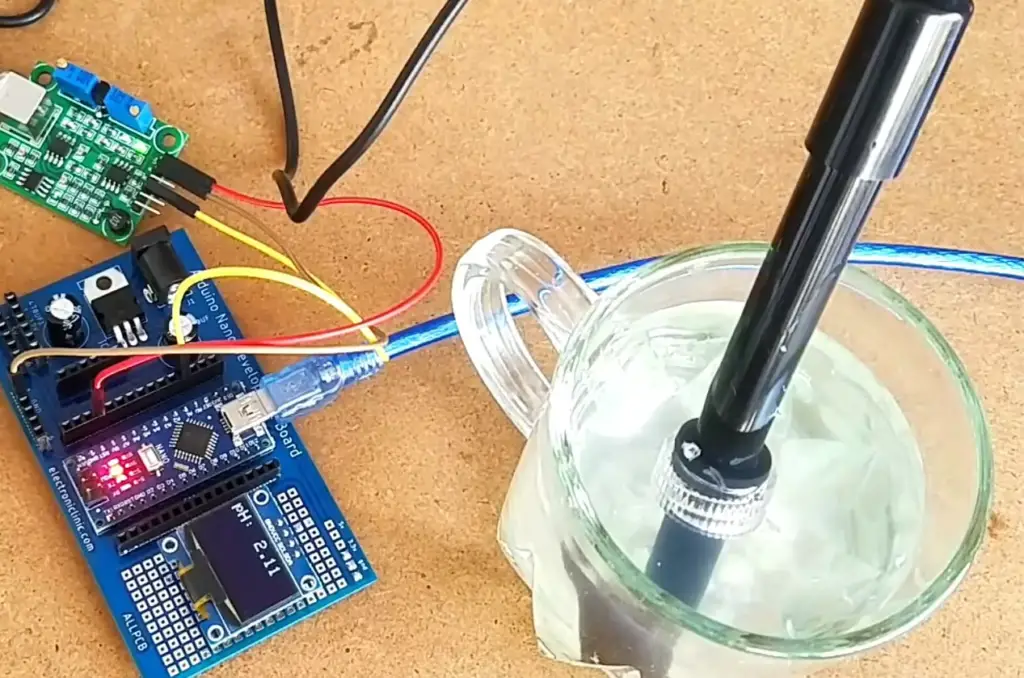
To begin, you will need to physically connect the pH sensor to the Raspberry Pi using jumper wires. This ensures a seamless flow of data between the sensor and the Pi, enabling accurate measurements. Once the physical connection is established, you can proceed to the next step.
The process of obtaining measurements from a pH sensor involves writing code in a programming language, such as Python, to read and interpret the sensor’s data. This code acts as a bridge between the Raspberry Pi and the sensor, allowing you to capture and process the pH readings.
Additionally, to ensure precise and reliable measurements, many enthusiasts employ an analog-to-digital converter (ADC) in their setup. The ADC plays a crucial role in converting the analog signals produced by the pH sensor into digital signals that can be easily interpreted by the Raspberry Pi. By incorporating an ADC, you can enhance the accuracy and precision of your pH measurements.
Once you have successfully collected the data from the pH sensor, you can delve into analyzing and manipulating the information to gain valuable insights. This may involve applying various algorithms, statistical techniques, or visualization methods to better understand the trends and patterns in the pH readings.
By following these steps and leveraging the capabilities of the Raspberry Pi, you can unlock a world of possibilities in pH sensing and data analysis. Whether you are working on a scientific project or exploring the potential of IoT applications, understanding how to connect and utilize a pH sensor with a Raspberry Pi is a valuable skill that opens doors to endless opportunities. [3]
Necessary items
To successfully connect a pH sensor to a Raspberry Pi, you will need the following items:
- A Raspberry Pi: A small, affordable computer that serves as the brain of your project.
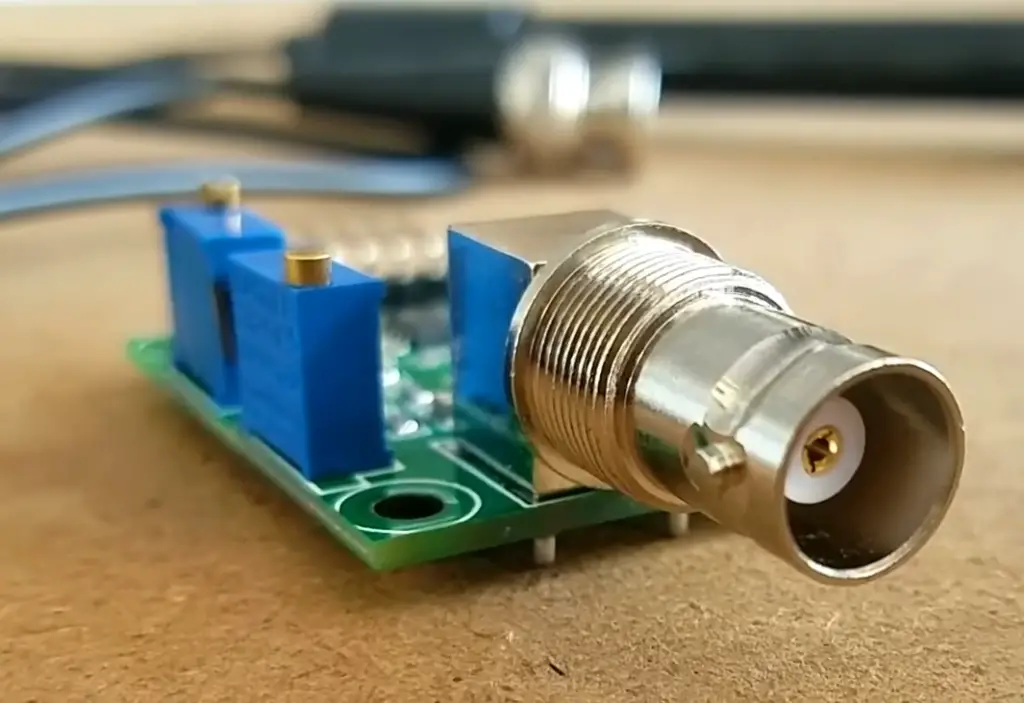
- A pH sensor: This device measures the acidity or alkalinity of a liquid and is crucial for pH monitoring applications.
- Jumper wires (male-to-male and female-to-male): These wires are used to establish connections between the Raspberry Pi, pH sensor, and other components.
- An ADC (optional but recommended for enhanced accuracy): An Analog-to-Digital Converter (ADC) can be used to convert the analog signal from the pH sensor into a digital format, providing more precise readings.
- A breadboard (recommended for ease of wiring): This board allows you to create temporary connections between components without soldering, making it easier to prototype and test your circuit.
- A programming language such as Python: You will need to write code to read and process the pH sensor data on the Raspberry Pi. Python is a popular and beginner-friendly language for Raspberry Pi projects.
With these essential items in hand, you are now equipped to embark on your journey of connecting and utilizing a pH sensor with a Raspberry Pi. Remember to always refer to the datasheet and user manual for each component to ensure proper wiring and usage. [1]
Step 1. Installing the IoT Monitoring Software
Before embarking on the process of connecting a pH sensor to a Raspberry Pi, it is crucial to ensure that you have the necessary software installed on your Pi for seamless data collection and analysis. One popular and highly recommended option is to utilize an IoT monitoring software, such as Cayenne or Thingspeak, which offers a comprehensive suite of features.
These powerful tools not only facilitate easy integration with a wide range of sensors, including pH sensors, but also provide intuitive and user-friendly interfaces for data visualization and manipulation. With their extensive capabilities, you can effortlessly monitor and analyze pH data in real-time, enabling you to gain valuable insights into your system’s performance and make informed decisions.
By installing and setting up these software options, you will establish a solid foundation for connecting and communicating with your pH sensor, ensuring a smooth and efficient workflow. So, with the right software in place, you can embark on your pH sensing journey with confidence and precision. [1]

Step 2. Connecting to the Raspberry Pi
With the IoT monitoring software installed and a solid understanding of pH sensors, it’s time to physically connect the sensor to your Raspberry Pi. For this step, you will need male-to-male and female-to-male jumper wires.
First, connect the 5V pin on the Raspberry Pi to the VCC pin on the pH sensor using a female-to-male jumper wire. Next, connect the GND pin on the Pi to the GND pin on the sensor using another female-to-male jumper wire. These connections will provide power and ground for your pH sensor.
Next, you will need to connect the analog output of the pH sensor to any one of the GPIO pins on the Raspberry Pi. This is where an ADC would come in handy, as it helps convert the analog output from the sensor into a digital signal that can be easily interpreted by the Pi.
Once you have made all of the necessary connections, double-check to ensure that all wiring is secure and correctly connected. Any loose or incorrect connections can result in inaccurate readings or damage to your pH sensor. [1]
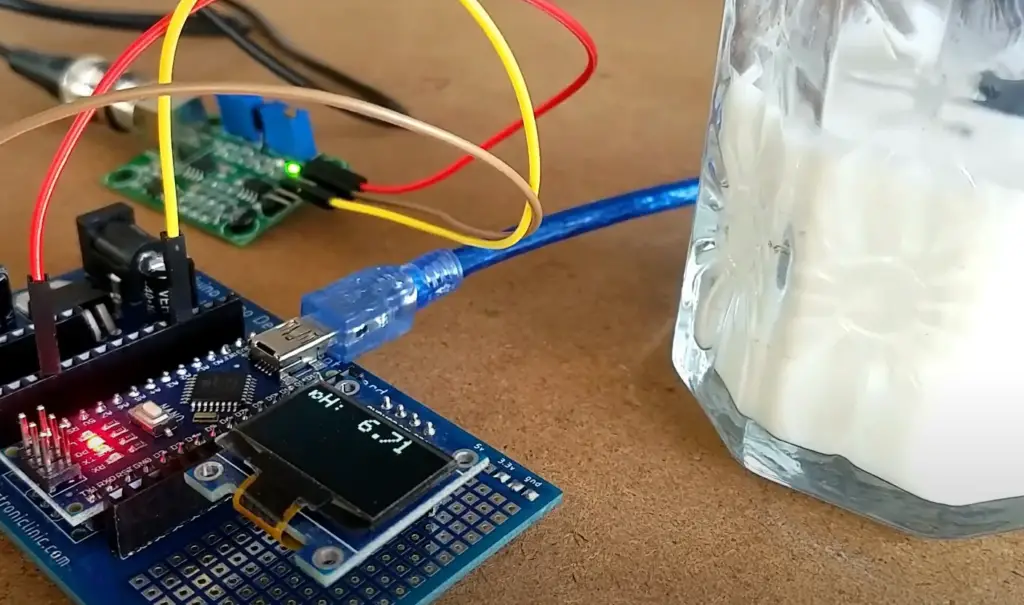
Step 3. Viewing pH Readings
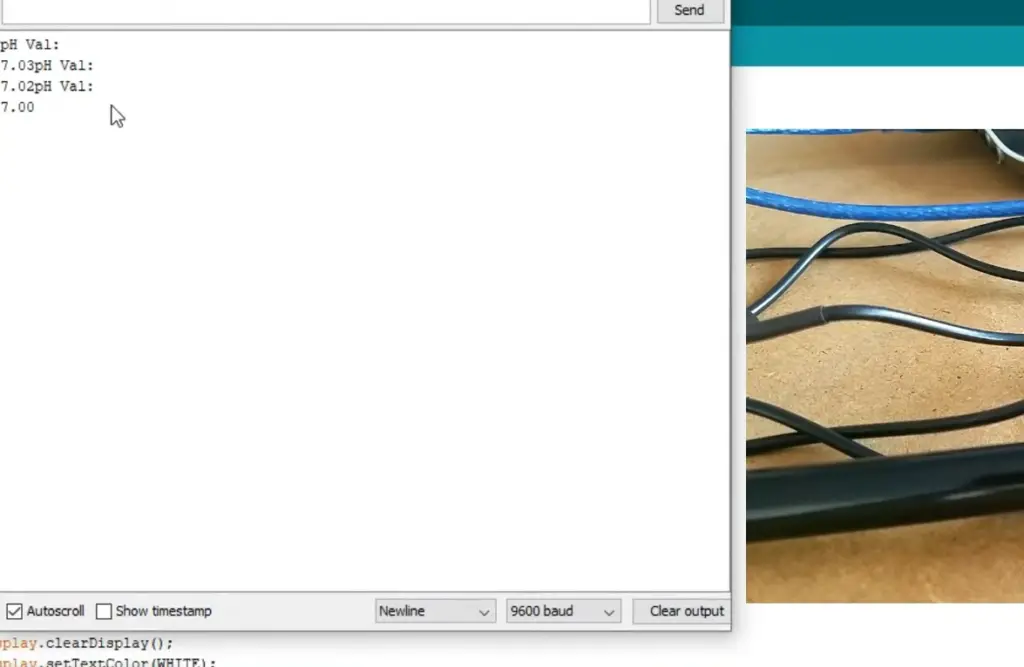
Once you have established the physical connections, it’s time to dive into testing and viewing your pH readings. This step involves writing code in a programming language, such as Python, to effectively read the data from your sensor and seamlessly display it on your Raspberry Pi.
Fortunately, a wide range of IoT monitoring software options are available, offering user-friendly code templates specifically designed for connecting various sensors, including pH sensors. By leveraging these templates or crafting your own code, you can effortlessly capture and visualize pH readings in real-time, enhancing your monitoring capabilities.
But that’s not all – these monitoring software solutions also enable you to set up customized alerts or triggers. This means that you can receive notifications whenever there are significant changes in your pH readings, allowing you to proactively monitor and maintain the ideal pH levels for your specific application.
By embracing this comprehensive approach to pH monitoring, you can ensure that you have a robust system in place, providing you with accurate, real-time data and empowering you to take timely action when necessary. [1]
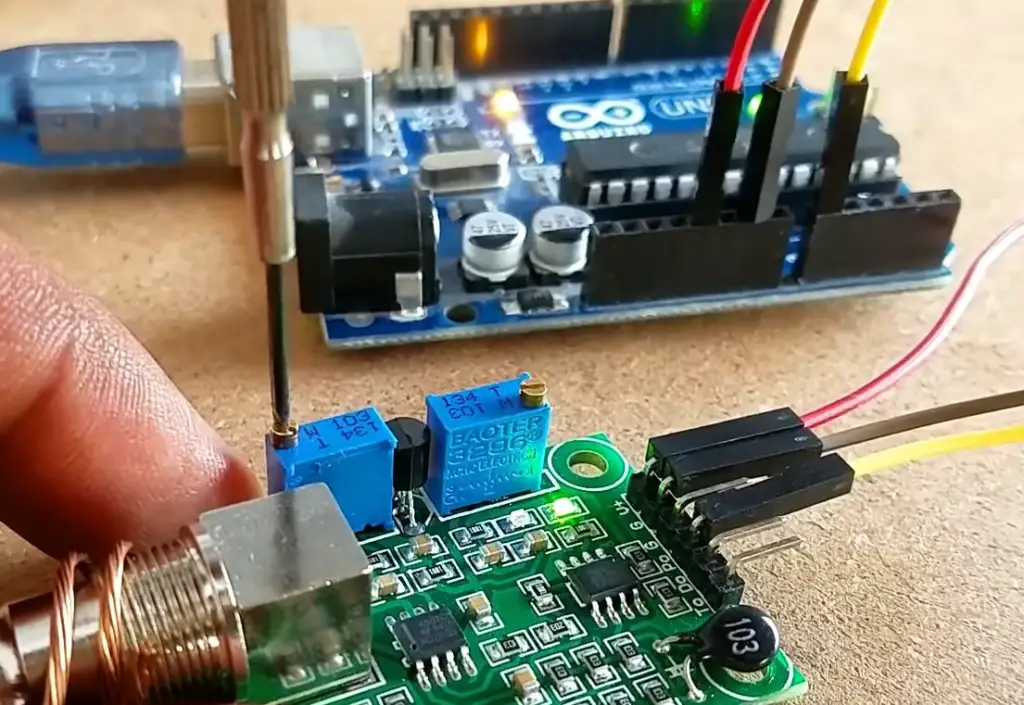
Step 4. Calibration
One crucial aspect of working with a pH sensor is ensuring its accuracy through calibration. Calibration involves adjusting and standardizing the readings from your sensor to match known values, such as those obtained from a calibrated machine or solution.
To calibrate your pH sensor, you will need a buffer solution with a known pH value. By immersing your sensor in these solutions and comparing the readings to the known values, you can adjust and calibrate your sensor accordingly. This step is crucial for ensuring accurate and reliable pH measurements.
Additionally, regular calibration is necessary to account for any changes or drifts in your sensor’s performance over time. By incorporating a calibration schedule into your monitoring system, you can maintain the accuracy of your pH sensor and ensure high-quality data. [2]
Things To Remember About Ph Levels
Before concluding, it is of utmost importance to highlight the significant role that pH levels play and their profound impact on various systems. pH levels, which measure the acidity or alkalinity of a solution, are critical in numerous industries, including agriculture, water treatment, and food production.
For instance, in hydroponics, a soilless method of plant cultivation, maintaining an ideal pH level is paramount for facilitating optimal plant growth and efficient nutrient absorption. By closely monitoring and adjusting the pH levels, hydroponic systems can ensure that plants receive the necessary nutrients in the most effective way possible, leading to healthier and more abundant crop yields.
In water treatment, pH levels serve as a vital indicator of a water source’s acidity or alkalinity. This information is crucial in determining the appropriate treatment processes necessary to achieve the desired water quality. Whether it is adjusting the pH to prevent corrosion in water distribution systems or optimizing coagulation and disinfection processes, understanding and controlling the pH levels are fundamental for ensuring safe and sustainable water supplies.
In conclusion, comprehending the process of connecting a pH sensor to a Raspberry Pi not only opens up a realm of possibilities for monitoring and optimizing various systems but also empowers individuals with the ability to make informed decisions that significantly enhance system performance. With the right tools, knowledge, and attention to pH levels, you can unlock the full potential of pH sensing and drive improvements in a wide range of applications. [2]
Other Things To Remember
As a general rule, always remember to handle pH sensors with care. Avoid exposure to extreme temperatures or direct sunlight, and always store them in a dry and clean place when not in use.
Furthermore, it is essential to understand that pH sensors have a limited lifespan and may need replacement over time. By regularly monitoring and maintaining your sensor, you can extend its life and ensure continuous, reliable performance.
In summary, connecting a pH sensor to a Raspberry Pi opens up endless possibilities for real-time monitoring and optimization of various systems. [2]
FAQ
How do you install a pH sensor?
Installing a pH sensor involves carefully connecting the appropriate wires from the sensor to a Raspberry Pi, ensuring that all connections are secure and correct. It also involves writing code to interpret the sensor’s output accurately. Additionally, regular maintenance and calibration are necessary for optimal performance.
How do you connect a pH probe?
A pH probe is typically connected to a Raspberry Pi through three wires: a power wire, ground wire, and data wire. The connections are made using appropriate connectors or by soldering the wires directly onto the pins of the Raspberry Pi.
How to connect a pH meter to an Arduino?
Connecting a pH meter to an Arduino is similar to connecting it to a Raspberry Pi. It involves making the appropriate connections and writing code to interpret the sensor’s output accurately. However, depending on the specific model of the pH meter and Arduino, some adjustments may be necessary for compatibility.
How do you use a digital pH probe?
To use a digital pH probe, connect it to a Raspberry Pi or Arduino and write code to interpret the output. You can then integrate the sensor into your monitoring system, set up alerts and triggers, and perform regular calibration for accuracy.
What is the difference between a pH meter and a pH probe?
A pH meter is a device that measures and displays the pH value of a solution, while a pH probe is an electrode that senses changes in hydrogen ion concentration to determine the pH. A pH probe is typically used in conjunction with a pH meter or other devices for measurement and monitoring purposes. Therefore, the main difference between the two is their function – one measures, while the other senses.
What is a digital pH probe?
A digital pH probe is a type of electrode that contains additional circuitry to convert the voltage output into a digital signal. This allows for more accurate and reliable readings, as well as easier integration with microcontrollers like Raspberry Pi or Arduino. Digital pH probes also tend to have a longer lifespan compared to traditional analog probes. Overall, they offer improved functionality and convenience for pH sensing applications.
Useful Video: pH meter Arduino, pH Meter Calibration, DIYMORE pH Sensor, pH Sensor Arduino Code, pH of liquids
Conclusion
Connecting a pH sensor to a Raspberry Pi opens up endless possibilities for real-time monitoring and optimization of various systems. From hydroponics to water treatment, understanding and controlling pH levels are crucial for achieving optimal performance and improving overall system efficiency. By following best practices for handling, maintenance, and calibration, you can ensure the accuracy and longevity of your sensor’s performance. So why wait? Get your hands on a pH sensor and start unlocking its full potential today!
Overall, connecting a pH sensor to a Raspberry Pi is an exciting process that can lead to significant improvements in various industries. With the right tools and knowledge, you can harness the power of pH sensing and make informed decisions that drive positive change. So go ahead, connect that pH sensor and see the difference it can make in your systems. So, connect a pH sensor to a Raspberry Pi and take your monitoring and optimization capabilities to new heights!
References
- https://atlas-scientific.com/blog/ph-sensor-raspberry-pi/
- https://www.anyleaf.org/blog/measuring-ph-on-raspberry-pi
- https://handtoolsforfun.com/how-to-connect-a-ph-sensor-to-a-raspberry-pi-3/