
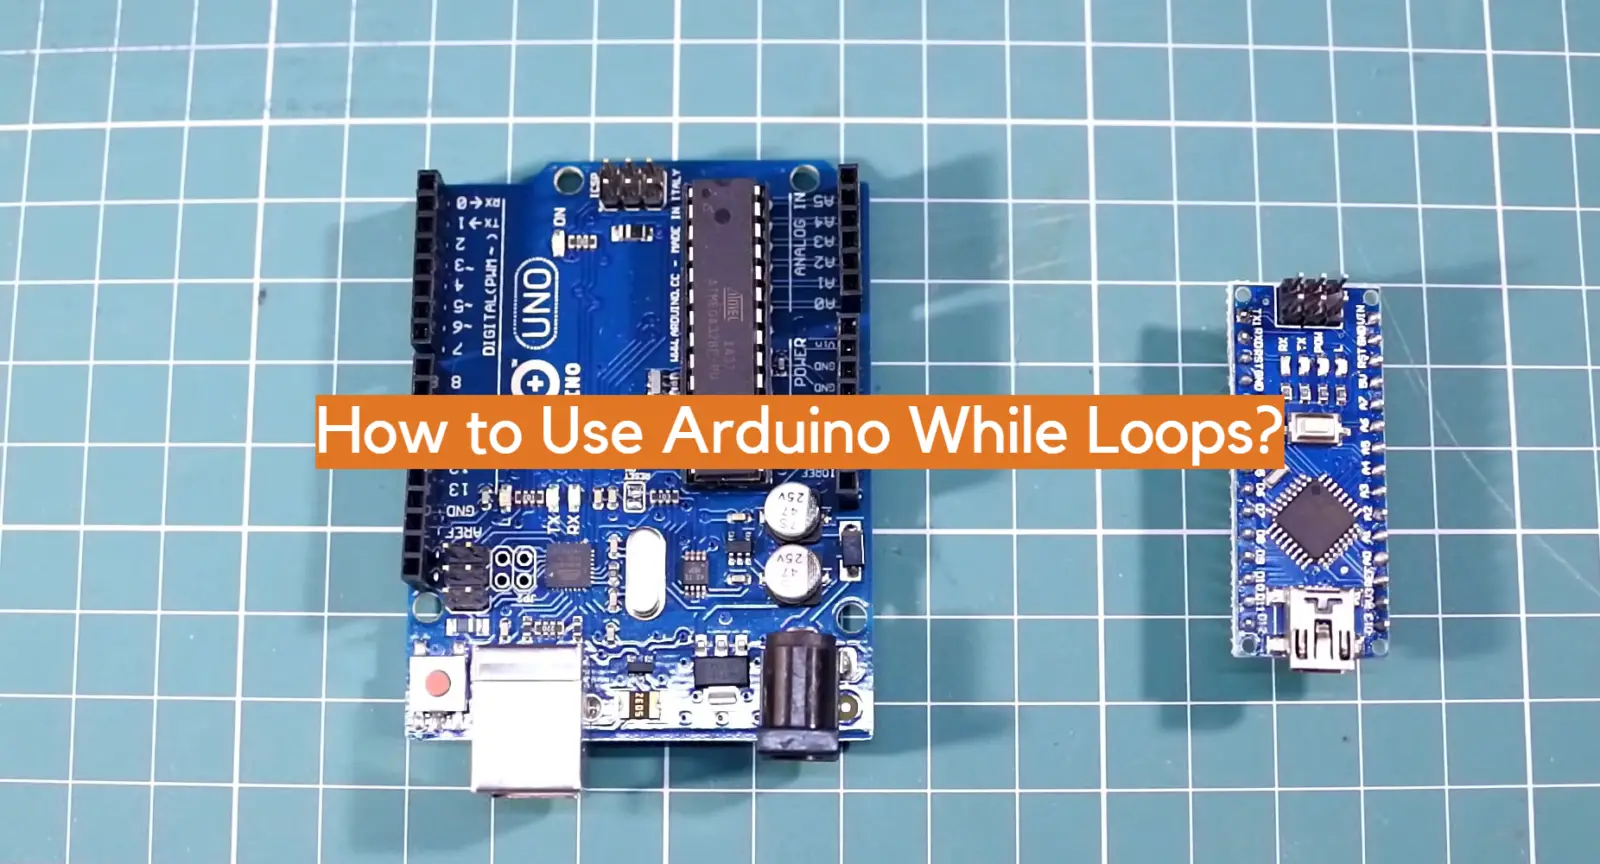
Have you ever been curious about how to use Arduino while loops to do some amazing projects? If yes, then you have come to the right place; this blog post will guide you on how to harness the power of Arduino while loops and explore its limitless capabilities. With a few simple components and your trusty Arduino board, you can create projects that are both impressive and functional – allowing you to take advantage of one of Arduino’s most versatile features!
What is a While Loop?
A while loop is a type of loop in programming languages that allows code to be executed repeatedly until a certain condition is met. It usually consists of two parts: the first part is an expression that evaluates to true or false, and the second part is a set of instructions that are performed if the expression evaluates to true.
The most basic form of a while loop looks like this:
“`while (expression) { // This expression can be any valid boolean expression
// Instructions here will execute as long as the expression evaluates to true
} “`
Once the expression becomes false, the loop stops executing, and the control returns to the program. While loops are commonly used when dealing with arrays and other collections of data to step through each element one by one. They can also be used when dealing with conditions such as user input, timers, or any other situation where you want code to execute until a certain condition is met.
Correct use of while loops can make programs more efficient and reduce redundant code – they’re an essential tool for any programmer [1]!
How to use a while loop to calibrate a sensor while a button is being read?
Hardware Required
- Sensor
- Button
- Arduino/Microprocessor for programming
Circuit Setup
- Connect the sensor to an Arduino/Microprocessor pin and configure it accordingly.
- Connect a button between two digital pins on the Arduino/Microprocessor.
- Configure the button setup in the code to read when it is pressed or released.
Programming Steps
- First, create a variable to store the value of your sensor reading that will be used in comparison with a setpoint later on: `int sensorValue = 0;`
- Next, write your while loop which will continuously evaluate if the button is pressed or not: `while (digitalRead(buttonPin) == HIGH) {`
- Inside this loop, you can calibrate the sensor with a setpoint by using an if statement:
- `if (sensorValue < setPoint) {`
- //calibrate the sensor value here
- `}`
- Finally, add a break to your loop to exit the while loop once calibration is complete:
- `if (sensorValue == setPoint) {`
- //exit the while loop here
- `}`
Running Your Program
- Make sure that all connections have been made correctly and that all components are powered on.
- Upload your code to your Arduino/Microprocessor board and open up the serial monitor to observe values and see whether or not calibration is occurring.
- If calibration is not happening, double-check your connections and code for any errors.
- Once the calibration runs successfully, the loop will break and you should be able to read accurate values from your sensor when a button is pressed [2].
 Arduino example of the Do while loop
The Do while loop is a great way to make sure that code is executed at least once. This example shows how it can be used with an Arduino.
// set up pin 13 as output
int ledPin = 13;
pinMode(ledPin, OUTPUT); // initialize loop counter and condition
int i = 0;
bool running = true;
do {
digitalWrite(ledPin, HIGH); // turn on LED delay(500); // wait for 500ms digitalWrite(ledPin, LOW); // turn off LED delay(500); // wait for 500ms i++; } while (running == true && i < 10); // loop condition
The do while loop will turn the LED on for 500ms, off for 500ms, and repeat this process until either running is false or i is larger than 9. This can be useful when you want to make sure a block of code runs at least once, even if the while condition isn’t met right away. You can also easily modify this example to fit your own needs and create more complex programs.
Difference between for loop and a while loop
A for loop is used to iterate over a sequence of objects. It runs until the end of the sequence is reached, usually with an incrementing counter being used as an index. The syntax for a for loop includes declaring an initial value and then executing some code while the condition holds true (a specified maximum number of iterations or whenever a certain condition is met).
A while loop on the other hand will continue to execute until a specific boolean condition becomes false. While loops can be used if no fixed set of values needs to be iterated over; instead, they are ideal when you want to continuously run something until a specific point. The syntax for the while loop includes specifying an initial condition and then executing some code repeatedly until the condition becomes false.
The most important difference between a for loop and a while loop is that a for loop will iterate through a specific set of elements, while a while loop will continue to execute as long as the specified condition remains true. In addition, for loops are easy to use when you know how many iterations you need to run, whereas while loops can be used when you don’t have any predetermined number of iterations. Furthermore, for loops can be nested but while loops cannot. This means that you can write another for loop inside an existing loop which allows you to perform more complex operations with ease. Finally, it is generally considered easier to read and debug code written with for loops rather than with while loops.
In conclusion, for loops are ideal when a set of values needs to be iterated over, while while loops are best used when you want to continuously run something until a specific condition is met. They both have their own benefits and drawbacks, so it’s important to choose the right one based on your particular situation.
So when deciding between the two types of loops, remember that for loop is suitable when you know exactly how many times you need to repeat an action. On the other hand, if you don’t know how many times you will need to loop or if you want your code to keep running until a certain condition is met then a while loop is probably the more suitable option for your project [3].
Benefits of Arduino for different projects
- Arduino provides an easy-to-use platform for creating projects. It is open source, which means it can be used freely by anyone.
- Arduino is relatively inexpensive and offers a wide range of sensors and actuators that can be used to create different kinds of projects. This flexibility makes it an ideal choice for different types of projects, from simple home automation systems to complex robotics applications.
- The Arduino IDE (Integrated Development Environment) is straightforward and easy to use. It allows you to quickly prototype your project ideas without having to learn complex programming languages or invest in expensive software packages.
- Additionally, the large community of creators makes it easier to find help when needed. With forums, tutorials, resources, and sample code, there is always something to help you along the way.
- Arduino also has a wide range of compatible shields that can be added to increase the functionality of your project. This allows for complex projects to be created without having to purchase or build additional hardware from scratch.
- Furthermore, Arduino boards are relatively small and portable, making it easy to transport and take with you wherever you go. This makes them perfect for use in remote locations or while traveling.
- Finally, Arduino IDE provides access to libraries of functions that make coding projects much easier than creating everything from scratch. This also enables users to quickly add new features and functionality to their projects without starting from the ground up each time.
FAQ
Can you use while loops in Arduino?
Yes, you can use while loops in Arduino. The while loop is an entry control loop that allows a set of instructions to run over and over again until a certain condition is met. While loops are great for repeating tasks or checking something multiple times, like reading sensors or waiting for input from the user. You can also combine it with other control structures like if statements and for loops to create more complex programs. To use a while loop, just type “while (condition) { //code here }”. The condition defines when the loop should stop executing and can be any expression that evaluates to true or false. For example, if you want your program to keep running until a button is pressed, just check if the button is pressed in the condition. Make sure that the loop doesn’t run forever though, or it will crash your program!
How do I use multiple functions in Arduino?
If you need to create a more complex program with multiple functions, you can use the void setup() and void loop() functions. The setup() function runs once when your program starts and is used for initialization tasks like declaring variables and setting up pins. You can also include other user-defined functions here if needed. After the setup code is finished, the loop() function will start running over and over again until your board is powered off or reset. Inside the loop(), you can call other user-defined functions that contain your main logic. This way, you can split up your logic into smaller pieces that are easier to understand. When using functions, make sure your code is well-structured and organized so it’s easy to read and debug. Good luck!
Can I use Arduino for home automation?
Yes, you can use Arduino for home automation projects. With the right components like sensors, relays, and transistors, you can control lights, fans, appliances, and more from a single board. There are also plenty of shields available that make connecting these elements much easier. Depending on your project goals and budget, you can create basic systems with just an Arduino or build more complex ones with additional hardware like Raspberry Pi or ESP8266 boards. You’ll need to program your board in C++ or other programming languages, but the process is quite straightforward and there are plenty of tutorials online to get you started.
How to add a while loop in Arduino?
To add a while loop in Arduino, you need to type “while (condition) { //code here }”. The condition defines when the loop should stop executing and can be any expression that evaluates to true or false. For example, if you want your program to keep running until a button is pressed, just check if the button is pressed in the condition. Make sure that the loop doesn’t run forever though, or it will crash your program! You can also combine this with other control structures like if statements and for loops to create more complex programs. Good luck!
Can I use an Arduino as a web server?
Yes, you can use an Arduino as a web server. With Ethernet shields or modules like the ESP8266, you can connect your board to the internet and serve web pages to other computers or devices. This is a great way to control your Arduino remotely or display data in an easy-to-read format. Depending on your project goals, you may need to use more than one board if you require complex logic and processing power. Additionally, you’ll have to program your boards with C++ or other programming languages before they can serve web pages.
Can I use timers in Arduino?
Yes, you can use timers in Arduino. Timers are useful for scheduling tasks at specific intervals such as checking sensors every few seconds or running a motor for a set amount of time. The Arduino has several built-in timer functions that you can use to control your program. These include millis(), micros(), delay(), and others. You can also use the Arduino’s interrupt function for more precise control over timing. To use interrupts, just type “attachInterrupt(interruptNumber, ISR, mode)”. The ISR is a function that will be called when an interrupt is triggered and the mode defines what kind of events should trigger the interrupt.
Does Arduino have a memory limit?
Yes, Arduino has a memory limit that varies depending on the board you’re using. Most boards have 32KB of Flash Memory which can be used to store code and variables as well as any configuration settings you may need. Additionally, some boards have additional RAM or EEPROM (Electrically Erasable Programmable Read-Only Memory) which can be used for storing data. It’s important to take the memory limits into account when designing your programs so that you don’t exceed them and cause an error.
How to use an Arduino for loop?
To use an Arduino for loop, you need to type “for (int i=0; i < N; i++) { //code here }”. The for loop is an entry control structure that allows a set of instructions to be repeated over and over again until a certain condition is met. Inside the parentheses, you can define the starting point, ending point, and increment of the loop. For example, if you want your program to run 10 times, just set the starting point to 0 and the ending point to 10 with an increment of 1. You can also combine this with other control structures like if statements and while loops to create more complex programs.
Can I use interrupts in Arduino?
Yes, you can use interrupts in Arduino. Interrupts are useful for responding to events that occur at unpredictable times, such as an external signal or button press. The Arduino has several built-in interrupt functions that you can use to control your program. To use interrupts, just type “attachInterrupt(interruptNumber, ISR, mode)”. The ISR is a function that will be called when an interrupt is triggered and the mode defines what kind of events should trigger the interrupt. When using interrupts, make sure your code is well-structured and organized so it’s easy to read and debug.
How to use while code in Arduino?
To use a while loop in Arduino, you need to type “while (condition) { //code here }”. The condition defines when the loop should stop executing and can be any expression that evaluates to true or false. For example, if you want your program to keep running until a button is pressed, just check if the button is pressed in the condition. You can also combine this with other control structures like if statements and for loops to create more complex programs. Make sure that the loop doesn’t run forever though, or it will crash your program!
Can I use Arduino without coding?
No, you cannot use Arduino without coding. Coding is an essential part of using Arduino as it allows you to create programs that control the board and interact with other components. You’ll need to program your board in C++ or other programming languages, but the process is quite straightforward and there are plenty of tutorials online to get you started. Once you’re comfortable with coding, you can start experimenting and creating more complex projects with Arduino.
Useful Video: Arduino Workshop – Chapter Three – WHILE Loops
Conclusion Paragraph
Using Arduino while loops and if/else statements, we were able to create a light-controlled car that would move forward when the light was on and stop when it was off. This project demonstrates how powerful and versatile Arduino technology is in its ability to connect hardware components with software programming. It also provides an example of how to use basic logic for controlling electronic devices through code. We hope our project can inspire others to explore the world of electronics and learn about the possibilities of Arduino!
References
- https://users.cs.utah.edu/~germain/PPS/Topics/while_loops.html
- https://www.hackerspacetech.com/how-to-use-a-while-loop-to-calibrate-a-sensor-while-a-button-is-being-read/
- https://www.tutorialspoint.com/difference-between-for-loop-and-while-loop-in-python