Are you curious about ESP32 projects? This comprehensive guide will answer all of your questions and provide helpful tips for getting started. The ESP32 is a powerful microcontroller that can be used for a variety of purposes, from simple tasks to more complex projects. In this guide, we will discuss the basics of the ESP32 and provide some examples of what you can do with it. We’ll also cover some common pitfalls to avoid and offer some advice on how to get started. So whether you’re a beginner or an experienced hobbyist, this guide has something for everyone!
ESP32 and Its Benefits
It has a dual core processor which supports two 32-bit cores running at up to 240MHz, as well as 8MB of embedded memory. It is also equipped with additional peripherals such as capacitive touch sensors, Hall effect sensors, SD card interface, Ethernet MAC/PHY, high-speed SPI, UARTs, ADC/DACs (analog/digital converters), PWM (pulse width modulation) and I2C buses.
The ESP32 offers many benefits over other single board computers (SBCs). It’s a powerful device that can handle complex applications and be used for tasks such as home automation, IoT development and robotics. It has a wide operating voltage range of 3.3-5V and is capable of running multiple cores independently preserving enough performance. The ESP32 also offers an excellent power savings mode, allowing devices to run on just 20mA when idle.
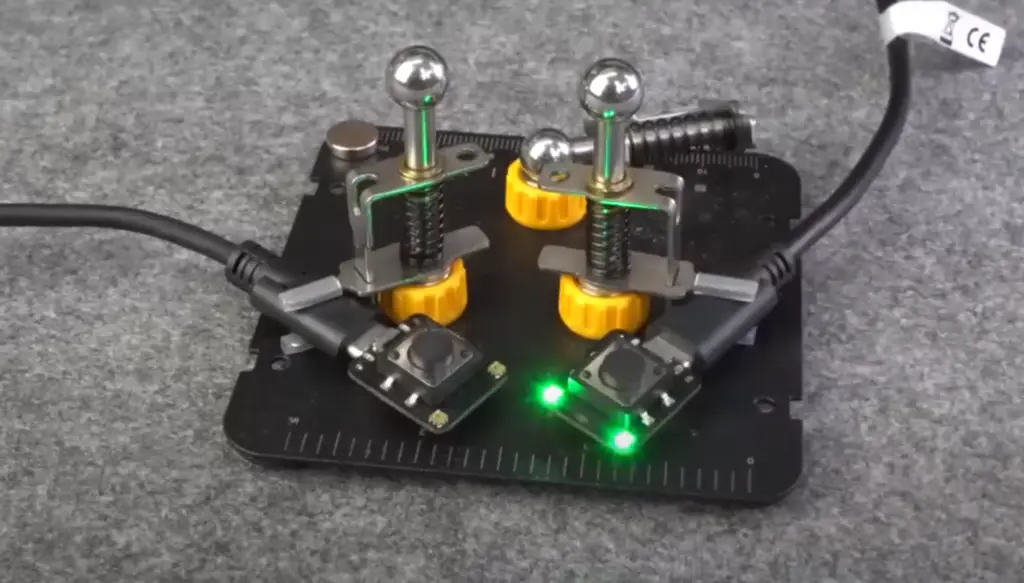
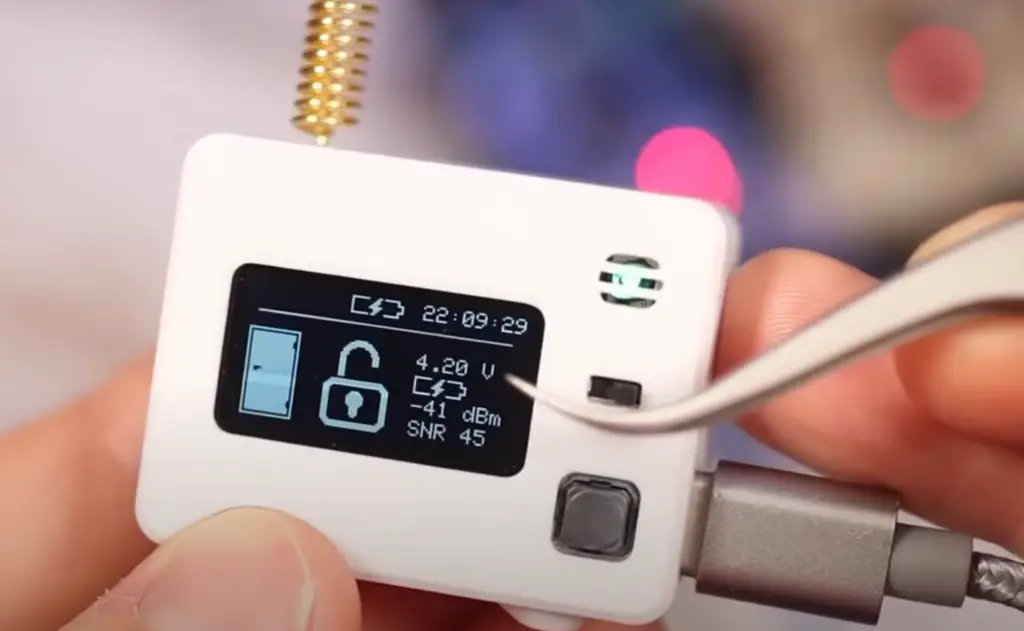
The onboard Wi-Fi and Bluetooth radios allow the ESP32 to communicate with other devices without additional hardware or software setup. The dual core processor allows it to handle complex operations efficiently, making it ideal for applications that require simultaneous communication or multitasking capabilities. Additionally, the ESP32 can be programmed using the Arduino IDE, which provides a user-friendly environment for writing code and managing projects. [1]
ESP32 vs Arduino: Which One Should You Use?
Many folks new to electronics wonder which device is best for their projects: the ESP32 or Arduino? The truth is, both devices have different purposes and capabilities.
The Arduino board is a great entry-level microcontroller for those new to electronics. It’s an open source platform which has a wide range of sensors, shields and other components you can use with it. This makes setting up your project fast and easy. It also comes with various libraries that make coding simpler, making it well suited for beginners or hobbyists who want to focus on tinkering rather than learning programming principles.
In comparison, the ESP32 provides more advanced features such as Wi-Fi and Bluetooth support, a dual core processor which supports multitasking applications, additional peripherals and the ability to be programmed using the Arduino IDE. It’s more suitable for projects that require a higher level of processing power, such as home automation and robotics.
Let’s dive in into more specific factors:
Memory
Without a doubt, memory is one of the most important aspects when it comes to choosing a microcontroller. The ESP32 has 4MB of embedded RAM min with some options offering you 8-16MB. Contrary to that, Arduino’s ATmega328p is limited to 246 KB. This means that the ESP32 can provide ample space for complex applications and multitasking capabilities.
I/O
Another key difference between the two devices is their input/output options. The ESP32 offers a huge range of I/O ports and peripherals such as UARTs, SPI, I2C and more. This makes it well suited for connecting to external components like sensors, displays and actuators, depending on model you may get between 38 to 77 pins.
In comparison, the Arduino has fewer available pins, 20 digital I/O pins, with 6 analog input pins and 1 analog output pin. This is fewer than the ESP32, but it does have additional pins for serial communication and I2C that can be used to interface with external components.
Wi-Fi and Bluetooth
The ESP32 offers the additional benefit of onboard Wi-Fi and Bluetooth radios, which can be used to communicate with other devices. This makes it ideal for applications such as home automation and robotics.
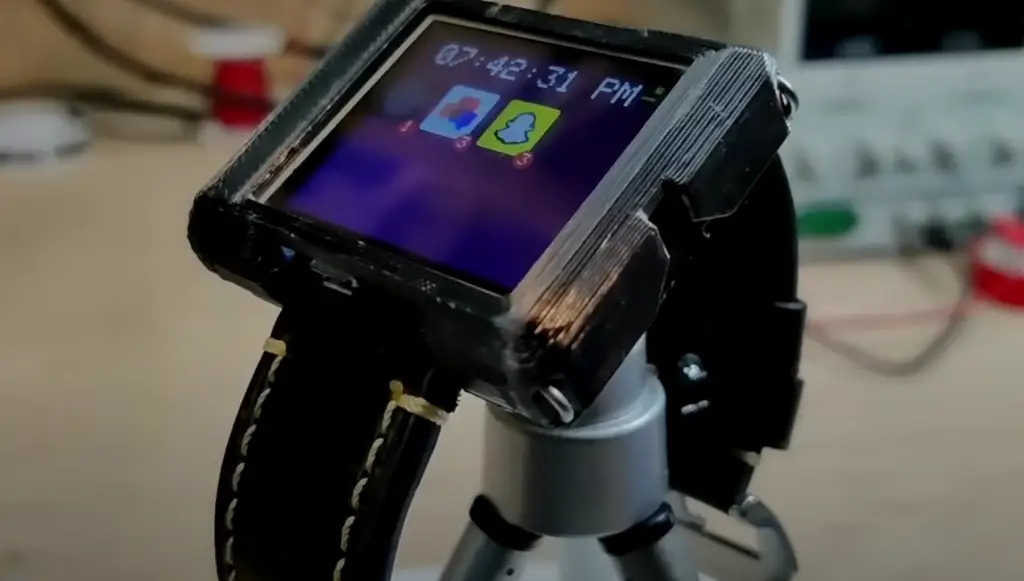
The Arduino doesn’t offer built-in wireless connectivity, but there are shields that can be added to it for this purpose. It does come with serial communication ports, however, which can be used to connect to external components like sensors or displays.
Still, as different as they are, both ESP32 and Arduino have their share of similarities. Both are open-source platforms, and their hardware can be programmed using the Arduino IDE. Depending on your specific needs, either device may be more suitable for your project than the other.
Both are 32-bit microcontrollers that can serve as a powerful tool for advancements in the world of electronics, but considerations such as memory, I/O ports and Wi-Fi play an important role in determining which one to use. As always, when it comes to projects that rely heavily on programming or require high processing power, we recommend going with the ESP32. [2]
Best ESP32 Projects
Now that you’re familiar with the ESP32, it’s time to start exploring the best projects you can build. In this section, we’ll discuss some of the most popular ESP32 projects, including home automation systems, IoT applications, and robotics.
Sending SMS with the ESP32 using Twilio
This tutorial will explain how to send an SMS with the ESP32 using the Arduino programming language and the GSM library. By the end of this guide, you will learn how to send SMS with ESP32 using a variety of messengers.
For this task, you will need Twilio, which is a communication platform that enables sending text messages and voice calls. Twilio provides an API for sending SMS with the ESP32, so it’s an ideal solution for our project.
First off, you will need to create a Trial Twilio account, which is easy and free. Here you will need to verify your phone number and enter some payment details to qualify for the free trial. After creating the account, enter the recipient’s phone number.
Now you will need to receive a Twilio phone number. You will need to pay for the phone number, at the time of writing this article the fee is $15. Keep in mind that you may not be able to purchase a number from your own country if Twilio isn’t available there.
Finally it’s time to set-up everything. To get started, open your dashboard and locate the Messaging section on the left sidebar. Then click “Try it out” followed by “Get Set Up” and finally select “Start set up”. Name your messaging service and choose the number you bought to attach to the messaging service.
Now get your SID, AUTH Token, and send a phone number. These will be used to set-up the ESP32. Before you do that, test out the messaging service by sending a message to your own phone by clicking Try SMS.
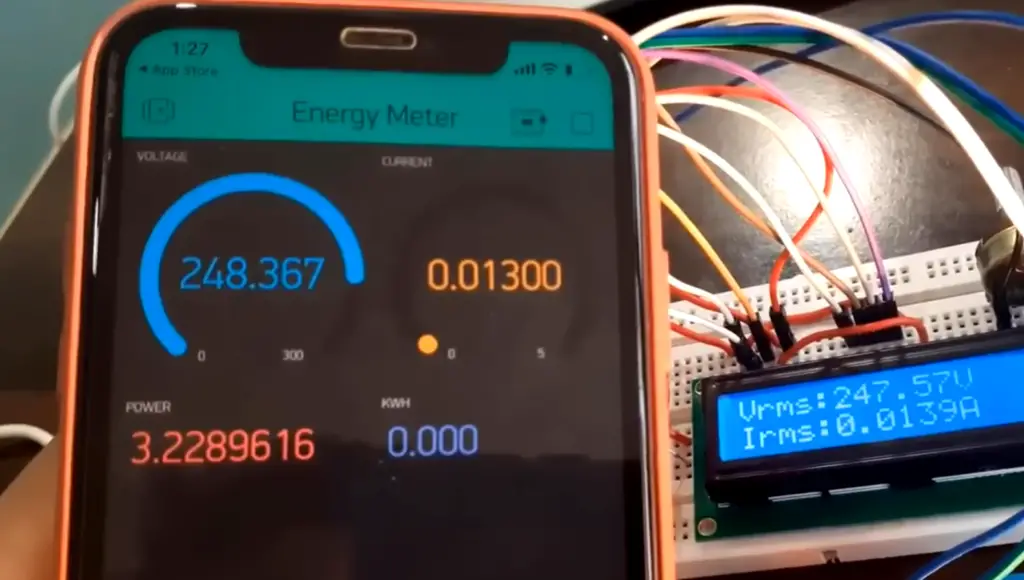
Let’s see how you can automate the sending of SMS with the ESP32. Now, write a code. The code isn’t anything overly complicated; all you need to do is set-up the ESP32, attach a GSM module, and connect it with Twilio. Let’s see how the code looks like:
#include “twilio.hpp”
// Set these – but DON’T push them to GitHub!
static const char *ssid = “REPLACE_WITH_YOUR_SSID”;
static const char *password = “REPLACE_WITH_YOUR_PASSWORD”;
// Values from Twilio (find them on the dashboard)
static const char *account_sid = “REPLACE_WITH_YOUR_ACCOUNT_SID”;
static const char *auth_token = “REPLACE_WITH_YOUR_ACCOUNT_AUTH_TOKEN”;
// Phone number should start with “+”
static const char *from_number = “REPLACE_WITH_TWILIO_NUMBER”;
// You choose!
// Phone number should start with “+”
static const char *to_number = “REPLACE_WITH_RECIPIENT_NUMBER”;
static const char *message = “Hello from my ESP32 (via twilio)”;
Twilio *twilio;
void setup() {
Serial.begin(115200);
Serial.print(“Connecting to WiFi network ;”);
Serial.print(ssid);
Serial.println(“‘…”);
WiFi.begin(ssid, password);
while (WiFi.status() != WL_CONNECTED) {
Serial.println(“Connecting…”);
delay(500);
}
Serial.println(“Connected!”);
twilio = new Twilio(account_sid, auth_token);
delay(1000);
String response;
bool success = twilio->send_message(to_number, from_number, message, response);
if (success) {
Serial.println(“Sent message successfully!”);
} else {
Serial.println(response);
}
}
void loop() {
}
ESP32: Send Messages to WhatsApp
If you’re not a fan of Twilio’s method for sending messages, then you can use the ESP32 to send messages directly to WhatsApp. You just need an Android device with WhatsApp installed, and a few lines of codes.
WhatsApp is one of the most popular messengers nowadays, making it a great tool for communication with the world. To use this method, you first need to get an API, this can be done thanks to the service called CallMeBot.
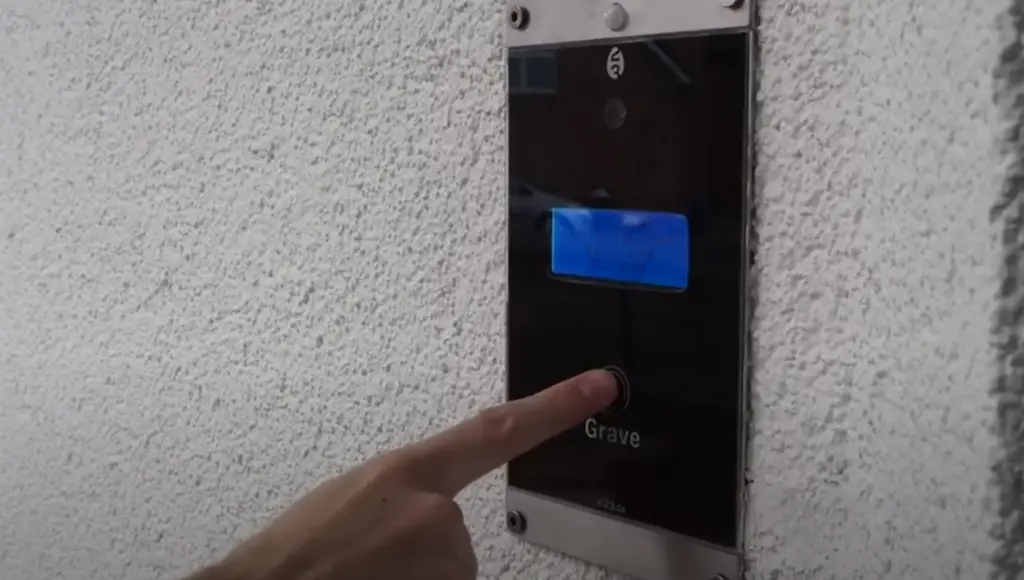
First of all, you need to get an API key from the CallmeBot WhatsApp API. To do this, you should follow the steps on the official websites. Those include adding a bot phone number to your contacts list and sending a message to the bot.
If you want to send a message with the CallMeBot API, all you need to do is make a POST request via this URL. Just replace the info in blanks with your own.
https://api.callmebot.com/whatsapp.php?phone=[phone_number]&text=[message]&apikey=[your_apikey]
Next, you should install the URLEncode library. This library will help you encode the string of your message before sending it via POST. To ensure the successful transmission of URLs, characters must be encoded into a special format known as URL encoding. The conversion to this particular form is necessary so that it can be sent using only the ASCII character set.
Now that you installed everything you need, it’s time to code! Create a basic sketch, using the Arduino IDE and add the following code.
#include
#include
#include
const char* ssid = “REPLACE_WITH_YOUR_SSID”;
const char* password = “REPLACE_WITH_YOUR_PASSWORD”;
// +international_country_code + phone number
// Portugal +351, example: +351912345678
String phoneNumber = “REPLACE_WITH_YOUR_PHONE_NUMBER”;
String apiKey = “REPLACE_WITH_API_KEY”;
void sendMessage(String message){
// Data to send with HTTP POST
String url = “https://api.callmebot.com/whatsapp.php?phone=” + phoneNumber + “&apikey=” + apiKey + “&text=” + urlEncode(message);
HTTPClient http;
http.begin(url);
// Specify content-type header
http.addHeader(“Content-Type”, “application/x-www-form-urlencoded”);
// Send HTTP POST request
int httpResponseCode = http.POST(url);
if (httpResponseCode == 200){
Serial.print(“Message sent successfully”);
}
else{
Serial.println(“Error sending the message”);
Serial.print(“HTTP response code: “);
Serial.println(httpResponseCode);
}
// Free resources
http.end();
}
void setup() {
Serial.begin(115200);
WiFi.begin(ssid, password);
Serial.println(“Connecting”);
while(WiFi.status() != WL_CONNECTED) {
delay(500);
Serial.print(“.”);
}
Serial.println(“”);
Serial.print(“Connected to WiFi network with IP Address: “);
Serial.println(WiFi.localIP());
// Send Message to WhatsAPP
sendMessage(“Hello world!”);
}
void loop() {
}
Here you go! Now you can start sending messages directly to WhatsApp with the ESP32. You can even use this method to create a fully-fledged chatbot, so don’t hesitate to explore all of its possibilities!
A BME680 environmental sensor using ESP32
Last interesting ESP32 project we shall cover is the BME680 environmental sensor. As its name suggests, this environmental sensor can measure temperature, humidity, air pressure and air quality. It is an ideal choice for a wide range of projects, such as personal weather stations, home automation systems or any kind of monitoring system requiring reliable measurements in different conditions.
For this project you will need:
- BME680 sensor module
- ESP32
- Breadboard
- Jumper wires
To measure temperature, the BME680 utilizes a MOX (Metal Oxide) gas sensor. This type of sensor is very sensitive to temperature changes, allowing highly accurate reading. As soon as the sensor touches reducing gasses, oxygen molecules react and cause a surge in conductivity on its surface, allowing it to detect even small concentrations of pollutants in the air.
The ESP32 is the perfect processor to pair with this sensor since it has both WiFi and Bluetooth support built-in. This means that we can easily have our device connected to a web server or smartphone app in order to access the readings remotely.
To ensure the correct results, you may want to calibrate your sensor. This is done by measuring the ambient temperature and humidity in your environment, then adjusting the BME680’s results accordingly.
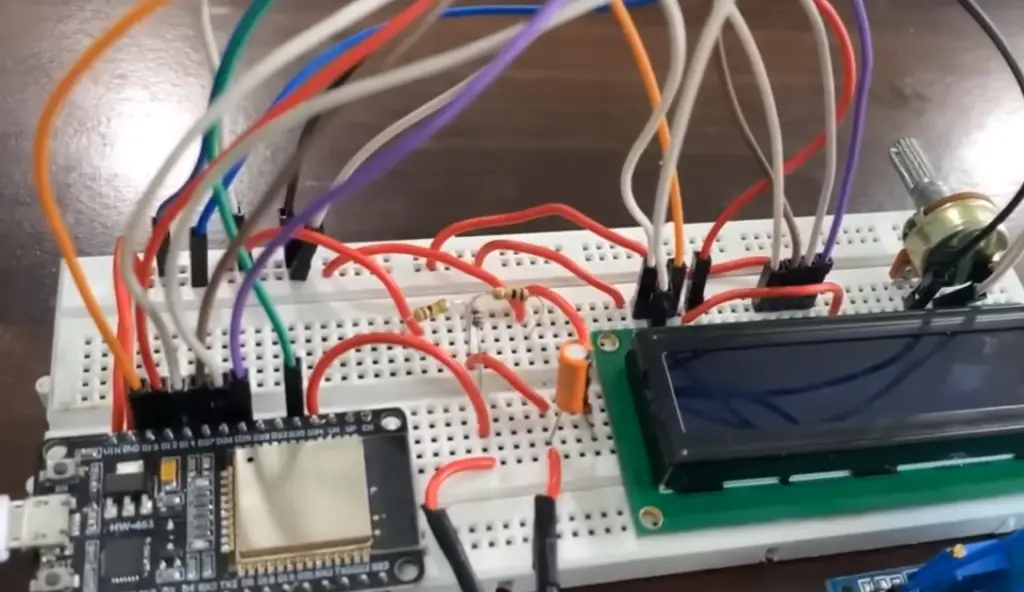
Now let’s discuss how exactly you can create this project. You have two potential options here as BME680 supports both I2C and SPI interfaces. 12C is a two-wire interface – meaning it requires only two wires to send and receive data, while SPI is more complex, requiring four wires for full duplex communication.
12C interfacing requires you to connect SCL to ESP32’s GPIO22 pin and SDA to GPIO21. As for SPI, use ESP32’s GPIO18 for SCL, GPIO19 for MISO and GPIO23 for MOSI. The chip select line (CS) should be connected to GPIO5.
To code the project we will be using Arduino IDE. Before you start, add the ESP32 addon from the board manager and install BME680 (adafruit bme680) library as well as Adafruit_Sensor library.
Once you have your code ready, upload it to ESP32. After that, you should be able to check out readings from the serial monitor. Make sure to also add the libraries to your code, otherwise, you won’t be able to read the results.
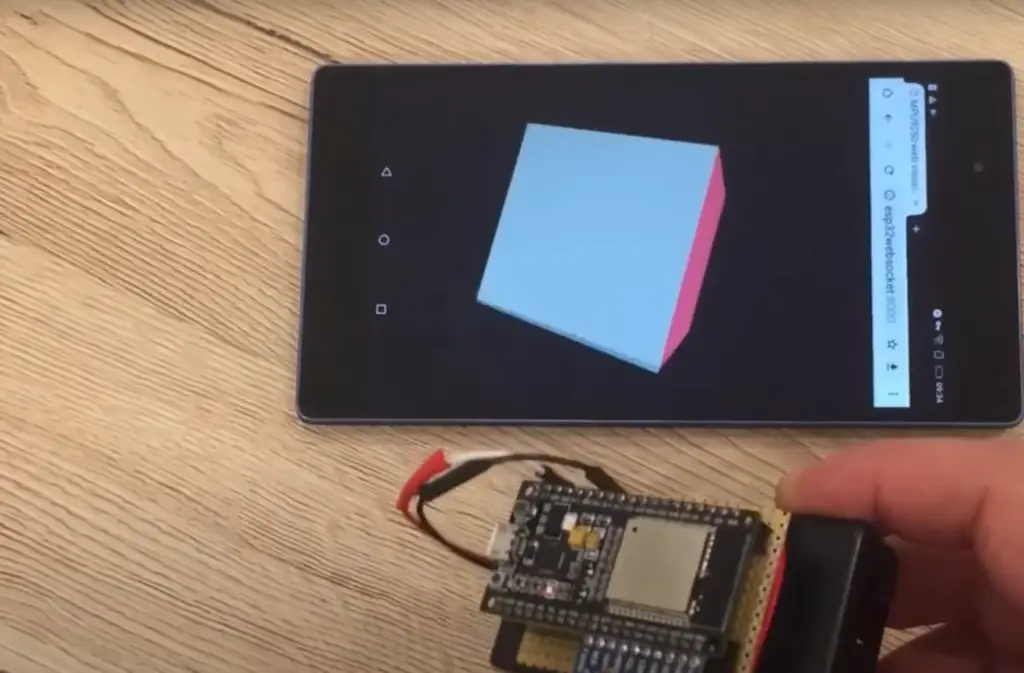
To run the project, you can use any of the popular programming languages, such as C++ or Python. Just make sure that your code is able to initialize and read data from the BME680 sensor correctly before running it. We will be using the Arduino language but you can use whatever language best suits your needs. Here’s the example code we will be using:
#include
#include
#include
#include “Adafruit_BME680.h”
/*#define BME_SCK 18
#define BME_MISO 19
#define BME_MOSI 23
#define BME_CS 5*/
#define SEALEVELPRESSURE_HPA (1013.25)
Adafruit_BME680 bme; // I2C
//Adafruit_BME680 bme(BME_CS); // hardware SPI
//Adafruit_BME680 bme(BME_CS, BME_MOSI, BME_MISO, BME_SCK);
void setup() {
Serial.begin(115200);
while (!Serial);
Serial.println(F(“BME680 async test”));
if (!bme.begin()) {
Serial.println(F(“Could not find a valid BME680 sensor, check wiring!”));
while (1);
}
// Set up oversampling and filter initialization
bme.setTemperatureOversampling(BME680_OS_8X);
bme.setHumidityOversampling(BME680_OS_2X);
bme.setPressureOversampling(BME680_OS_4X);
bme.setIIRFilterSize(BME680_FILTER_SIZE_3);
bme.setGasHeater(320, 150); // 320*C for 150 ms
}
void loop() {
// Tell BME680 to begin measurement.
unsigned long endTime = bme.beginReading();
if (endTime == 0) {
Serial.println(F(“Failed to begin reading :(“));
return;
}
Serial.print(F(“Reading started at “));
Serial.print(millis());
Serial.print(F(” and will finish at “));
Serial.println(endTime);
Serial.println(F(“You can do other work during BME680 measurement.”));
delay(50); // This represents parallel work.
// There’s no need to delay() until millis() >= endTime: bme.endReading()
// takes care of that. It’s okay for parallel work to take longer than
// BME680’s measurement time.
// Obtain measurement results from BME680. Note that this operation isn’t
// instantaneous even if milli() >= endTime due to I2C/SPI latency.
if (!bme.endReading()) {
Serial.println(F(“Failed to complete reading :(“));
return;
}
Serial.print(F(“Reading completed at “));
Serial.println(millis());
Serial.print(F(“Temperature = “));
Serial.print(bme.temperature);
Serial.println(F(” *C”));
Serial.print(F(“Pressure = “));
Serial.print(bme.pressure / 100.0);
Serial.println(F(” hPa”));
Serial.print(F(“Humidity = “));
Serial.print(bme.humidity);
Serial.println(F(” %”));
Serial.print(F(“Gas = “));
Serial.print(bme.gas_resistance / 1000.0);
Serial.println(F(” KOhms”));
Serial.print(F(“Approx. Altitude = “));
Serial.print(bme.readAltitude(SEALEVELPRESSURE_HPA));
Serial.println(F(” m”));
Serial.println();
delay(2000);
}
And there you have it – an ESP32 and BME680 project that enables you to measure temperature, humidity, air pressure and air quality. With a few modifications, you can even create a personal weather station or home automation system! [3], [4], [5]
FAQ
What software do I need to program the ESP32?
In order to program the ESP32, you need an Integrated Development Environment (IDE) that supports the development of software for microcontrollers. A popular choice is the Arduino IDE, which has a full-featured code editor and various tools for uploading programs to the ESP32. The ESP32 also supports other IDEs such as Microsoft Visual Studio Code, Espressif IDF, PlatformIO and more.
Once your chosen IDE is installed on your computer, you will need to install “ESP32 board support” in order for it to recognize and communicate with the board. Depending on your environment – PC or Mac – this step may require additional drivers installation. You can find detailed instructions on how to do this on the official Arduino website.
What can I build with ESP32?
The ESP32 is a powerful and versatile microcontroller, capable of a wide variety of projects. With its built-in WiFi and Bluetooth connectivity, the ESP32 can be used to control Internet of Things (IoT) devices like smart home appliances, connected lights, networked sensors and actuators, etc. Additionally, it can also be used for more general purpose applications such as robotics, 3D printing controllers, home automation systems, wearable electronics projects such as fitness trackers or other wearables that require wireless communication with a host device.
The ESP32 has enough processing power to handle complex logic tasks and connect to multiple peripherals. This makes it an excellent choice for creating DIY gadgets with robust features. For example, you can build a home security system that uses motion sensors connected to the ESP32 board, or a smart thermostat that can be controlled through an app. The possibilities are almost endless!
Is ESP32 better than Arduino?
ESP32 is without a doubt more powerful than Arduino. It has a powerful processor and plenty of RAM, making it capable of running more demanding programs than the Arduino boards can handle. The ESP32 is an impressive piece of technology with its built-in dual Wi-Fi and Bluetooth support, as well as full TCP/IP compatibility for comprehensive internet access. Even more impressively, this device can act both as a powerful access point and Wi-Fi station!
Finally, due to its higher processing power, ESP32 is much better suited for IoT applications that require fast response times and low latency communication. All this makes it a great choice for any project related to embedded systems and robotics.
Is ESP32 professional?
Yes, ESP32 is professional grade. It is equipped with a range of features that make it suitable for a wide variety of applications, from small, low-power IoT devices to high performance industrial projects.
The ESP32 offers integrated Wi-Fi and Bluetooth capabilities up to 802.11n/b/g and Bluetooth 4.2/BLE, making it ideal for wireless communication between connected devices. It also supports multiple interfaces such as UART, SPI and I2C, allowing easy connection to peripherals such as sensors and actuators. With its dual 32-bit processor cores running at 240MHz clock speed, the ESP32 has plenty of processing power available for demanding tasks like audio processing or machine learning algorithms. Additionally, it has built-in hardware encryption and secure boot capabilities, making it highly suitable for secure IoT applications.
Still, even if you’re looking for something to practice on, the ESP32 is a great choice. It’s relatively inexpensive and can be programmed using many popular languages such as C/C++, Rust, JavaScript and Python.
Is ESP32 harder than Arduino?
The short answer is not really. While it may seem intimidating at first, there are plenty of resources to help you get started with your ESP32 projects. The ESP32 has a lot of features that the Arduino does not have, such as Bluetooth and WiFi capabilities, but the learning curve is not too steep. With some practice and dedication, you can quickly learn how to use the ESP32 in a variety of projects.
There are plenty of tutorials and documentation available online for both modules which can help make learning easier. However, if you do find yourself stuck on something or need more in-depth answers then there are lots of forums dedicated to helping out with ESP32 projects.
Useful Video: “Intruder Alert System” & 9 more projects using ESP32!
Conclusion
An ESP32 project can provide you with a powerful, low-cost platform for developing projects. It is one of the most popular development boards available today and offers a broad range of features for its price. The wide availability of support and documentation makes it easier to get started on an ESP32 project than with some other platforms.
In this article we have covered the basics of getting started with an ESP32 project. We’ve also provided you with three project ideas to get you started.
The variety of potential applications is vast, ranging from simple IoT projects to home automation systems or AI-powered robots. There are many possibilities for creativity when coding with an ESP32; this guide has explored some of the key ways in which you can make use of your development board.
Once you have acquired an ESP32 board and downloaded the necessary software, it’s time to start learning how to code! There are many resources available online to get you started, from tutorials to full-length courses. With the help of this guide, hopefully you now have a better understanding of what an ESP32 project entails and how it might benefit your own project ideas. Good luck!
References
- https://catalog.us-east-1.prod.workshops.aws/workshops/5b127b2f-f879-48b9-9dd0-35aff98c7bbc/en-US/module1/esp32
- https://all3dp.com/2/esp32-vs-arduino-differences/
- https://randomnerdtutorials.com/send-sms-esp32-twilio/
- https://randomnerdtutorials.com/esp32-send-messages-whatsapp/
- https://randomnerdtutorials.com/esp32-bme680-sensor-arduino/






Leave a Reply