If you’ve ever wanted to play video on your Raspberry Pi, there’s a good chance you’ve used OMXPlayer. This handy little program is perfect for playing videos on the Pi, and in this article we’ll show you how to use it. So read on, and learn how to get OMXPlayer up and running on your Pi!
What is an OMX player?
It has been developed specifically for playing back high definition video on the Raspberry Pi and it does this very well. OMXPlayer supports all major video formats and can be used to play local media files, stream content from the internet, or even display webcam streams. It also offers hardware accelerated playback with support for a variety of audio codecs, making it one of the best options available for playing videos on the Raspberry Pi. [1]

How to Install the OMXPlayer on the Raspberry Pi
Unleash the power of videos and audio stored on your Raspberry Pi with OMXPlayer, a command line player that can effortlessly play any file format. Installing this program is easy, so long as you have access to the internet and an active network connection.
- To begin, open up your terminal window and update the package manager with: `sudo apt-get update`. This step ensures that all of your packages are up to date.
- Next, install OMXPlayer with: `sudo apt-get install omxplayer`. After running this command, it will prompt you to confirm if you would like to continue; type ‘y’ and hit enter when ready. The installation should take a few minutes, depending on your network speed.
- Once OMXPlayer is installed, you can use it to play files from the command line. To do this, navigate to the file you wish to play in the terminal and type: `omxplayer ` where ‘’ is the name of the file you want to open. The program will then launch and begin playing back your chosen media file.
You now understand how OMXPlayer functions on your Raspberry Pi, so take the opportunity to explore all its features! Have fun watching movies or listening to music with this powerful media player! [2]
How to Use the OMXplayer on Raspberry Pi?
Utilizing OMXplayer on the Raspberry Pi is an effortless and uncomplicated procedure. To begin, ensure that your Raspberry Pi has the latest version of OMXplayer installed on its operating system. To quickly and easily install omxplayer, simply type the following command in your terminal:
sudo apt-get update && sudo apt-get install omxplayer.
Once you have successfully installed it, open up the terminal window and enter: omxplayer video_file_name.mp4 (or any other video file format)
This will launch the player with your chosen video file loaded in it. Depending on what type of audio or visual output you have connected to your Raspberry Pi, you may need to adjust some settings within OMXplayer, so be sure to check for any additional instructions on how to do this.
You can also use OMXplayer to control the playback of the video file by using various commands and options. For example, you can press ‘p’ to pause or play your file, ‘q’ to quit the player, and ‘+’ and ‘-’ keys to adjust the volume. Additionally, you can use the left/right arrow keys to increase or decrease the speed of playback.
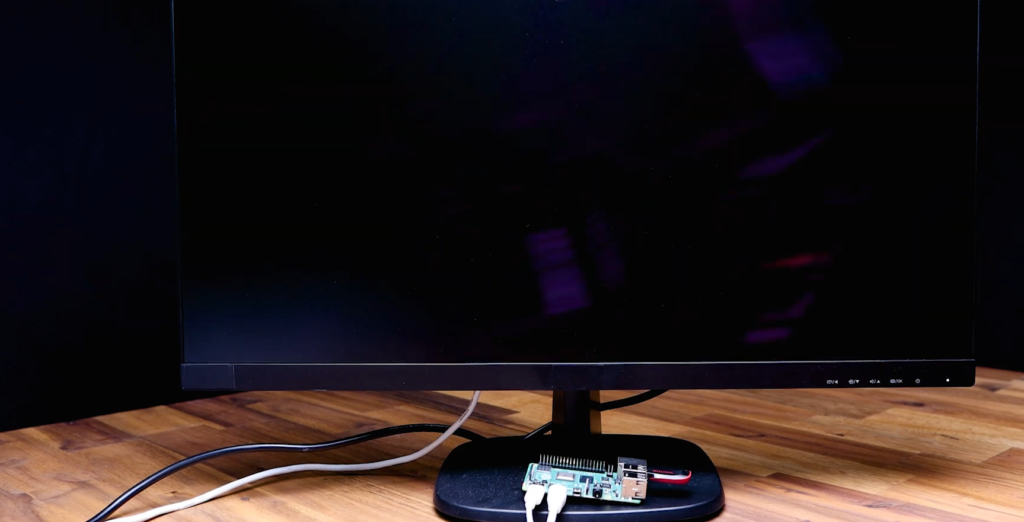
To get a complete list of all available keyboard shortcuts for controlling your OMXplayer video playback, simply type in: omxplayer –help in your terminal window. This will provide you with a comprehensive list of all available keyboard shortcuts, arguments and options that can be used with OMXplayer.
Using the OMXplayer on your Raspberry Pi is a great way to enjoy video content from a variety of sources, including YouTube or Vimeo videos. You can also use it to stream audio and video files directly from other computers or devices connected to your local network. With the right setup and configuration, you can easily create an entertainment center for the whole family. So give it a try today and see what you can do! [3]
Playing a Video or Audio File Using OMXPlayer
Once OMXPlayer is installed on your Raspberry Pi, you can start playing video and audio files. To do so, open the terminal and type in `omxplayer `, replacing with the name of the file you wish to play. You can also specify a full path to the file if needed.
For example, if we wished to play a movie called “exampleMovie.mp4,” we would enter the following command: `omxplayer exampleMovie.mp4`. The movie should begin playing automatically once you enter this command.
If you have an audio file instead (such as an MP3), use the same approach by entering `omxplayer exampleSong.mp3`.
For additional control, you can add commands while entering the `omxplayer` command. For example, adding -b will output video over HDMI and analog simultaneously; -o hdmi will send audio to the HDMI port; -o local sends audio over the Raspberry Pi’s 3.5mm jack; and –vol +/-number will adjust the volume by a certain number of decibels.
When playing an audio or video file using OMXPlayer, there are several keyboard shortcuts available to you for controlling playback. These include:
- Q/q: quit
- P/p: pause/resume playback
- Left arrow key/right arrow key: Seek backward/forward 10 seconds
- Up arrow key/down arrow key: Seek backward/forward 1 minute
- 1: Increase playback speed
- 2: Decrease playback speed
- – (minus): Decrease volume
- + (plus): Increase volume
- z: Show info about the file being played
For a complete list of OMXPlayer keyboard shortcuts and commands, you can consult the man page for OMXPlayer. Enter `man omxplayer` in the terminal to view this information. [4]
Selecting the Audio Output Method
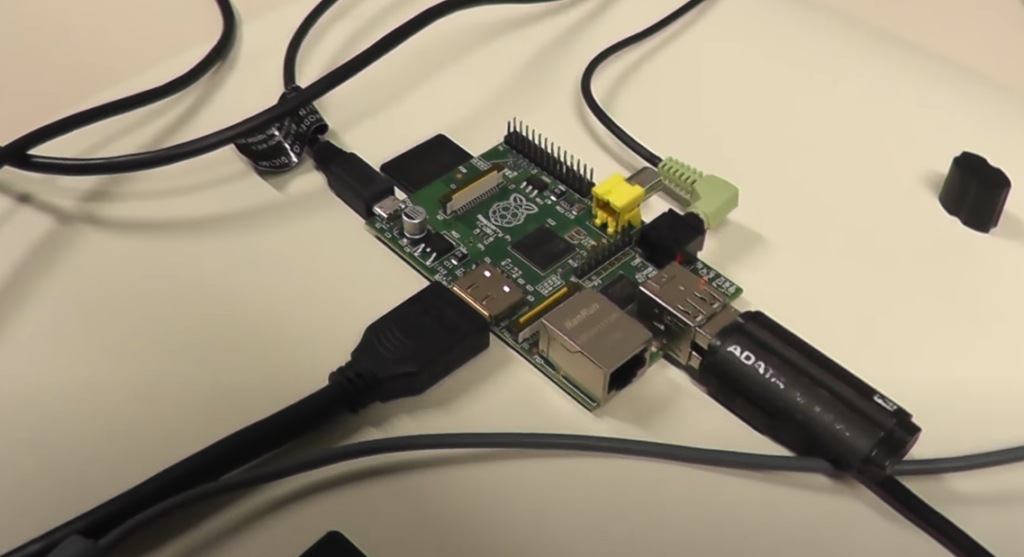
OMXPlayer on Raspberry Pi allows you to select the audio output method, as it has various options such as HDMI or 3.5mm jack (headphone). To set the audio output method, type in the following command:
`omxplayer –adev file.mp4`
Replace with either hdmi or local – which corresponds to HDMI output or 3.5mm jack respectively. If you want to play an audio file instead of a video, replace .mp4 with .mp3 in the command above. For example: `omxplayer –adev hdmi song.mp3`.
Once you’ve chosen your desired device, you’re ready to play the media file. But before we do, let’s look at how to control OMXPlayer on Raspberry Pi.
Choosing Where to Display the Video on the Raspberry Pi
Once you’ve successfully installed and set-up OMXPlayer on your Raspberry Pi, it’s time to choose where to display the video file. You can select between several options including HDMI, Composite Video (AV), or LCD panels.
HDMI: The HDMI output is the most common choice for displays and gives you the best image quality available on a Raspberry Pi. To use the HDMI port, simply connect an HDMI cable from your TV or monitor to the corresponding port on your raspberry pi board.
Composite Video (AV): If you are using an older television that only supports composite video (yellow RCA plug) as input, then this option is for you. To use this method, connect the yellow composite video RCA connector to the corresponding port on your Raspberry Pi.
LCD Panels: Many LCD and touch-sensitive panels are available which can be used with a Raspberry Pi. Most of these require you to install and configure additional software, such as Xorg or Processing, before they can be used with OMXPlayer. [5]
Looping a Video with OMXPlayer
Once you have OMXPlayer installed on your Raspberry Pi, looping a video with it is very easy. All you need to do is specify the ‘-l’ flag when running the command:
omxplayer -o hdmi -l
where should be replaced by the name of the file you want to play. This will cause OMXPlayer to continuously loop your video until it’s manually stopped using Ctrl+C.
You can also use the ‘–loop’ option as an alternative:
omxplayer –loop
This will produce exactly the same result as using the ‘-l’ flag.
Additionally, if you want to use OMXPlayer to play an entire folder of videos, you can specify the ‘-d’ flag:
omxplayer -o hdmi -l -d
This will loop through all files in the specified folder until Ctrl+C is used to break out of the playback.
Playing a Video in Windowed Mode
You can also play a video in windowed mode on your Raspberry Pi using OMXPlayer. To do this, you must first open the terminal and enter the following command:
“`omxplayer -o hdmi filename.mp4“`
This will open up the video player with the specified file name in windowed mode on your Raspberry Pi’s monitor connected via HDMI cable. You can then use the arrow keys and other buttons to control playback of the video. Additionally, you can use the same command to play music files as well by replacing ‘.mp4’ with an appropriate audio file extension like ‘.mp3’, ‘.ogg’, or ‘.wav’.
When finished playing, you can exit out of the windowed mode using the ‘q’ key. This will return you to the terminal window where you can enter other commands or shut down your Raspberry Pi. [6]
Rotating the Video with OMXPlayer
Using OMXPlayer, you can rotate your video in either the clockwise or counterclockwise direction. To do so, open a terminal window and type the following command:
`omxplayer -o hdmi –video_flip `
In place of ‘’ enter the number of degrees to rotate the video (clockwise for positive numbers, counterclockwise for negative). Then replace ‘’ with your video file’s name. For example, if you wanted to rotate a video 90° clockwise on HDMI output, you would use this command:
`omxplayer -o hdmi –video_flip 90 myVideo.mp4`
You can also use the ‘–auto-rotate’ option with OMXPlayer, which will rotate the video to match any accelerometer data that is recorded in your video file (if there is any). To do this, type the following command:
`omxplayer -o hdmi –auto-rotate`
Replace ‘’ with your video’s name as before. This feature requires a Raspberry Pi 3 or newer with an on-board accelerometer.
Once you’ve entered the command for rotating your video, it should begin playing right away on your Raspberry Pi’s HDMI output.
Controlling OMXPlayer on your Raspberry Pi
It is relatively easy. You can control the player using keyboard shortcuts or by sending commands from another computer using SSH.
To control OMXPlayer on your Raspberry Pi, you need to first enable keyboard shortcut mode. To do this, go to the command line and issue the following command:
sh omxplayer –keys
This will enable keyboard shortcuts for controlling OMXPlayer. The following are some of the most commonly used keyboard shortcuts:
- **Space** – Pause/Play media
- **F** – Fast Forward
- **R** – Rewind
- **Q** – Quit OMXPlayer
- **1** & **2** – Increase/Decrease volume
- **Right/Left Arrow** – Skip 10 seconds forward/backward
- **Up/Down Arrow** – Increase/Decrease speed
You can also control OMXPlayer by sending commands via SSH. To do this, you will need to have a secure connection established between the Raspberry Pi and your computer. Once the connection is established, you can issue commands such as “play”, “pause” or “quit” using an SSH client like PuTTY. [7]
FAQ
How to install OMXPlayer on Raspberry Pi 4?
OMXPlayer can be installed on Raspberry Pi 4 by following these steps:
- Download the OMXPlayer package from the official Raspberry Pi website and then save it to your local computer.
- Connect your Raspberry Pi 4 to your local network via an Ethernet cable and then open a terminal window on your device.
- Type in the command “sudo apt-get install omxplayer” and press enter to download and install the OMXPlayer package on your device.
- Once the installation is complete, type in “omxplayer –version” into the terminal window to check that you have successfully installed OMXPlayer on your device.
- To start using OMXPlayer, simply type “omxplayer ” into the terminal window and press enter to play your media file.
What formats does OMXPlayer support?
OMXPlayer supports a wide range of media formats including .mp4, .mkv, .avi, .mov, and many more. It is important to note that some files may require additional codecs or plugins to be installed before they can be played correctly.
Is there a graphical user interface for OMXPlayer?
No, there is no graphical user interface available for OMXPlayer; however it can be used with popular remote control applications such as Raspcontrol or Yatse which provide an intuitive graphical interface for controlling the OMXPlayer.
How do I use Raspberry Pi as a media player?
Using Raspberry Pi as a media player can be done using the built-in OMXPlayer software. To use Raspberry Pi as a media player with OMXPlayer, you’ll need to install it first. After doing so, you’ll be able to play audio and video files on your Raspberry Pi. You can start OMXPlayer by typing in ‘omxplayer’ followed by the name of the file that you want to play into the command line prompt. Once started, you can control playback with basic keyboard commands such as ‘p’ for pause/play, arrow keys for fast forward and rewind, spacebar for next chapter or frame, etc.
How do I know if OMXPlayer is installed?
To check if OMXPlayer is installed on your Raspberry Pi, open the Terminal and type in “omxplayer” followed by enter. If you see an information page with usage instructions, then it has been successfully installed on your device. If not, you can install OMXPlayer using apt-get. In the terminal window, type in: sudo apt-get install omxplayer and press Enter. After installation is complete, use the same command to check if OMXPlayer was correctly installed. Once you know that OMXPlayer is working properly on your Raspberry Pi, you are ready to start playing videos or music files. To play a file using OMXPlayer, simply issue the following command in the terminal window: omxplayer filename.mp4 (or .mkv or .avi, depending on the file type) and press Enter. OMXPlayer will start playing the file automatically.
Can a Raspberry Pi run VLC?
Yes, VLC can be installed on the Raspberry Pi. To install VLC, open the terminal and type in: sudo apt-get install vlc and press Enter. After installation is complete, you will be able to play your media files directly from the command line using the following command: vlc filename.mp4 (or .mkv or .avi). The same usage instructions apply for playing media files with VLC as does for OMXPlayer. Additionally, if you prefer a graphical user interface (GUI), then you can launch VLC from the Raspberry Pi desktop environment.
Useful Video: Raspberry Pi – Omxplayer – How to run 1080p videos – Avengers Trailer
Conclusion
By utilizing OMXPlayer, users can transform their Raspberry Pi into a powerful media player. It’s ideal for streaming videos, playing music and watching movies on the go. With its easy to use interface and high level of customization options, it is one of the best media players available for the Raspberry Pi platform. The only downside is that OMXPlayer doesn’t have any built-in support for subtitles which might be an issue for some users. Still, if you want a reliable and fast media player then OMXPlayer should be your top pick.
In conclusion, OMXPlayer is an essential tool for anyone looking to take advantage of their Raspberry Pi as a personal media center or entertainment system. Thanks to its robustness, easy to use interface, and high level of customization options, it is a great way to make the most out of your Raspberry Pi. With this comprehensive guide, you should now be well on your way to mastering OMXPlayer and getting the most out of your Raspberry Pi.
Happy streaming!
References
- https://github.com/popcornmix/omxplayer
- https://pimylifeup.com/raspberry-pi-omxplayer/
- https://linuxhint.com/install-use-omxplayer-raspberry-pi/
- https://snapcraft.io/install/omxplayer-pi/raspbian
- https://forums.raspberrypi.com/viewtopic.php?t=267622
- https://www.thegeekyway.com/play-videos-raspberry-pi-omxplayer/




Leave a Reply