Do you want to turn your Raspberry Pi into a lightning-fast media streaming device? Setting up a Raspberry Pi media server is an exciting way to tap into the power of this wonderful tiny computer. Not only does it require minimal effort and resources, but it also provides almost limitless possibilities for video and music streaming. In addition to its many advantages, such as low energy consumption and cost effectiveness, using a Raspberry Pi can also drastically improve your workflow in terms of multimedia production with performance levels that far exceed those of standard PCs or Macs! In this blog post, I’ll be taking you through everything from the basics on how to set up your Raspberry Pi Media Server and what kind of hardware is needed for optimal performance.
Specific Features of Raspberry Pi
Raspberry Pi has been used to fuel a range of projects, from teaching kids coding skills to running complex scientific simulations. Here are some of the key features that make Raspberry Pi so popular:
- Incredible processing power: The latest models come with multi-core processors, allowing them to perform complex tasks with ease.
- Versatile ports: The range of input/output (I/O) ports available for Raspberry Pi make it highly versatile and ideal for a variety of projects.
- Easy setup: Setting up the Raspberry Pi is relatively straightforward and requires minimal technical knowledge.
- Great value for money: The affordability of Raspberry Pi makes it perfect for large-scale projects, as well as small and hobbyist ones.
- Wide range of support: A vast community of developers and users provide advice and helpful tips on using Raspberry Pi.
- Comprehensive software library: An extensive selection of operating systems (OSes), software programs, and programming languages are available for Raspberry Pi.
- Robust security features: The OSes used by Raspberry Pi have robust security protocols that protect users from malicious attacks.
- Energy efficient: With its low power consumption levels, the Raspberry Pi is highly energy efficient and can be operated for extended periods of time without needing to be charged or replaced. [1]
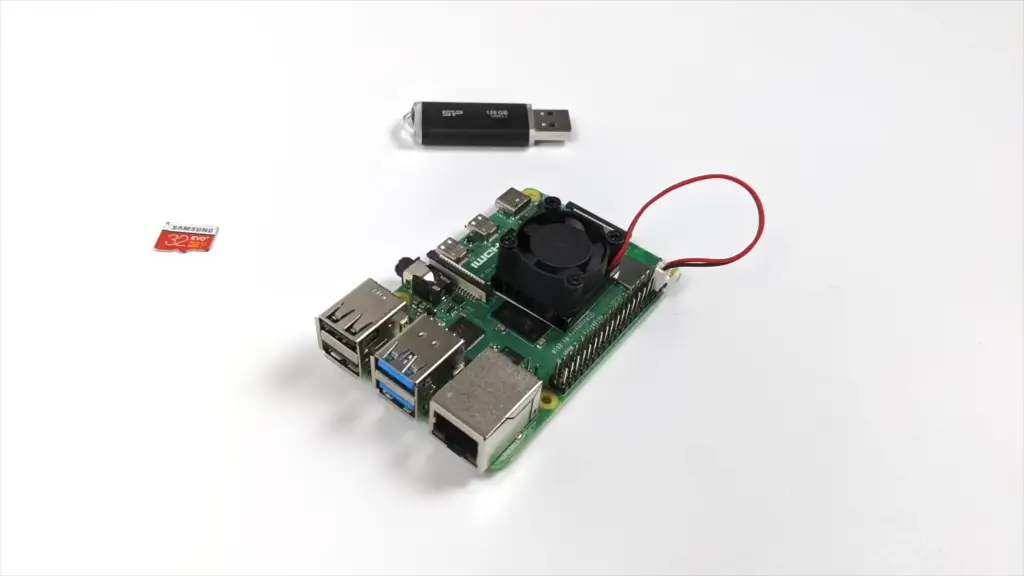
What Functions Does Raspberry Pi Perform?
It can be used to perform basic computing activities such as web browsing, emailing and word processing. But its real strength lies in its ability to perform more complex tasks such as programming, video processing, and artificial intelligence (AI).
Let’s take a look at some of the specific features and functions that Raspberry Pi is capable of performing:
- Programming – Raspberry Pi has an inbuilt Python interpreter which allows users to write software programs on it. It also supports popular coding languages such as C, Java and Ruby.
- Video Processing – Raspberry Pi is capable of capturing, decoding, encoding and displaying video data in a variety of formats. This makes it ideal for applications such as video streaming and live streaming.
- AI Programming – Raspberry Pi can be used to run programs written in popular Machine Learning (ML) frameworks like TensorFlow. This makes it possible to use Raspberry Pi for performing tasks such as computer vision, speech recognition and natural language processing.
- Networking – Raspberry Pi can be used to create secure local networks for sharing resources between multiple devices. It also supports a variety of wireless technologies that enable users to access the internet from anywhere in the world.
- Security – Raspberry Pi comes with built-in security features such as a firewall and intrusion detection system. This makes it an ideal platform for protecting networks from malicious attacks.
- Building projects using GPIO pins – Raspberry Pi comes with a range of GPIO pins that can be used to control various types of hardware. This makes it possible to create complex projects such as robots and home automation systems. [2]
These are just some of the many features that Raspberry Pi offers, making it an invaluable tool for any number of projects. From teaching kids about coding to powering research projects into AI, Raspberry Pi is the perfect choice for anyone looking for a powerful and versatile machine. It’s not hard to see why it has become so popular in the maker community!
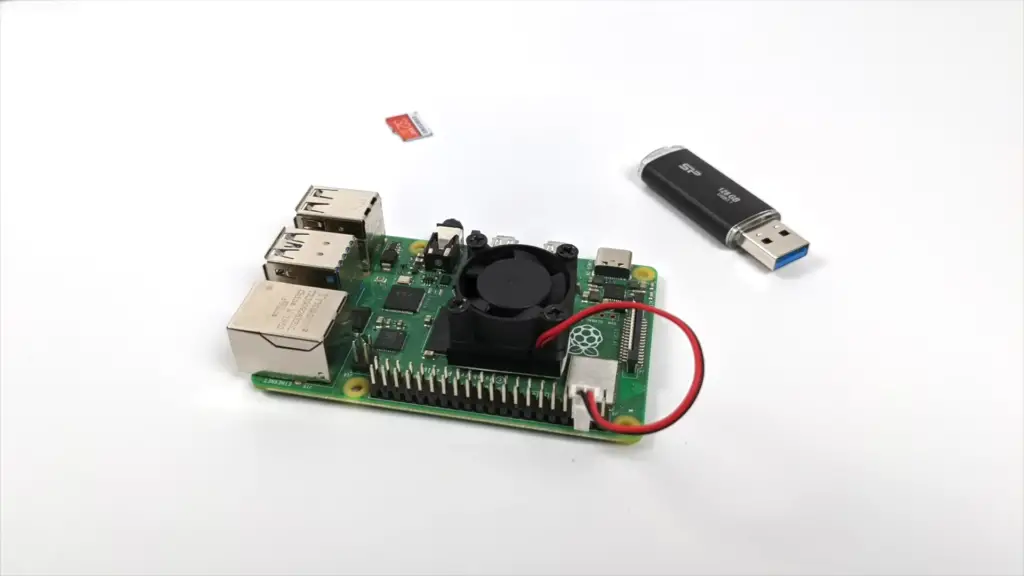
What Else Can You Do With Raspberry Pi?
Raspberry Pi is more than just a powerful tool for programming and video/audio processing. It can be used as an internet access point, media server, web server, home theater PC and more. And now for the details about these functions.
- Internet Access Point – Create a local Wi-Fi network for connecting multiple devices. This makes it ideal for sharing your internet connection in places with poor signal or no signal at all.
- Media Server – You can host and stream music, movies and other multimedia content. It is also capable of playing back video content from popular streaming services (Netflix and YouTube).
- Web Server – Run a web server and host websites. This makes it ideal for businesses that need an easy way to manage their online presence.
- Home Theatre PC – Create your own home theater system by connecting it to your TV and streaming media from the internet. This allows you to access a wide range of content without having to pay for cable or satellite services. [3]
What are the Most Popular Raspberry Pi Types?
The Raspberry Pi Foundation has developed a remarkable series of single-board computers. These devices showcase a harmonious blend of impeccable engineering and cutting-edge technology. It was first released in 2012 as an inexpensive and powerful computer for hobbyists and enthusiasts. Since then, it has become one of the most popular microcontrollers available.
There are several different models of the Raspberry Pi, ranging from the original Model B to the more recent Model 4. Each model comes with a different set of features and capabilities, so choosing the right one for your needs can be tricky.
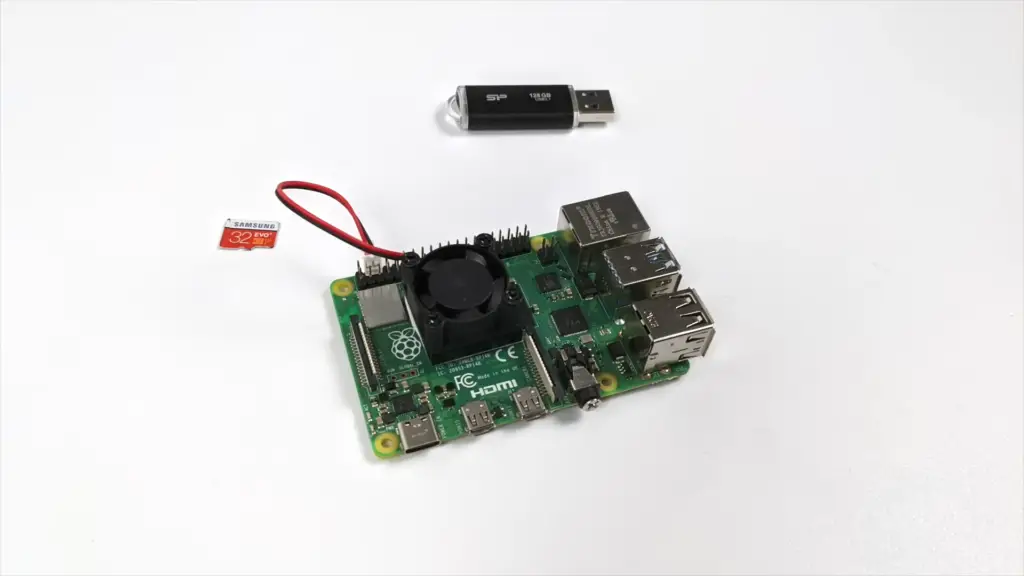
The most popular Raspberry Pi models include the Model B+ (released in 2014), the Model 2 B (released in 2015), the Model 3 B (2016), and the Raspberry Pi 4. These models are widely used by hobbyists because of their powerful processing capabilities, as well as their low cost.
- The Model B+ is the most affordable option in the current lineup, and it comes with several features that make it great for projects requiring a lot of computing power. It runs on an ARM Cortex-A7 processor and comes with 1GB of RAM, 4 USB ports, 40 GPIO pins, and a full-size HDMI port.
- The Model 2 B is the middle-of-the-road option, coming with an ARM Cortex-A53 processor and 1GB of RAM. It also has four USB ports, 40 GPIO pins, and a full-size HDMI port.
- The Model 3 B offers even more features, including an ARM Cortex-A53 processor,1GB of RAM, four USB ports, 40 GPIO pins, and a full-size HDMI port.
- The Raspberry Pi 4 is the latest model in the lineup and offers significantly upgraded performance. It runs on an ARM Cortex-A72 processor with up to 8GB of RAM and features dual micro HDMI ports for dual monitor support. This makes it great for more complex projects that require higher processing power. [4]
What is Raspberry Pi Media Server?
It is a dedicated computer appliance that allows users to enjoy media from their home network. It’s typically connected to the TV, and it runs on a custom operating system based on Linux. Raspberry Pi media servers come in different sizes and capacities depending on your needs, but they all offer the same features.
The main feature of a Raspberry Pi media server is its ability to stream multimedia content from your home network to any device with an internet connection. This includes both audio and video content, such as music, movies, TV shows, and podcasts. It also allows users to access online services like Netflix or Hulu directly from their media server.
In addition to streaming content, Raspberry Pi media server also provides a powerful multimedia playback system. This includes special features such as picture-in-picture mode, full HD and 4K resolution support, the ability to connect multiple devices simultaneously, and even an integrated media player that can be used to stream video or audio from your own PC.
Another great feature of Raspberry Pi media server is its ability to be configured and customized according to your needs. You can use it as a full-featured media center, or you can set up dedicated applications for specific tasks, such as digital signage or online gaming. The possibilities are extensive, and the flexibility opened up by this technology makes it an ideal choice for many different types of users.
By investing in a Raspberry Pi media server, you can create your own home entertainment center that will provide hours of fun and enjoyment for your family. Whether you’re streaming movies and TV shows or playing the latest video games, a Raspberry Pi media server can open up a world of possibilities. With its low cost and versatile capabilities, there’s no doubt that it will be an invaluable addition to your home network for years to come. [5]
How to Upgrade Raspberry Pi Media Server?
If you want to maximize your Raspberry Pi media server’s potential, you’ll be glad to know that there is a variety of optional upgrades to choose from. These upgrades can enhance your server’s performance and provide additional features to elevate your media streaming experience. These can include additional storage space, faster networking speeds, and more powerful processors for improved performance. Let’s talk about each piece in detail.
Storage Upgrades
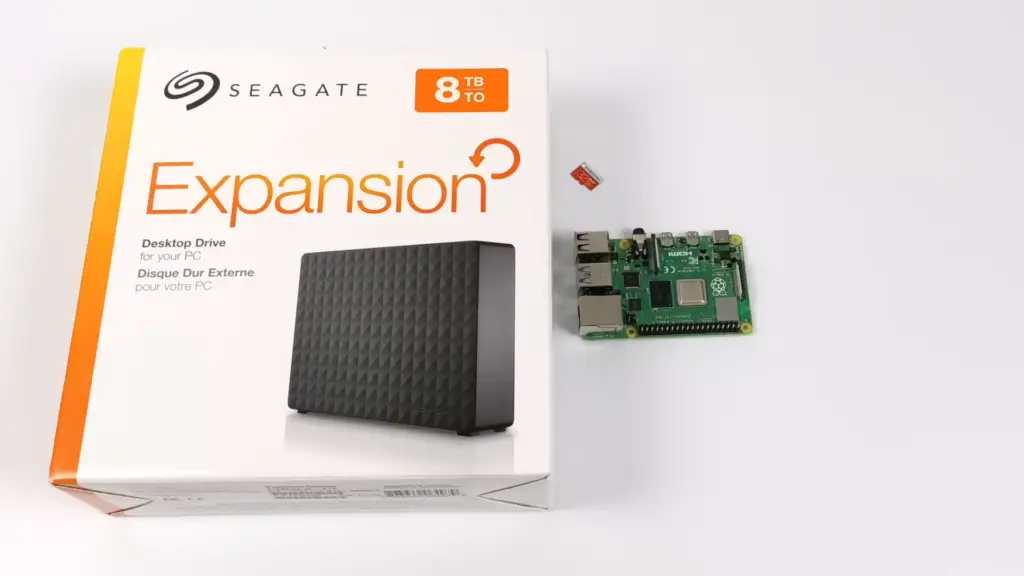
Most Raspberry Pi media servers come with a basic storage capacity of 16GB, but you can upgrade to larger capacities if needed. Many users opt for a 32GB or 64GB microSD card, allowing them to store more movies and music files on the device. For those looking for even more space, external hard drives are a great option, as they can be easily connected to the Raspberry Pi via USB.
Network Upgrades
If you plan on streaming high-definition content to multiple devices, it’s important to consider upgrading your network connection. The fastest way to improve your connection speed is by adding an Ethernet adapter. This will provide a more reliable connection than Wi-Fi, especially when streaming 4K content.
Processor Upgrades
Another great way to get more performance out of your Raspberry Pi is by upgrading the processor. Many users opt for a Raspberry Pi 3 or 4, as they offer significantly faster processing power than the older models. This can help speed up tasks like file transfers and video encoding.
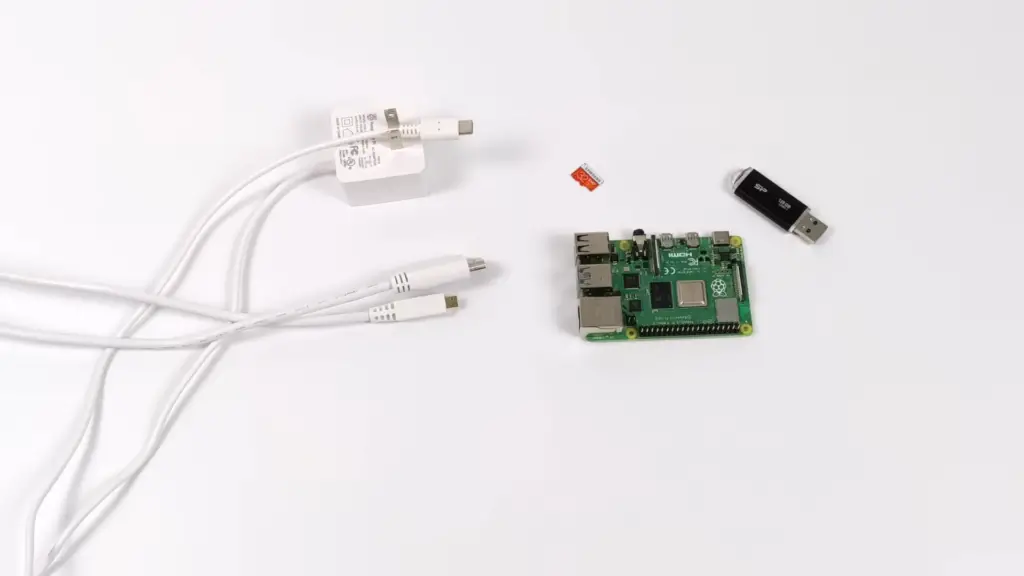
All of these upgrades can help you get the most out of your Raspberry Pi media server. However, it’s important to note that none of them are necessary – many users are able to get excellent performance using only the basic features and hardware that comes with the device. [6]
Why Use a Media Server for Raspberry Pi?
Raspberry Pi provides a wide range of features, including the ability to run different operating systems, process data quickly, and interact with other hardware. But what many people may not know is that Raspberry Pi can also be used as a media server — allowing you to store and stream music, videos, and other content from your computer or the internet.
Using a Raspberry Pi media server has many advantages over using a traditional computer-based one. They include:
- Cost savings: Setting up a Raspberry Pi media server is much more affordable than buying or building a traditional computer-based media server — especially if you already own the Raspberry Pi.
- Flexibility and scalability: With a media server installed on your Raspberry Pi, you can easily add storage capacity to suit your changing needs.
- Low power consumption: A Raspberry Pi media server uses much less energy than a traditional computer, meaning you will save on electricity bills in the long run.
- Easy setup: Installing a media server on your Raspberry Pi is relatively straightforward — even for those who are not tech-savvy.
- Portability: With a media server installed on your Raspberry Pi, you can take it with you wherever you go and access your content without the need for an internet connection.
- Better performance: A Raspberry Pi media server is capable of streaming high-definition videos and audios without any lag or buffering — even when multiple users are connected to it. [7]
Overall, using a Raspberry Pi media server is an excellent way to enjoy your music and videos without breaking the bank. With its cost savings, flexibility, scalability, and ease of setup — there’s no reason not to give this powerful mini-computer a try today!
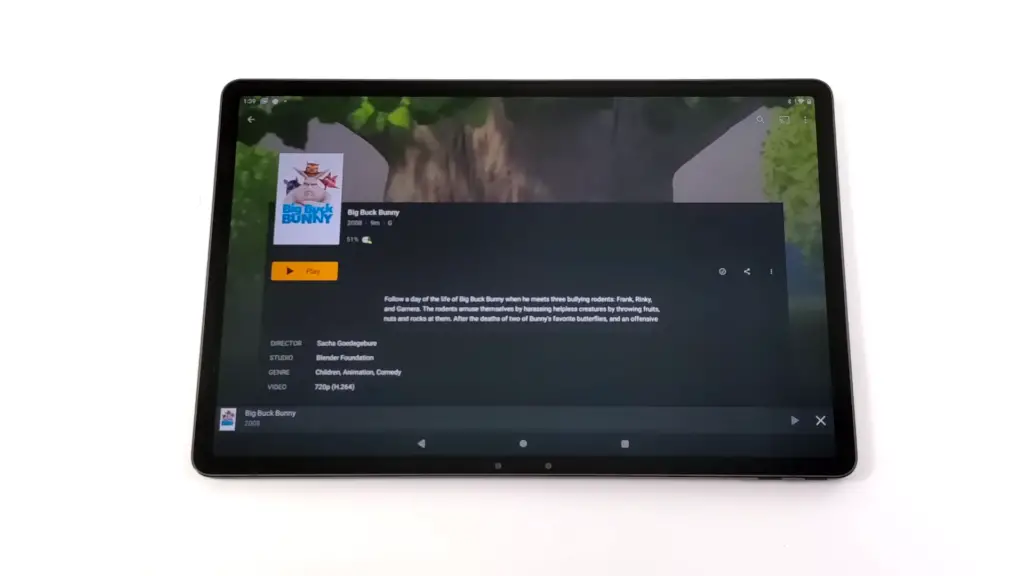
Key Steps on How to Set Up a Raspberry Pi Media Server
If you’re looking to get the most out of your Raspberry Pi, setting up a media server is one of the best ways to do so.
Setting up a media server on your Raspberry Pi is not difficult but there are some important steps to follow to ensure that everything works properly. Here are the key steps for setting up a Raspberry Pi media server.
Step 1: Install the Operating System
The first step in setting up your Raspberry Pi media server is to install an operating system. There are a few different options you can choose from such as Raspbian, Ubuntu MATE, or OpenELEC. Each of these come with their own advantages and disadvantages so make sure you read more about them before choosing one for your media server.
Step 2: Connect to the Network
Once you have your operating system installed, it’s time to connect your Raspberry Pi to the network. You will need an Ethernet cable connected from your router to the Raspberry Pi as well as a USB Wi-Fi adapter if you plan on using Wi-Fi instead.
Step 3: Install the Media Server Software
Once your Raspberry Pi is connected to the network, you can now install the media server software. There are many different options to choose from such as Plex, Kodi, or Subsonic. Each of these has its own unique features so make sure you research them before installing one on your Raspberry Pi.
Step 4: Set Up Your Media Server
Now it’s time to set up your media server. This will depend on which software you installed but generally, it involves configuring the settings for the video and audio quality as well as any other features you want enabled.
Step 5: Add Your Content
The last step in setting up your Raspberry Pi media server is to add your content. This can be done by connecting an external hard drive or USB flash drive to the Raspberry Pi and transferring the files over. Alternatively, you can also use a network-attached storage device if you have one.
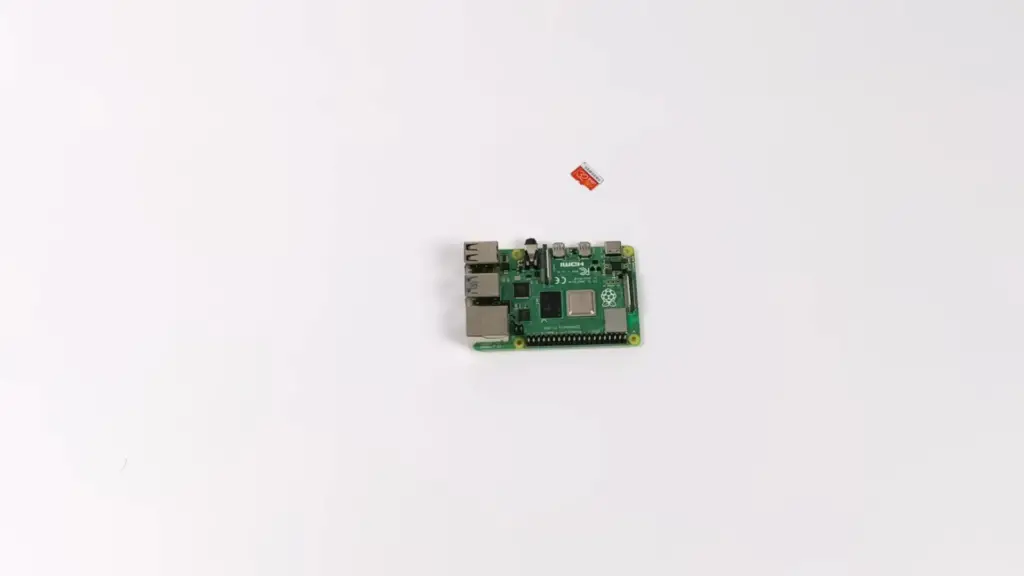
Once you’ve completed all of these steps, your Raspberry Pi media server will be up and running and ready for you to stream your content. [8]
FAQs
Can you set up a Raspberry Pi as a server?
Yes, it is possible to set up a Raspberry Pi as a server. This can be done by installing an operating system such as Raspbian or Ubuntu Server on the device and then configuring it to serve files over the network. The Raspberry Pi can also be used as a media server for streaming audio and video content, allowing users to access their multimedia library from anywhere in the world. Furthermore, the Raspberry Pi can be used for running web servers or a VPN server for secure remote access to your home network.
What is the best Raspberry Pi for a media center?
The Raspberry Pi is a compact yet formidable computer with versatile applications. It has become increasingly popular as a media center, allowing users to stream media from the internet and their own local storage devices.
When it comes to choosing the best Raspberry Pi for your needs, there are several factors to consider. Firstly, you need to consider the type of Raspberry Pi that best suits your needs. The standard Raspberry Pi 4 is an excellent choice for basic streaming, while the Raspberry Pi 3B+ offers the additional power required for more intense projects.
Another important factor to consider when selecting a Raspberry Pi is how you will connect it to your home network. If you’re simply streaming from the internet, then a standard Wi-Fi connection should be sufficient. However, if you plan to transfer large files or use complicated streaming protocols then an Ethernet connection might be necessary.
Finally, the operating system that you choose for your Raspberry Pi is also important. Linux distributions such as Raspbian and Ubuntu are popular choices for media servers, but Windows 10 IoT Core is also a viable option.
Can I use a Raspberry Pi as a media server?
Yes, you can use a Raspberry Pi as a media server. The Raspberry Pi is a compact and budget-friendly computer that can effortlessly stream content to any device connected to your home network via Wi-Fi. Its versatility and affordability make it an excellent choice for seamless media streaming. You can set up the Raspberry Pi as an all-in-one media center with the help of several open source software solutions such as Kodi or Plex.
Kodi is an open source media player software that can stream content from both local and online sources. It is easy to configure and customize, making it a great choice for setting up a Raspberry Pi as a media server. With Kodi, you can watch movies, TV shows, listen to music, view photos, and more.
Plex is another popular open source media server solution. It has a user-friendly interface and provides support for streaming content to multiple devices. You can also access your library on the go with Plex’s mobile apps.
Is the Raspberry Pi powerful enough for a server?
The Raspberry Pi is a powerful and versatile device that is perfect for running a media server. With a quad-core processor, up to 8GB of RAM, and Gigabit Ethernet support, the Raspberry Pi can handle intensive tasks such as streaming movies, music, or photos to multiple devices simultaneously. Additionally, its small form factor makes it ideal for setting up in tight spaces like media cabinets or entertainment centers. The Raspberry Pi also runs the popular Kodi software, making it easy to set up a robust and feature-rich media center with minimal effort. With its endless possibilities for customization and its low price point, the Raspberry Pi makes an excellent choice for those looking to build their own personal media server.
Useful Video: Turn A Raspberry Pi 4 Into A PLEX Media Server
The Bottom Line
Congratulations on responsibly setting up your Raspberry Pi Media Server! You can now access all your favorite content on this versatile device. The possibilities of what you can do with it are practically endless. You can use the server for gaming, streaming movies and TV shows, music, media files, and so much more. With its low energy consumption and variety of features, a Raspberry Pi Media Server is a great addition to any home theater setup.
Although you’re done setting it up today, don’t feel compelled to stick with the same setup forever. There may be additional features or fun projects that interest you down the line. Experiment and have fun!
References
- https://www.spiceworks.com/tech/networking/articles/what-is-raspberry-pi/
- https://linuxhint.com/10-best-features-of-raspberry-pi/
- https://jayconsystems.com/blog/the-15-most-interesting-ways-to-use-raspberry-pi
- https://opensource.com/life/16/10/which-raspberry-pi-should-you-choose-your-project
- https://www.ionos.com/digitalguide/server/configuration/raspberry-pi-plex/
- https://www.thetechedvocate.org/how-to-set-up-a-raspberry-pi-media-server/
- https://nitinmanju.medium.com/set-up-a-home-media-server-using-a-raspberry-pi-and-plex-666a44f9a3bb
- https://raduzaharia.medium.com/how-to-setup-a-media-server-on-your-raspberry-pi-8261016515b0




Leave a Reply