

Are you a retro gaming enthusiast looking to bring your favorite classic games back to life? Have you ever wanted to add BIOS files to your RetroPie setup? If so, setting up BIOS files can be an important and exciting step in the process! In this blog post, we’ll provide an overview of the different types of BIOS files available for use with RetroPie, as well as a detailed guide on how to install and configure them correctly. Whether you’re a long-time retro gamer or just getting started with this fascinating hobby, by following these steps you’ll soon be playing all your favorite old school video games once again. So grab that classic controller and let’s dive into how easy it is to add BIOS To RetroPie!
What Is BIOS?
BIOS stands for Basic Input/Output System and is the program that runs when your computer starts up. It’s responsible for booting the operating system, setting up hardware devices, and configuring the overall system configuration. In other words, BIOS acts as the interface between the user and all of the components of a computer.
When your computer boots up, BIOS performs a series of tests to make sure everything is working properly. This includes testing the memory, checking the hard drive, verifying that all of the hardware components are functional, and then loading the operating system.
When a device is added to your computer or a new driver is installed, BIOS needs to be updated in order to accommodate it. This can be done manually by entering BIOS setup mode or automatically with a tool like Driver Booster. [2]
What is Raspberry Pi and What are its Advantages?
The Raspberry Pi is a small, yet powerful, single-board computer. It’s the perfect device for those who want to learn coding and digital making while also having access to an array of projects that can be created with it. The Raspberry Pi boasts high performance capabilities as well as numerous advantages over other similar single-board computers. [3]
Benefits of using Raspberry Pi include:
- Cost efficient – the Raspberry Pi is much cheaper than other single-board computers, making it perfect for those with tight budgets. It also offers a range of features that are usually more expensive on other devices.
- Easy to use – the Raspberry Pi’s user interface is easy to learn and navigate, allowing users to get up and running quickly.
- Great community of Raspberry Pi users – the active Raspberry Pi community offers plenty of support and resources to help users create awesome projects with their devices.
- Versatile – the Raspberry Pi is compatible with a wide range of operating systems, allowing you to tailor it to your own needs. It’s also compatible with many popular programming languages, including Python, Ruby, and JavaScript.
- Portable – the Raspberry Pi is small and lightweight, making it easy to take with you wherever you go. [4]
What are the Main Types of Raspberry Pi?
Raspberry Pi is a single-board computer with various components such as CPU, GPU, memory and storage. It is an affordable and highly versatile device that supports many different projects from hobbyists, tinkerers to professional engineers. With the Raspberry Pi’s range of models available on the market, it can be difficult to determine which one best suits your needs.
There are four main types of Raspberry Pi: the Model A, B, A+, and B+. These models have slightly different features and capabilities.
- The Model A is the most affordable of all the Raspberry Pi boards. It has a single USB port and 256MB RAM. However, it lacks some features such as an Ethernet connection, an HDMI port, and a camera interface.
- The Model B has double the RAM of the Model A, but still lacks some features, such as an Ethernet connection. It also features two USB ports and an HDMI port for connecting to a monitor or TV.
- The Raspberry Pi A+ is similar to the Model A but with more memory (512MB) and additional features, such as an Ethernet connection and a camera interface.
- Finally, the Raspberry Pi B+ is essentially a combination of the Model A and Model B. It has double the RAM (512MB), four USB ports, an Ethernet connection, and an HDMI port. The B+ also includes a camera interface and GPIO pins for connecting to external devices. [5]
Given the range of models available, it can be difficult to determine which Raspberry Pi is best for your project. Consider your needs and choose a model that meets them without going above your budget. You can also find more information about each model on the official Raspberry Pi website.
So now that we know what a Raspberry Pi is and the advantages of using one, let’s move on to exploring RetroPie – an emulator software suite for the Raspberry Pi.
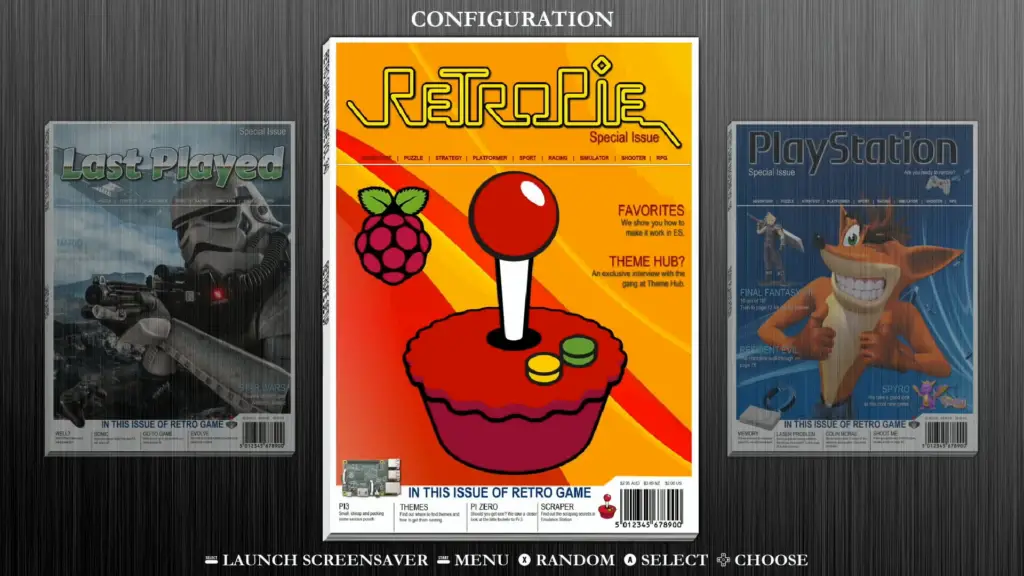
What Is RetroPie And How Does It Operate?
RetroPie is a software library for emulating retro video games on the Raspberry Pi, which allows you to access old-school classic gaming consoles like Nintendo Entertainment System (NES), Super Nintendo Entertainment System (SNES), and Game Boy. RetroPie also provides users with the ability to customize their own gaming experiences by setting up various graphical themes, creating custom controls, and configuring other features like screen resolution, sound quality, and controller settings. [6]
RetroPie can be used to emulate a range of different game systems from the 8-bit era to the present day. It includes support for popular gaming platforms such as Sega Genesis/Mega Drive, Amiga, Commodore 64 (C64), ZX Spectrum, Apple IIe, and many more. It is also capable of running a variety of console emulators such as MAME (Multiple Arcade Machine Emulator), Atari 2600, PlayStation 1, and Nintendo 64. With RetroPie, you can even play games from classic consoles like the Sega Master System and Game Gear.
RetroPie is a powerful program that makes it easy to turn your Raspberry Pi into a classic gaming console. You can use RetroPie to enjoy all of the great games from yesteryear and create your own custom gaming experience with the intuitive software library. Whether you’re an experienced programmer or just getting started, RetroPie has something to offer everyone. Try it out today and bring back a piece of nostalgia! [7]
Why Add BIOS To RetroPie?
Adding BIOS to RetroPie is a necessary step for users who want to be able to play games that require the system-specific files. Many of the classic games from the ’80s and ’90s are tough or impossible to emulate without having access to these special files, which can only be added by downloading them from an external source and adding them into RetroPie.
BIOS files are essential to the emulation process because they contain specific information about the hardware that the game was originally designed for. Without these files, emulators can’t accurately replicate the original experience and some games may not even work properly at all. It’s important that users take the necessary steps to download the correct BIOS files and add them into RetroPie if they want to enjoy the classic games that they remember from their childhood.
In addition to the improved accuracy of game emulation, adding BIOS files can also reduce lag and improve overall performance of RetroPie systems. This is because some modern emulators use system-specific information in order to optimize the experience for each title. By making sure that all necessary BIOS files are present in RetroPie, users can ensure that their games will run as smoothly as possible.
For those who are new to RetroPie and emulation in general, the process of adding BIOS files may seem daunting at first. However, with a bit of research on the web and some basic computer knowledge, it’s actually quite simple to do. Once you get started, you’ll be amazed at how quickly and easily the installation process can be completed. So if you’re looking to get the most out of your RetroPie system, make sure that you add BIOS files as soon as possible! [8]
When Is It Necessary To Add BIOS To RetroPie?
BIOS, or basic input/output system, is a required component of any emulator that you run on RetroPie. Adding BIOS to your setup can provide more accurate emulation and gaming experience. It’s important to understand when it’s necessary to add bios to RetroPie in order for your gaming system to function properly.
When setting up a new RetroPie gaming system, it’s important to add the necessary BIOS files for your specific platform. Depending on the type of game system you are setting up, you may need to install multiple different types of BIOS files. Some examples of these systems include:
- Sega Master System
- Sega Genesis/Mega Drive
- Nintendo Entertainment System (NES)
- Super Nintendo Entertainment System (SNES)
- Game Boy Advance
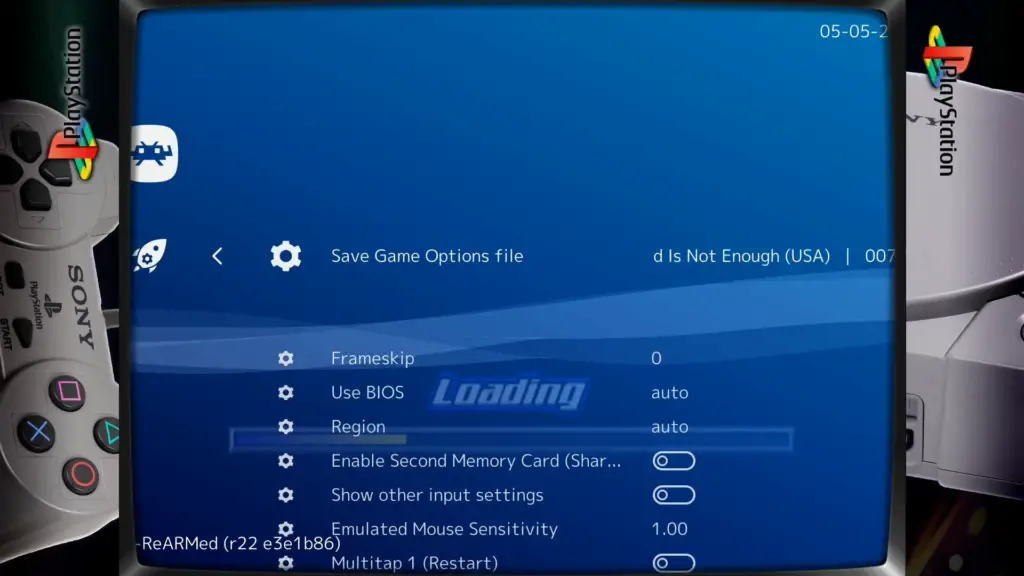
- PlayStation 1/PSX
- Commodore 64
The BIOS files that you need to install will be determined by the type of game system you are setting up. If you’re setting up a Sega Master System, for example, then you’ll need to download and install the appropriate BIOS file in order to allow the system to run properly.
Once you’ve installed the necessary BIOS files, you can then start playing the games available on your RetroPie system. The performance of the emulations may vary depending on which type of BIOS file is used. It’s important to note that some game systems require additional ROMs in order for certain games to work properly. For instance, the Game Boy Advance emulator requires additional ROMs to be installed in order for certain games to work.
Where To Get BIOS Files?
BIOS files are essential for running your hardware devices smoothly. It is important to have the correct BIOS file on hand in order to ensure that your device operates correctly and at optimal performance. However, finding the right file can be a challenge as there are many different types of BIOS files and they all come from different sources.
One of the best places to start your search is online. Most hardware manufacturers have websites where they host their drivers and other related software, including BIOS files. It is best to go directly to the manufacturer’s website and look for the exact type of file that you need. Be sure to read any instructions carefully as some of the BIOS files might require special configuration before they can be used.
You can also find BIOS files on third-party websites, such as those run by enthusiasts. These sites often have collections of various types of BIOS files that you can download and use for free. However, we recommend sticking to official sources whenever possible as these sites may contain outdated or even malicious files.
If you can’t find the BIOS file that you need online, you can also try contacting the manufacturer directly for assistance. They should be able to provide the correct version of the file and may even be able to answer any questions about installation and configuration.
Top Methods Of Adding BIOS To RetroPie
Adding BIOS to RetroPie is an essential part of setting up a great gaming experience. Without the right set of BIOS, it can be difficult for your Raspberry Pi-based console to run games as intended. Fortunately, there are several easy and straightforward methods for installing BIOS on RetroPie. Here’s what you need to know.

Download the Required BIOS
The first step in adding BIOS to RetroPie is downloading the required files. You can find a full list of the necessary BIOS files on RetroPie’s website. It’s important to note that you will need to download and install two separate sets of BIOS files: one for the system you are emulating, and another for the region you are playing games from.
Once you have all the required files downloaded onto your computer, it’s time to move on to the next step — adding them to RetroPie.
Set Up The Folders On Your SD Card
The next step is to create the necessary folders on your SD card. The two main directories you need to create are named “roms” and “BIOS”. To set up these folders, you will need a USB drive or an external hard drive with a FAT32 file system.
Once the folders have been created, it’s time to move on to the next step: adding BIOS files.
Transfer The BIOS Files To Your SD Card
Once you have the necessary folders set up, it’s time to transfer the BIOS files onto your SD card. You can do this by connecting your computer to the RetroPie console via USB and then dragging and dropping the BIOS files into the “BIOS” folder.
When all the files have been transferred, it’s time to move on to the final step — updating your console.
Update Your Console
The last and final step is to update your console so that it can recognize and use the newly-added BIOS files. To do this, you will need to access the RetroPie menu on your console and navigate to “RetroPie Setup”. Once there, select “Update All Packages” and then reboot the system when prompted.
Once the update is complete, you should be able to enjoy all of your favorite classic games with full emulation support. That’s it! With these four simple steps, you can quickly and easily add BIOS files to your RetroPie console for a better gaming experience. [9]
FAQs
Where do I put BIOS in RetroPie?
You can put BIOS files in the `/home/pi/RetroPie/BIOS` directory. It is important to remember that some emulators may require additional BIOS files, such as Sega Saturn and Neo Geo Pocket Color. Make sure to check the documentation for each emulator before loading up a game! Additionally, it is recommended to name your BIOS files with the same name as the emulator it is associated with to make it easier to locate them. Also, be sure to keep your BIOS files up-to-date and properly backed up in case of any unforeseen issues!
How do I manually install BIOS?
If you want to manually install the BIOS, RetroPie provides some instructions for doing so. Firstly, you will need to obtain a copy of the correct version of the BIOS files for your system. It’s best to check on an emulator-specific website or forums, as there can be subtle differences between versions which may cause compatibility issues.
Once you have obtained the correct BIOS files, you will need to place them in the appropriate location for your system. For example, if you’re using RetroPie on a Raspberry Pi, these files should be placed into `/home/pi/.emulationstation/BIOS`.
If you’re running on a Linux based system, they should be placed in `/opt/retropie/BIOS`.
Finally, restart RetroPie and your BIOS files should now be installed correctly. Once these steps have been completed, you should be able to launch any of the emulators available without any issues.
Does Raspberry Pi have BIOS?
The Raspberry Pi does not have a BIOS in the traditional sense, since it uses an ARM processor. However, it employs its own firmware called “Bootloader” which loads the operating system (OS) into memory. The Bootloader enables the OS to recognize peripherals such as keyboards and mice and allows for boot customization using environment variables.
Can I install a different BIOS?
If you have a desire to customize your RetroPie setup by trying out different BIOS versions, it is possible to do so. The installation process requires the user to obtain the desired BIOS files for their specific hardware platform and then move those files into the proper folder location on the Raspberry Pi.
The file locations of each BIOS are dependent on where they will be used in the emulation. For example, if you are using your BIOS for Sega CD or Game Gear emulation, then they should be moved to the /opt/retropie/emulators//bios folder within the RetroPie directory.
Once you have placed your BIOS files inside of the proper folder, you should be able to select it in the emulator for that hardware platform. From there, you can enjoy whichever version of a game or system that you choose to emulate with your newly installed BIOS!
Useful Video: Add PlayStation BIOS Files On RetroPie – Start Button Fix On PlayStation Roms RetroPie Guy Tutorial
Conclusion
After gathering the necessary materials and following all the steps outlined above, you’ll be ready to add your BIOS files to RetroPie. Adding BIOS to RetroPie is an important step in getting a successful emulation experience. You must make sure that your ROMs are properly formatted and that the corresponding BIOS is installed correctly. Not only will this help ensure good performance, but it also helps maintain compatibility with a larger variety of emulators. If done right, adding your BIOS to RetroPie can be a rewarding project that can provide hours of enjoyment playing classic video games! And now you know how to do it yourself.
References
- https://www.computerhope.com/jargon/b/bios.htm
- https://www.simplilearn.com/what-is-bios-article
- https://linuxhint.com/what-is-raspberry-pi/
- https://www.pantechelearning.com/advantages-disadvantages-of-raspberry-pi/
- https://linuxhint.com/different-versions-raspberry-pi/
- https://howchoo.com/g/n2qyzdk5zdm/build-your-own-raspberry-pi-retro-gaming-rig
- https://www.raspberrypi.com/tutorials/retropie-raspberry-pi-tutorial/
- https://purplepedia.com/emulators/do-you-need-to-add-bios-to-retropie/
- https://raspians.com/how-to-add-bios-to-retropie/