
Are you planning to commence a Raspberry Pi adventure? One of the indispensable steps would be formatting an SD card. Navigating this process can be intimidating, however we are here to offer our assistance. We will guide you through all of the essential information and processes that are required. Keep reading and get started now!
Do You Need to Format an SD Card for Raspberry Pi?
Hobbyists and makers alike can reap the benefits of a Raspberry Pi; however, it necessitates an SD card for data storage. Prior to connecting the SD card with your Raspberry Pi, you must correctly format it for optimal results. Formatting an SD card for Raspberry Pi is not difficult, but there are some important steps that must be followed.
Before formatting your SD card, make sure that you have backed up any important data as this process will erase all of the current information on the card. After these preliminary steps, you’re now able to commence formatting your SD card for Raspberry Pi. [1]
Different Formats For Raspberry Pi SD Card
FAT32 is the most common format and is supported by all versions of Windows. It works on both Windows and Mac computers but has a maximum file size limit of 4GB which may be restrictive depending on certain applications. This makes it useful for portable storage devices such as USB memory sticks.
NTFS is more suited to larger files and can store up to 16TB in capacity. It is only compatible with Windows systems however, so if you need to run other operating systems like Linux or macOS then this will not be suitable for you.
EXT4 is a Linux-based file system which offers significant performance improvements over the other two formats. It can be read and written on both Windows and Mac computers, but it is only natively supported by Linux systems. EXT4 has no hard limit on file size so it is great for large files and applications.
Prior to reformatting your SD card, be sure to create a backup of all data—this will protect you from any potential information loss. No matter which format type you choose for the card, backing up beforehand is key! Once you’ve chosen the format that works best for your needs, use your computer’s built-in tools or third-party software such as MiniTool Partition Wizard Free Edition to quickly and easily format the SD card.
Finally, remember to eject the card safely before unplugging it from your computer to ensure no data corruption occurs. With the correct format chosen, you’re now ready to use your Raspberry Pi SD card! [2]
How To Format Raspberry Pi SD Card?
Format SD Card For Raspberry Pi Using Raspberry Pi Imager
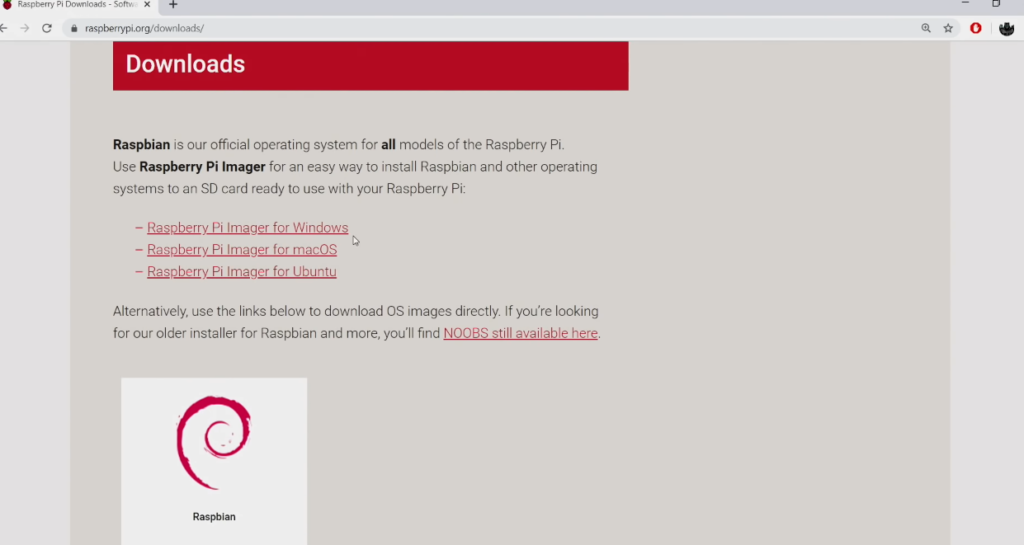
With the Raspberry Pi Imager, formatting your Raspberry Pi SD card has never been easier! This user-friendly tool gives you an effortless way to format your device and get it up and running in no time. The Raspberry Pi Foundation designed this software to specifically format and flash images onto MicroSD cards for a smooth, efficient experience.
To get started, you’ll need to download and install the Raspberry Pi Imager on your computer or laptop. Once it’s installed, open it up and select the “Choose OS” option from the list. You can then select either Linux or Windows depending on what operating system you’re using. Once you’ve selected an operating system, make sure that your SD card is plugged into your computer and click “Flash” in the bottom right corner of the application window. The imager will then begin formatting the card and installing the selected operating system.
Format Your SD Card For Raspberry Pi Using Linux
If you have a Linux machine handy, you can use it to format your SD card for Raspberry Pi. This is a simple and straightforward process that will take only a few minutes.
- First, insert your SD card into the card reader connected to your Linux machine.
- Open up Terminal and type in “sudo fdisk -l” (without quotes). This command will list all the connected disks on your system. Look for the device name that corresponds to the size of your SD card; this should be at the bottom of the list. Once you have found it, make a note of its device name as you’ll need it in step 4 below.
- Now type in “sudo umount /dev/sdx” (replacing ‘sdx’ with your device name) to unmount the card.
To organize your SD card, input the code “sudo mkfs.ext4 -F /dev/sdx,” replacing ‘sdx’ with your device’s name. As you begin formatting the card, a progress bar will appear on your screen to keep track of your progress.
Lastly, when you’re done with the process, detach the SD card from your card reader and plug it into your Raspberry Pi! Now you can swiftly launch Raspbian or any other operating system of your choice on Raspberry Pi. [3]
Using Windows PC
Method 1-Disk Management
- To initiate formatting, insert the SD card of your choosing into the designated slot or adapter accessible on your Windows PC.
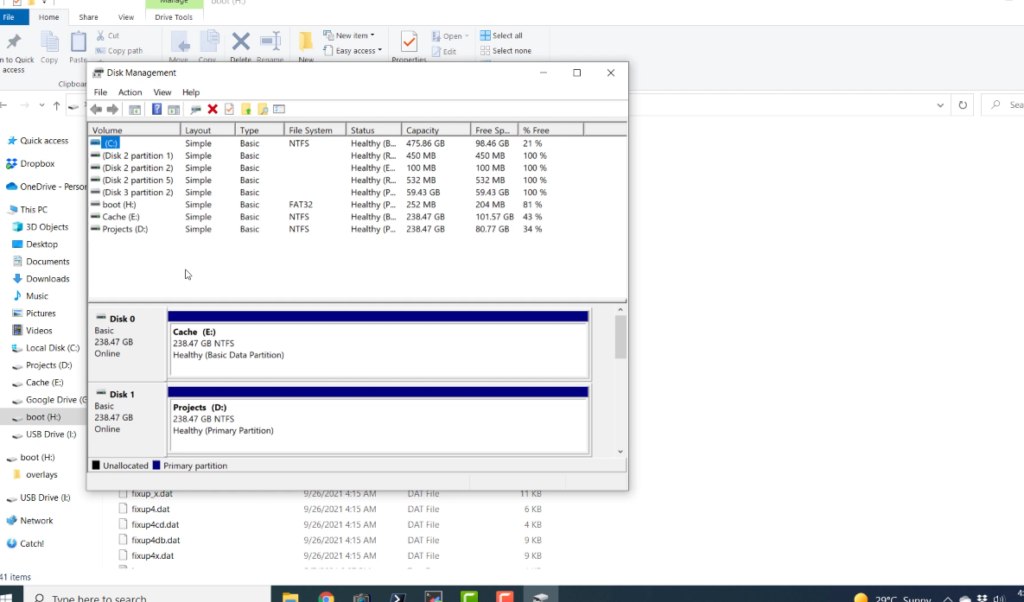
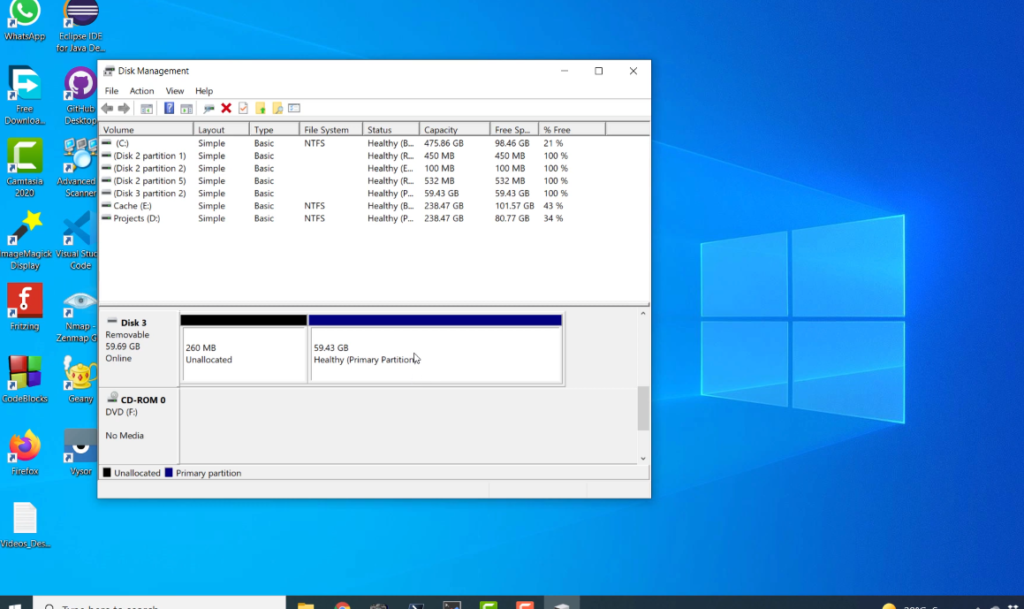
- To access the Disk Management utility in Windows, locate Start > Control Panel and select Administrative Tools. Then choose Computer Management followed by Disk Management from the sidebar on the left side of your window to open this powerful tool.
- To locate the SD Card in this window, look at its size (e.g., 4 GB) or label (e.g., “NO NAME”). Once identified, click on it with your right mouse button and select Format… for further action.
- Select FAT32 (default) as the File system, and set Allocation unit size to 32 kilobytes (KB).
Note: For microSD cards that are 64GB or larger, set the Allocation unit size to 128KB before clicking OK. Afterward, watch patiently as your SD card is formatted.
After executing the previously listed steps, your SD card has now been prepared for use with the Raspberry Pi.
Method 2-Windows Explorer
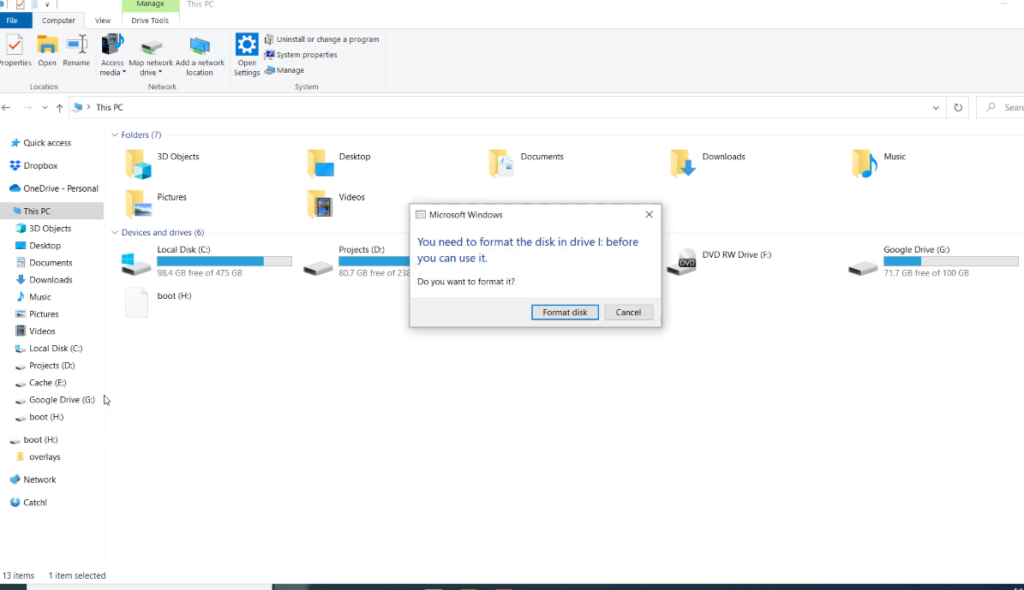
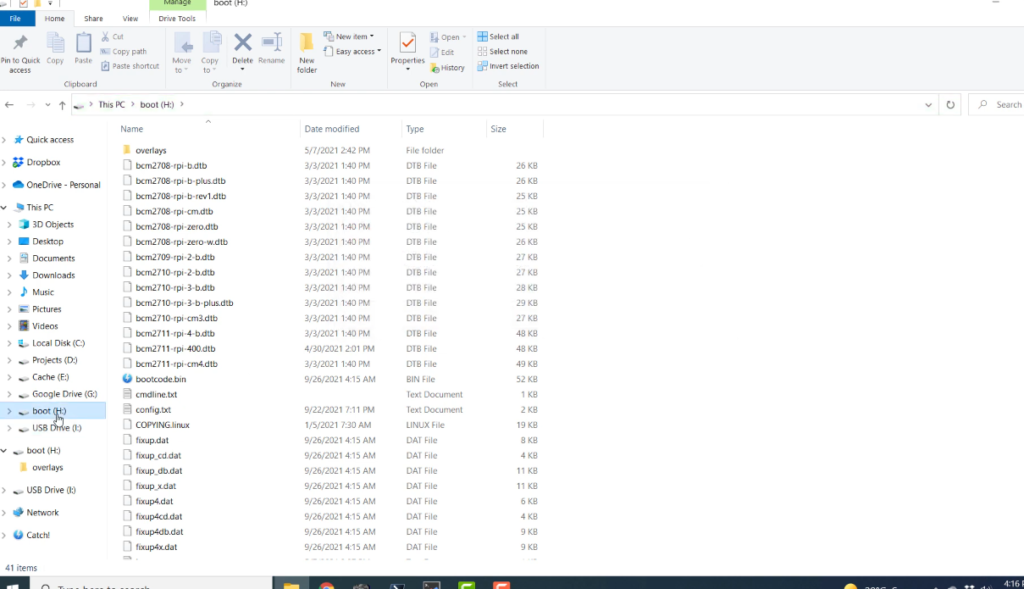
- To commence, insert your SD card into the computer’s or laptop’s SD card reader and identify which drive it is.
- To access Windows Explorer, simply right-click the Start button and select File Explorer from the options.
- To reformat your SD card, open File Explorer and click on the drive for your SD card. Then, right-click and select “Format…” from the menu that appears.
- From the File system: drop-down menu, select FAT32.
- By clicking Start, you are confirming that you would like to format the device. Keep in mind that this process will delete all data stored on it!
- After all formatting is complete, press “OK” and then exit Windows Explorer. Eject your SD card from your computer or laptop; the Raspberry Pi can now access it!
Using MAC OSX
- For easy transfer of data, simply insert your SD card into the integrated reader on your computer.
- To open Disk Utility, you can find it in Applications > Utilities. If this doesn’t work for you, an easier way is by pressing Command + Space and typing “Disk Utility” into the Spotlight Search box that appears.
- From the left-hand column, choose your SD card (frequently named “NO NAME” or “UNTITLED”), then press the “Erase” button located at the top of the window.
- Choose MS-DOS(FAT) as your Format type, and enter a title for your Raspberry Pi’s memory card in the Name field (e.g., “RaspberryPiSD”). Double check that Master Boot Record is selected as the Scheme.
- To complete the process, simply click on the Erase button and let your Mac take care of formatting your card.
- Upon completion, you’ll receive a brand new SD card that can be used with your Raspberry Pi setup without any hassle! [4]
Why Is My Raspberry Pi Not Reading The SD Card?
If your Raspberry Pi is having difficulty recognizing the SD Card, there are several possible explanations to consider. First check that the card is properly inserted into the slot and that it has been formatted correctly for use with your Raspberry Pi. If it appears to be inserted correctly but still isn’t being read by your Raspberry Pi, try using a different SD card reader or even a USB adapter to connect the SD card to your computer instead.
If the issue persists, then it may be due to an incompatibility in hardware or software between your device and the SD card itself. You can double check this by trying another known working SD card on your device and seeing if it works; alternatively, you can also attempt reformatting the card to a different file system.
Finally, if none of the above troubleshooting steps have worked, it may be necessary to update your Raspberry Pi’s operating system or firmware in order to get it to read the SD card properly. If this is the case, consult the official Raspberry Pi documentation for instructions on how to do this.
It’s also worth checking that your SD Card has not been corrupted; you can do this by running an error check on it using a computer and following any provided instructions. In some cases, corruption can cause issues with devices reading cards which would then require reformatting of the SD Card in order for them to work as intended. [5]
FAQ
How do I prepare my SD card for Raspberry Pi?
Preparing an SD card for your Raspberry Pi is relatively easy and can be done in a few steps. First, you will need to download the necessary software – either Etcher or Win32DiskImager from their respective websites. You will also need to find and download the most current version of the Raspberry Pi OS that you want to use (Raspbian, Pidora, OpenElec, etc). Once both pieces of software are installed on your computer, insert your SD card into the appropriate port. Then open Etcher or Win32DiskImager and select the operating system image file (e.g. Raspbian) that you downloaded earlier. Click “Flash” and wait for the process to complete. Once it is finished, you should have a fully-functioning SD card for your Raspberry Pi!
Can I use a Raspberry Pi to format an SD card?
Yes, you can actually use a Raspberry Pi to format an SD card. First, insert the SD card into your Raspberry Pi and make sure it is connected to an external power source. Then open up Terminal and type in “sudo fdisk -l” to list all the disk devices that are attached to your computer. Finally, enter “sudo mkfs.ext4 /dev/{device name}” where {device name} is the device name of the SD card you wish to format (e.g., sdb). This will format the SD card so that it can be used with your Raspberry Pi!
What format should I use for Raspberry Pi?
The Raspberry Pi requires a microSD card to store the operating system, applications and files. The SD card should be formatted with either FAT32 or exFAT file systems in order for the Raspberry Pi to read and write data correctly. It is also recommended to use a Class 10 SD card as this will provide better performance than lower class cards.
Can Raspbian read exFAT?
No, Raspbian, the operating system that Raspberry Pis use, cannot read exFAT formatted drives. However, there are other Linux distributions such as Ubuntu and ArchLinux that can access exFAT devices. To use an exFAT formatted drive on your Raspberry Pi you will need to format it in a file system compatible with the device.
Why should I not use exFAT?
ExFAT is not recommended for use with the Raspberry Pi as it may become corrupted or cause compatibility issues. The FAT32 file system, on the other hand, is a more reliable option due to its better support for lower-level hardware operations and reliable data transfer rate. Additionally, some operating systems (OSes) such as Linux don’t have native support for exFAT so be sure to check if your OS supports it before formatting an SD card with this file system. It’s recommended to format SD cards with the FAT32 file system when using them with a Raspberry Pi. This ensures maximum compatibility between the two devices and lessens the chances of unexpected errors or data loss.
Can Raspberry Pi read FAT32?
Yes, Raspberry Pi can read FAT32. This is the most common file system used on SD cards due to its compatibility across many different devices and operating systems. It’s also very reliable when it comes to data transfer and low-level hardware operations, making it a great choice for use with the Raspberry Pi.
What is the best size for an SD card?
The best size for an SD card depends on your intended usage. If you plan to store large amounts of data, then a larger capacity card such as 32GB or 64GB would be ideal. However, if you only need to store basic files and programs, then 8GB or 16GB should suffice. It’s important to note that not all Raspberry Pi models can support cards over 32GB in capacity so make sure to check your model before purchasing a larger SD card.
Useful Video: How to Format and Reuse a Raspberry Pi SD Card
Conclusion
In conclusion, formatting an SD card for your Raspberry Pi is a simple process. It requires downloading the right software, connecting the SD card to your computer, and then following the instructions provided by the software. Once complete, you can use the formatted SD card with your Raspberry Pi as it will be correctly configured to run any operating system or program you need it to. With this guide, anyone can easily format their own SD cards for use with their Raspberry Pi projects.
Happy coding!
References
- https://www.diskpart.com/articles/raspberry-pi-sd-card-format-4125.html
- https://recoverit.wondershare.com/format-sd-card/format-sd-card-for-raspberry-pi.html
- https://linuxhint.com/format-sd-card-raspberry-pi/
- https://www.easeus.com/partition-master/format-sd-card-for-raspberry-pi.html
- https://singleboardbytes.com/578/format-sd-card-raspberry-pi.htm