Arduino is a powerful open-source platform that enables users to create interactive projects. One of the great things about Arduino is the vast amount of sensors that are available for you to use in your projects. In this article, we will discuss some of the Arduino sensor projects that you need to see! We will answer some common questions, and provide useful tips on how to get started with Arduino sensor projects.
Arduino and Its Benefits
It’s intended for anyone making interactive projects. Arduino boards are able to read inputs – light on a sensor, a finger on a button, or a Twitter message – and turn it into an output – activating a motor, turning on an LED, publishing something online. You can tell your board what to do by sending a set of instructions to the microcontroller on the board. To do so you use the Arduino programming language (based on Wiring), and the Arduino Software (IDE), based on Processing.
Arduino is not just a tool for hobbyists; it has also become an industry standard for prototyping products such as robots, home automation systems, IoT devices, and more. It’s used in many industries from education to manufacturing and beyond.
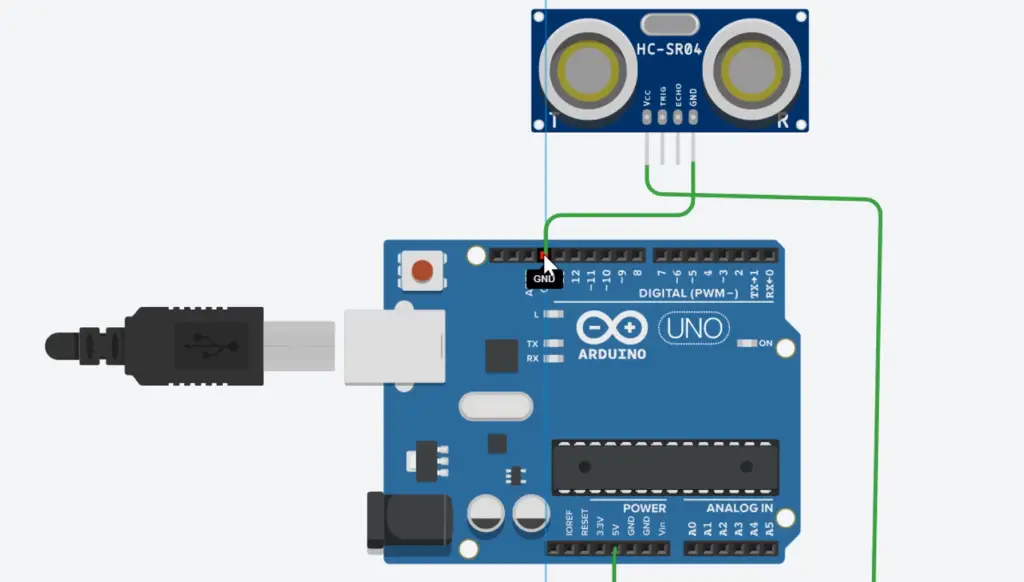
The primary benefit of using Arduino is its low cost, user-friendly design process, and wide variety of components that make it easy to create projects quickly without having any prior electronics experience or expertise. Additionally, the Arduino IDE provides a great platform for both experienced and inexperienced programmers alike, allowing you to create complex projects with very little code.
The hardware is also designed with connectivity in mind, allowing you to easily connect a variety of sensors, actuators, and other components to the board. This makes it easy to quickly prototype any project before committing to production-level hardware development. The community surrounding Arduino is also incredibly active and helpful, offering support on forums and social media platforms. Finally, since Arduino is open source both the hardware schematics and software are freely available online so anyone can use them without restrictions or licensing fees. [1]
The Versatile Use of Arduino Sensors
Arduino sensors are incredibly versatile, providing a wide range of possibilities when it comes to project building. With their easy connection and programing, Arduino makes do-it-yourself projects easier than ever.
One of the most popular uses for Arduino sensors is automating tasks or systems in the home or office. For example, an ultrasonic sensor can be used to detect if an object is within a certain distance by emitting high frequency sound waves that bounce off the object and back to the receiver. This type of automation can detect when a door has been opened or closed and send a signal to other devices about the event. Other common uses for Arduino sensors include tracking motion with accelerometers, monitoring temperature changes with thermistors, and measuring changes in air quality with air-pressure sensors.
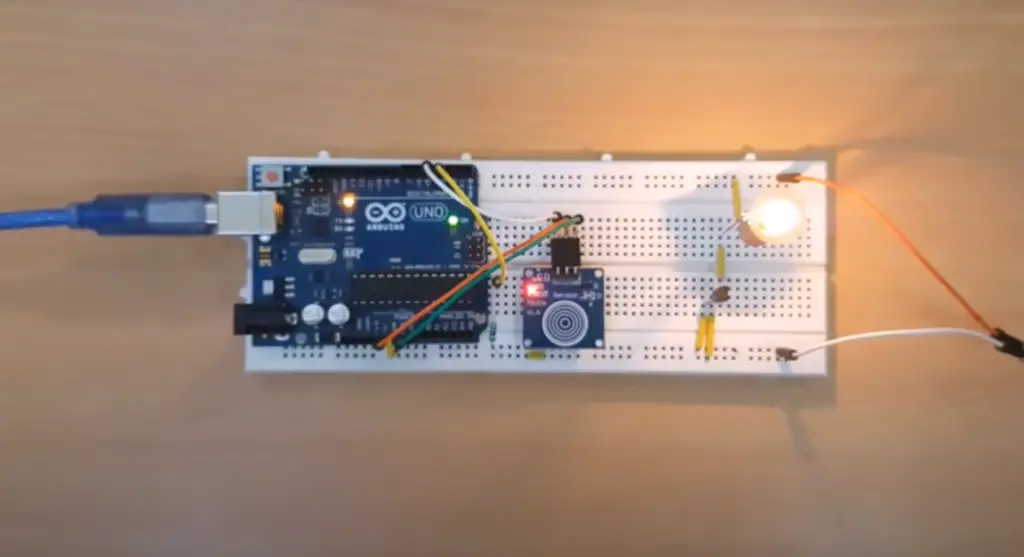
By combining multiple Arduino sensors, the possibilities for automation expand even further. For example, an Arduino project might use a motion sensor to detect activity and then activate a light or sound alert when it senses movement. Or it could be programmed to detect temperature changes as well as humidity levels and alert the user of any significant shifts.
Furthermore, Arduino’s modular design makes it easy to link different types of sensors together into larger projects such as security systems, lighting control systems, or weather monitoring stations. By connecting multiple sensors that measure a range of data points—such as temperature, pressure, humidity, wind speed and direction—it’s possible to build a complete system capable of providing real-time updates on local weather conditions.
Best Arduino Sensor Projects
Now that you know the basics of using Arduino sensors, it’s time to take a look at some of the best Arduino sensor projects.
RGB Color Detector Project
The RGB color detector project is one of the more popular Arduino projects. With this project, you can use an Arduino-compatible color sensor to detect colors in real time. This can be especially useful for robotics applications or other environments where detecting colors is important.
To get started, you’ll need a standard set of components: an Arduino-compatible board (such as a Photon), LED lights, power supply (5v), JHD_162ALCD (16*2LCD), and a TCS3200 RGB Color Sensor Module. The RGB Color Sensor Module will allow your Arduino to measure light intensity and calculate the relative color values in different environments.
Once you have your components gathered, connect the LCD display to the Arduino board. The LCD display will enable you to see the output of your Arduino color sensor project. Additionally, connect the power supply to the Arduino and plug in the LED lights. Then connect the RGB Color Sensor Module to the Arduino board.
Next, you will need to write a program in order to make your sensor detect color correctly. The code is available for free on GitHub or other popular Arduino-focused websites. Or you can do it by yourself using a variety of documentations and tutorials. In order to write the code correctly, you need to understand how a color sensor works and how it can be used in different environments.
Once your code is written, compile the program and upload it onto the Arduino board. If all goes well, you should now have a functioning Arduino-based color detector! Now you can use your project to detect colors in different light sources and respond accordingly.
Alcohol Level Meter Project
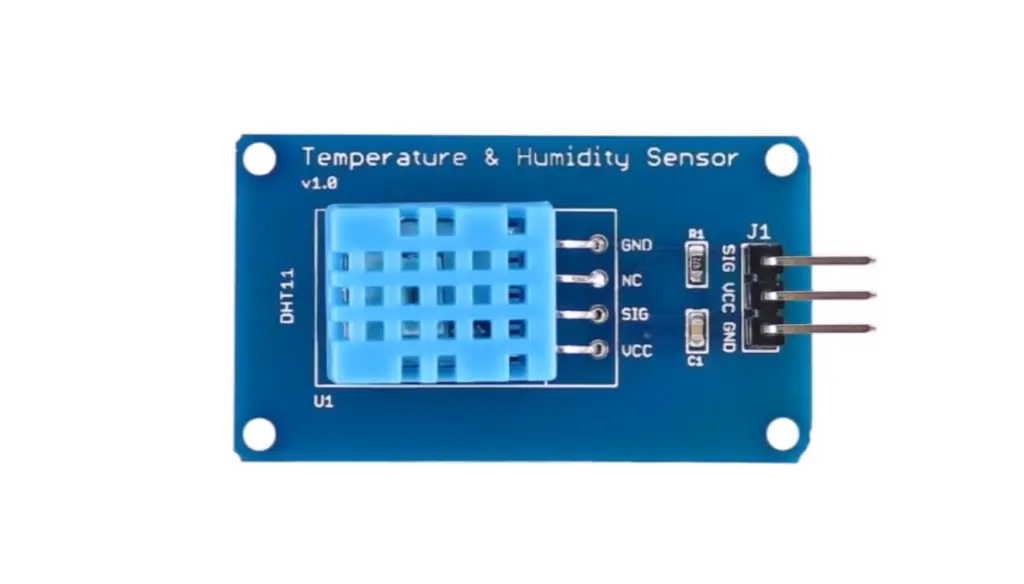
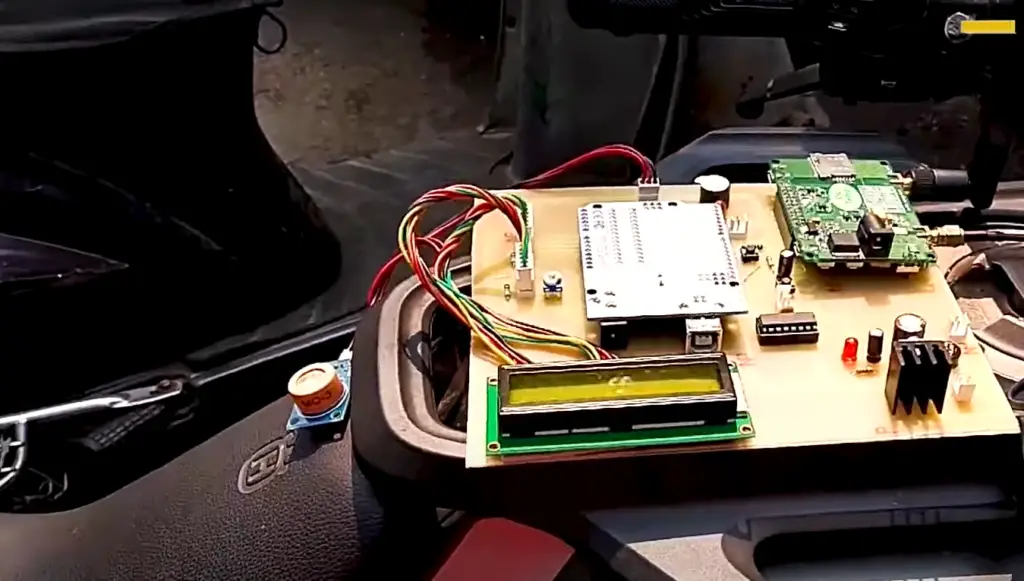
Another interesting Arduino sensor project is alcohol level meter. This project uses a gas sensor to measure the level of ethanol in a given environment and display it on a LCD screen.
To build this project, you will need an Arduino Uno, a MQ-3 alcohol sensor, a 100k Ohm Potentiometer, 330 Ohm Resistor, 5 x Green LED’s, 3 x Yellow LED’s, 2 x Red LED’s, 7805 Voltage Regulator, 1000 uf Capacitor – Local Electronics Store and 2 x 9v Batteries.
Start by connecting your sensor to the Arduino by linking one of the H pins with +5V Supply (utilize an external power supply) and another pin to Ground. Connect Pin B (you may use any of them) to Ground for completion. Then connect the A pin to Arduino through a potentiometer.
Next, connect all the LEDs in sequence to Arduino. Connect the negative end of all LEDs to GND and the positive end to the 330 ohm resistor before connecting it to digital pins from D2 to D11 respectively. Don’t forget to use resistors with LEDs to avoid burning them out.
Power up the Arduino, use a 7805 voltage regulator with two 9v batteries. Connect the Arduino to the middle pin of the 7805 and connect +9V at its input pin, and GND at its output pin.
Next, attach the MQ3 alcohol sensor to the Arduino. It will be used for sensing and measuring the level of alcohol in the environment.
Finally, upload the code to your Arduino IDE and let it run. You can now display readings from the MQ3 alcohol sensor on an LCD screen or create an LED display showing various levels of ethanol.
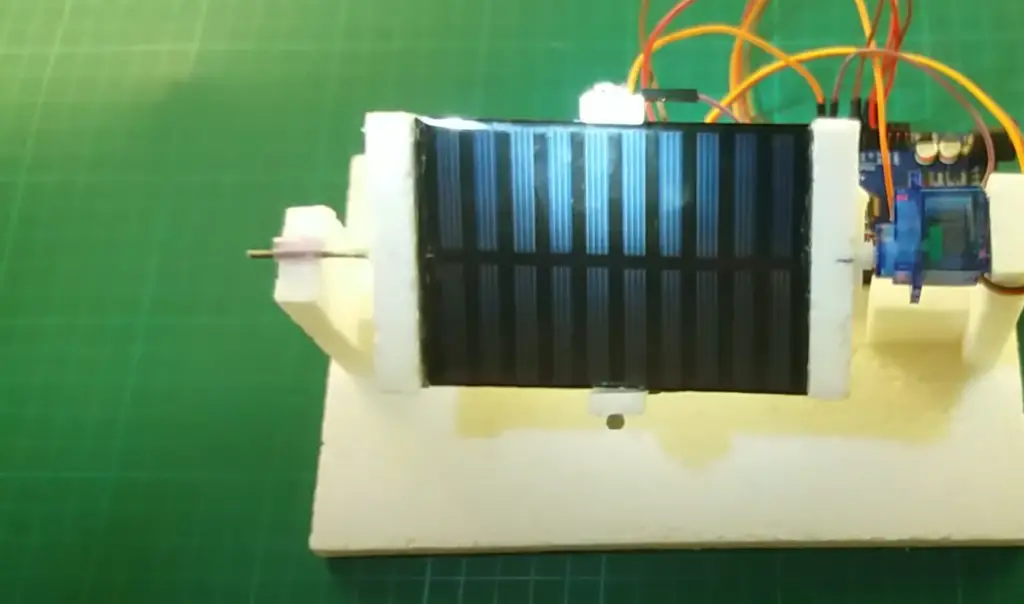
This project is simple enough for beginners, but interesting enough that experienced makers can customize it by adding additional features such as making it wireless or using more sophisticated sensors with longer range capabilities. With a few tweaks and modifications, you can make this into a great project! Good luck!
Fire Detector using Flame Sensor
A fire detector using a flame sensor is one of the most popular Arduino Sensor projects. This type of project uses an inexpensive and widely available component to detect when a flame or heat source is present in an area. The output from the flame sensor can be used to trigger an alarm, as well as other responses such as turning off electronics, sending notifications, and more.
The basic components needed for this project are a flame sensor, Arduino board (such as the Uno), Resistor, breadboard (optional), IR LED (optional), and wires. A flame sensor works by detecting changes in the infrared radiation emitted from a source of heat or flame. When the IR light intensity crosses its detection range, it generates an output signal which can be read using an Arduino board. This is done by connecting the sensor to one of the analog pins of the board, with a voltage divider circuit for adjusting the input signal threshold.
IR LED (Infrared Light Emitting Diode) can be used as an optional component if needed. It emits beams of invisible light that are picked up by other components such as receivers, cameras etc., and it’s also used in this project to create a more sensitive fire detector system. The IR LED is connected to an Arduino digital output pin, and the light is triggered whenever the flame sensor output indicates a fire.
Once you connect everything properly, you can then write a code to read the sensor data and activate the alarm when needed. When the flame sensor detects a flame or heat source, it will generate a signal that is higher than its threshold. The code checks if this value exceeds the threshold and triggers the alarm.
By utilizing these components and code, you can create your own custom fire detector system that will alert you when a fire is detected in your home or workplace. With minor modifications, it can be used as part of other projects such as security systems or even automated cooking systems. As with all projects, it is important to read the instructions carefully and test your project before using it for any real applications. With a bit of patience and creativity, you can quickly create your own fire detector system with an Arduino Sensor Project.
Arduino UNO Fingerprint Door Lock System Project
The last project we are going to look at is an Arduino UNO Fingerprint Door Lock System project. This project uses the Adafruit Fingerprint Sensor to authenticate users for access into a door or other security system. The components that you will need for this project are:
- Arduino UNO Board (or equivalent)
- Adafruit Fingerprint Sensor module
- LCD screen
And obviously you need to consider the type of the lock you have to decide if it is compatible with this project.
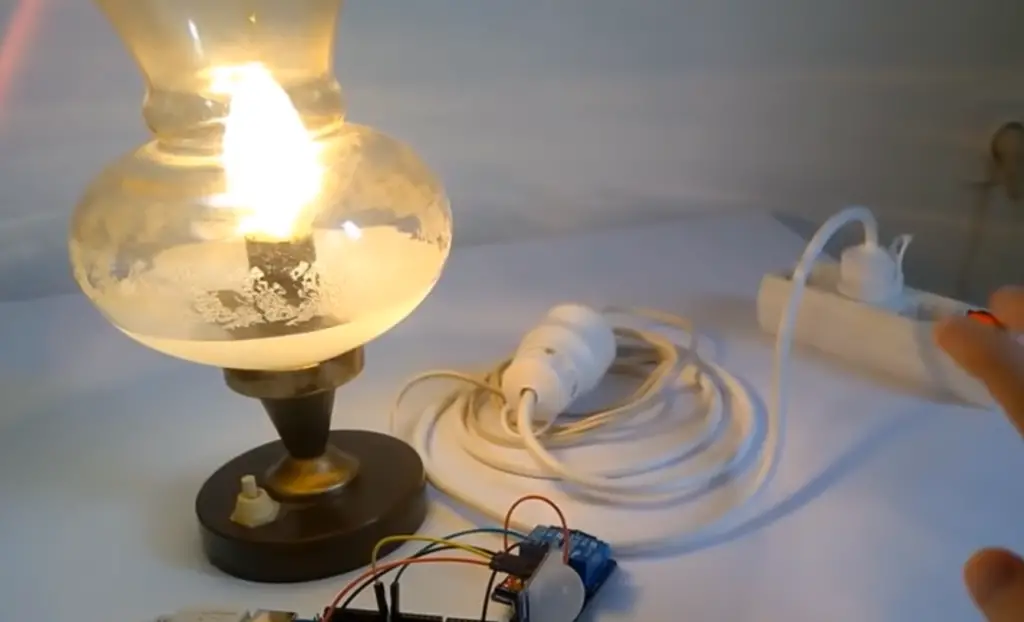
The Adafruit Fingerprint Sensor module uses the Serial Peripheral Interface (SPI) protocol to communicate with an Arduino board. This means that it is easy to connect it and the LCD screen to the Arduino Uno Board. The first step of this project is to build a circuit connecting all these components together. This can be done in a variety of ways depending on the type of lock you have.
The next step is to write code so that when someone tries to open a door using their finger as an authentication method, all information will be stored in a database kept by the Arduino board. Again, this may vary depending on the type of lock. There are a variety of websites that show tutorials on how to set up different kinds of locks with Arduino boards.
The final step is to test the project and see if it functions as planned. This can be done by manually inputting fingerprints into the database, or using a simulated fingerprint scanner if available. Once everything is tested and working properly, you are ready to use your Arduino UNO Fingerprint Door Lock System! [2], [3], [4], [5], [6]
FAQ
Which sensors are mostly used?
The most popular sensors used in Arduino projects are temperature and humidity, light, motion (including PIR), gas (such as CO2) and water level. These sensors detect changes in the environment or objects around them and can be used to trigger events within a project.
Temperature and humidity sensors measure current environmental conditions such as air temperature and relative humidity. Light sensors are usually photoresistors that detect the intensity of visible light or infrared radiation from the ambient surroundings. Motion sensors include Passive Infrared (PIR) which detects movement through heat signature changes, ultrasound or laser proximity detection which measures distances between two points, accelerometers which measure acceleration forces, gyroscopes which measure rotational speed and orientation of an object, etc.
What can you do with Arduino sensors?
There are many things you can do with Arduino sensors, depending on the type of sensor used. For example, using a temperature and humidity sensor, you can measure the environment in your home or office. This is useful for controlling air conditioning systems or managing indoor air quality.
You could even use an ultrasonic rangefinder to measure distances or detect objects near your project space.
In addition to sensing the physical world around us, Arduino sensors also allow us to interact with it in various ways. With color sensors, you can create projects that react differently according to different colors detected by the sensor. And using light dependent resistors (LDRs) you can create projects that dim lights according to the amount of ambient light.
How do you do a project with a sensor?
Using sensors in Arduino projects is a great way to measure physical quantities like temperature, humidity, pressure and more. To get started with a sensor project, first decide which type of data you would like to collect from the environment. Then research what types of sensors can be used for that purpose. Once you have chosen your sensor and obtained it, the next step is to mount it in an appropriate location or enclosure.
Next, connect the sensor to your Arduino board by following its wiring diagram instructions. After this is complete, upload a sketch to your board that will read the data from your sensor and save it on an SD card or transmit it over Wi-Fi depending on the application. Finally, use any visualization tool such as Processing to plot the data and analyze it.
Which Arduino is best for sensors?
The answer to this question depends largely on what type of project you plan to use the sensor in. For beginners, the Arduino Uno is typically seen as the best choice because of its ease-of-use and low cost. The Uno can be used for many basic sensor projects such as motion detectors, temperature sensors, and humidity sensors.
If you are looking for something more advanced, then consider an Arduino Mega or Due. These boards contain a significantly larger number of pins that allow you to use more complex sensors with greater accuracy and flexibility than what is available on the Uno.
No matter which board you choose, it is important to consider the type of project you are building when selecting an Arduino board for sensors. This will ensure that you have the necessary features and capabilities to complete your project successfully.
What is the easiest Arduino sensor project?
The easiest Arduino sensor project to get started with is a light sensor. This type of project uses an LED or photoresistor to detect the amount of light in a room and act on it. For example, you could connect an LED to your Arduino board and have it turn on when there is darkness in the room, or use a photoresistor to move an object like a robot arm according to the level of light in the room.
You can also build projects that measure temperature using thermistors or humidity using capacitive sensors. Both types of sensors are relatively easy to hook up to your Arduino board and can be used for interesting projects such as controlling fans or air conditioning units based on temperature readings, or making sure plants are in the optimal environment by measuring moisture levels.
Useful Video: Top 10 Arduino-Sensors with Projects for Beginners
Conclusion
Arduino sensor projects are an excellent way to utilize the full potential of microcontrollers. With a wide variety of sensors available, you can use Arduino boards to measure and interact with a broad range of environment parameters, like temperature, humidity and motion. Furthermore, they are easy to assemble and require minimal programming skills.
In this article we have explored some common questions about Arduino sensor projects and provided useful tips on how to build them in order to get the most out of your board. We looked at different types of sensors, how they work together with an Arduino board and what kinds of applications you can create with them. Finally, we also suggested ideas for interesting Arduino sensor projects that you can try yourself!
We hope this article has been useful to you and that you feel better equipped when setting out to create your own Arduino sensor projects. With the right knowledge, these tools can enable you to build some really amazing things!
Happy tinkering!
References
- https://learn.sparkfun.com/tutorials/what-is-an-arduino/all
- https://www.watelectronics.com/arduino-projects/
- https://circuitdigest.com/microcontroller-projects/arduino-color-sensor-tcs3200
- https://www.instructables.com/Arduino-Breathalyzer/
- https://circuitdigest.com/microcontroller-projects/arduino-flame-sensor-interfacing
- https://www.instructables.com/Arduino-Fingerprint-Door-Lock/




Leave a Reply