
Are your kids fascinated by robots? Are you an avid tech enthusiast looking to dabble in the world of robotics? We’ve got just the thing for you! Learning how to create a GPS controlled robot with Arduino is an exciting and incredibly rewarding experience. With the right guidance, it’s easier than ever to learn how to design and construct a robotic friend that will become the envy of your neighborhood. In this epic guide, we’ll take you from start-to-finish on creating a GPS controlled robot with Arduino. So grab some supplies, charge up your Arduino processor and let’s get started!
What is an Arduino
It can be used for a variety of projects, from controlling robots to creating interactive art. The Arduino was developed in 2005 by Massimo Banzi, David Cuartielles, Tom Igoe and Gianluca Martino. The board consists of a 16MHz AVR processor, several IO pins and other digital peripherals and components such as capacitors, resistors and LEDs.
The Arduino IDE (integrated development environment) enables users to program their project using the C programming language. This allows them to easily upload code onto the board and begin working with it right away. They can also use the Arduino IDE to create custom libraries, which can be used to interact with external hardware components such as sensors, motors and other devices.
Arduino projects are easy to build and allow users to gain a better understanding of electronics and microcontrollers. They are widely used in schools, universities and hobbyists all around the world. The Arduino community provides extensive help and support through the official website, forums and online tutorials. They also provide many resources for beginners so that they can quickly get up-and running with their project.
The open-source nature of the Arduino system has allowed it to become extremely popular among hobbyists, engineers, scientists, students and professionals alike. It is an incredibly versatile platform that is capable of powering large-scale projects and can be used to create anything from a simple LED blinker to complex robotic arms. The Arduino platform is constantly evolving and currently has two main models – the Uno and the Mega – which offer different features for users with different needs. [1]
How to Build a GPS Controlled Robot With An Arduino
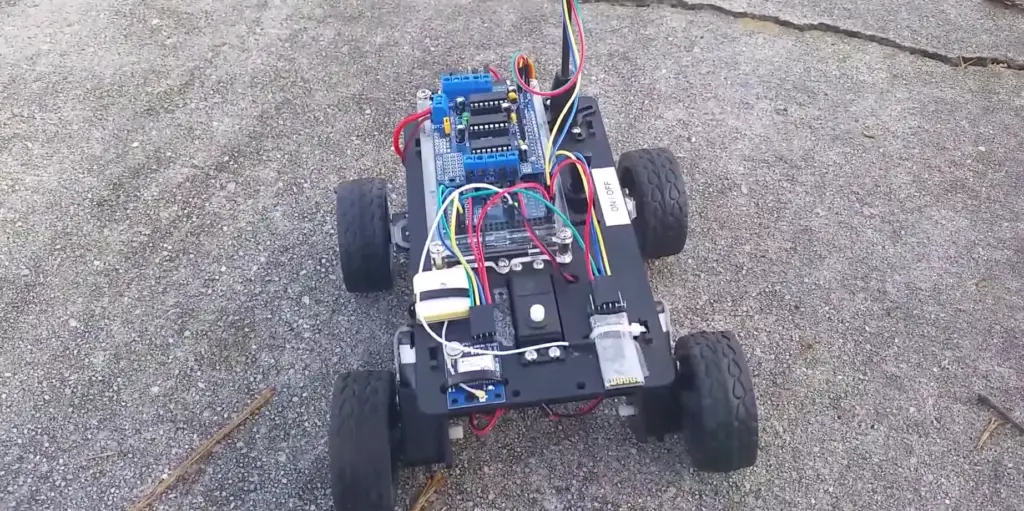
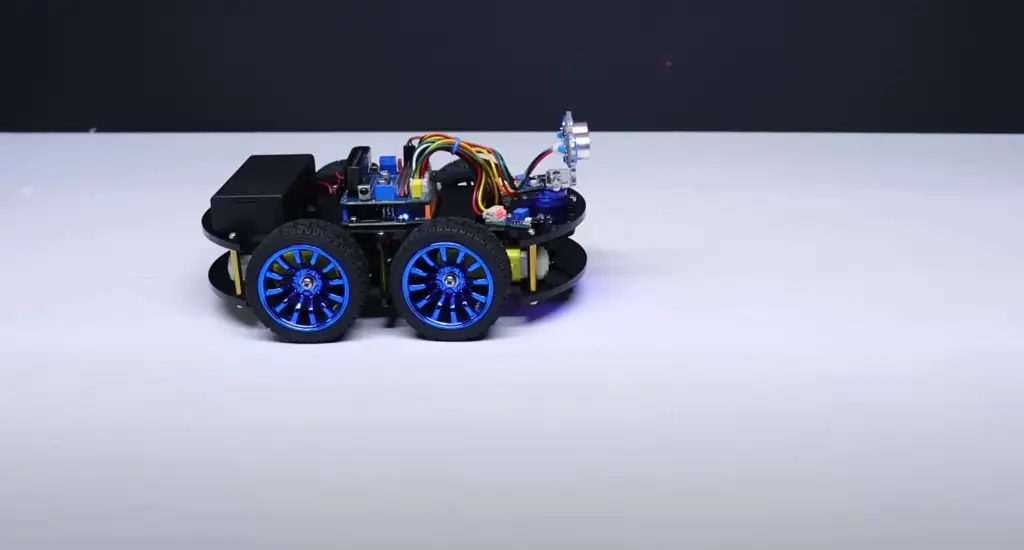
One of the most interesting projects powered by the Arduino is the GPS-controlled robot. This type of project involves using a GPS receiver and a microcontroller to control a robotic vehicle. In this section, we will explore how to build a basic GPS controlled robot with an Arduino board. We will go over the components needed, discuss the code and provide some useful tips on building your own GPS-controlled robot.
Gather all the components
Now it’s time to gather all the components for your project. You will need:
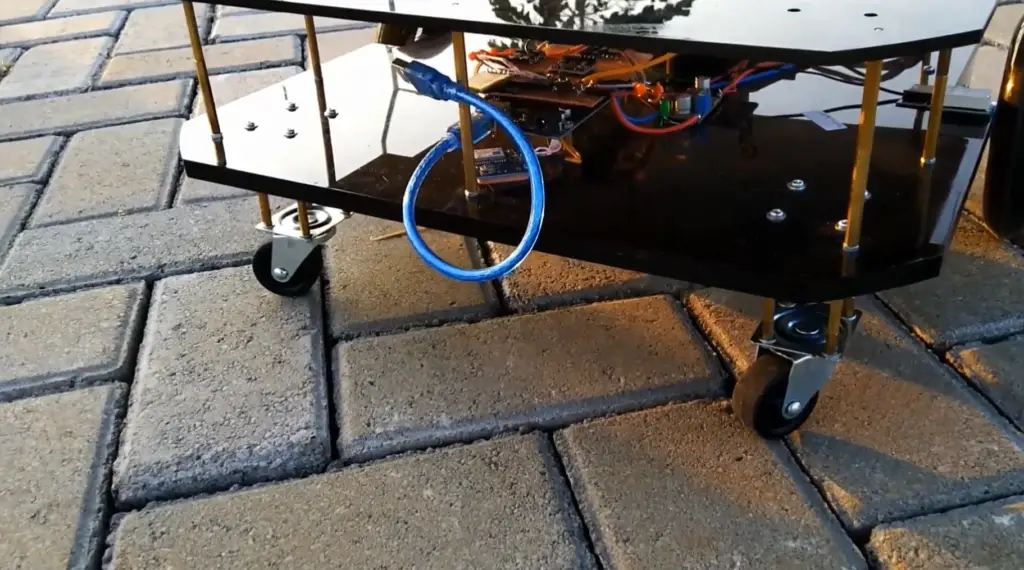
- Robot Platform Car
- Arduino Mega
- L293d Adafruit or compatible motor controller
- Mobile phone
- HC-06 Bluetooth module 5 volt compatible
- HMC5883L magnetometer
- Ublox Neo 6m
- Wires
- A battery
- A ping sensor
The most important components of your project are the robot platform car, the Arduino board, and the motor controller. The remaining components can be found at any electronics store or online.
The mobile phone will be used to control your robot remotely. You need to install a Bluetooth app on it that can send commands to the HC-06 module. The HMC5883L magnetometer will help you align your robot in the right direction when driving through an area with no GPS signal. Lastly, you’ll need a Ublox Neo 6m module for receiving data from satellites and providing coordinates for your robot’s location.
Create a Bluetooth robot prior
Before you build your GPS controlled robot with Arduino, it’s a must to create a Bluetooth robot first. A simple Bluetooth-controlled vehicle can consist of two servo motors for movement (forward/reverse and left/right), four AA batteries for power, one Arduino Uno board, one HC-05 module and one L298N motor driver.
Add a magnetometer
Now that you have a basic Bluetooth-controlled robot, we can start building our GPS controlled robot. The first thing to do is add the HMC5883L magnetometer. This will help you orient your vehicle in the right direction when there’s no signal from the satellites. You’ll need to solder some wires on the board and connect it to your Arduino Mega using I2C protocol.
This is one of the most important steps in the project, as it allows you to make sure your robot is heading in the right direction even when there’s no GPS signal.
Connect a Neo 6m GPS Module
The next step is to connect a Neo 6m GPS module to your Arduino board. This module receives data from satellites and provides coordinates for the robot’s current location. You’ll need to solder some wires onto the board and connect it to your Arduino Mega using UART protocol.
Install the necessary libraries for a magnetometer
Once you have all the components connected, you need to install some libraries on your Arduino IDE. The most important library is the Adafruit HMC5883L library. This will allow your magnetometer to work properly. You can install it easily using the Library Manager tool in the Arduino IDE. To include the library in your project, simply add “#include ” to the top of your sketch.
Calibrate the compass
Once the libraries are all installed, you need to calibrate your magnetometer. This is important because it will help the robot orient itself correctly when there’s no GPS signal. To do this, you’ll need to open the “Adafruit_HMC5883L” example sketch and follow the instructions in the comments.
You can also use a calibration app or website such as Calibrate Compass or iCompassApp to help you with this step. Once your compass is calibrated, you can move on to writing code for your robot.
Open the Serial Monitor and pay attention to the X and Y values as you rotate the robot in all directions. Make sure to write down the minimum and maximum values for both X and Y axes.
Rotate the robot slowly and move the serial monitor around it to take readings until you get a consistent result. Once you have the consistent minimum and maximum values, write them down. This will be used in your code later to ensure that your robot is always oriented correctly.
Now run the other program code (HMC5883L_compass) and edit the X and Y values there a little bit to make sure the robot is always oriented correctly. Insert those values instead of zeros in the following piece of code.
// Set calibration offset. See HMC5883L_calibration.ino
compass.setOffset(0, 0);
Next, upload the sketch to Arduino and run a Serial Monitor. Find the Degrees value and rotate the robot until the Degrees will read ‘0’. We suggest you place a tape on the floor next to the tire to measure to make sure the robot is perfectly oriented.
Now rotate the robot again but until the Degrees will read 180. Make sure the robot is perfectly oriented and note down the Degrees reading. A difference of under 5 degrees is acceptable. If there’s a difference in more than 5 degrees, you will need to readjust the calibration offset values from the HMC5883L_calibration code.
Check the compass readings periodically during your robot’s operation to make sure it stays on point. Congratulations! Now your GPS controlled robot is ready for action.
Install an app
The next step is to install an app to control your robot. There are several apps available for both Android and Apple devices that will allow you to access the data from your GPS module and control the robot remotely.
Upload the robot code to Arduino
Finally, it’s time to upload the robot code to Arduino. This code will tell the robot how to move and respond to commands from the GPS module. You can find example sketches in various libraries such as Adafruit_GPS or TinyGPS.
There are many variables that you can adjust depending on your particular setup and desired behavior for the robot. For example, you can set the maximum speed of your robot, as well as its turning rate when it reaches a waypoint. As with all coding projects, be sure to test your code thoroughly before putting your robot into action. [2]
FAQ
How does a GPS robot work?
It typically consists of an Arduino-based microcontroller, servo motors, various sensors (e.g. lidar, ultrasonic, IR), and some form of output device (e.g. LED display). By combining sensor data with GPS coordinates the robot can determine how far it has traveled and which direction it is moving in relation to its starting point; allowing it to accurately follow predetermined waypoints set by the user or autonomously patrol designated areas.
What are the advantages of using GPS for navigation?
Using GPS for navigation has many advantages over manual navigation. Firstly, it is easier to program since you don’t need to manually calculate distances or directions. Additionally, by constantly receiving data from satellites in space, a robot can maintain an up-to-date understanding of its exact location without having to rely on any external input or landmarks. This makes GPS particularly useful for robots that have to navigate autonomously or over long distances. Lastly, using GPS also saves time because robots don’t need to stop and recalculate their current position as they move.
How to build a GPS-guided Bluetooth robot?
Building a GPS-guided Bluetooth robot requires several components and quite a bit of programming expertise. The general steps to building such a robot include:
- Selecting the appropriate hardware, such as an Arduino microcontroller, motor drivers, motors, sensors and other components. You should also decide which type of radio or Bluetooth module will be used for communication between the robot and its controller.
- Writing code to control each component on the robot, including the motor driver, motors and sensors. This code must ensure that all components work together correctly. It may also need to provide a user interface for controlling the robot’s movements from the controller device.
- Integrating GPS modules with the robot hardware so that it is able to receive and use location data from satellites.
- Writing code to interpret the GPS data received by the robot, calculate its new position and command the motors to move in the desired direction. This code should also be able to handle any errors in reading the satellite signals and take corrective action as necessary.
- Testing all components of the system together and making sure they work correctly in different environments and scenarios. Finally, you will need an app or other user interface so that people can control the robot from their phones, tablets or computers.
Once you have completed these steps, your GPS-guided Bluetooth robot should be ready for use! With some patience, knowledge of programming languages such as C/C++, and a bit of trial and error, you can create your own GPS-guided robot with Arduino.
How to control GPS with Arduino?
Using it to control the GPS is not a difficult task. The first step is to connect the GPS module, antenna and power supply to the Arduino board. Once this is done, you can use the serial port of the Arduino to send commands to and receive data from the GPS module.
The commands that need to be sent are defined in detail by each model of GPS unit, so it is important to refer to its datasheet for more information about these. Generally speaking, most of these devices have standard commands for basic operations like getting coordinates or defining waypoints.
Once you know which commands the device requires, you can write a program on your Arduino board that sends them periodically or when triggered by an event. You will also need to write some code for parsing the data received from the GPS module and using it to control other components of your robot.
Useful Video: [SOURCE CODE] Arduino Powered Autonomous Vehicle Waypoint GPS – Arduino Project
Conclusion
GPS controlled robots are one of the most useful inventions of modern times. They allow us to explore the world around us with great accuracy, and they are easy to make with an Arduino microcontroller. The possibilities are endless – from exploring remote locations, in-depth surveying and mapping, to automated agricultural applications – it is all possible with a GPS controlled robot built using Arduino technology. With careful planning and execution, you can find yourself creating your own amazing applications with this powerful combination!
With the help of this guide, you should now have enough knowledge to begin building a GPS controlled robot with Arduino. Now get out there and start creating something amazing! Happy building!
References
- https://docs.arduino.cc/learn/starting-guide/whats-arduino
- https://www.instructables.com/How-to-Build-a-GPS-Guided-Robot/