Arduino WiFi projects can be a lot of fun. In this article, we will answer some common questions and provide some tips to get you started on your next Arduino WiFi project. We will cover everything from how to set up your Arduino WiFi shield, to programming and troubleshooting tips. So whether you are just getting started or you are looking for some advice on how to take your Arduino WiFi project to the next level, read on!
Arduino and Its Benefits
The Arduino board consists of a microcontroller with various input/output pins that can be programmed to interact with different sensors, actuators, displays, motors, etc. This enables users to create their own custom projects ranging from small home automation systems to complex industrial control systems.
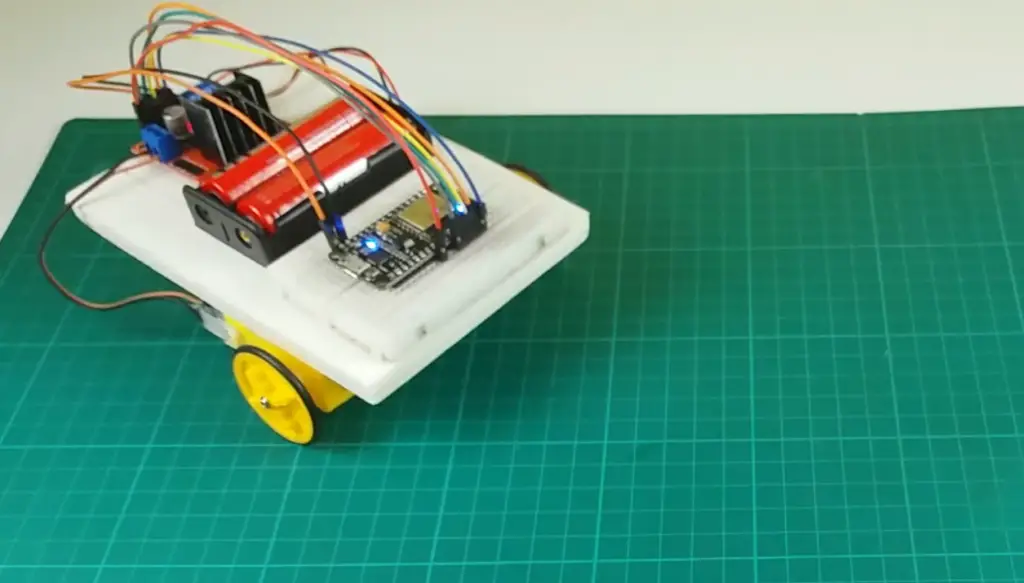
One major benefit of the Arduino platform is its affordability compared to other microcontrollers on the market. An Arduino Uno board costs only around $30 or less depending on where it’s purchased from – much cheaper than most microcontroller boards available. This allows users to start experimenting with electronics without spending too much money upfront. Additionally, the Arduino platform is widely supported and there are numerous tutorials available online for users who may be inexperienced in programming or electronics.
Another benefit of Arduino is its compatibility with a wide range of components. From sensors to displays to motors, Arduino has a large selection of easily-accessible parts that can be programmed for various applications. At the same time, developers have access to vast libraries full of code samples which allow them to quickly develop projects from scratch without having to write their own code from the ground up. Furthermore, because the source code for Arduino devices is open-source, anyone can modify it as they see fit – something that’s not possible with most other microcontrollers.
Finally, the Arduino platform also makes it easy to connect with other devices through a variety of communication protocols such as Wi-Fi, Bluetooth, and USB. This provides users with plenty of options when it comes to integrating their projects with external systems or networks. In addition, Arduino is compatible with a range of development environments – from web-based editors to full-blown integrated development environments (IDEs). This allows developers to use whichever environment they feel most comfortable working in. [1]
Best Arduino Wi-Fi Projects
Now that you have the gist of Arduino, let’s take a look at some of the most popular Arduino Wi-Fi projects out there. These projects are great for beginners and experienced developers alike – just make sure to read up on the particulars of each project before you start working on it!
Send Messages to WhatsApp With Arduino
One unique project you can do with Arduino and WiFi is to use it to send messages over WhatsApp. The process requires a bit of setup but the results are worth it.
To begin, you will need to create a Twilio account. Twilio is an online SMS gateway that allows you to send messages directly from your Arduino board. You will also need a WhatsApp account and the necessary credentials for it. Once you have both accounts set up, you can begin coding on your Arduino board.
from twilio.rest import Client
# Your Account Sid and Auth Token from twilio
account_sid = ‘AC1d8ea8f74325f727ccbd85a78e20e23a’
auth_token = ‘your_auth_token’
client = Client(account_sid, auth_token)
message = client.messages.create(
body=’Hello there!’,
from_=’whatsapp:+your number’,
to=’whatsapp:+receivers number’
)
print(message.sid)
Install a twilio library on the board and then use it to connect to Twilio. Then, you will need to use your account SID and auth token in code and run the program. Connect a LM35 temperature sensor to the board and have this data sent over to Twilio, which will then forward it to your WhatsApp account.
Use the following code:
int val;
int tempPin = 0;
void setup()
{
Serial.begin(9600);
}
void loop()
{
val = analogRead(tempPin);
float mv = ( val/1024.0)*5000;
float cel = mv/10;
if(cel>=22.00){
Serial.println(cel);
}
delay(1000);
}
With this project, you have used Arduino and WiFi together to make something truly unique yet simple!
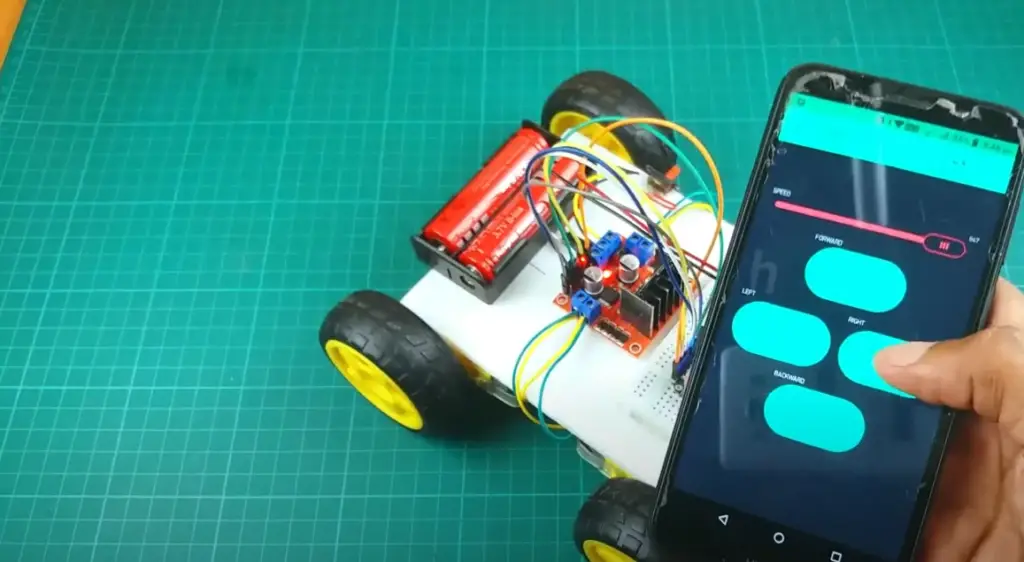
WiFi Controlled LED using ESP8266 and Arduino
This project is a great way to get started with your Arduino-based WiFi projects. We will use the ESP8266 board to connect the Arduino Uno board to the internet. The ESP8266 can be used either as a standalone Wi-Fi module or connected to an Arduino board, depending on what you want to achieve with your project.
The goal of this project is to turn on/off an LED using an API call from any device that has access to the same network as your ESP8266. To do this we will need some hardware components:
- ESP8266 WiFi Module
- Arduino IDE
- Breadboard
- Jumper Wires
- USB-TTL Converter
- Power Source (3.3v DC)
- Wireless Internet Connection (WiFi)
- Web Server (you can use ours)
- LED
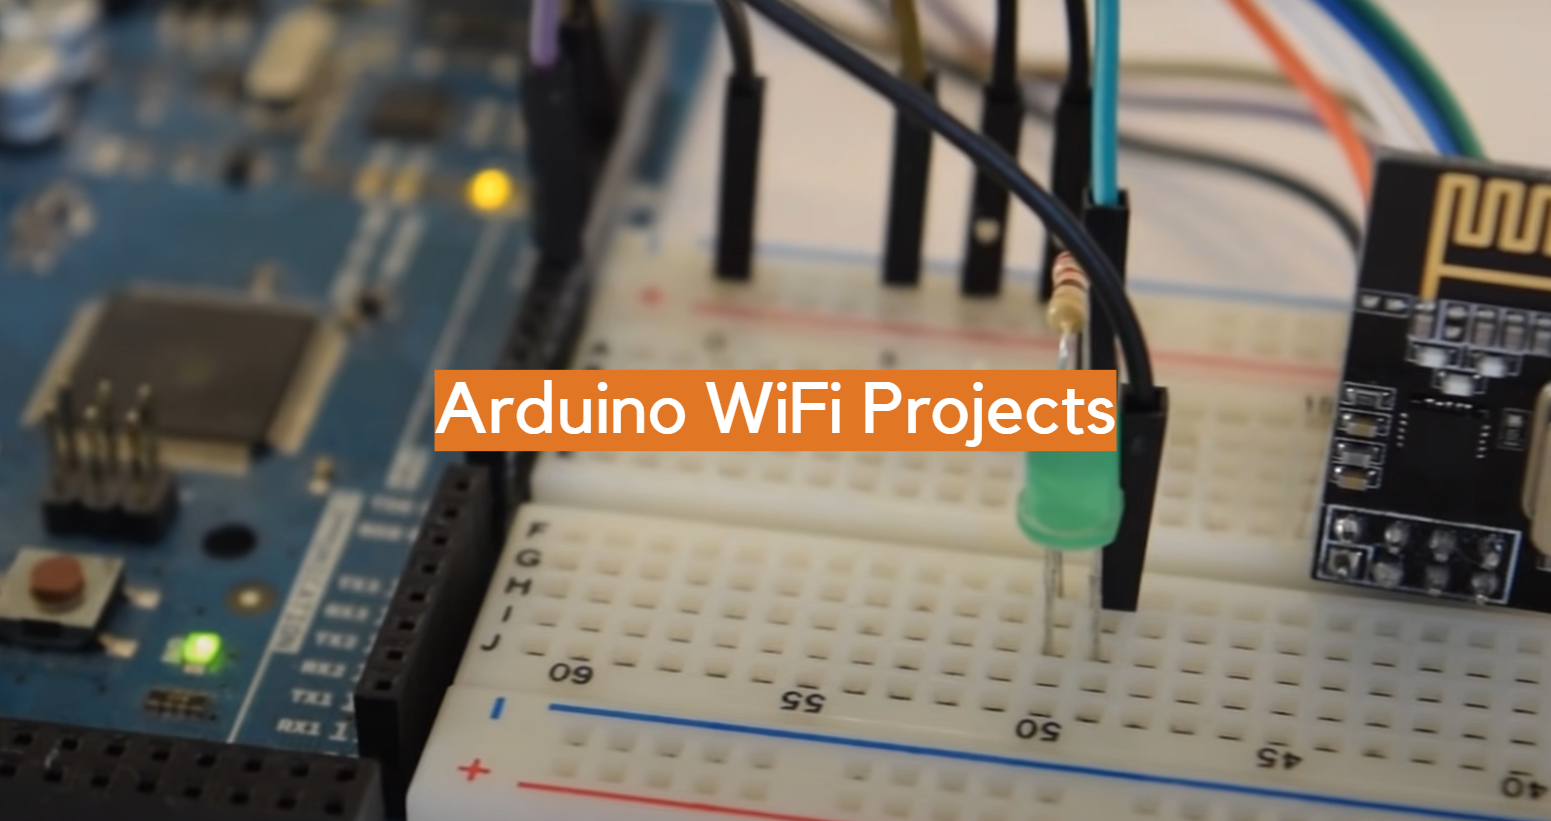
First of all, you will need to connect the ESP8266 module to the USB-TTL Converter and the Arduino board. The USB-TTL Converter will provide power to the ESP8266 as well as serial communication. Proceed by connecting the LEDs to the Arduino board.
Once all of your components are connected correctly, you can proceed to downloading and installing the necessary libraries and programs in order to make your project work properly. Then, plug the USB-TTL to your System & select the port at Tools > Ports > COMn (Ex-COM4) and enter your Wi-Fi credentials in the code to make your ESP8266 connect with Wi-Fi.
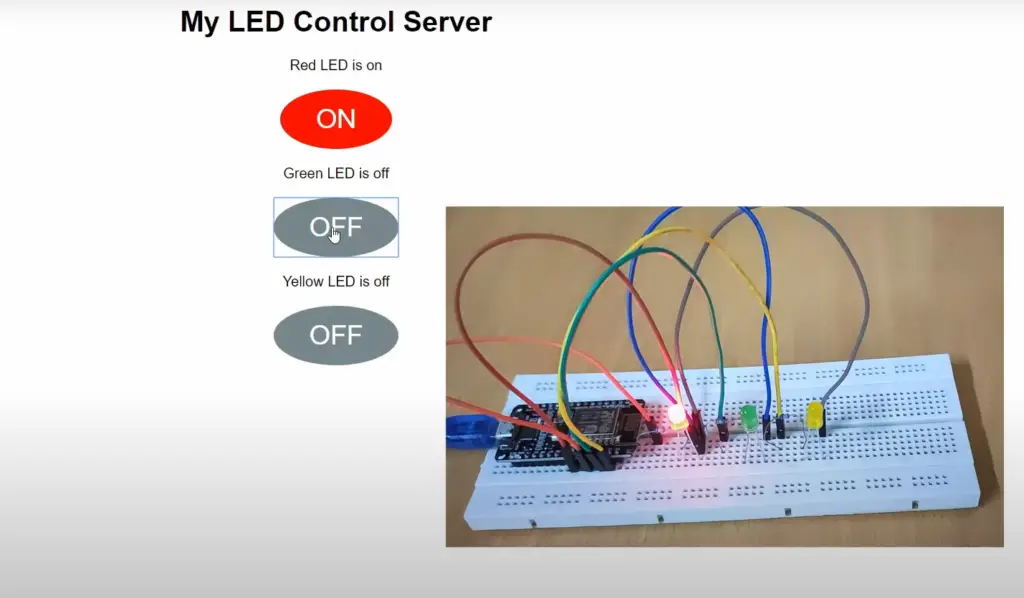
Then, upload the code below to the Arduino board and test it by running a web server on your laptop or computer. You can access this web page from any device that is connected to the same network as your ESP8266 module & use it to turn on/off your LED. This is how you can control an LED using Esp8266 and Arduino!
#include
#include
const char* ssid = “yourname”;
const char* password = “yourpassword”;
const char* host = “www.bipulgupta.com”; // Your domain
String path = “/IoT/light.json”; // Path to light.json on website
const int pin = 2;
void setup() {
pinMode(pin, OUTPUT);
pinMode(pin, HIGH);
Serial.begin(115200);
delay(10);
Serial.print(“Connecting to “);
Serial.println(ssid);
WiFi.begin(ssid, password);
int wifi_ctr = 0;
while (WiFi.status() != WL_CONNECTED) {
delay(500);
Serial.print(“.”);
}
Serial.println(“WiFi connected”);
Serial.println(“IP address: ” + WiFi.localIP());
}
void loop() {
Serial.print(“connecting to “);
Serial.println(host);
WiFiClient client;
const int httpPort = 80;
if (!client.connect(host, httpPort)) {
Serial.println(“connection failed”);
return;
}
client.print(String(“GET “) + path + ” HTTP/1.1\r\n” +
“Host: ” + host + “\r\n” +
“Connection: keep-alive\r\n\r\n”);
delay(500); // wait for server to respond
// read response
String section=”header”;
while(client.available()){
String line = client.readStringUntil(‘\r’);
// Serial.print(line);
// we’ll parse the HTML body here
if (section==”header”) { // headers..
Serial.print(“.”);
if (line==”\n”) { // skips the empty space at the beginning
section=”json”;
}
}
else if (section==”json”) { // print the good stuff
section=”ignore”;
String result = line.substring(1);
// Parse JSON
int size = result.length() + 1;
char json[size];
result.toCharArray(json, size);
StaticJsonBuffer<200> jsonBuffer;
JsonObject& json_parsed = jsonBuffer.parseObject(json);
if (!json_parsed.success())
{
Serial.println(“parseObject() failed”);
return;
}
// Make the decision to turn off or on the LED
if (strcmp(json_parsed[“light”], “on”) == 0) {
digitalWrite(pin, HIGH);
Serial.println(“LED ON”);
}
else {
digitalWrite(pin, LOW);
Serial.println(“led off”);
}
}
}
Serial.print(“closing connection. “);
}
FAQ
What is the Arduino Wi-Fi module called
The Arduino Wi-Fi module is a small board containing an 802.11b/g/n compatible radio transceiver and microcontroller, which allows it to communicate wirelessly with other devices over the internet or through local networks. The particular model used in most projects is the ESP8266, although there are alternatives available from other manufacturers that offer similar features.
What can Arduino do with WiFi?
One of the most popular features of Arduino is its ability to connect wirelessly with WiFi, allowing projects to communicate and interact with other devices or access data from the internet.
Using WiFi, Arduino can create powerful applications such as home automation systems, remote monitoring solutions, robotics control systems, weather stations and more. It can also be used in combination with other technologies like Bluetooth Low Energy (BLE) for connecting mobile apps to your projects.
In addition to controlling electronic components remotely over WiFi, Arduino can also receive data from web services such as APIs and databases. This makes it possible to use sensor readings from a project, for example, to control the temperature of a room.
What can I make with Arduino?
The possibilities are nearly endless when it comes to Arduino projects. From home automation and robotics to smart lighting systems, Internet-of-Things (IoT) applications, and more—just about any project you can dream up can be built using an Arduino board with some additional components. For instance, you could create a device that monitors your room temperature or build a robot arm controlled from your phone. With the wide variety of sensors, actuators and shields available for Arduino boards, the only limit is your imagination!
Can I program Arduino from Wi-Fi?
Yes, you can program Arduino boards with WiFi connectivity. This is done by flashing the board with a firmware that enables it to connect to your local network and receive programming commands over Wi-Fi. Once you’ve flashed the board, it’s usually fairly straightforward to use an IDE (Integrated Development Environment) such as the Arduino IDE or Atom Text Editor on your computer or mobile device to write code and send it wirelessly to the board.
Once connected and programmed, your Arduino project can communicate over WiFi using TCP/IP applications like HTTP for web interaction, FTP for file transfers and more. The possibilities are almost endless! With some creative coding skills, you can develop anything from motion detectors connected over Wi-Fi to automated weather monitoring systems.
How do I get Wi-Fi on an Arduino?
Getting Wi-Fi on an Arduino is possible with the help of a shield or module that contains a Wi-Fi chip. The most popular ones are the ESP8266 and ESP32 modules, but there are other third-party shields and modules available as well.
To get started, you’ll need to connect the shield or module to your Arduino board and then install any relevant libraries so your code can communicate with it. Depending on which shield/module you’re using, this may involve setting up special pins in your code (e.g., for ESP8266) or downloading specific software packages (e.g., for ESP32). You’ll also want to make sure your computer has the necessary drivers installed to communicate with the shield/module; if not, you can usually find these on the manufacturer’s website.
Once everything is set up, you can use the WiFi library for Arduino to connect your board to a network and send and receive data over Wi-Fi.
Useful Video: ESP8266 Make your own LED control web server in Arduino IDE | IoT project
Conclusion
Arduino is a powerful tool for creating WiFi projects that offer endless possibilities. With a little knowledge and some practice, anyone can develop their own Arduino-based system to monitor, control, and interact with their environment. The best part is that you don’t need to be an expert programmer or hardware engineer; the Arduino platform makes it easy to start learning quickly!
Luckily, Arduino offers a variety of capabilities, ranging from simple motion detectors and weather monitors to complex home automation systems using a variety of sensors. With the myriad of software libraries and tutorials available online, you can easily get up to speed on everything from basic programming concepts to advanced topics such as object-oriented analysis and design.
No matter what your project ambitions, Arduino provides the foundation for all kinds of projects that incorporate WiFi. Whether you’re interested in controlling an LED light strip from your phone or building a robot using motion sensors, the open source community has created plenty of helpful resources and tutorials to get started. All it takes is a spark of creativity and willingness to experiment — so go ahead and give your ideas wings!
References
- https://learn.sparkfun.com/tutorials/what-is-an-arduino/all
- https://www.instructables.com/Arduino-Whatsapp-Messages-Send-Whatsapp-Messages-U/
- https://www.instructables.com/LED-Control-Using-ESP8266-WiFi-Module-Internet-of-/




Leave a Reply