

Introduction
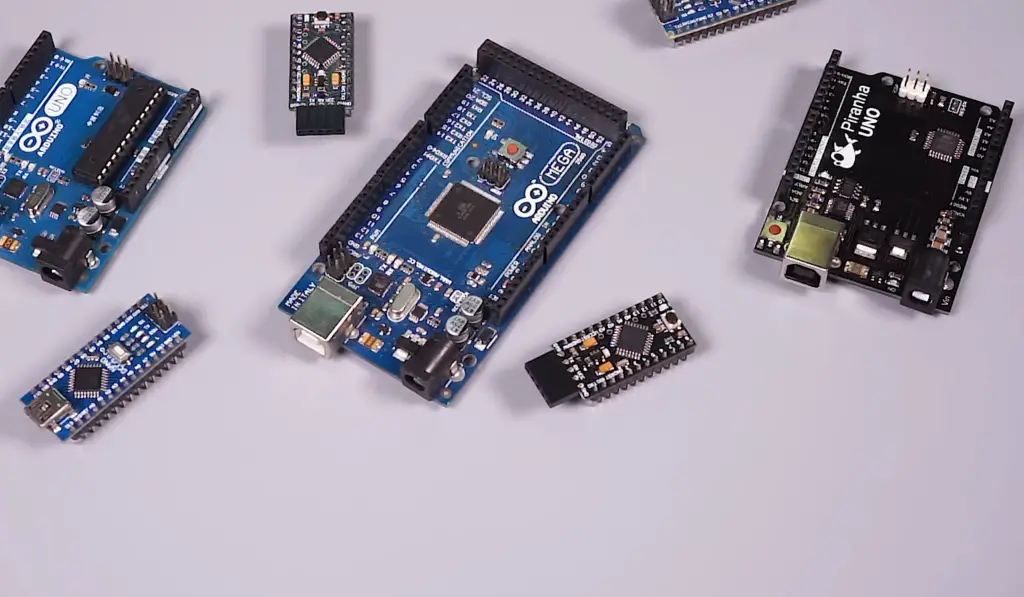
The Arduino Pro Mini is a popular microcontroller board that offers a compact and low-cost option for building DIY projects. It is a smaller version of the Arduino Uno and comes with a reduced set of features.
The Arduino Pro Mini is designed for applications where size and power consumption are critical, making it an ideal choice for wearable devices, sensor networks, and other embedded systems. The board features a variety of pins that enable it to communicate with other components and peripherals such as sensors, displays, and motors.
The Arduino Pro Mini Pinout is a critical component of the board, as it determines the functionality of each pin. Understanding the pins and their functions is essential for successfully creating projects using the Arduino Pro Mini. The board’s pinout consists of a total of 22 pins, including 14 digital pins, 8 analog pins, 2 UART pins, and a reset pin. Each pin has a specific purpose and function, and it is essential to understand how they work together to achieve the desired outcome [1].
In this article, we will take a closer look at the Arduino Pro Mini Pinout and learn about each pin’s functionality. We will also explore some common projects that can be built using the Arduino Pro Mini and discuss the best practices for designing and selecting components for your projects. Whether you are a beginner or an experienced maker, understanding the Arduino Pro Mini Pinout is essential for creating effective, efficient, and functional projects using this popular microcontroller board.
What Is An Arduino Pro Mini?
The board has a minimal design approach, and it comes with a reduced set of features compared to other Arduino boards. The Pro Mini has 14 digital input/output pins, of which six can be used as PWM outputs and eight analog input pins. The board also features two UART pins and a reset pin [2].
The compact size and low power consumption make the Pro Mini an ideal choice for applications where size and battery life are critical, such as wearable devices, sensor networks, and other embedded systems. The board’s open-source nature allows for flexibility in programming and modification, making it easy to customize and adapt to different project requirements.
In addition to its hardware features, the Pro Mini is also supported by a robust and active community of developers and makers. This community provides extensive documentation, tutorials, and forums to help users get started with the board and troubleshoot any issues they may encounter.
Whether you are a beginner or an experienced maker, the Arduino Pro Mini is a versatile and powerful microcontroller board that can be used to build a wide range of projects.
Arduino Pro Mini Board Features:
1) 14 Digital Input/Output (I/O) Pins
One of the notable features of the Arduino Pro Mini board is its generous number of digital I/O pins. With a total of 14 pins, users have the flexibility to connect various external components such as sensors, actuators, and displays. These pins can be configured as either inputs or outputs, allowing for both data gathering and control of external devices.
2) 8 Analog Pins
In addition to its digital I/O pins, the Pro Mini board provides 8 analog pins. Analog pins enable the measurement of continuous or variable voltages, making it suitable for applications that involve analog sensors or analog-to-digital conversions. These pins open up opportunities for precise measurements and interactions with the analog world.
3) On-board Voltage Regulator
To simplify power supply requirements, the Arduino Pro Mini includes an onboard voltage regulator. This regulator allows the microcontroller to operate at a wide range of input voltages, typically between 3.3V and 12V. This feature eliminates the need for an external regulated power supply, making the Pro Mini more convenient to use in various projects [3].
4) 8MHz or 16MHz Clock Frequency
The Pro Mini board offers flexibility in terms of clock frequency. It is available in two versions: one with an 8MHz clock and another with a 16MHz clock. Users can choose the appropriate version based on their project requirements. The clock frequency determines the speed at which the microcontroller executes instructions and interacts with external components.
5) No USB Port or Onboard Programmer
Unlike some other Arduino boards, the Pro Mini does not include a built-in USB port or onboard programmer. This design choice helps keep the board compact and cost-effective. However, it means that an external USB-to-serial converter or programmer is required to upload sketches (code) to the microcontroller. This additional hardware can be connected to the Pro Mini’s dedicated programming pins, making it ready for code uploading.
6) No Soldered Connectors
The Arduino Pro Mini comes without soldered connectors, providing users with the freedom to choose and solder the appropriate connectors for their specific needs. This flexibility allows for a more customized approach, enabling users to select connectors that suit their project layout and design.
7) Built-in LED
As with most Arduino boards, the Pro Mini includes a built-in LED. This LED is connected to one of the digital pins and can be used for simple visual feedback or debugging purposes. The LED can be controlled by writing code to the corresponding pin, allowing for easy status indication during the development process.
8) Onboard Microcontroller Chip (Atmega328p)
At the heart of the Arduino Pro Mini lies the Atmega328p microcontroller chip. This chip is based on the AVR architecture and provides a wide range of functionality for embedded systems. With its 32KB of flash memory, 2KB of SRAM, and 1KB of EEPROM, the Atmega328p offers ample space for storing and executing code. Its powerful capabilities make it suitable for a variety of applications, from simple LED blinking to complex robotics projects.
Applications of the Arduino Pro Mini
Here are some common applications where the Arduino Pro Mini can be used:
- Wearable devices: The compact size and low power consumption make the Arduino Pro Mini an ideal choice for building wearable devices such as smartwatches, fitness trackers, and other health monitoring devices;
- Sensor networks: The board’s digital and analog input/output pins make it very useful for building sensor networks for monitoring and data collection in various applications;
- Robotics: The Arduino Pro Mini can be used as the brain in small-scale robots and remote control vehicles;
- Home automation: The board can be used to control various home automation applications such as lighting, temperature control, and security systems;
- Industrial automation: The board can be used in industrial automation applications such as process control and monitoring;
- Educational purposes: The Arduino Pro Mini is popular among students and hobbyists to learn about microcontroller programming and electronics [4];
What Are The Differences Between Arduino UNO and Arduino Pro Mini?
The Arduino UNO and Arduino Pro Mini are both popular microcontroller boards developed by Arduino.cc that offer different features suitable for various DIY projects.
Some of the differences between the two include:
- Size: The Arduino Pro Mini is significantly smaller in size than the Arduino UNO, making it useful for building compact projects where size is critical;
- Power consumption: The Arduino Pro Mini consumes less power than the Arduino UNO, making it ideal for battery-powered projects that require long lifetimes;
- Pinout: The Arduino UNO has a wider range of input/output pins than the Pro Mini. The Arduino Pro Mini has 14 digital and 8 analog pins, while the Arduino UNO has 14 digital pins, 6 analog pins, and additional pins for power and communication;
- Cost: The Arduino Pro Mini is less expensive than the Arduino UNO due to its reduced set of features;
- Hardware: The Arduino UNO has an onboard USB interface, while the Pro Mini does not. The Pro Mini requires an external USB-to-serial adapter to interface with a computer;
What Is The Main Difference Between Arduino Nano and Arduino Pro Mini?
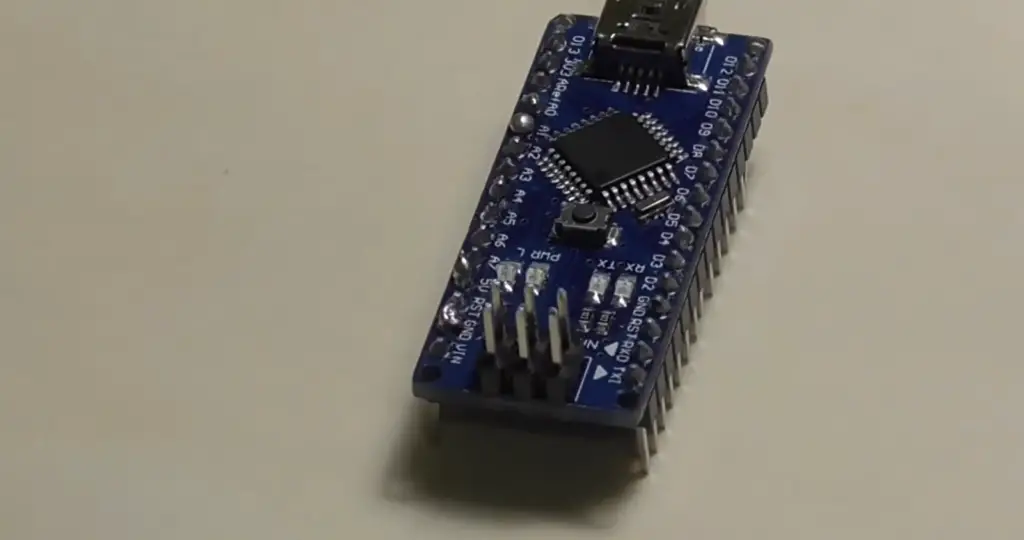
The main difference between the Arduino Nano and the Arduino Pro Mini is their physical size. The Nano board is slightly larger than the Pro Mini board. Additionally, the Nano has an onboard USB port, while the Pro Mini does not. Other than these differences, both boards have similar functionalities and can run on the Arduino software.
About Arduino Pro Mini Pinout:
Diagram Layout
Before we delve into the individual pins, it’s helpful to have a visual representation of the Arduino Pro Mini’s pinout. The board typically features a set of male header pins, with each pin serving a specific purpose. Familiarizing yourself with the pin arrangement will make it easier to connect external devices and write code accordingly.
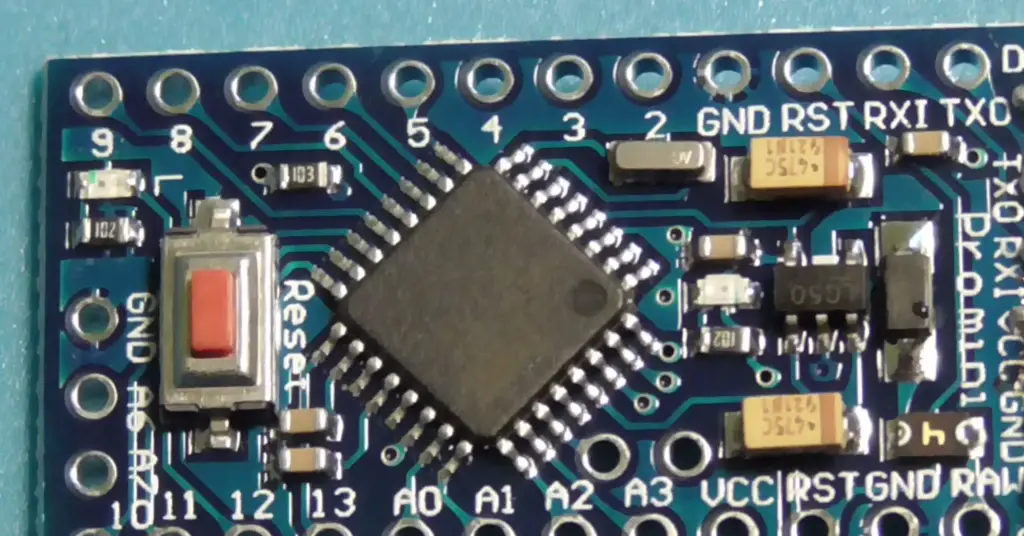
ATmega328 Microchip
The Arduino Pro Mini is powered by the ATmega328 microchip, which serves as the brain of the board. This microchip is responsible for executing code and controlling the various pins on the board. It offers a range of functionalities and features, making it suitable for a wide range of applications.
RESET Button
Located on the Pro Mini board is a RESET button, which allows you to manually reset the microcontroller. Pressing this button temporarily halts the program execution and restarts it from the beginning. The RESET button is useful for troubleshooting, reprogramming, or resetting the board during development.
Power Supply Pinout
The Pro Mini board requires a power supply to function properly. It supports a wide range of input voltages, typically between 3.3V and 12V, thanks to the built-in voltage regulator. The power supply pins, labeled as VCC and GND, provide the necessary voltage and ground connections for the board.
Digital Pins
The Arduino Pro Mini features a total of 14 digital pins, labeled from D0 to D13. These pins can be configured as either inputs or outputs, allowing you to connect external components such as sensors, buttons, or LEDs. They can also be used for digital communication protocols like SPI or I2C.
PWM Pins
Out of the 14 digital pins, six pins (D3, D5, D6, D9, D10, D11) on the Pro Mini board also support Pulse Width Modulation (PWM) functionality. PWM pins are used for controlling analog-like outputs, such as dimming LEDs or controlling motor speed. They provide the ability to simulate varying voltages by rapidly switching the output on and off [5].
Analog Pins
Alongside the digital pins, the Pro Mini board provides eight analog input pins, labeled A0 to A7. These pins can measure continuous voltage levels ranging from 0 to 5 volts. They are ideal for interfacing with analog sensors or performing analog-to-digital conversions. These analog inputs open up possibilities for precise measurements and interactions with the analog world.
UART Pins (RX and TX)
The Pro Mini board includes UART (Universal Asynchronous Receiver/Transmitter) pins, labeled as RX and TX. These pins facilitate serial communication, allowing the microcontroller to exchange data with other devices, such as computers, other microcontrollers, or modules. This communication method is widely used for debugging, data logging, or wireless communication.
External Interrupt (2 and 3)
The Arduino Pro Mini features two external interrupt pins labeled INT0 (D2) and INT1 (D3). These pins can be used to interrupt the microcontroller’s normal execution flow when a specific event occurs. They are useful for capturing time-sensitive events or responding to external triggers, such as button presses or sensor detections.
SPI Pins
The Serial Peripheral Interface (SPI) pins on the Pro Mini board enable high-speed communication with other devices using the SPI protocol. The SPI pins consist of four pins: MISO (Master In Slave Out), MOSI (Master Out Slave In), SCK (Serial Clock), and SS (Slave Select). These pins are commonly used to communicate with SPI-based devices such as SD cards, display modules, and sensors.
I2C Pins
The Pro Mini board also includes dedicated pins for I2C (Inter-Integrated Circuit) communication, labeled SDA (Serial Data) and SCL (Serial Clock). I2C is a popular protocol for connecting multiple devices together in a network, allowing for easy data exchange. Many sensors, LCD displays, and other modules support the I2C interface, making these pins essential for building complex systems.
Understanding the pinout of the Arduino Pro Mini is crucial for harnessing its full potential in your projects. By utilizing the various digital, analog, PWM, UART, interrupt, SPI, and I2C pins, you can connect a wide range of components and create sophisticated electronic systems.
FAQ
1. What is the Arduino Pro Mini used for?
It is commonly used in applications such as robotics, sensors, and automation systems [6].
2. Which is better – Arduino Nano or Pro Mini?
The answer depends on your specific project requirements and preferences. The Nano is slightly larger than the Pro Mini but has an onboard USB port, while the Pro Mini does not. Both boards have similar functionalities and can run on the Arduino software.
3. Is Arduino Pro Mini and Arduino Uno the same?
No, the Arduino Pro Mini and Arduino Uno boards are not the same. The Arduino Pro Mini is a smaller and more stripped-down version of the Uno, with fewer input/output pins and no onboard USB port.
4. Which Arduino is more powerful?
The more powerful Arduino microcontroller board is the Arduino Due, which has a 32-bit ARM core processor and runs at a higher clock speed than the other boards.
5. Which Arduino version is best?
The answer to this question depends on your project requirements. For example, if you need a board with a small form factor, the Nano or Pro Mini may be better suited for your project. If you need more processing power, the Due may be a better choice.
6. Does the Arduino Mini have WiFi?
No, the Arduino Mini does not have WiFi capability built into the board. However, you can add a WiFi module or shield to the board to enable WiFi connectivity [7].
7. Is Arduino only for beginners?
No, Arduino can be used by beginners as well as advanced users, depending on the complexity of the project. Many professionals use Arduino for the prototyping and development of embedded systems.
8. How do I know if my Arduino Pro Mini is 3.3 V or 5V?
You can check the voltage level of your Arduino Pro Mini by looking at the board’s markings. The 5V Pro Mini boards will have “5V” printed near the voltage regulator, while the 3.3V Pro Mini boards will have “3.3V” printed.
9. What logic level is Arduino Pro Mini?
The logic level of the Arduino Pro Mini board depends on the specific model of the board. The 5V Pro Mini boards operate at 5 volts logic levels, while the 3.3V Pro Mini boards operate at 3.3 volts logic levels.
10. What type of programmer is Arduino Pro Mini?
The Arduino Pro Mini can be programmed using a USB-to-TTL serial adapter or FTDI breakout board. These boards can be connected to the Pro Mini’s six-pin header to program the board.
11. Is Arduino easier than Raspberry Pi?
The answer to this question depends on your background and experience. Arduino is generally considered easier to learn and use for beginners who are new to electronics and programming. Raspberry Pi is a more powerful and versatile platform that requires more technical knowledge to use effectively.
12. Does the Arduino Pro Mini have Bluetooth?
No, the Arduino Pro Mini does not have built-in Bluetooth capability. However, you can add a Bluetooth module or shield to the board to enable Bluetooth connectivity.
13. Is Arduino a Java IDE?
No, Arduino is not a Java IDE. It is an open-source platform used for designing and building electronics projects using hardware and software components. It has its own Integrated Development Environment (IDE) software that is based on the programming language C++ and provides an easy-to-use interface for writing and uploading code to Arduino boards.
Useful Video: Arduino Pro Mini full description video || all parts discuss pinout pin in
References
- https://www.etechnophiles.com/arduino-pro-mini-pinout-pin-diagram-and-specifications-in-detail/
- https://www.javatpoint.com/arduino-pro-mini
- https://components101.com/microcontrollers/arduino-pro-mini
- https://www.theengineeringprojects.com/2018/06/introduction-to-arduino-pro-mini.html
- https://nerdytechy.com/arduino-pro-mini-pinout-and-guide/
- https://sirboatengonline.com/arduino-pro-mini-for-beginners-avr-atmel-atmega328p/
- https://www.reddit.com/r/arduino/comments/31s22g/difference_between_arduino_pro_mini_nano_and_micro/