

One of the great things about Arduino is that it can be used to control a wide range of devices. In this tutorial, we will be using an active buzzer with Arduino. An active buzzer is a type of speaker that emits sound when it is powered on. They are commonly used in alarm systems and door bells. In this tutorial, we will show you how to use an active buzzer with Arduino to create your own alarm system or door bell!
Arduino and the Versatility of Its Uses
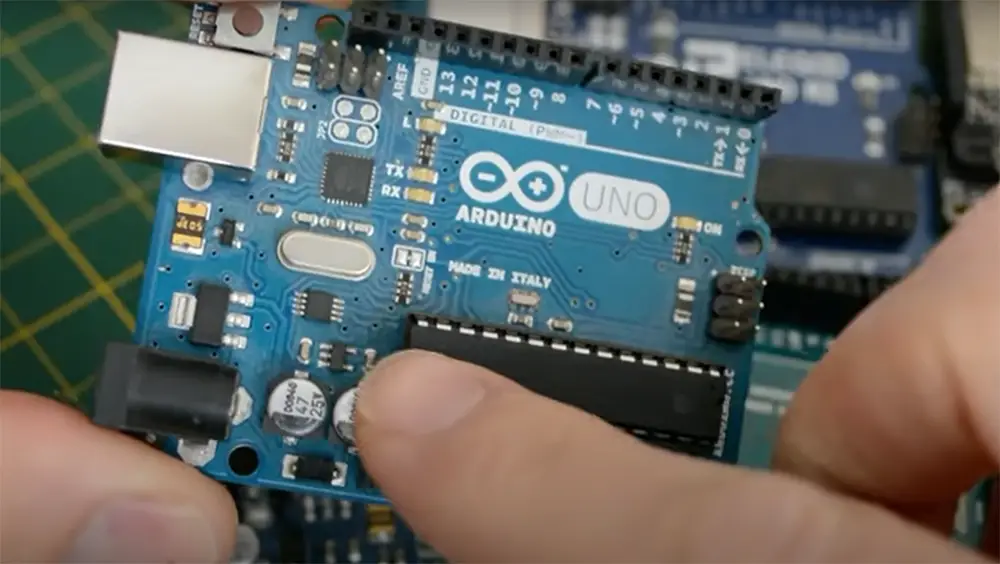
The Arduino is a highly useful tool for a variety of projects. You can connect it to a computer to program it, and it is compatible with a variety of other electronics. The Arduino is perfect for simple projects like turning on an LED, but it can also be used for more complex projects like controlling a motor.
In this tutorial, we’ll be discussing how to use an active buzzer with Arduino. This type of buzzer produces sound when an electric current is applied to it. It’s a simple and easy way to add audio output to your project.
One common use for an active buzzer is as an alarm. You can program the Arduino to turn on the buzzer when certain conditions are met, such as when motion is detected or a button is pressed. Active buzzers can also be used to create musical tones and rhythms. By programming the Arduino to control the frequency of the sound produced by the buzzer, you can create simple melodies and tunes. [1], [2]
What Are Piezoelectric buzzers?
Piezoelectric buzzers are self-generating sound devices. This type of buzzer does not require an external DC power supply to produce sound. Piezoelectricity is the ability of certain materials to generate an electric charge in response to applied mechanical stress.
Different types of piezoelectric buzzers
There are two main types of piezoelectric buzzers: active and passive.
Active Buzzers
Active buzzers have an internal oscillator that creates the sound. This means that they will continue to produce sound as long as voltage is applied to them. So you won’t need an external circuit to make them create tones. This is why most people use active buzzers because they are easier to use and more common. You can find them in all sorts of electronic devices like alarms, computers, beepers, and smoke detectors.
Passive buzzers
Passive buzzers do not have an internal oscillator feature. This means that they can only produce sound when an alternating current is applied to them, which makes them more versatile but also a little more difficult to use. The frequency of the sound produced by a passive buzzer depends on the frequency of the AC signal. Passive buzzers are typically used in musical applications.
So basically, an active buzzer can create sound independently while a passive buzzer needs an external signal source for that. [2]
Connecting an Active Buzzer to Arduino
Now that we know what active buzzers are, let’s go over how to connect one to your Arduino.
You’ll need:
- An active buzzer
- Arduino board
- Breadboard
- Jumper wires
First, you’ll want to insert the active buzzer into the breadboard. Buzzer’s module has three pins: GND, I/O, and VCC. The GND pin is connected to ground, the I/O pin is the signal pin, and the VCC is the power supply. Left pin of your buzzer is negative while the right pin is positive.

In some cases, you may want to connect a buzzer to Arduino using a transistor. This is because the Arduino may overload trying to provide enough current to power the buzzer on its own. The transistor will act as a switch that turns the buzzer on and off.
The benefits of a breadboard, as opposed to a solderless breadboard, is that it’s reusable. You can remove and insert components as you please without having to worry about damaging the board or the components.
Now that we know how to set up our hardware, let’s move on to programming our active buzzer with Arduino! [2], [3], [4], [5]
Controlling the buzzer via code
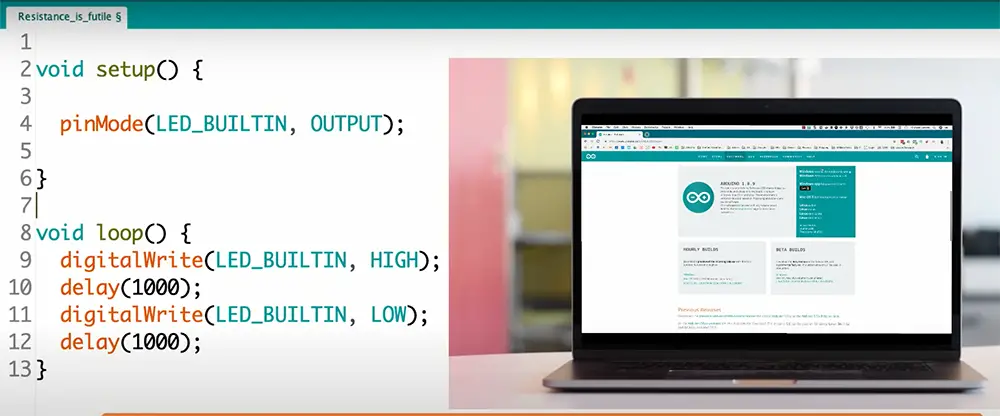
The code for this project is pretty simple. Connect the Arduino to your computer and open up the Arduino IDE. If you’ve never used the Arduino IDE before, don’t worry! It’s pretty straightforward. But you may have to install drivers first before you can upload code to your Arduino board.
Once the Arduino IDE is open, copy and paste the following code into the editor:
void setup() {
// put your setup code here, to run once:
pinMode(9, OUTPUT);
}
void loop() {
// put your main code here, to run repeatedly:
void loop() {
digitalWrite(9, HIGH);
delay(1000);
digitalWrite(9, LOW);
delay(1000);
}
}
Explanation of the code
In the void loop() section of our code, we use the digitalWrite function to turn the buzzer on and off. Now, we’ll add a few lines of code inside of the void loop(). This is where we’ll write all of the code that we want to execute over and over again.
When we set the value of digitalWrite to HIGH, it turns on the power and allows current to flow through. This makes the piezo element vibrate and create sound. When we set it LOW, it turns off the power and stops making noise.
We also use delay to control how long the buzzer is on and off. The number inside of the delay function is in milliseconds, which in our case means that it will wait for one second before turning off. You can change it as you wish.
With this simple code you can turn the active buzzer ON and OFF. There are many ways you can improve this project with, like adding a button so that you can turn the buzzer on and off manually. It’s all up to you and your imagination at the end of the day so test a variety of applications! [2], [4]
How to Use an Active Buzzer with Arduino: Comparison Table
The table below provides a comparison of various indicators related to using an active buzzer with Arduino. Active buzzers are electronic components that produce sound when an alternating current is applied to them. They are commonly used in Arduino projects to generate audible alerts, tones, or melodies.
| Indicator | Description | Passive Buzzer | Active Buzzer |
|---|---|---|---|
| Operating Principle | The basic principle of the buzzer | Requires an external AC signal to produce sound | Built-in oscillator generates sound when DC signal is applied |
| Sound Generation | How sound is generated | Relies on an external waveform generator (Arduino PWM pins) | Internally generates sound with a specific frequency |
| Complexity | Level of complexity in circuit design | Relatively simple, requires additional components | Simple, standalone component |
| Control | How sound output is controlled | Needs precise PWM control for different tones | Controlled through the Arduino I/O pin |
| External Components | Additional components required | Transistors, resistors, waveform source | Only a current-limiting resistor |
| Sound Quality | Level of sound clarity and consistency | Sound quality may vary depending on external circuitry | Produces consistent and clear tones |
| Power Consumption | Power requirements | Higher power consumption | Lower power consumption |
| Ease of Use | Overall ease of implementation | Requires more effort to set up | Easy to use and integrate |
The table compares the use of passive buzzers and active buzzers with Arduino based on various indicators. Passive buzzers rely on an external AC signal (usually generated by an Arduino’s PWM pins) to produce sound, while active buzzers have an internal oscillator that generates sound when a DC signal is applied. As a result, active buzzers are simpler to use, as they do not require additional external components like transistors and waveform sources. Additionally, they offer better sound quality, consume less power, and are generally easier to implement in Arduino projects.
Read more guides to improve your Arduino knowledge:
- Interfacing a Flame Sensor with Arduino Guide
- How to Use a Microphone with Arduino?
- How to Stop an Arduino Program?
FAQ
How do I connect my buzzer to my Arduino?
To use an active buzzer with Arduino, you’ll need to connect the positive lead of the buzzer to a digital output pin on the Arduino board. Then connect the negative lead of the buzzer to one of the ground pins on the Arduino board. Once you have done this, you can use code to control when the buzzer sounds. You can find more detailed instructions above.
How does an active buzzer work?
An active buzzer has an internal electronic circuit. This means it will start to beep as soon as it receives power. It doesn’t need any extra signal or code from Arduino in order for it to work.
How do you activate the passive buzzer?
Activating a passive buzzer is harder because it requires an external power source that can provide enough current to make the piezo element vibrate. You will also need a transistor to act as a switch since the Arduino cannot supply enough current on its own to power the buzzer.
With an active buzzer, however, you only need to connect it to one of the Arduino’s digital output pins and ground. Active buzzers have an internal oscillator that produces a tone when powered. This makes them much easier to use with microcontrollers like the Arduino.
Does the Arduino Uno have a built-in buzzer?
No, the Arduino Uno does not have a built-in buzzer. You will need to purchase an active buzzer and connect it to one of the Arduino’s digital output pins as we have shown in our tutorial.
What components do I need to use an active buzzer with Arduino?
To use an active buzzer with Arduino, you will need the following components:
– An active buzzer
– An Arduino board (e.g., Arduino Uno, Arduino Nano, etc.)
– Jumper wires
How do I identify the positive (+) and negative (-) pins on the active buzzer?
An active buzzer typically has two pins. The longer pin is the positive (+) pin, and the shorter pin is the negative (-) pin. If you have trouble identifying the pins, check the buzzer’s datasheet or product documentation.
What is the difference between an active buzzer and a passive buzzer?
An active buzzer is a type of buzzer that generates sound when it is powered with a specific frequency, and it does not require an external oscillator circuit. On the other hand, a passive buzzer requires an external waveform generator (e.g., Arduino’s PWM) to produce sound.
How do I connect an active buzzer to my Arduino?
To connect an active buzzer to your Arduino, follow these steps:
1. Connect the positive (+) pin of the buzzer to any digital pin on the Arduino.
2. Connect the negative (-) pin of the buzzer to GND (Ground) on the Arduino.
3. Make sure to insert the buzzer in the correct orientation, considering the polarity of the pins.
Can I control the volume of the sound produced by the active buzzer?
No, active buzzers usually do not have built-in volume control. The volume is determined by the buzzer’s design and specifications. If you need to control the volume, consider using a passive buzzer and adjust the PWM duty cycle to change the loudness.
How do I generate different tones with the active buzzer using Arduino?
To generate different tones with the active buzzer using Arduino, you can utilize the “tone()” function in the Arduino IDE. This function allows you to specify the frequency of the tone you want to produce and the duration of the tone. By changing the frequency, you can create various tones and melodies.
Can I use multiple active buzzers with a single Arduino?
Yes, you can use multiple active buzzers with a single Arduino. Each buzzer will need its own digital pin for the positive (+) connection and share the common GND (Ground) connection on the Arduino.
What are some applications of active buzzers with Arduino?
Active buzzers are commonly used in various Arduino projects, including:
– Alarm systems
– Simple music and sound effects generation
– Reminder systems
– User feedback in interactive projects
– Games and simulations
Are there any safety precautions I should consider when using active buzzers with Arduino?
Yes, there are a few safety precautions to keep in mind:
– Ensure that the voltage and current ratings of the buzzer are within the Arduino’s specifications.
– Be cautious with the volume, especially if the buzzer produces loud sounds.
– Double-check your connections to avoid short circuits that could damage your Arduino board.
– If using an external power supply, make sure it is compatible with the buzzer’s requirements.
Can I use an active buzzer with a battery-powered Arduino project?
Yes, you can use an active buzzer with a battery-powered Arduino project. However, be mindful of the power consumption of the buzzer, as it may affect the overall battery life of your project. Consider using low-power modes or turning off the buzzer when not in use to conserve energy.
Useful Video: How to use Active Buzzer with Arduino& Raspberry Pi
Final Words
Arduino is a great board for all sorts of projects, one of which is experimenting with buzzers. Active buzzers come with an internal oscillator feature that you can use to create tones and sounds without requiring an external power source.
In this post, we showed you how to use an active buzzer with Arduino. This is a really simple project, but it’s a lot of fun and can be used in all sorts of different applications. We hope you found this tutorial helpful. Go ahead and create many other interesting projects with Arduino and a buzzer!
References:
- https://www.arduino.cc/
- https://www.circuitbasics.com/how-to-use-active-and-passive-buzzers-on-the-arduino/
- https://electropeak.com/learn/interfacing-active-buzzer-with-arduino/
- https://startingelectronics.org/tutorials/arduino/modules/active-buzzer/
- https://bgsu.instructure.com/courses/1157282/pages/tutorial-active-buzzer
- https://eu.mouser.com/new/tdk/tdk-ps-piezoelectric-buzzer/