
Tinning the tip of your soldering iron is an essential step in ensuring that your solder joints are strong and reliable. In this article, we will discuss the reasons why you should tin your soldering iron, as well as how to do it correctly. We’ll also answer some common questions about tinning, so that you can be sure that your solder joints are as strong as possible!
What is Soldering Iron?
The process of soldering involves applying heat with the soldering iron and then melting metal (solder) to join two pieces together. The most common types of soldering irons used in electronics work are electric or butane-powered. Electric soldering irons use an AC power supply such as a wall outlet for their heating element, while butane-powered ones use gas fuel to generate heat.
Why Would You Need to Tin the Soldering Iron Tip
It should be done regularly, as it helps to improve the soldering process, which in turn produces better soldering results.
Tinning the tip of a soldering iron is important because it helps keep the solder from sticking to the tip, which can make applying heat and melting solder more difficult. Tinning also ensures that the heat is evenly distributed across the surface of the tip for a better connection when joining two pieces together. Additionally, tinning can help protect the metal surfaces being joined by forming an oxidation-resistant barrier over them.
Tinning the tip of a soldering iron improves the conductivity between metal components by forming an oxidation-resistant barrier. This makes it easier for electricity to pass through and create a strong connection between two pieces of metal without any resistance.
On top of that, tinning the tip of a soldering iron can make the process faster and easier. By having a clean and pre-tinned tip, you don’t have to wait for the metal surfaces to heat up before applying solder; it’s already there waiting for you. This helps keep your soldering time down and makes it simpler to get a good connection each time. [1], [2]
How to Properly Tin the Tip of a Soldering Iron
Now that you know why it’s important to tin the tip of a soldering iron, let’s go over how to properly do it. In this section, we’ll discuss everything you need to know in detail so that you can get it done right the first time. In general, tining your soldering iron tip is a simple process that only takes a few steps.
Clean the tip
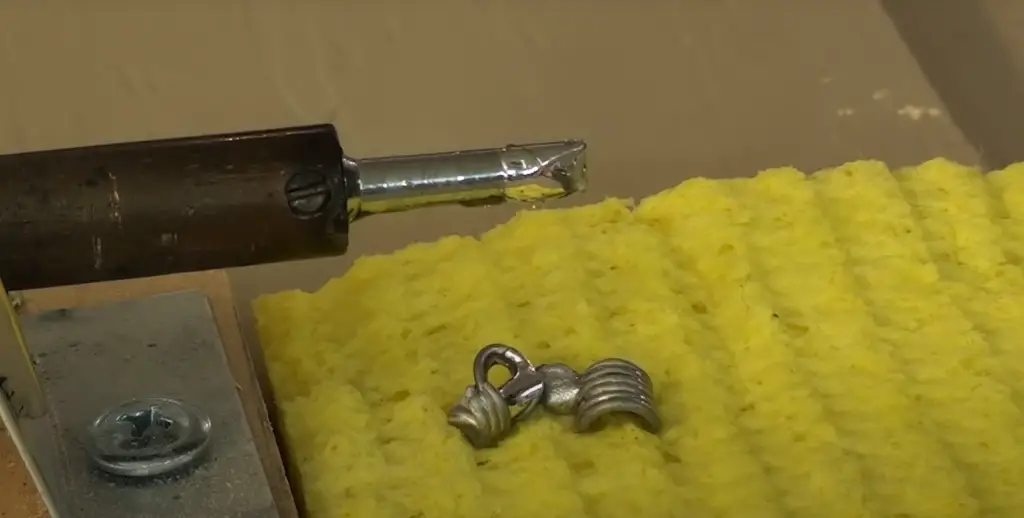
The first thing you need to do is make sure your soldering iron tip is completely clean. Cleaning a soldering iron tip is essential to ensure quality solder joints and reliable, long-lasting electrical connections. Over time, the tip of the soldering iron will naturally oxidize as heat is applied to it in use. Oxidation reduces the amount of heat transferred from the soldering iron to whatever surface it is applied to and can cause solder not to melt or flow properly when heated. It also adds additional resistance in an electrical circuit, which can prevent current from flowing correctly. Cleaning your soldering iron tip eliminates these issues and allows you to produce professional-quality work every time.
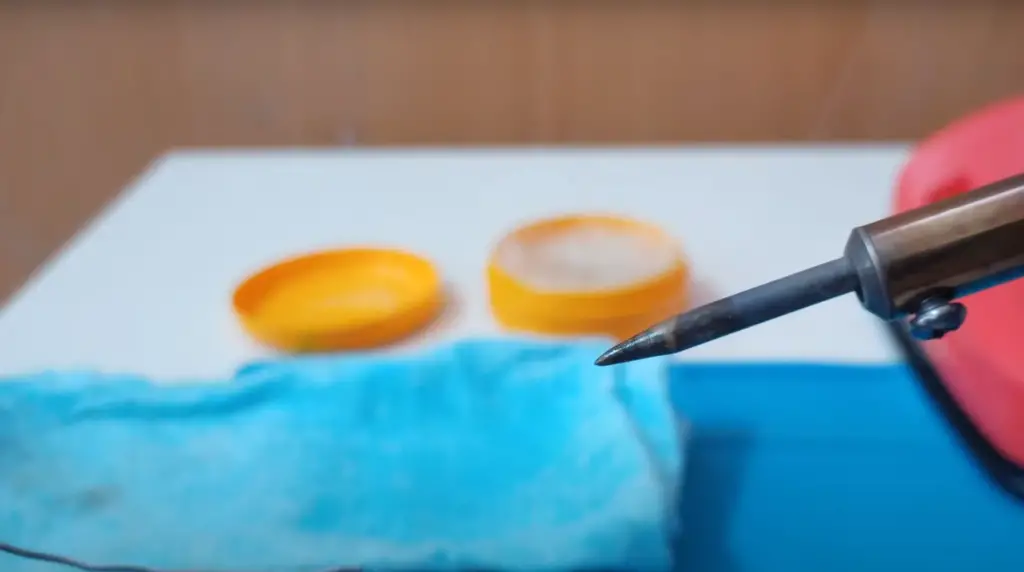
To clean your soldering iron tip, you first need to heat it up to its working temperature. Once it is hot, you can use a damp sponge or other cleaning material to wipe away any residue and old solder from the tip. When you are done, your soldering iron should be clean and free of old solder.
If damp sponge alone is not enough, you can use a commercial tip cleaning paste or abrasive to help you remove the oxidation from your soldering iron tip. This paste or abrasive should be applied before heating the tip and then wiped off with a damp sponge when finished.
Tin the tip
Once your soldering iron tip is clean, you are ready to tin it. To do this, you will need some high-quality solder and a small amount of flux (optional). The type of solder that you choose should be appropriate for the job at hand – either lead-free or leaded. For most electronics projects, we recommend using lead-free solder as it is more environmentally friendly.
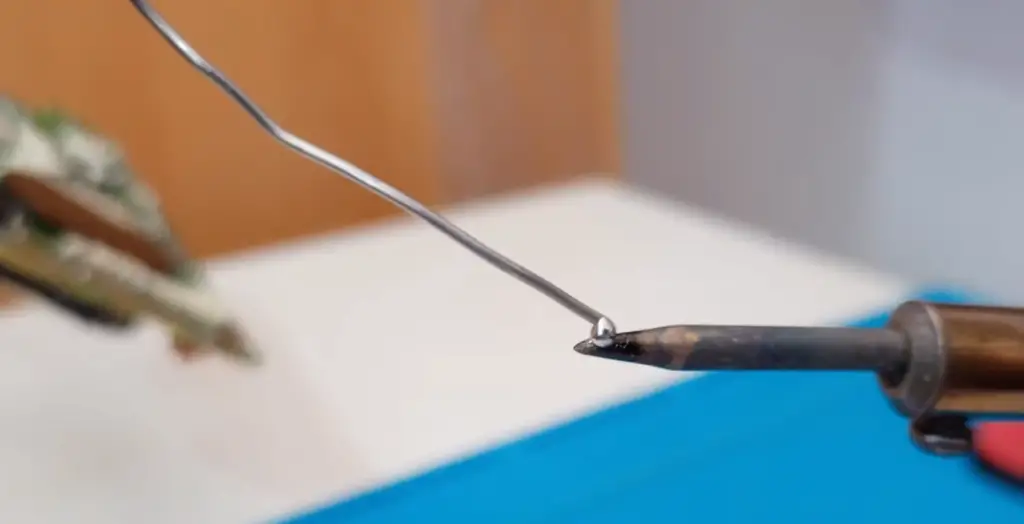
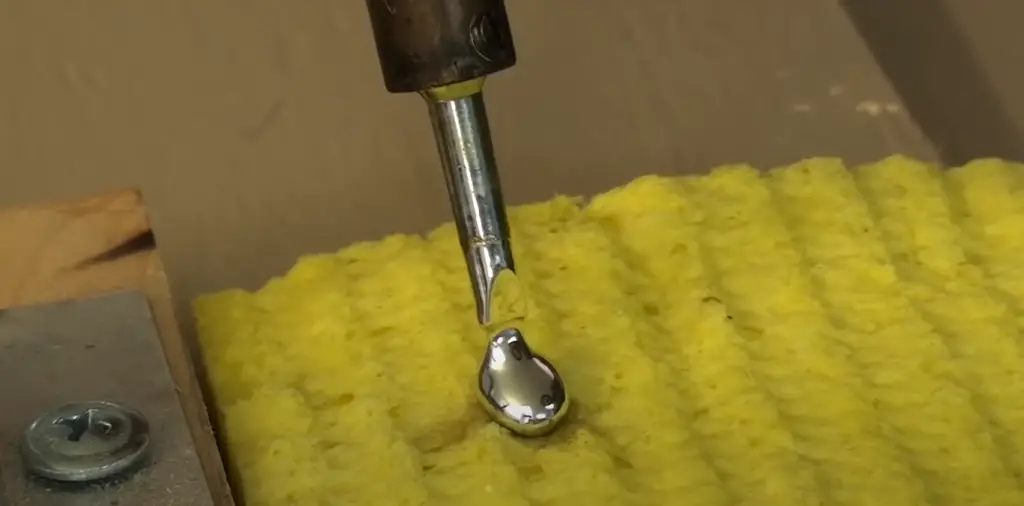
Now that you have your tools ready, you can begin tining your soldering iron tip. Start by applying a small amount of solder to the copper part of the tip and wipe away the excess with a damp sponge or cloth.

When tining your soldering iron tip, you should also ensure that there is an even spread of solder over the entire surface of the copper part of the tip. You should avoid creating any large globs on one side as this can cause issues when you are trying to make a joint.
The end result should be a thin layer of solder on your soldering iron tip that is evenly distributed. This will help to ensure quality solder joints and prevent any damage to components or other parts due to overheating. [1], [2]
General Tips
As you can see there’s nothing hard about tinning the tip of a soldering iron. However, there are a few additional tips that you should keep in mind to ensure that you get the best results possible.
Don’t force the solder to melt
One of the biggest mistakes people make when turning their soldering iron is applying too much heat to the tip in order to try and get the solder to melt. It’s important to remember that the process of tinning a soldering iron tip should not involve forcing the solder to melt. Instead, it should be an easy process where you simply apply a small amount of solder and let its own heat do the work.
Pushing the solder into the tip with too much force and heat can cause damage to the iron itself and can also prevent solder from properly flowing when you are making a joint.
Always use a high quality solder
When it comes to soldering, using a quality solder can make all the difference. Not only will the result be much better in terms of strength and conductivity, but it will also help ensure that you don’t cause any damage to your equipment from too high or low temperatures.
A good quality solder is made up of a combination of metals such as tin, lead, silver and copper. Tin is an especially important piece because it helps create a strong bond between two pieces of metal while preventing corrosion at the same time. This makes it ideal for protecting wires and other components from water or air damage.
You can tell if the solder you are using has the right amount of tin in it to check the labeling. A good quality solder should have a label that states the percentage of tin it contains, as this will help you determine if it is right for your project or not.
Another important factor to consider when selecting a solder is its melting point. This is the temperature at which the metal changes from solid form to liquid form, and if you choose one with too high of a melting point, then there is a chance of damaging your equipment due to heat damage. It is best to use one that has a low melting point so that it won’t cause any problems while you are soldering.
Poor quality solder can contain impurities that can cause problems with your project or even damage components over time. So be sure to check the label on the package and read reviews before purchasing any solder.
Inspect your tip regularly
When using your soldering iron, it is important to regularly inspect the tip to ensure that it is still in good condition and that there are no damages or buildups of oxidation. This can be done by simply wiping away any excess solder with a damp cloth or sponge after each use.
It’s also important to keep an eye out for any discoloration or changes in shape that may have occurred since you last inspected the tip. If you notice any changes, then you should clean the tip and re-tin it as soon as possible.
Finally, if you are planning on leaving your soldering iron unused for an extended period of time, then it is best to store it properly and make sure that all parts are completely dry before doing so. This will help prevent corrosion and other damage to the tip that could occur due to prolonged exposure to moisture.
Noticing the problem earlier and taking the necessary precautions can help extend the life of your soldering iron and keep it in good condition for longer.
Only use the minimum temperature required for the project
When using a soldering iron, it is important to use the minimum temperature required for the job at hand. This not only helps ensure that you don’t cause any damage to your equipment, but it also saves time by preventing you from having to wait for higher temperatures to take effect.
It is best to research the type of project you are doing and find out what temperature works best before starting. For example, if you are trying to solder two pieces of wire together then a lower temperature might be more appropriate than if you were melting something like lead-free solder which requires a much higher heat.
By using the minimum temperature required,you can avoid damaging components or your equipment while also saving time in the process. It is also important to remember that the tip of the soldering iron will eventually wear down, so it is best to be conservative when setting temperatures.
By following all of these tips, you can ensure that your soldering iron always works at its best, allowing you to complete any project quickly and efficiently. So take the time to tin your soldering iron properly and make sure that it is in good condition for years to come. [2]
FAQ
Should I tin a new soldering iron tip?
Yes, you should tin a new soldering iron tip before using it. Even if the tip is new, there may be a thin layer of oxidation that can interfere with the soldering process. Tinning is a simple yet effective way to protect and prepare your new tip, ensuring optimal performance for every project.
Just keep in mind that you may need to use a lower temperature setting when tinning a new soldering tip, as the heat can damage the delicate metal if it’s too high.
Is tinning the tip of the soldering iron important?
Tinning the tip of a soldering iron is an important step in the soldering process. Doing so creates a thin layer of solder on the tip that allows heat to be conducted more efficiently, which helps make sure the solder joints are strong and secure. It also acts as a protective barrier against oxidation when exposed to air, helping prevent corrosion and ensuring your tools last longer.
Can you file the tip of a soldering iron?
Yes, you can file the tip of a soldering iron to sharpen and shape it. However, filing is not recommended as it is time-consuming and may cause damage to the tip. Instead, use wet or dry steel wool to clean the tip before tinning. This will help remove any oxidation or corrosion while ensuring that no metal filings are left behind.
What materials must you have to tin a soldering iron tip?
You actually don’t need much to tin the tip of a soldering iron. All you’ll need is some solder and a damp sponge or cloth.
First, make sure that your soldering iron is plugged in and heated up to its optimal temperature. Once it’s hot enough, carefully rub the tip against the damp sponge or cloth to remove any built-up residue on the tip.
Next, apply a small amount of solder directly to the tip of the soldering iron. As you apply the solder, make sure that it evenly coats the front and sides of your soldering iron’s tip. If necessary, use a damp sponge or cloth to help spread out and shape the solder as needed.
Lastly, once you are done applying the solder to all parts of your soldering iron’s tip, let it cool for several minutes before using it again. This will ensure that a solid layer of tin is formed on the surface of your soldering iron’s tip and will prevent any future oxidation from occurring while in use.
How do you tin a copper tip soldering iron?
Tinning a copper tip soldering iron is an important step in the soldering process. This helps to create a good thermal connection between the tip and the solder, allowing for better heat transfer and more efficient soldering.
To tin a copper tip soldering iron, start by heating up the tip of your iron until it reaches its working temperature. Next, clean the tip with a damp sponge. Then, apply a small amount of solder to the tip and slowly heat it from below while also touching it with the soldering iron. This will cause the solder to melt and form a layer of tin on the copper tip.
Once all of the copper is covered in a thin, uniform layer of tin, wipe away any excess solder using a damp sponge or cloth. Now your copper tip should be properly tinned and ready for use!
Useful Video: How to Tin a Soldering Iron Tip
Conclusion
To ensure that your soldering iron performs optimally, it is important to regularly tin the tip of your soldering iron. By following some simple steps and using the right materials you can easily tin the tip of a soldering iron.
In this article, we have discussed why it is important to tin the tip of a soldering iron, as well as how to do it. We covered the necessary materials needed and steps involved in tinning the tip of a soldering iron. Finally, we provided some helpful tips for ensuring successful tinning.
Always make sure you use the high quality materials and take your time during the tinning process. Doing so will make sure that you get the best results and a properly tinned iron tip.
Now that you know how to do this properly, you should be well on your way to success! Tinning the tip of a soldering iron doesn’t have to be difficult; with just a few tips, anyone can become an expert in no time at all. Thanks for reading!
References
- https://www.instructables.com/Soldering-101:-Lesson-1:-Tin-the-Tip/
- https://blog.gotopac.com/2013/04/11/solder-tip-tinning-and-care/