
Is your capacitor not functioning properly and you don’t know why? Don’t stress, testing a capacitor with an ohmmeter is actually quite simple once you understand the basics. In this comprehensive guide, you’ll find all of the answers to the most common questions about how to test a capacitor with an ohmmeter. From understanding the steps to taking safety precautions and avoiding damage to the capacitor, this article contains all of the information you need for successful testing. Get ready to become an expert in using ohmmeters for testing capacitors!
What is an Ohmmeter
It is also known as a multimeter and can be used to measure voltage, current, and other electrical properties. The measurement unit of an ohmmeter is the ohm (Ω). An ohmmeter works by passing a small current through the electrical component and measuring the amount of resistance it encounters. This measurement then gives you an indication of how much current can flow through the component or circuit. Ohmmeters are commonly used to diagnose problems with wiring, motors, switches, fuses, and many other components in an electrical system. They are also useful for checking continuity between two points in a wire or cable. Ohmmeters are essential tools for electronics technicians, electricians, and other professionals who work with electricity.
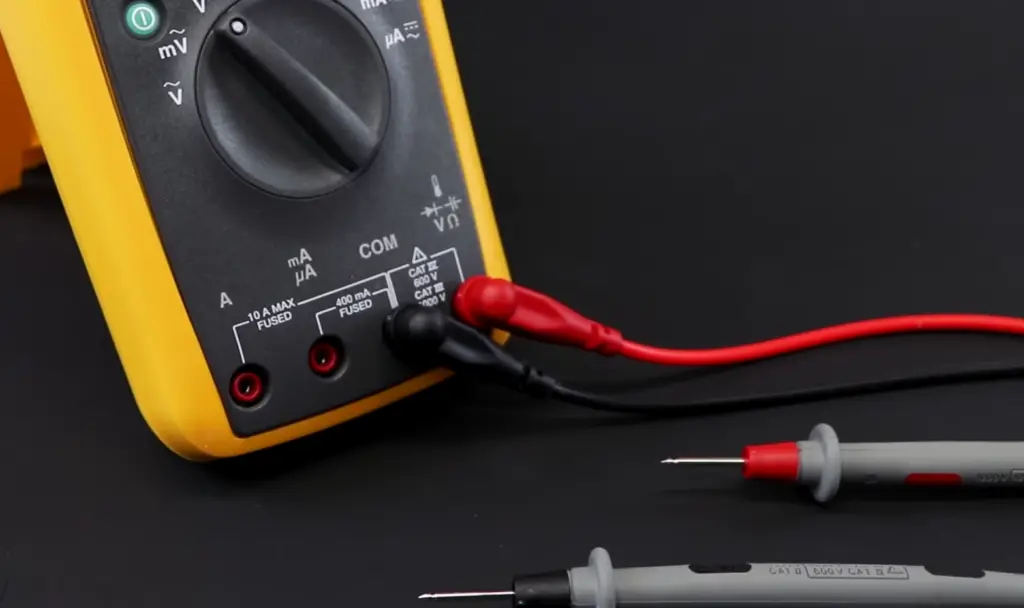
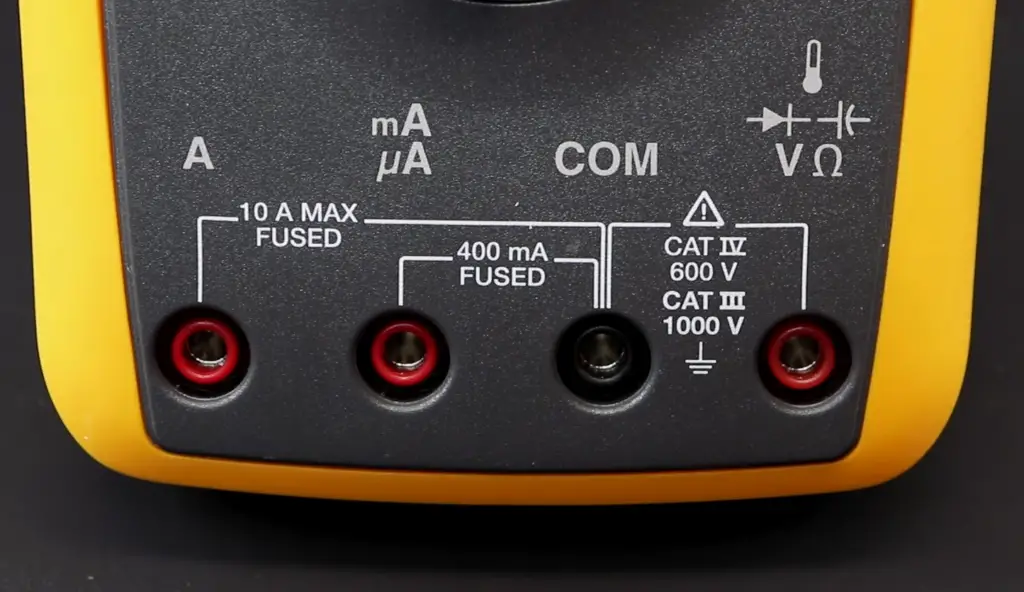
Using an ohmmeter is relatively straightforward. Most models will have two leads (a black lead and a red lead)
To use the device, you connect one of the leads to each point in the circuit or component you are testing. Then, you set the scale on the ohmmeter to measure resistance. Finally, you read the resistance indicated by the meter. The reading should be compared against known values to determine whether there is a problem with the system being tested.
Ohmmeters are important devices for any electrician or technician working on electrical systems as they provide a quick and easy way to diagnose problems with wiring, motors, switches, fuses, and other components. They are also useful for checking continuity in a circuit before further troubleshooting.
Finally, ohmmeters allow you to check the resistance of a wire or cable to make sure it is correctly connected. Knowing how to use an ohmmeter correctly can save you time and money when diagnosing electrical problems.
Overall, an ohmmeter is a valuable tool for anyone working with electricity. It allows you to quickly check the resistance of a circuit or component and find any potential issues with wiring or other components in an electrical system. With the right knowledge and skills, an ohmmeter can help electricians diagnose any electrical problem quickly and accurately. [1]
Symptoms of a Bad Run Capacitor
In basic terms, it stores electrical energy in an electric field between the two conductors and can be discharged to provide a current when necessary. Capacitors have many uses, from providing power for electronic circuits to acting as filters within high frequency applications. They come in different sizes, shapes and materials depending on their application and can range from microscopic components used within integrated circuits to large ones used in industrial equipment.
When a voltage is applied across the terminals of the capacitor, electric charge accumulates on each plate and creates an electrostatic field between them. This electric field stores energy and produces a voltage potential across the plates that is equal to the applied voltage. The larger the capacitance of a capacitor, the more charge it can store for a given voltage.
Capacitors are also used to smooth out an electrical signal by blocking sudden changes in current flow. This is possible because when AC (alternating current) voltage is applied to a capacitor, the electric field alternates between positive and negative charges which results in a steady DC (direct current) output from the capacitor. Capacitors can also be used as filters or oscillators depending on their design and configuration.
This can happen due to a number of reasons, including: overcharging, faulty manufacturing, physical damage from mishandling, and environmental factors such as corrosion or moisture incursion. When one of these issues occurs in the conductor, it creates resistance and prevents electric charge from flowing properly through the capacitor.
A bad run capacitor can cause a variety of symptoms. Symptoms can vary greatly depending on the severity of the capacitor failure.
Common symptoms of a bad run capacitor include:
- HVAC system will not start up
- Compressor hums and does not start
- Blower fan runs but compressor does not
- High head pressure in cooling mode, or low head pressure in heating mode
- Difficulty achieving desired temperature settings
- The air conditioning system cycles too frequently
- Short cycling (turning on and off rapidly) when attempting to reach the set temperature.
- Unusual noises coming from the unit such as buzzing, humming, clicking, or rattling.
If any of these symptoms are noticed it is recommended to immediately call a professional HVAC technician to inspect your system and diagnose the problem. A bad run capacitor can be very dangerous if not handled properly, as it can cause the compressor to overheat or even catch fire. It is important to have a qualified technician replace any faulty capacitors in order to ensure that your HVAC system remains safe and efficient.
However, to properly diagnose these issues, one must use an ohmmeter to test the capacitance of each individual section within the capacitor bank. This type of testing requires knowledge and experience to accurately develop conclusions from readings taken as well as careful handling of the capacitors and instrumentation. To learn more about how to properly test a capacitor with an ohmmeter, please read on! [2]

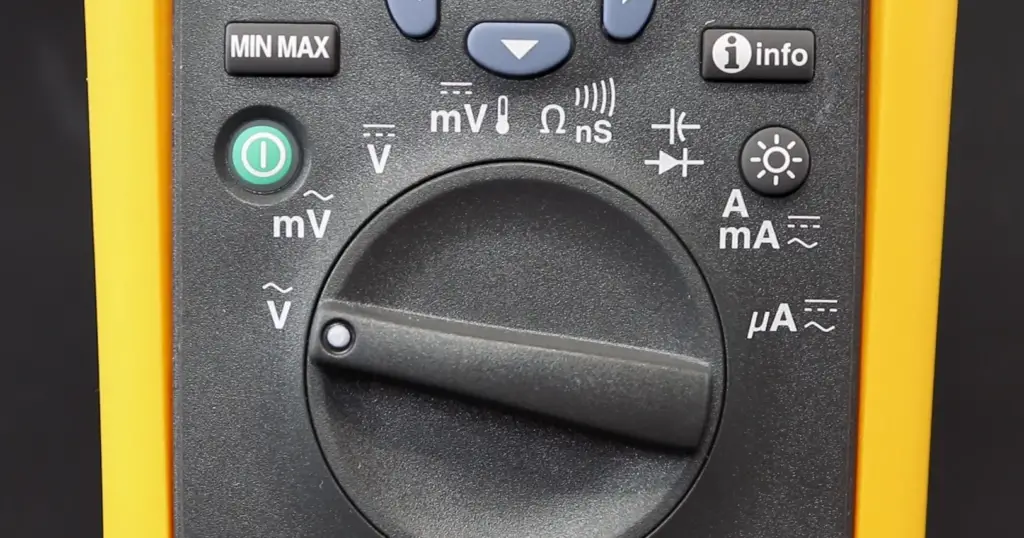
Check a Capacitor With an Ohm Meter
An ohmmeter is an instrument used to measure electrical resistance in a circuit. It’s also a great tool to use when testing capacitors, as it can help you determine whether the capacitor is functioning correctly or not. This type of testing requires knowledge and experience to accurately develop conclusions from readings taken as well as careful handling of the capacitors and instrumentation. In this section, we will provide a step-by-step guide on testing a capacitor with an ohmmeter.
Disconnect all power
The first step to testing a capacitor with an ohmmeter is to disconnect all power sources from the circuit. This includes any external AC or DC sources as well as any connected batteries. It’s important to ensure that all power has been disconnected so that you don’t accidentally short-circuit anything. Failure to do so can result in serious injury or death due to electric shock or fire. Once the power is disconnected, you should wait at least 30 seconds before proceeding with testing.
Set your ohmmeter to the highest ohms value
Once the power is disconnected, you can begin setting up your ohmmeter for testing. Start by setting the ohmmeter to its highest resistance value, which should be marked with an “X1” on the knob or display. You may also need to set the ohmmeter’s range selector switch to a higher resistance if necessary.
Discharge the capacitor
Now that the ohmmeter is set up, you’ll need to discharge the capacitor prior to testing. The simplest way to discharge a capacitor is to simply use a discharging resistor. This is done by connecting the capacitor to a resistor, and then allowing the charge to slowly bleed off through the resistance of the resistor until it reaches zero.
Discharging a capacitor is important because it will help ensure that the capacitor is not damaged during testing. Make sure to follow all safety instructions when discharging a capacitor and wear protective equipment such as gloves and glasses to protect yourself from any stray electric charges.
Remove any obstructions from the terminals
Once the capacitor has been discharged, you can begin to test it with an ohmmeter. Before doing so, however, you should make sure that there are no obstructions on or near the terminals of the capacitor. This is important because any obstruction can interfere with the testing process and lead to inaccurate results.
Test the capacitor
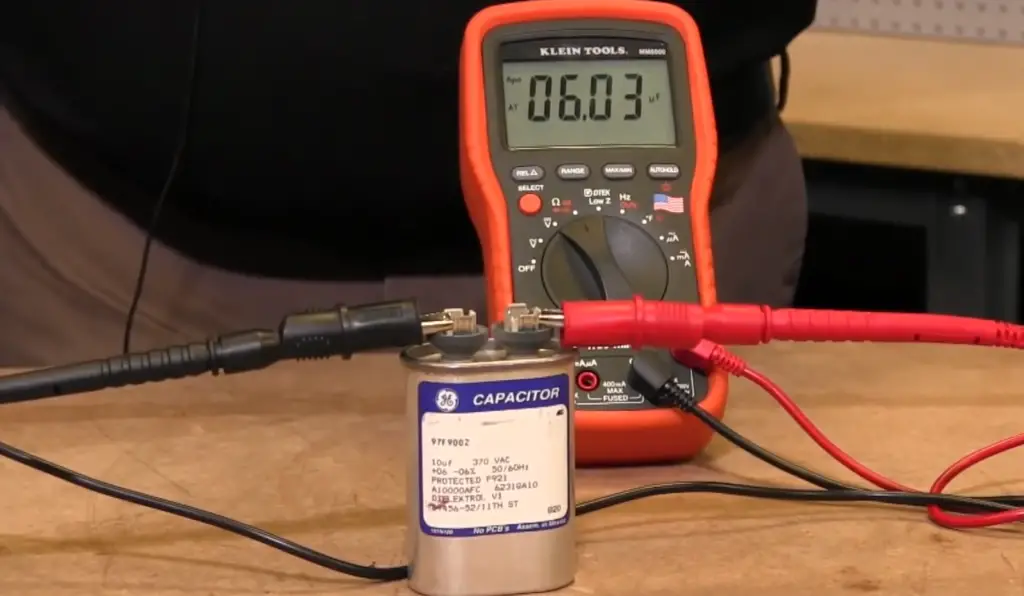
Now you’re ready to test the capacitor with your ohmmeter. To do so, you will need to connect the positive and negative leads of your ohmmeter to either side of the capacitor’s terminals. Once connected, you can read the value displayed on the meter. If it reads a number below 1 Ohm, then this indicates that the capacitor is functioning properly.
However, if it reads an open circuit or infinity symbol, this could be a sign that the capacitor has gone bad and needs to be replaced immediately. It is also possible for a faulty capacitor to display an abnormally low resistance even when it is functioning correctly. If this is the case, then you should consult a qualified technician in order to determine the exact cause of the issue. [2]
FAQ
How do you tell if a capacitor is bad with a multimeter?
To determine if a capacitor is bad with a multimeter, you will need to set your multimeter to the ohms setting. This setting measures resistance and should be displayed on the LCD of the device. With the probes connected, touch each lead of the suspected bad capacitor terminal with one probe each. If there is no reading or an open circuit, then this indicates that the capacitor has shorted out and must be replaced. Additionally, if there is a decreased resistance (or increased capacitance) than what is listed in its data sheet, then it may also indicate that the component has failed and must be replaced as well.
How do you test a capacitor with an ohm meter?
Testing a capacitor with an ohmmeter is a relatively simple process. First, set the ohmmeter to its highest resistance range. Then, disconnect the capacitor from any circuit it may be connected to and touch the ohmmeter probes to each of the leads on the capacitor. The meter should show some resistance that increases when you reverse the probes within the measurement range. This indicates that your capacitor is in working condition.
If, however, you get no reading at all from your meter, then this could mean that either the capacitor has gone bad or there’s an issue with your meter itself.
Can I test a capacitor with a basic multimeter?
Yes, you can test a capacitor with a basic multimeter. However, it is important to know that testing the capacitor with a multimeter alone cannot tell you the exact capacitance value of the capacitor – it only tells whether or not there is an electrical connection between the two terminals. To measure capacitance accurately, you will need an ohmmeter.
When using a multimeter to test a capacitor, set it to high resistance range and connect its probes across the two terminals of the capacitor. If there is no reading on your meter (or if it reads “OL” for open), then the cap is likely faulty and needs replacing. If you do get a reading, then this could indicate that there is still life in the cap and it may be worth considering further testing with an ohmmeter.
How do you know if a capacitor is bad?
There are a few different methods for if a capacitor is bad, as visual inspection and capacitance testing. One of the most reliable methods, however, is to test the capacitor using an ohmmeter. This will give you an accurate reading on whether or not the capacitor has any continuity.
To do this test, start by setting your ohmmeter to its highest resistance setting. Then touch one probe of the meter to each terminal of the capacitor. If no current flows between them (i.e., it reads infinity), then the capacitor is good; if there is a current flow (i.e., it reads 0), then the capacitor is bad and needs to be replaced.
Another way to tell if a capacitor is bad is to take note of any visual indicators. These include physical damage (such as cracks, bulges, or a charred surface), leakage from the terminals, or discoloration. If you see any of these signs then the capacitor needs to be replaced immediately.
Finally, capacitance testing can also be used to determine if a capacitor is bad. This measures the capacitor’s capacitance using an oscilloscope or specialized meter. Higher than 0 indicate that the capacitor has gone bad and should be replaced.
Useful Video: How to Test a Capacitor with a Multimeter and LCR Meter
Conclusion
Capacitors are essential components in a variety of electronic circuits and devices. Knowing how to correctly test a capacitor with an ohmmeter is valuable information for any technician or engineer working with these components.
In this article, we covered the basics of capacitor testing and provided an overview of the steps involved. We also discussed how to interpret the readings from your ohmmeter, along with a few troubleshooting tips for dealing with common problems.
Always remember that it’s important to check the manufacturer specifications before testing and observe the proper safety protocols at all times. Also, since most modern capacitors are non-polarized and do not require polarity identification, feel free to use whichever lead works best for your situation! Good luck and happy testing!
References
- https://www.elprocus.com/what-is-an-ohmmeter-circuit-diagram-types-and-applications/
- https://www.hunker.com/13414457/how-to-test-a-capacitor-with-an-ohm-meter