
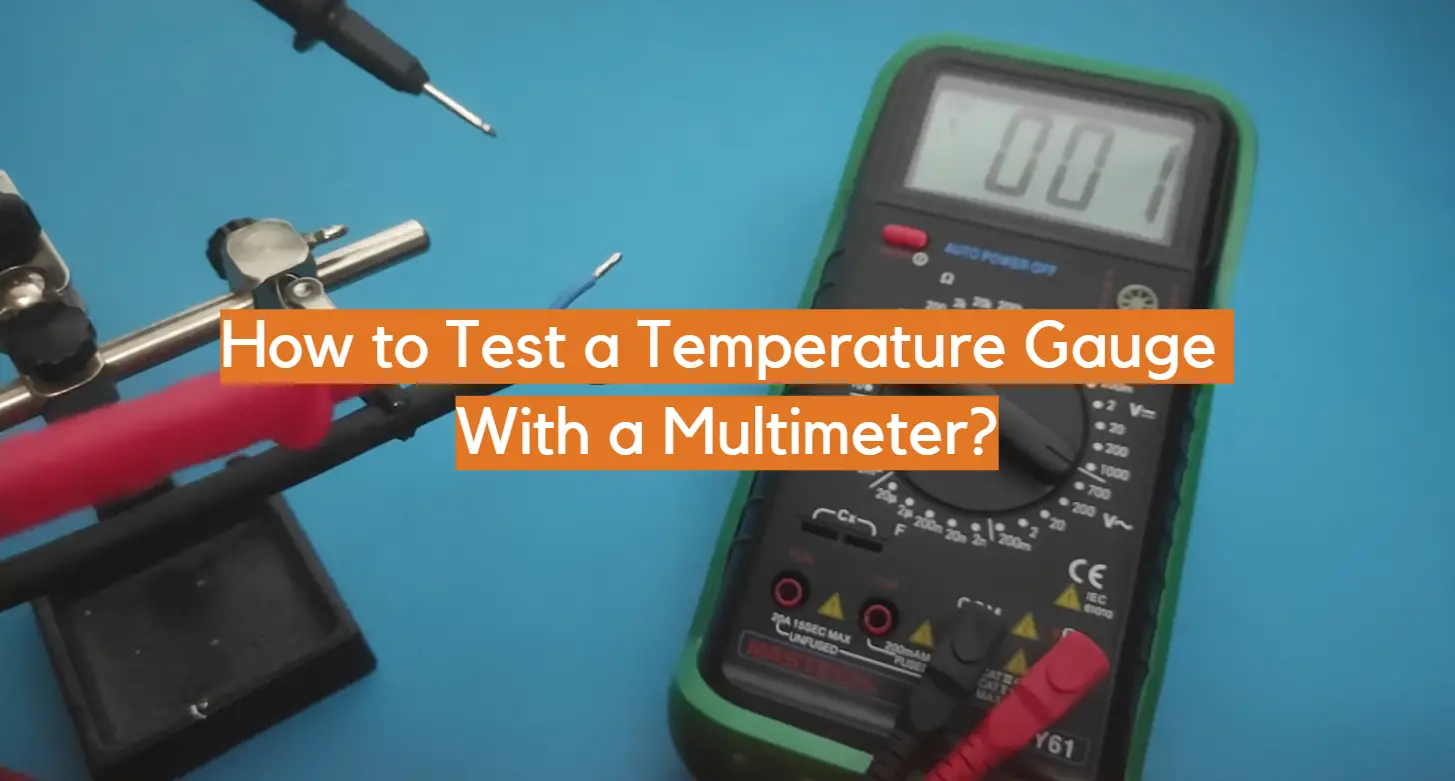
A temperature gauge is an essential piece of equipment in any car. It tells you how hot the engine is running, and if it gets too hot, it can cause some serious damage.
If your temperature gauge isn’t working properly, you need to test it to find out why. In this guide, we will show you how to test a temperature gauge with a multimeter.
What Is a Temperature Sensor?
There are many different types of temperature sensors, like resistance Temperature Detectors (RTDs), Thermocouples, Thermistors, Semiconductor Temperature Sensors, etc.
The most important thing to consider when choosing a temperature sensor is how accurate it is. [1]
Symptoms of a Bad Temperature Sensor
A bad temperature sensor can cause all sorts of engine performance issues, like:
- Poor fuel economy
- Rough idle
- Misfires
- Check Engine Light is on
- Unreliable overheating warnings
If you notice any of these symptoms, it’s a good idea to test your temperature sensor.
Vehicle Overheating
One of the most common problems that can occur with a vehicle is overheating. When a car overheats, it can cause major engine damage, and in some cases, even a complete engine failure. To avoid this costly repair, it is important to regularly check your vehicle’s temperature gauge.
There are several ways to test a temperature gauge, but the most common and effective way is to use a multimeter. A multimeter is an electronic testing device that can measure voltage, resistance, and continuity. It is a relatively simple tool to use, and with some practice, you can become quite proficient at using it. [1]
Inaccurate Fuel Injection
One of the most common issues with temperature gauges is inaccurate fuel injection. If your gauge is reading too high or too low, it could be because of a problem with the fuel injectors. You can test the accuracy of your fuel injectors by using a multimeter to measure the resistance of each one. The resistance should be within a certain range for the injector to be working correctly.
Tools for Testing Temperature Sensor
If you don’t have a digital multimeter, you can use a thermocouple or RTD instead.
Testing the Temperature Gauge With a Multimeter
First, set your multimeter to the resistance or Ohm setting. Next, touch the probes to the sensor’s terminals. The resistance should change according to the temperature. If it doesn’t, the gauge is defective and needs to be replaced.
Tips for Using a Multimeter
- When using a multimeter, always follow the manufacturer’s instructions.
- If you’re not sure how to use a multimeter, ask a friend or family member who is familiar with them.
- Be sure to wear safety glasses when using a multimeter.
- If you’re not sure what setting to use on your multimeter, start with the lowest setting and work your way up until you find the correct one.
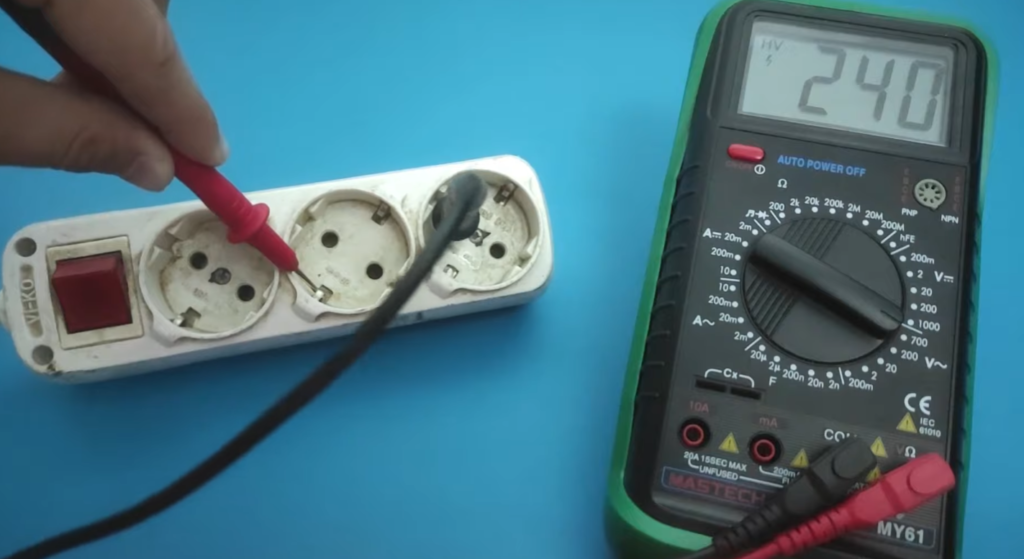
- Never use a multimeter to test live electrical circuits. Always disconnect the power before testing.
- If you’re not sure whether a circuit is live or not, always err on the side of caution and assume it is.
- Multimeters can be dangerous if used incorrectly. Use extreme caution when using one and never use it to test live electrical circuits.
How to Test a Temperature Sensor with a Multimeter ?
Most temperature sensors use resistance to measure temperature. This means that they have a certain resistance at a given temperature, which changes as the temperature changes.
In order to test a temperature sensor with a multimeter, you need to be able to measure resistance. [1]
Find The Temperature Sensor
The first thing you need to do is find the temperature sensor. In most cases, it will be a small black box somewhere on the engine. It may be located under the hood or near the radiator. Once you have found it, you will need to remove it from its location.
Take Out The Temperature Sensor
You will find it on the side of the engine, usually near the thermostat housing. Disconnect the sensor and remove it from the engine.
Position Multimeter Leads
Set your multimeter to the ohms setting. Place one lead on each of the sensor’s terminals. The terminals are usually colour coded.
Take Measurements
Start by taking measurements with your multimeter. You’ll want to measure the voltage at the gauge’s terminals while the engine is running. Make sure to attach the leads of your multimeter to the correct terminals on the back of the gauge.
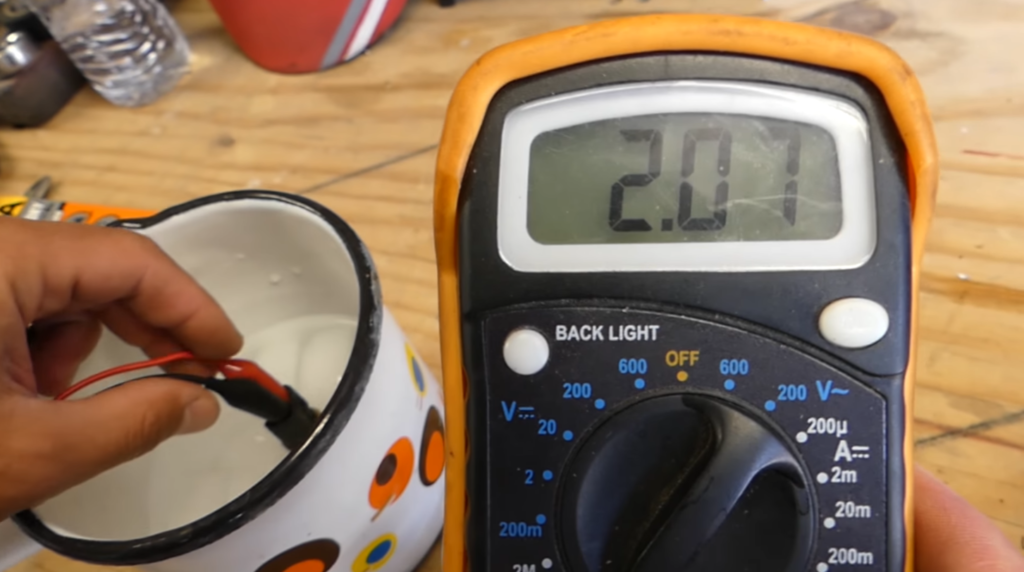
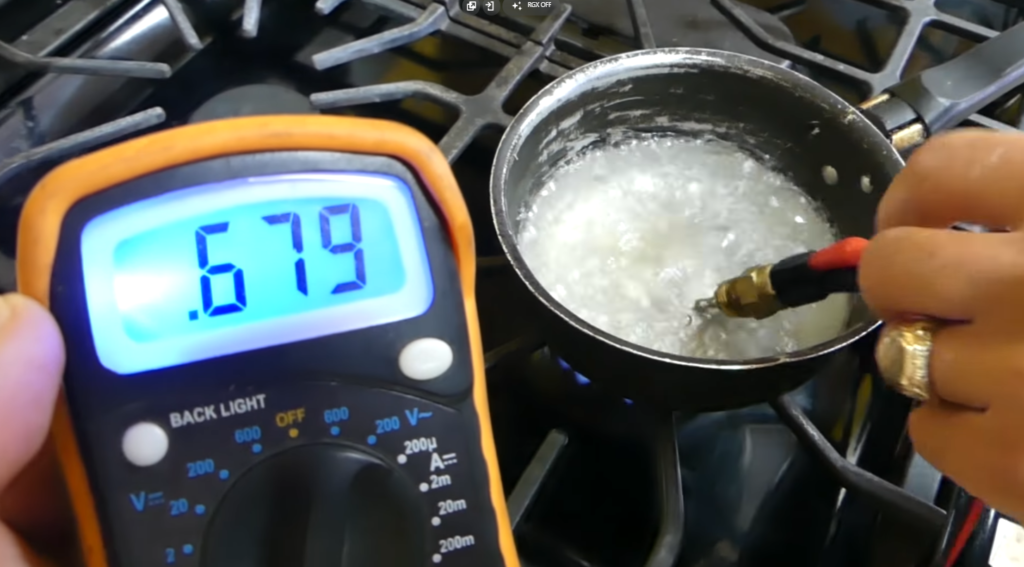
Dip Sensor In Hot Water
To test whether or not the dip sensor is working, place the probes of the multimeter on either side of it. Make sure that there is no electricity running through the sensor, as it could damage it.
Evaluate Results
Now that you have your multimeter set up and know how to take readings, you can begin testing the temperature gauge. Start by taking a reading of the gauge when it is at room temperature.
Write down this number or remember it mentally. If the needle on the gauge moves, make a note of how far it shifts from the original reading.
Now, take the temperature gauge outside and place it in direct sunlight. Wait a few minutes, then take another reading. Compare this reading to the first one. If the needle has moved further from the original starting point, this means that the gauge is working properly. If the needle on the gauge doesn’t move at all, it might be broken.
Another possibility is that the gauge isn’t sensitive enough to pick up small temperature changes. In this case, you can try using a different multimeter with a higher sensitivity setting.
You can also try taking readings at different temperatures, such as putting the gauge in a freezer for a few minutes or holding it under hot water.
Things to Keep in Mind
When testing a temperature gauge with a multimeter, make sure to use the correct sensitivity setting. If the sensitivity is too high, you might not see any movement in the needle even if the gauge is working properly.
Temperature gauges can be affected by changes in humidity. This means that you might see different results if you test the gauge on a humid day as opposed to a dry one.
Finally, remember that temperature gauges are designed to measure temperatures within a certain range. If the temperature gets too high or too low, the gauge might not be able to give an accurate reading.
How to Test a Temperature Gauge with a Multimeter?
They come in different forms, like digital and analog. People use them for different reasons, like checking the temperature of food when they’re cooking it or the engine in their car. Temperature gauges can even be used to measure people’s body temperature.
There are different ways to test a temperature gauge. One way is with a multimeter. A multimeter is an electronic measuring instrument that combines several measurement functions in one unit. It can measure voltage, current, and resistance.
Multimeters can be used to test temperature gauges in two ways: by measuring the voltage or by measuring the resistance.
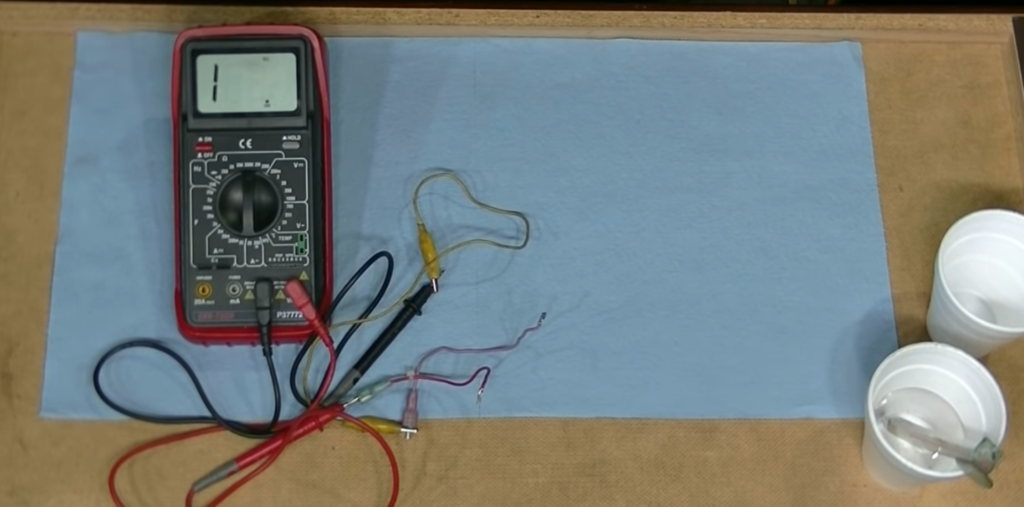
To test a temperature gauge with a multimeter, you’ll need:
- A multimeter
- A temperature gauge
- Wire cutters
- Alligator clip cables
Instructions:
- Cut the wires of the temperature gauge with wire cutters. There should be two wires, one for the power and one for the ground.
- Connect the alligator clip cables to the multimeter and then to the wires of the temperature gauge.
- Set the multimeter to the voltage setting.
- Touch the probes of the multimeter to the wires of the temperature gauge. The reading on the multimeter should be between 0 and 5 volts.
- If the reading is not between 0 and 5 volts, the temperature gauge is not working properly.
- Set the multimeter to the resistance setting.
- Touch the probes of the multimeter to the wires of the temperature gauge. The reading on the multimeter should be infinite.
- If the reading is not infinite, the temperature gauge is not working properly. [2]
FAQ
How do you test a temperature gauge?
The best way to test a temperature gauge is with a multimeter.
First, disconnect the power source from the gauge. Then, using the multimeter, set it to the ohms setting and touch the probes to the terminals on the back of the gauge. The multimeter should read a resistance of around 1,000 ohms.
If the multimeter doesn’t read anything, or if it reads a resistance that is much different from 1,000 ohms, then the gauge is most likely faulty and will need to be replaced.
To test the accuracy of the gauge, you will need to use a known source of heat. Touch the probes of the multimeter to the terminals on the back of the gauge. Then hold the light bulb close to the gauge. As you do this, pay attention to what happens to the needle on the gauge.
How do you check a coolant sensor with a multimeter?
To check a coolant sensor with a multimeter, first disconnect the power source from the sensor. Then, using the multimeter, set it to the ohms setting and touch the probes to the terminals on the back of the sensor. The multimeter should read a resistance of around 1,000 ohms.
If the multimeter doesn’t read anything, or if it reads a resistance that is much different from 1,000 ohms, then the sensor is most likely faulty and will need to be replaced.
To test the accuracy of the sensor, you will need to use a known source of heat. Touch the probes of the multimeter to the terminals on the back of the sensor. Then hold the light bulb close to the sensor. As you do this, pay attention to what happens to the needle on the multimeter.
How do you test an exhaust gas temperature sensor with a multimeter?
To test an exhaust gas temperature sensor with a multimeter, first disconnect the power source from the sensor. Then, using the multimeter, set it to the ohms setting and touch the probes to the terminals on the back of the sensor. The multimeter should read a resistance of around 1,000 ohms.
Useful Video: How to Test Ground with Multimeter
Conclusion
Checking a temperature gauge is an important part of car maintenance. You should test your gauge regularly to make sure it is reading accurately and that there are no problems with the wiring or connections. Fortunately, this process is easy to do with a multimeter.
By following the steps in this guide, you can confidently test your temperature gauge and identify any issues that need to be addressed. Have you tested your temperature gauge recently? What did you find?
References
- https://electrouniversity.com/how-to-test-a-temperature-gauge-with-a-multimeter/
- https://mystolenhome.com/how-to-test-a-temperature-gauge-with-a-multimeter/