Have you ever been frustrated with your laptop’s battery life? Do you feel like it’s draining faster than it should be? The good news is that there is a way to check the health of your battery and make sure it’s functioning properly. By using a multimeter, you can now easily test your laptop battery and ensure that it still has enough juice to last through the day! In this comprehensive guide, you’ll learn everything you need to know about testing laptop batteries with a multimeter – from why it’s important to understanding how to do the testing itself.
What is a Multimeter
It is a versatile tool used by technicians, electricians and hobbyists alike to troubleshoot circuits, check components for functionality and diagnose problems.
Multimeters are composed of two primary parts: the display unit and probes. The display unit generally has two knobs or dials which control the function (measurement) being performed. Depending on the type of multimeter one may also find AC/DC selector switches for selecting between alternating current (AC) or direct current (DC).
The probes are connected to the display unit via cables with jacks at either end; these jacks are inserted into the appropriate socket on the display unit. The probes are typically color coded, with one being red and the other black. Red is generally used for positive connections while black is used for negative.
The most common measurements taken by a multimeter include voltage, current, resistance, capacitance and inductance. In addition to these basic measurements, some models of multimeters also include more advanced features such as temperature, frequency and continuity testing.

Multimeters can be divided into two types: digital and analog. Digital multimeters measure electrical properties in digital form, while analog multimeters measure the same values in analog form. Both types of multimeter can be used to test a laptop battery with a multimeter, as both are capable of measuring voltage, current and resistance. [1]
How to Test Laptop Battery with a Multimeter?
Testing laptop batteries is important for a few reasons. Firstly, it helps to determine the health of the battery, allowing you to identify any potential problems before they become too serious. Secondly, regular testing allows you to see how long your laptop battery lasts on a full charge; this can be helpful if you are traveling and need to know when you need to recharge. Finally, testing allows you to monitor the overall lifespan of your battery and plan replacements accordingly.
There are various ways that one can test their laptop battery such as using an external charging device or by running specific software tests. The most reliable way of testing is by using specialist programs designed specifically for testing laptop batteries. These will give you precise readings on exactly how much power is left in your battery, as well as alerting you to any potential issues. This can help ensure that you get the most out of your battery and avoid costly replacements or repairs further down the line.
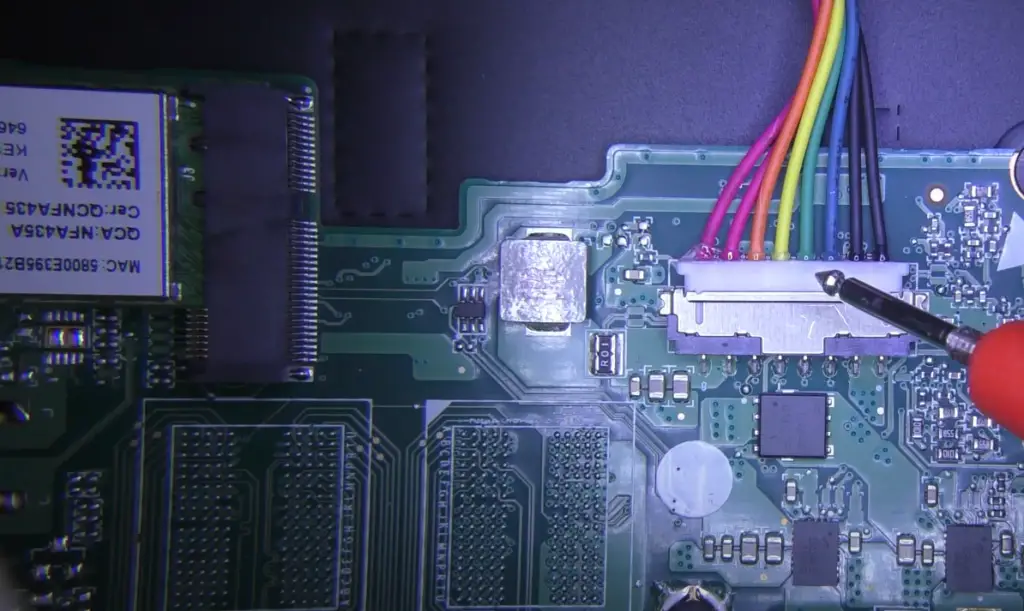
As you may have guesses, one of the main tools used to test laptop batteries is a multimeter. Multimeters are typically used to measure voltage, current and resistance. In this section we will discuss how to use a multimeter to test your laptop battery and provide useful tips for getting the most out of the process.
Charge the battery
Before testing your battery with the multimeter it is important to ensure that it is fully charged. This will allow you to get an accurate reading of how much charge your battery currently holds and how long it can last on a single charge.
To charge the laptop battery, connect the power adapter to both the laptop and an electrical outlet. The charging light should come on and indicate that the process has begun. Depending on the model of laptop, there may also be a series of lights which will show when the battery is at different levels of charge (such as empty or full).
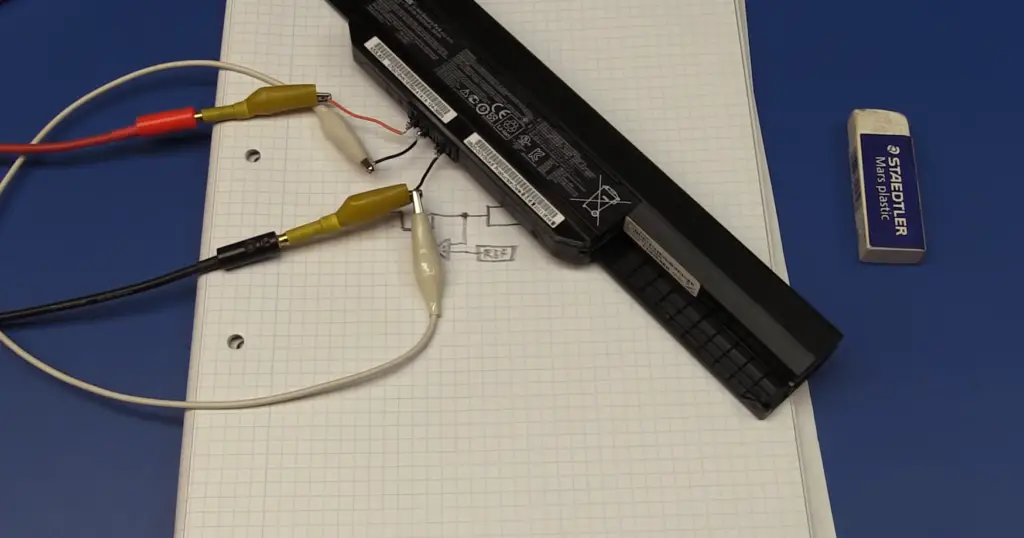
Once the battery light indicates that it is fully charged, turn off your laptop and remove the battery. Then check the power rating on it and compare it to the specification of the original battery. This will give an idea of how powerful your new battery is compared with its predecessor.
Look for a connector
Next, locate the connector on the laptop which is used to connect the multimeter. These are sockets you use to connect the battery to your laptop, and the multimeter will often include two leads with different colored connectors – one red and the other black.
Most laptop batteries will have a small port or socket located on the side which is used to connect the multimeter. Insert the leads into this port, ensuring that they are securely connected and not loose.
Set-up your multimeter
Once the multimeter is connected, you will need to set up before taking readings. Multimeters are usually adjustable and provide a variety of settings depending on the type of reading you wish to take.
We will need DC voltage for this test, so make sure that the multimeter is set to measure this. It is also important to ensure that the range of readings (low-high) is appropriate. For example, if your laptop battery operates at 12V then it makes sense to select a range between 10 and 14 V; any more or less will not provide an accurate reading.
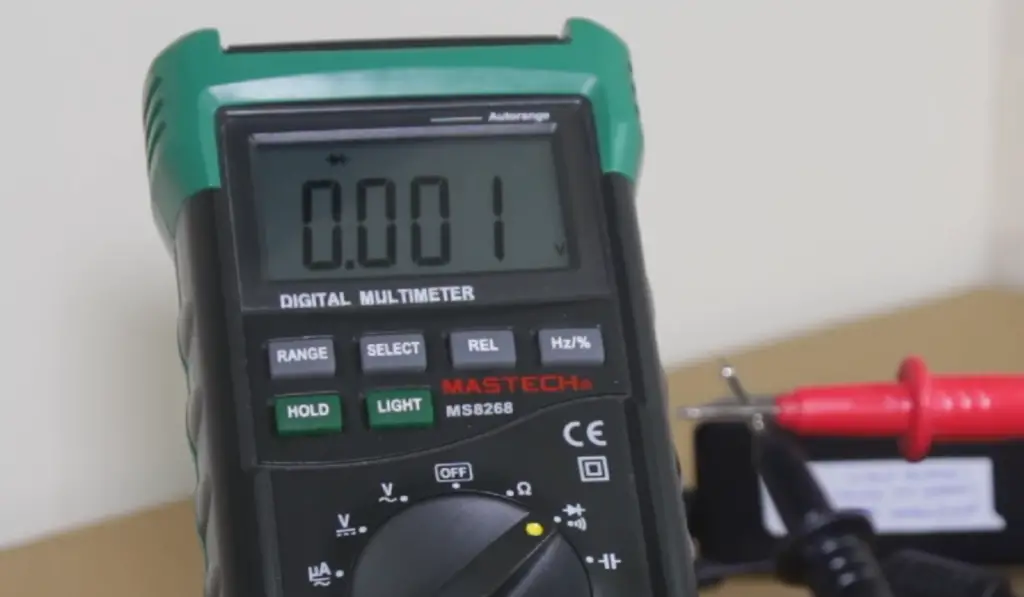
Take a reading
Now you are ready to take a reading from the laptop battery. Take the first probe (red) of the multimeter into the first connector, then take the second (black) into the ground connector.
There should now be a reading displayed on the multimeter display; this is the voltage of your laptop battery. It will likely fall in-between 10 and 14V if it’s been correctly charged and set up. If you get a negative reading, don’t worry and just try swapping the probes around.
Analyze the results
When you have taken readings from the laptop battery it’s important to analyze them in order to get an accurate understanding of how well it is functioning.
If the voltage and amperage are both within expected ranges then there should be no problem with your laptop battery; if any of these values fall outside of their typical range then further investigation should be done. It may simply be that your laptop needs recharging or that something else needs to be adjusted, but it could also be a sign of something more serious.
If you are unsure or worried about the state of your battery then it is best to seek professional advice. A qualified electrician can assist in troubleshooting and repairing any issues with your laptop battery before they become bigger problems. This will ensure that your laptop runs at its best and lasts as long as possible. [2], [3]
FAQ
Can you tell if a battery is bad with a multimeter?
Yes, you can tell if a battery is bad with a multimeter. A multimeter measures the voltage of a battery and can give an indication of how much charge it has left. If the measured voltage is below 3 volts, then the battery may be considered bad. You also need to check for other signs that could indicate a faulty or failing battery such as swelling, corrosion, discoloration or leaks.
If you get a negative reading, try replacing the probes and retest the battery. If the voltage is still lower than 3 volts, then the battery may need to be replaced.
How do I manually test my laptop battery?
Testing a laptop battery with a multimeter is a great way to gauge the health of the battery and determine whether it needs to be replaced. The process is not difficult, but it does require some basic knowledge about electricity and safety protocols.
To begin testing your laptop battery with a multimeter, you’ll need to purchase one that has the proper voltage range for your device. It’s also important to read through any instructions provided by the manufacturer of your multimeter. Once you have the right tool and safety information, charge your laptop battery completely, then disconnect it from any power source.
Now you’re ready to connect your multimeter to the laptop battery. The exact connection points will depend on the type of multimeter you have, but generally speaking, one end should be connected to the one terminal of the battery and another to the second terminal. Be sure to turn off your laptop before making any connections.
Once you’ve connected your multimeter to the laptop battery, turn it on and switch it to DC voltage mode (if necessary). Then read the measurements that appear on its display. If everything is normal, the voltage should fall within a certain range; if not, it could indicate a faulty battery or other issue with your device’s charging system.
Finally, disconnect your multimeter from the laptop battery and turn off the device. If necessary, you can try to recalibrate the battery with specific software or hardware tools provided by your manufacturer.
How do you know if the laptop battery is bad?
The first step in determining if a laptop battery is bad is to check the voltage output. You can do this by using a multimeter, which is an electrical testing device that measures current, resistance, and voltage.
To test the voltage with a multimeter, you will need to set the multimeter to DC (direct current) mode. You then connect the black lead of your meter to the negative terminal on your laptop battery and the red lead of your meter to the positive terminal on your laptop battery. The multimeter should then record the voltage between these two points. If you are unable to get a reading while both leads are connected, it’s possible that either one or more cells in your laptop battery have been damaged.
If your multimeter displays a voltage, then the next step is to compare that reading with the manufacturer’s specifications for your laptop battery. This information can usually be found on the manufacturer’s website or in the user manual of your laptop.
If the voltage measured by your multimeter is lower than what is listed on the manufacturer’s specs, it indicates that your laptop battery may be failing and should be replaced as soon as possible.
In addition to checking the voltage output from your laptop battery, you should also check its overall condition and capacity.
How do I test my laptop battery with a multimeter?
Testing a laptop battery with a multimeter is an easy process that requires only a few simple steps. First, you will need to charge your laptop battery to its full capacity. Once the battery is fully charged, you will need to remove it from your laptop and then connect your multimeter’s black lead to the laptop battery’s negative terminal. Next, you will need to connect the red lead of the multimeter to either the positive or neutral terminal of the laptop battery and the black one into the other terminal.
Once both leads are connected, you can turn on your multimeter and set it to measure DC voltage. The reading that is displayed by your multimeter should be close to the laptop battery’s rated voltage (which can typically be found on a label affixed to its casing). If not, then this may indicate that there is something wrong with your laptop battery.
How do you test a 12-volt battery with a multimeter?
Testing a 12-volt battery with a multimeter is relatively straightforward. First, set the multimeter to the DC voltage range that is most appropriate for the battery being tested. For example, if testing a 12-volt car battery, use a 20 volt or higher range. Then connect the black lead of the multimeter to the negative post of the battery and connect the red lead to its positive post. The meter should read between 11.5 and 14 volts – any reading below this indicates there may be an issue with your battery and it needs further investigation.
Useful Video: How to Test a Laptop Battery – Ec-Projects
Conclusion
Testing a laptop battery is not overly difficult, but it’s important to ensure you have the right tools and follow proper safety precautions. Using a multimeter will give you an accurate reading on the condition of your battery as well as provide other useful information such as its current charge level. By following our step-by-step guide, you should now have all the knowledge necessary to test a laptop battery with a multimeter correctly and safely. If you ever encounter any problems or issues while testing your laptop battery, do not hesitate to contact a qualified technician for additional assistance.
It’s also important to keep in mind that since laptop batteries are consumable items, it is recommended that they be replaced at least once every two years – even if tests show that the battery is in good condition. A new battery will provide your laptop with longer lasting power and can help keep your device running at its optimal level of performance.
Thank you for reading How to Test a Laptop Battery With a Multimeter Epic Guide! We hope this article has been helpful and informative, giving you all the information necessary to test your own laptop battery. Be sure to read up on proper safety precautions before continuing and don’t forget to check back for more great content like this!
References
- https://www.fluke.com/en/learn/blog/electrical/what-is-a-digital-multimeter
- https://geekyengineers.com/how-to-test-laptop-battery-with-multimeter/
- https://itstillworks.com/test-laptop-battery-1638.html


Leave a Reply