
In this article, we are going to show you how to test a breaker with a multimeter. This is an important skill to have in case of an emergency. A breaker that has been damaged may cause your home to lose power, so it is essential to know how to test it and fix it if necessary.
What is a Multimeter?
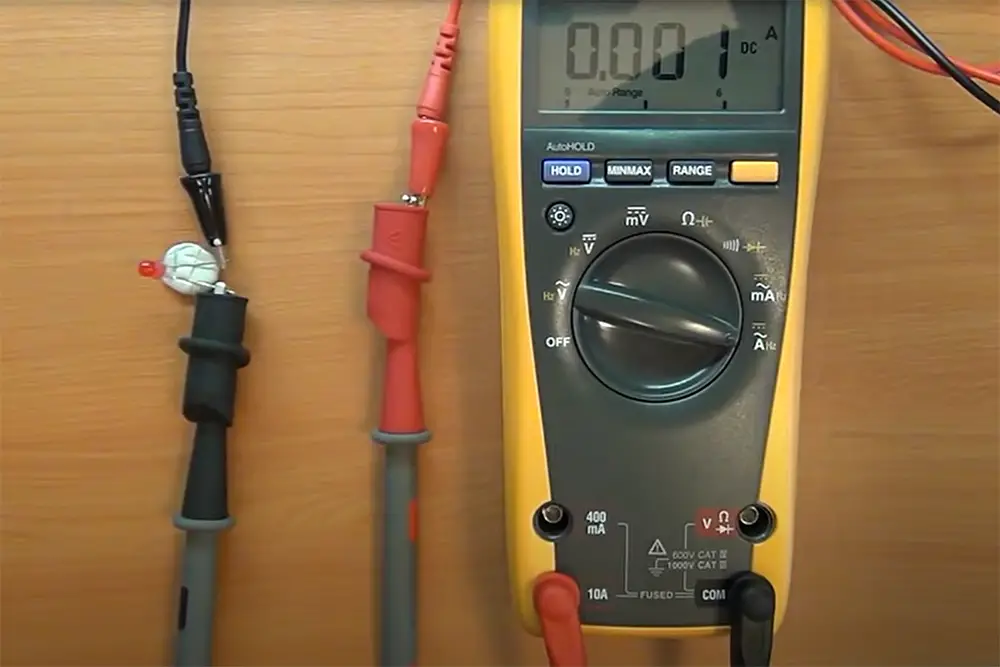
A multimeter is a device that can be used to measure current, voltage, and resistance. It is a handy tool to have around the house for electrical projects or for testing breakers.
In addition, a multimeter can also be used to test for continuity. Continuity is the ability of an electrical circuit to allow current to flow freely.
There are 2 types of multimeters: digital and analog.
- Digital multimeters are more accurate than analog ones and are easier to read. However, they are also more expensive.
- Analog multimeters use a needle to indicate readings on a scale, while digital multimeters display readings on a digital screen.
Sometimes, you may need to use a multimeter in combination with another tool, such as a breaker tester, to get accurate readings.
There are some additional features that you may find on a multimeter, such as a backlight, which makes it easier to read in low-light conditions.
When using a multimeter, it is important to first set it to the correct mode. You will want to set the device to the “Ohms” or Ω setting. This will allow you to test the resistance of the breaker.
Pros and Cons of using Multimeter for breaker testing
A multimeter is a useful tool for testing breakers because it can help you determine if the breaker is working properly. However, there are some benefits and downsides of using a multimeter for breaker testing.
Pros:
- A multimeter can help you test for continuity, which can tell you if the breaker is working properly.
- They are also relatively easy to use and don’t require any special training or knowledge to operate.
- A multimeter can also help you test for voltage, which can tell you if the breaker is tripped.
- It is a relatively inexpensive tool.
Cons:
- If you don’t have a lot of experience with electrical work, then using a multimeter to test a breaker can be dangerous.
- It’s also important to note that multimeters are not always accurate, so you should always use a multimeter as a guide and not rely on it completely.
So, what’s the verdict? Is it worth using a multimeter to test your breaker? That really depends on your needs and preferences.
How Do Breakers Work?
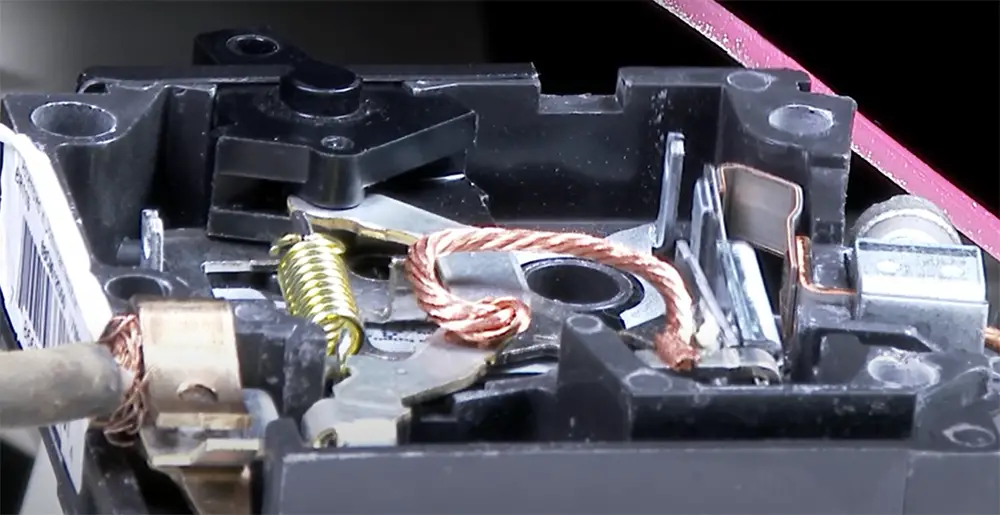
As its name suggests, a circuit breaker is designed to break an electrical circuit. This breaking of the circuit prevents dangerous levels of current from flowing through the system and potentially causing damage or fires.
Circuit breakers are typically located in a home’s main electrical panel, which is also called a breaker box or fuse box. The main panel is where the main power line from the utility company enters your home, and it contains all of the breakers or fuses for each circuit in your home.
When too much current flows through a circuit, it can cause damage to wiring and appliances. It can also be a fire hazard. To prevent this from happening, circuit breakers “trip,” or break the circuit, when they sense too much current.
You can test a circuit breaker with a multimeter to see if it is working properly.
Potential problems with breakers are:
- The breaker won’t reset once it trips.
- The breaker trips as soon as you turn it on.
- The breaker trips frequently and for no apparent reason.
If you’re having any of these problems, testing the circuit breaker with a multimeter is a good place to start troubleshooting.
Testing a breaker with a multimeter
Now that you know how to use a multimeter, testing a breaker is easy.
Tools You Will Need For Testing A Breaker:
- A multimeter
- A screwdriver (for removing the breaker panel cover) [1]
- An assistant (optional, but helpful)
So let’s get started!
- First, you’ll need to remove the breaker panel cover. You can do it in several ways, but the most common way is to use a screwdriver. Just take off the screws that hold the cover in place, and then carefully remove the cover. You need to be careful, as there are live wires inside the breaker panel.
- Once you have access to the breakers, locate the breaker you want to test. If you’re not sure which one it is, ask your assistant to help you find it.
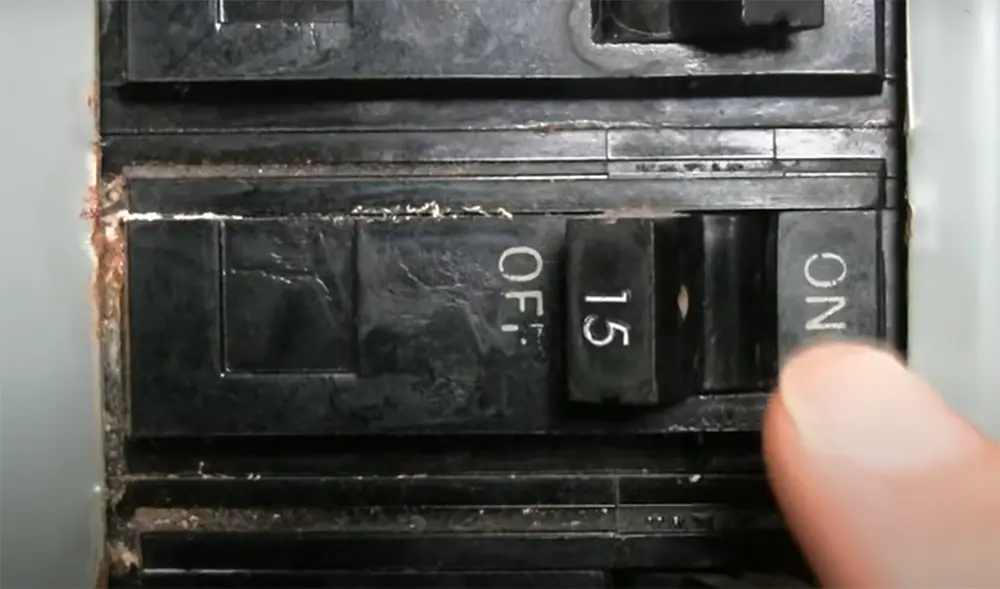
- Now you have to turn off all the power to the breaker panel. Once you’ve found it, turn off the power to that breaker by flipping the switch to the “off” position. If you’re testing a circuit breaker, you have to make sure that it is turned off.
- It is time to set up your multimeter. First, you need to select the resistance mode on your multimeter. To do that, find the knob or switch that says “ohms” or “Ω.” Once you’ve found it, set the knob or switch to the position that corresponds to the resistance range you want to use.
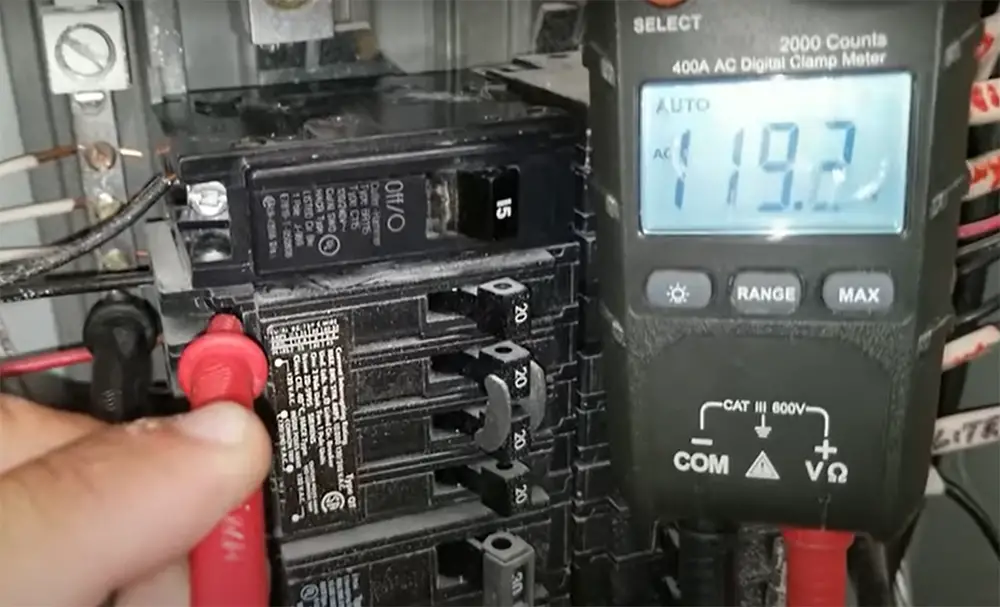
- Now you can take your multimeter and touch the probes to the terminals on the breaker. Just touch one probe to each terminal. You should see a reading on the multimeter’s display. [2]
You can also test for continuity by using the beeper function on your multimeter. To do that, just touch the probes to the terminals on the breaker. If there is continuity, you should hear a beeping sound.
Testing a breaker is a simple and easy process that anyone can do. Just follow the steps above, and you’ll be able to test a breaker in no time!
Safety tips for testing breakers with a multimeter
Safety should always be your number one priority when working with electrical equipment. Make sure to take the following precautions before testing your breaker with a multimeter:
- Disconnect all power to the breaker before testing – if you’re unsure how to do this, consult a professional electrician.
- Use a multimeter with an insulation piercing probe attachment. This will allow you to safely test the breaker without coming into contact with any live wires.
- Always wear rubber gloves and safety glasses when working with electrical equipment – it’s better to be safe than sorry!
- Do not touch any live wires while the power is off – this could result in serious injury or death.
- Use insulated tools when working around electricity – this is a good general rule to follow, regardless of what you’re working on.
- Use only one hand when working with electrical equipment – this will help to prevent shocks in the event that you come into contact with a live wire.
- Do not work alone when testing breakers – if something goes wrong, it’s always good to have someone there to help.
With these safety tips in mind, you’re ready to test your breaker with a multimeter.
Other ways to test a breaker
There are some other ways to test a breaker if you don’t have a multimeter or do not want to spend money on it.
- You can check if the breaker is working or not by simply turning it on and off. If the breaker trips, then it is working.
- Another way to test a breaker is to use a circuit tester. A circuit tester is a device that you plug into the outlet and it will tell you if the power is on or not.
- The last way to test a breaker is to simply look at it. If the breaker looks burnt out, then it is probably not working.
If you want to be absolutely sure that the breaker is working, then you should test it with a multimeter.
How to Replace a Broken Breaker?
If you have a breaker that trips frequently or one that won’t reset, it’s probably time to replace it. Breakers are designed to trip when they sense an overload on the circuit. This protects your wiring from overheating and starting a fire.
To replace a breaker, you’ll need to turn off the power to the breaker panel. Once the power is off, remove the cover of the panel. Locate the broken breaker and unscrew it from the panel. Then, screw in the new breaker and replace the cover on the panel. Finally, turn on the power to the panel and test your new breaker.
Comparison of Breaker Testing Indicators Using a Multimeter
By measuring various indicators, you can determine if the breaker is working properly or needs to be replaced. In this table, we compare different testing indicators and what they mean.
| Testing Indicator | Normal Reading | Abnormal Reading | Possible Cause |
|---|---|---|---|
| Continuity | 0.00 ohms | Overload, no continuity | Broken circuit or short circuit |
| Resistance | Low resistance | High resistance | Loose or corroded connections |
| Current | Same as rating | No current | Overload or tripped breaker |
| Voltage | Same as supply voltage | No voltage | Open circuit or tripped breaker |
Explanation:
- Continuity: This measures if there is a complete circuit between two points. A normal reading is 0.00 ohms, indicating continuity. An abnormal reading would be an overload or no continuity, indicating a broken circuit or short circuit.
- Resistance: This measures the amount of opposition to the flow of electric current. A low resistance reading is normal, indicating a good connection. An abnormal reading would be high resistance, indicating loose or corroded connections.
- Current: This measures the flow of electric current through the breaker. A normal reading should be the same as the rating of the breaker. An abnormal reading would be no current, indicating an overload or tripped breaker.
- Voltage: This measures the amount of electrical potential difference between two points. A normal reading should be the same as the supply voltage. An abnormal reading would be no voltage, indicating an open circuit or tripped breaker.
By using a multimeter to test these indicators, you can determine if the breaker is working properly or if there is an issue that needs to be addressed. It is important to always follow safety procedures and manufacturer instructions when testing electrical equipment.
FAQ
Can a breaker go bad without tripping?
Breakers are designed for trips when they become overloaded. However, over time, the breaker can become damaged and may not trip even when it is overloaded. If this happens, the breaker will need to be replaced.
What causes a breaker to not trip?
There are a few reasons that can cause a breaker to not trip. First, the breaker may be old and damaged. Second, the breaker may be incorrectly sized for the circuit it is protecting. Finally, there may be a problem with the wiring in the circuit.
What is the major cause of the failure of the circuit breaker?
The major cause of the failure of the circuit breaker is overloading. When the breaker is overloaded, it will trip and shut off the power to the circuit. This can be caused by a number of things, such as too many appliances being plugged into one circuit or a short circuit in the wiring.
What are the symptoms of a bad breaker?
There are a few symptoms that may indicate a bad breaker. First, the breaker may not trip even when it is overloaded. Second, the breaker may make a buzzing or humming noise when it is turned on. Finally, the breaker may feel hot to the touch.
If you have any further questions, please feel free to contact us.
Useful Video: Using A Multimeter To Check A House Type Circuit Breaker
Final Thoughts
Now you know how to test a breaker with a multimeter! This is a great skill to have because it can help you troubleshoot electrical problems in your home. If you’re ever unsure about whether or not a breaker is working, don’t hesitate to use a multimeter to test it.
In addition, testing your breakers on a regular basis is a good way to keep them in good working condition. This way, you can be sure that they’ll be able to protect your home from electrical hazards.
However, remember about safety! Always make sure to turn off the power to the breaker panel before working on it.
So, don’t wait until there’s a problem with your breaker to test it! Get in the habit of testing it regularly, and you’ll be glad you did.
Do you have any other tips for testing breakers? Share them with us in the comments below!
If you found this article helpful, please share it with your friends and family! And if you have any questions, feel free to ask us in the comments below. We’re always happy to help!
Thanks for reading! Until next time, stay safe!
References:
- https://getquickspark.com.au/blog/how-to-test-a-circuit-breaker-with-a-multimeter/
- https://toolsweek.com/how-to-test-a-circuit-breaker-with-a-multimeter/