
In the world of single-board computers, few names resonate as strongly as the Raspberry Pi. Its compact size and impressive capabilities have made it a favorite among hobbyists, educators, and professionals alike. While the Raspberry Pi’s versatility is widely acknowledged, there’s a lesser-known yet incredibly efficient way to harness its potential: the headless setup.
Imagine being able to operate and manage your Raspberry Pi without the need for a monitor, keyboard, or mouse directly connected to it. This is the essence of a headless Raspberry Pi setup—a method that not only maximizes space and resources but also opens the door to a plethora of innovative projects and applications.
Traditionally, setting up a Raspberry Pi involved connecting it to a monitor, keyboard, and mouse, which could be cumbersome, especially when dealing with space limitations or remotely located devices. Enter the headless setup, a game-changing approach that allows you to interact with and control your Raspberry Pi from a distance. By bypassing the need for direct physical peripherals, the headless setup not only streamlines your workflow but also offers new opportunities for experimentation and creativity.
In this comprehensive guide, we will delve deep into the intricacies of setting up a headless Raspberry Pi, providing you with step-by-step instructions and invaluable insights. From flashing the operating system onto the microSD card and configuring vital settings to accessing your Raspberry Pi remotely via SSH (Secure Shell), we will leave no stone unturned.
What Is A Headless Raspberry Pi?
Headless Raspberry Pi setups are commonly used for various purposes, including:
- Server Applications: Running web servers, file servers, database servers, or other server applications without the need for a dedicated monitor;
- Internet of Things (IoT) Projects: Building IoT devices and sensors that collect and transmit data to be monitored and controlled remotely;
- Automation: Setting up automated tasks, scripts, or scheduled processes that can be managed from a remote location;
- Network Attached Storage (NAS): Creating a central storage system accessible over the network without the need for direct interaction;
- Remote Control: Remotely controlling and managing devices or systems, such as robotics or smart home setups;
- Educational and Learning Purposes: Teaching and learning about system administration, networking, and programming by remotely configuring and managing the Raspberry Pi;
Setting up a headless Raspberry Pi can be particularly useful for projects where space is limited, or a monitor, keyboard, and mouse are not practical. It’s also common in server-type applications where the Raspberry Pi is used as a mini-server or network-attached storage (NAS) device.
Advantages Of Using a Headless Raspberry Pi
Space Efficiency and Mobility
A headless Raspberry Pi eliminates the need for bulky monitors and peripherals, allowing you to maximize the available space and create more compact setups. Whether you’re working on a robotics project with limited room or setting up a remote monitoring system, the absence of physical components offers greater mobility and flexibility.
Cost Savings
By opting for a headless configuration, you can significantly reduce costs by eliminating the need to purchase additional peripherals such as monitors, keyboards, and mice. This makes headless Raspberry Pi projects a budget-friendly option, particularly for large-scale deployments or when working with multiple units.
Remote Accessibility
One of the most compelling advantages of a headless Raspberry Pi is the ability to access and control it remotely. Through Secure Shell (SSH) connections or Virtual Network Computing (VNC), you can manage your Raspberry Pi from virtually anywhere, whether it’s across the room or across the globe. This remote accessibility is especially beneficial for server applications, data logging, or IoT projects that require constant monitoring and management.
Energy Efficiency
Running a Raspberry Pi headlessly reduces power consumption since you don’t need to power a monitor or other peripherals. This energy efficiency not only contributes to cost savings over time but also makes it a greener option for projects with environmental considerations.
Customization and Automation
With a headless setup, you have the opportunity to fine-tune your Raspberry Pi to your exact needs. By configuring scripts and automating tasks, you can create a tailored environment that performs specific functions efficiently. Whether it’s setting up a home automation system, a media server, or a network-attached storage (NAS) solution, customization is key, and a headless Raspberry Pi provides the platform for it.
Learning and Skill Development
Using a headless Raspberry Pi encourages you to delve into the world of command-line interfaces and remote administration. This hands-on experience enhances your technical skills and deepens your understanding of system administration, networking, and programming concepts.
Headless Raspberry Pi Setup:
1. Download the Raspbian Image
The first step is to obtain the Raspbian operating system image. Raspbian is the official operating system for the Raspberry Pi and provides a solid foundation for a wide range of projects. You can download the latest version of Raspbian from the official Raspberry Pi website (https://www.raspberrypi.org/software/operating-systems/).
Choose the version that suits your needs, whether it’s the full desktop version or the Lite version (which is recommended for headless setups due to its smaller size) [2].
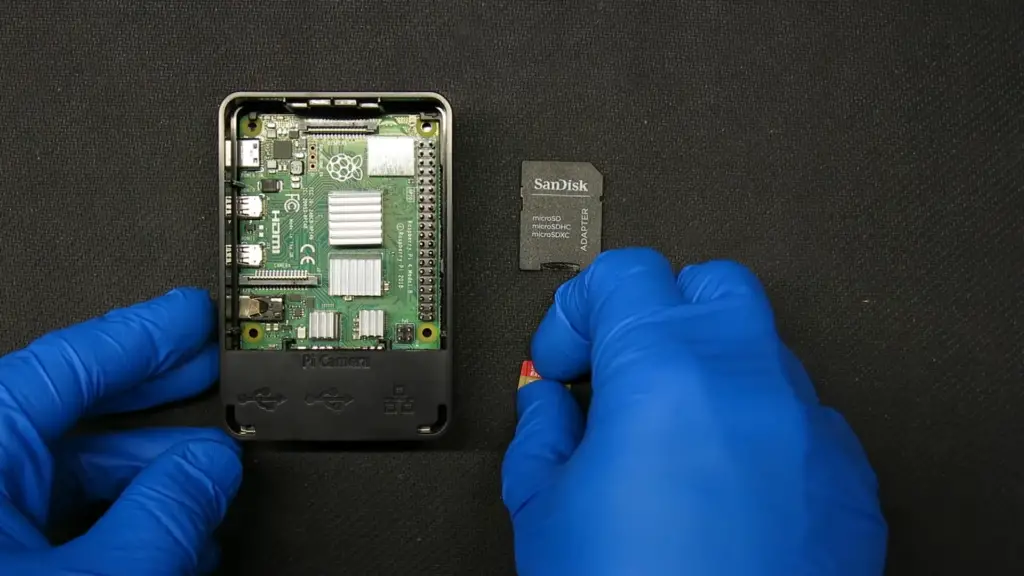
2. Write the Image to SD Card
Once you’ve downloaded the Raspbian image, you’ll need to write it to a microSD card. To do this, you’ll need an SD card writer and a computer with an SD card slot or a USB adapter. You can use tools like Etcher (https://www.balena.io/etcher/) to flash the image onto the SD card. Simply follow the on-screen instructions to select the Raspbian image and the target SD card.
3. Add “SSH” File to the SD Card Root
Before inserting the SD card into the Raspberry Pi, create an empty file named “ssh” (without the quotes) in the root directory of the SD card. This step enables the SSH (Secure Shell) service on the Raspberry Pi, allowing you to remotely access the command line interface.
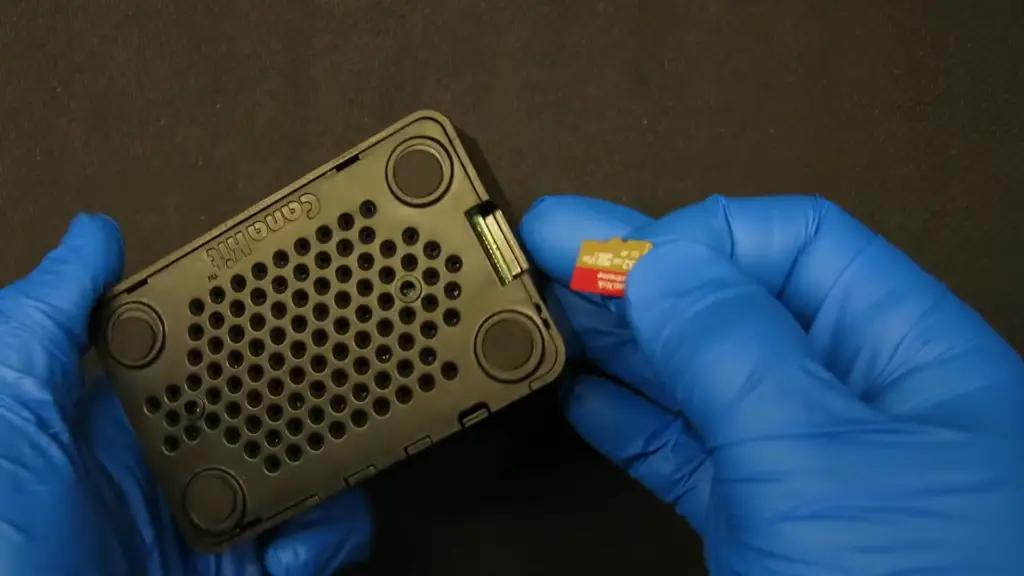
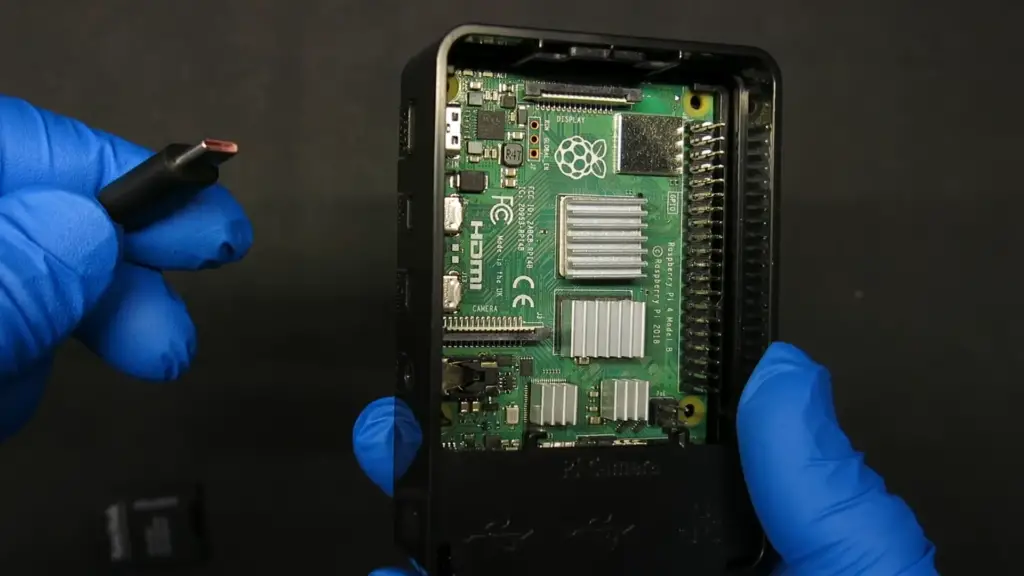
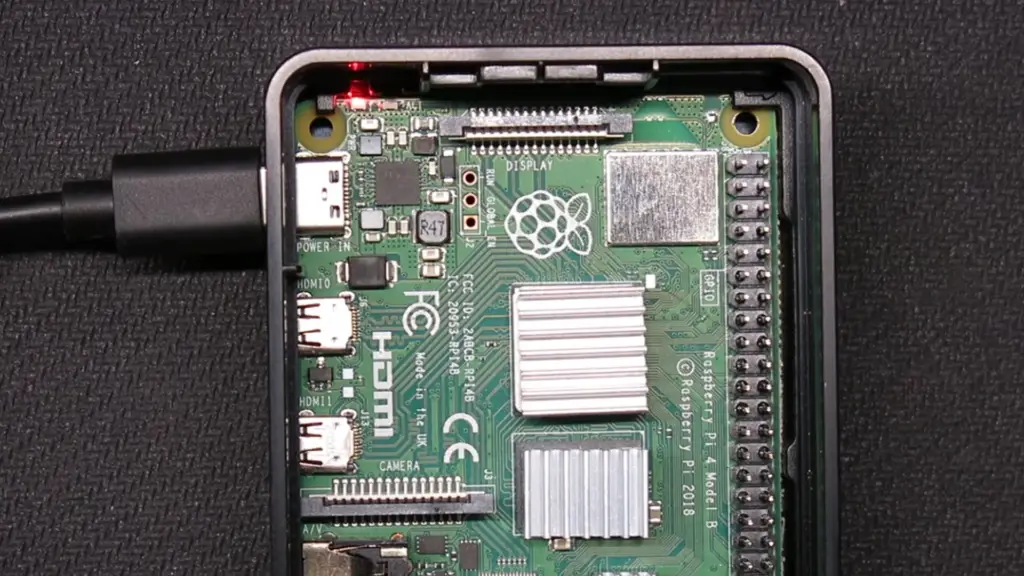
4. Boot Your Pi
With the Raspbian image written to the SD card and the “ssh” file added you’re ready to boot up your Raspberry Pi. Insert the SD card into the Raspberry Pi’s card slot and power it up by connecting the micro USB cable. You’ll see the green LED indicator flashing as the Pi boots.
5. Find Your Pi’s IP Address
To access your Raspberry Pi remotely, you need to know its IP address on the network. If you have access to your router’s administration interface, you can look for connected devices and find your Raspberry Pi’s IP address there. Alternatively, you can use a tool like “Angry IP Scanner” (https://angryip.org/) to scan your local network for devices and identify your Raspberry Pi’s IP address.
6. SSH into Your Pi
Once you have the IP address, you can use SSH to establish a remote connection to your Raspberry Pi. Open a terminal or command prompt on your computer and enter the following command:
ssh pi@
Replace with the actual IP address of your Raspberry Pi. You may be prompted to accept the authenticity of the host. Enter the default Raspberry Pi username “pi” and the password (by default, it’s “raspberry”).
7: Configure Your Pi
Congratulations, you’re now remotely connected to your headless Raspberry Pi! From here, you can perform various configurations and customizations to tailor the device to your needs. Here are a few essential tasks you might want to consider:
Update and Upgrade:
Run the following commands to update the package list and upgrade installed packages to their latest versions:
sudo apt update
sudo apt upgrade
Change Password:
For security reasons, it’s recommended to change the default password of the “pi” user. Use the following command to change the password:
passwd
Expand Filesystem:
Use the following command to expand the filesystem and use the entire space on the SD card:
sudo raspi-config
Navigate to “Advanced Options’ > “Expand Filesystem”
Configure Wi-Fi (if needed):
Edit the “wpa_supplicant.conf” file to configure Wi-Fi settings. Use the following command:
sudo nano /etc/wpa_supplicant/wpa_supplicant.conf
Add the following lines, replacing “Your_SSID” and “Your_Password” with your Wi-Fi credentials:
network={
ssid=”Your_SSID”
psk=”Your_Password”
}
Enable VNC (optional):
If you want to access the graphical interface remotely, you can enable VNC (Virtual Network Computing):
sudo raspi-config
Navigate to “Interface Options” > “VNC” and enable VNC [3].
How to Set Up a Headless Raspberry Pi, Without Ever Attaching a Monitor:
Installing Raspberry Pi OS on Your microSD Card
To embark on your headless Raspberry Pi journey, you’ll need a microSD card loaded with the Raspberry Pi Operating System (OS). Visit the official Raspberry Pi website (https://www.raspberrypi.org/software/) to download the Raspberry Pi Imager tool and the OS image that suits your needs, whether it’s the full desktop version or the headless-friendly Lite version.
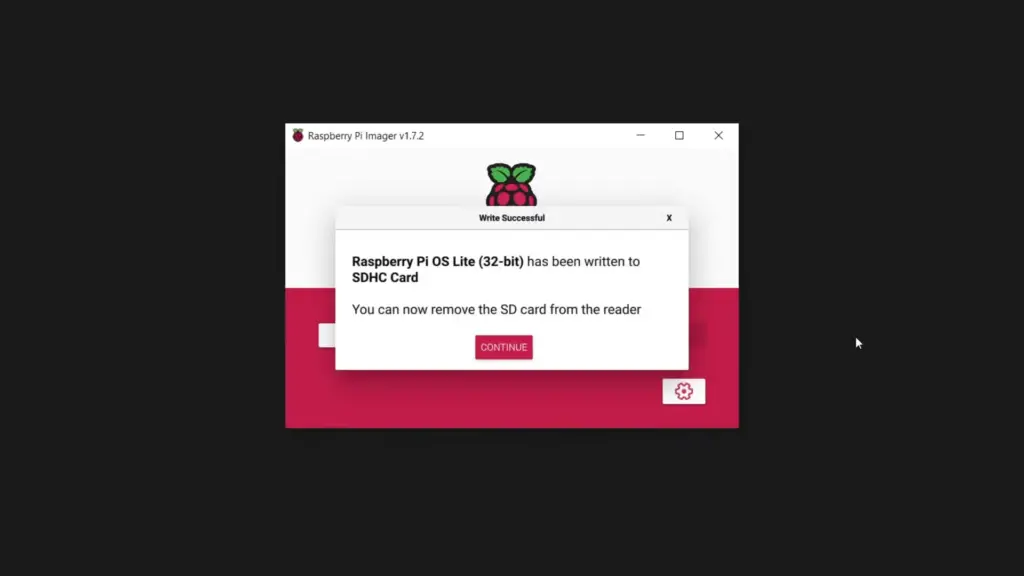
Using the Raspberry Pi Imager, write the OS image to the microSD card. Insert the card into your computer, open the Imager, select the OS image you downloaded, choose the microSD card as the target, and let the Imager work its magic.
Editing Wi-Fi on a Prewritten Card
If you’re dealing with a Raspberry Pi Zero or Zero W, which lack built-in Ethernet ports, you’ll need to connect via Wi-Fi. However, configuring Wi-Fi without a monitor might seem challenging. Fear not, there’s a workaround.
Before inserting the microSD card into your Raspberry Pi, open the card on your computer. You’ll find a file named “wpa_supplicant.conf” in the root directory. Open this file with a text editor and add the following lines, replacing “Your_SSID” and “Your_Password” with your Wi-Fi credentials [4]:
network={
ssid=”Your_SSID”
psk=”Your_Password”
}
Direct USB Connection (Pi Zero / Zero W Only)
For Raspberry Pi Zero or Zero W models, you can set up a headless connection using a USB cable. This approach leverages the USB OTG (On-The-Go) functionality of these models. Connect your Raspberry Pi to your computer using a USB cable, and it will appear as an Ethernet device. You can then SSH into it using the next step.
Direct Ethernet Connection
If you have a standard Raspberry Pi model with an Ethernet port, you can establish a direct connection using an Ethernet cable. Plug one end of the cable into the Ethernet port of your Raspberry Pi and the other end into your computer’s Ethernet port.
Connecting to Your Pi via SSH
With the hardware connections in place, it’s time to establish a remote connection to your headless Raspberry Pi using SSH (Secure Shell). Open a terminal or command prompt on your computer and enter the following command:
ssh pi@raspberrypi.local
If you’ve changed the default hostname of your Raspberry Pi or are using a direct connection, replace “raspberrypi.local” with the IP address of your Pi. You’ll be prompted for the default password (“raspberry” unless changed) before gaining access to the command line interface of your Raspberry Pi.
Enabling and Connecting Over VNC
While SSH provides command-line access, you might also want a graphical interface for your headless Raspberry Pi. Virtual Network Computing (VNC) is a handy solution for this. To enable VNC, enter the following command:
sudo raspi-config
Navigate to “Interfacing Options” > “VNC” and enable VNC.
Now, you’ll need a VNC viewer application on your computer (such as RealVNC or TightVNC). Connect the viewer to your Raspberry Pi using its IP address or hostname, and you’ll have a graphical interface to control your headless Pi remotely.
Raspberry Pi Headless Setup with Raspberry Pi Imager:
1) Install Raspberry Pi Imager
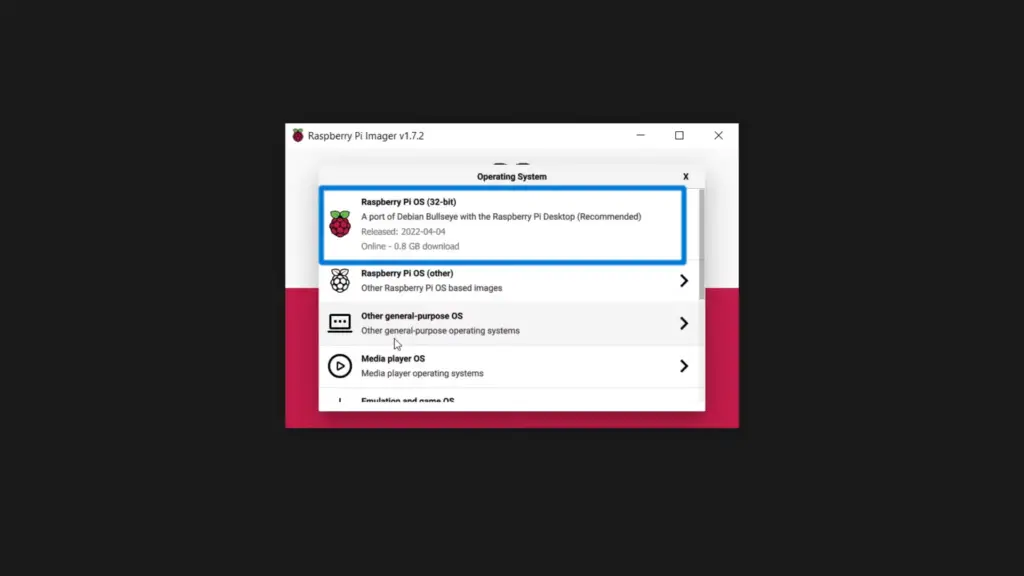
2) Choose OS
Once you have Raspberry Pi Imager installed, launch the application. The Imager offers a selection of operating systems to choose from. For a headless setup, it’s recommended to go with the Raspberry Pi OS Lite version. Select the appropriate OS and click “Choose OS” [5].
3) Headless Settings
Before you proceed with writing the OS image to the microSD card, you’ll need to configure some headless settings. These settings ensure that your Raspberry Pi is ready for remote access right from the start.
Enable SSH:
For headless access, SSH (Secure Shell) is essential. To enable SSH, check the box labeled “SSH” in Raspberry Pi Imager. This step ensures that the SSH service is enabled by default on the Raspberry Pi.
Configure Wi-Fi:
If you’ll be connecting your Raspberry Pi to a wireless network, you can preconfigure the Wi-Fi settings. Click the “Wi-Fi” option and enter the network’s SSID (name) and password. This way, your Raspberry Pi will automatically connect to your Wi-Fi network upon booting.
4) Access Raspberry Pi Headlessly Through SSH
With the microSD card properly configured, it’s time to insert it into your Raspberry Pi and power up the device. Here’s how you can access your headless Raspberry Pi through SSH:
Find Raspberry Pi’s IP Address:
For SSH access, you need to know your Raspberry Pi’s IP address. If you’re unsure about how to find it, you can use tools like your router’s admin interface or network scanning software.
Access via Terminal or Command Prompt:
Open a terminal (Linux/macOS) or command prompt (Windows) on your computer. To establish an SSH connection, use the following command:
ssh pi@
Replace with the actual IP address of your Raspberry Pi. If prompted, enter the default username “pi” and the password (usually “raspberry”) to log in.
You’re now remotely connected to your Raspberry Pi’s command-line interface, ready to explore its capabilities.
Tips for a Successful Headless Setup:
Changing the Default Password
For security reasons, it’s advisable to change the default password for the “pi” user. To do this, use the following command:
passwd
Updating and Upgrading
After connecting via SSH, it’s a good practice to update and upgrade your Raspberry Pi’s software packages. Run the following commands:
sudo apt update
sudo apt upgrade
Configuring Wi-Fi (If Not Preconfigured)
If you didn’t preconfigure Wi-Fi during the initial setup, you can do so on the Raspberry Pi itself using the following command:
sudo raspi-config
Navigate to “Network Options” > “Wi-Fi” to configure Wi-Fi settings [6].
FAQ:
1. How to configure Raspberry Pi headless?
Configuring a Raspberry Pi headless involves setting up and accessing the device without using a monitor, keyboard, or mouse directly connected to it. To configure it headlessly, you typically need to:
- Flash the desired operating system onto a microSD card;
- Create a “ssh” file in the boot partition to enable SSH;
- Configure Wi-Fi (if needed) by editing the “wpa_supplicant.conf” file
- Insert the microSD card into the Raspberry Pi and power it on;
- Find the IP address of the Raspberry Pi on your network;
- Connect to the Raspberry Pi using SSH or other remote methods;
2. How to set up my Raspberry Pi Zero W headless?
Setting up a Raspberry Pi Zero W headless involves the same steps as configuring any other headless Raspberry Pi.
3. What can you do with a headless Raspberry Pi?
With a headless Raspberry Pi, you can perform a variety of tasks such as:
- Setting up a home server or web server;
- Creating a network-attached storage (NAS) device;
- Developing and running IoT projects;
- Building a media center or streaming server;
- Running automated tasks and scripts;
- Remote monitoring and control of devices;
- Experimenting with programming and coding projects;
- Learning about system administration and networking;
4. How to set up a headless Raspberry Pi with SSH?
To set up a headless Raspberry Pi with SSH:
- Flash the OS onto the microSD card;
- Add an “ssh” file to the boot partition;
- Power on the Raspberry Pi;
- Find the IP address of the Pi on your network;
- Open a terminal on your computer;
- Use the SSH command to connect: ssh pi@;
5. Can you run Raspberry Pi headless?
Yes, you can run a Raspberry Pi headless, meaning without connecting a monitor, keyboard, or mouse directly to it. You can access and control it remotely using SSH, VNC, or other methods.
6. How to connect my headless Raspberry Pi without WIFI?
If your Raspberry Pi doesn’t have built-in Wi-Fi or you’re not using a Wi-Fi network, you can connect it directly to your router or computer using an Ethernet cable. This will provide a wired network connection for remote access.
7. How to set up Raspberry Pi Ubuntu headless?
Setting up a headless Raspberry Pi with Ubuntu involves the same general steps mentioned earlier. Instead of Raspbian, you’ll download and use the Ubuntu Server image. The setup process is similar: flash the image, enable SSH, configure Wi-Fi if needed, and access the Pi remotely.
8. What is the password for the headless Raspberry Pi?
By default, the username for Raspberry Pi is “pi”, and the password is “raspberry”. For security reasons, it’s advisable to change the default password after initial setup.
9. How to find the IP address of my headless Raspberry Pi?
You can find the IP address of your headless Raspberry Pi by checking your router’s connected devices list or by using tools like network scanning software. Alternatively, if you have access to the command line on the Raspberry Pi, you can use the hostname -I command.
10. How to connect my headless Raspberry Pi to WiFi?
Edit the “wpa_supplicant.conf” file on the microSD card to include your Wi-Fi network details. Insert the card into the Raspberry Pi and power it on. The Pi will automatically connect to the configured Wi-Fi network upon booting.
11. How to run Linux in headless mode?
Running Linux in headless mode involves setting up and operating a Linux system without a direct physical interface. This typically involves remote access via SSH or other remote methods.
12. What is a headless Linux?
A headless Linux refers to a Linux system that is operated and accessed remotely without the need for a graphical desktop environment or direct peripherals. It’s often managed through command-line interfaces and remote connections.
13. Does a headless server need a graphics card?
A headless server doesn’t require a dedicated graphics card since it won’t be displaying a graphical user interface. However, some server hardware may come with integrated graphics for basic management purposes.
14. How to connect to a headless virtual machine?
To connect to a headless virtual machine, you typically use remote access methods like SSH, RDP (Remote Desktop Protocol), or VNC (Virtual Network Computing) depending on the virtualization software you’re using and the guest operating system running on the virtual machine.
Useful Video: Headless Raspberry Pi Setup (New Simpler/Easier Method) – Without Monitor, Keyboard/Mouse
References
- https://www.tomshardware.com/reviews/raspberry-pi-headless-setup-how-to,6028.html
- https://medium.com/hackernoon/raspberry-pi-headless-install-462ccabd75d0
- https://pimylifeup.com/headless-raspberry-pi-setup/
- https://www.instructables.com/New-Raspberry-PI-Setup-2022-Headless-Mode/
- https://www.instructables.com/How-to-Install-HEADLESS-RASPBERRY-PI-OS-on-MicroSD/
- https://linuxhint.com/raspberry-pi-headless-setup-with-raspberry-pi-imager/