
Installing an outdoor electrical outlet in your yard can provide the convenience of having power available for a variety of activities, from yard work to lighting up the landscape. However, proper installation is essential for safety and local code compliance. The good news is that you don’t need to be a professional electrician to complete the job. This guide will walk you through the process of how to install an outdoor electrical outlet in your yard, so you can get the job done safely and efficiently.
Outdoor Electrical Outlet Installation Overview
Before we get into the nitty-gritty of installation, here’s a quick overview of the steps you’ll need to complete:
- Choose a location for your outdoor electrical outlet.
- Install conduit and wiring.
- Connect the wires in the junction box.
- Install an approved weatherproof cover and outlet assembly.
- Test the outlet to make sure it’s working properly.
Now that you know what steps to take, let’s get into the details of each step in the process. [2]
Where You Locate the Outlet Outdoors Matters
Required Locations for Outdoor Receptacles
When it comes to the installation of outdoor electrical outlets, the location matters. Outlet boxes must be installed at least 12 inches above grade and must be no more than 6 feet from a permanent structure such as a building or fence line. They also need to be protected from damage from lawn mowers and other yard equipment.
Stand Alone Outlet or Against a Structure?
When installing an outdoor electrical outlet, you can choose to install it as a stand-alone unit or against the wall of a structure. If you decide to attach your outlet box to a structure, be sure that the box is securely fastened with screws and not just held in place by nails.
If installing the outdoor receptacle as a stand-alone unit, you will need to purchase a weatherproof junction box that is designed for outdoor use. These boxes are constructed of metal and have an attached lid with gasketing material. This helps to keep water out of the wiring inside the box and also makes it easier for future maintenance. [1]
Make Sure to Call Before You Dig
Installing an outdoor electrical outlet requires you to dig a trench in order to bury the wiring. Before you start digging, make sure that you call your local utility company to have them mark the location of any underground lines. This will help prevent damage to those lines and also reduce the chances of injury from coming into contact with live wires.
Once all of the lines are marked, you can then start digging. Make sure that you dig a trench at least 12 inches deep and wide enough for both your wiring and conduit. [1]
Before You Begin Installing an Outdoor Outlet
Always Use GFCIs
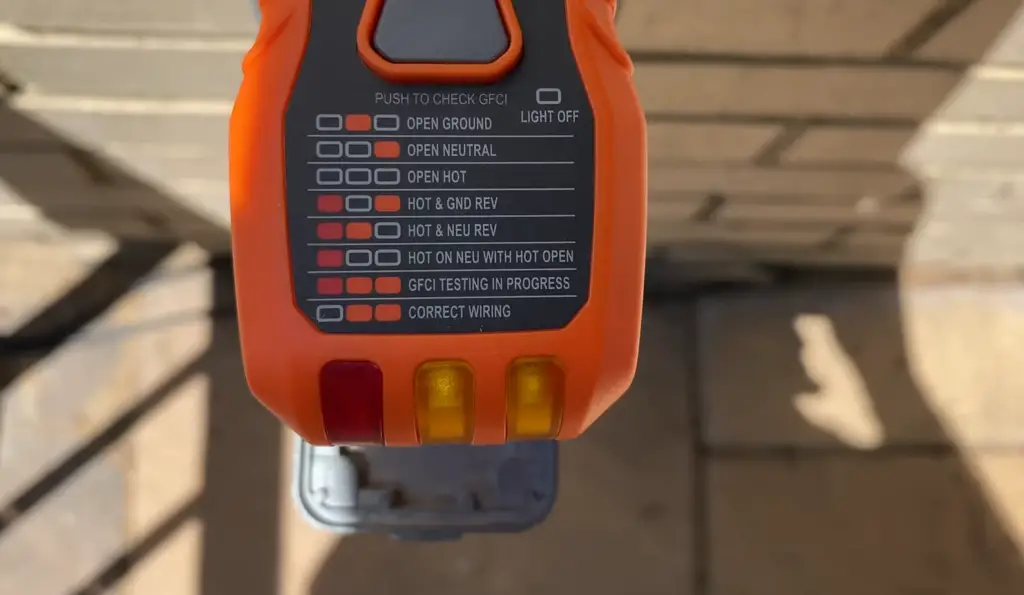
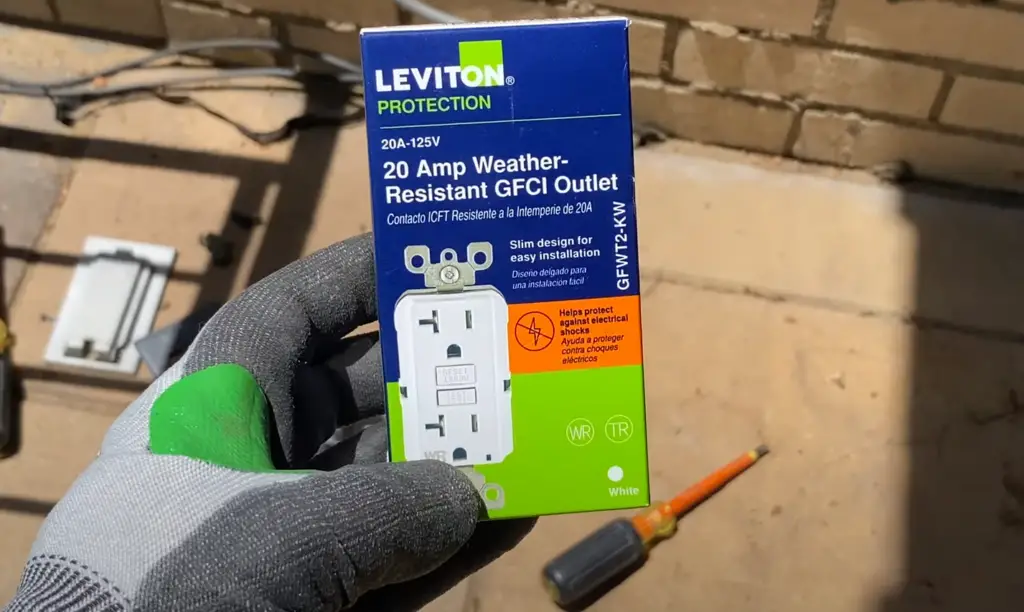
Before you begin installing an outdoor outlet, it is important to understand the risks involved. Outdoor outlets are exposed to elements that can be dangerous, such as rain and moisture, so it is critical to ensure adequate protection. Ground Fault Circuit Interrupters (GFCIs) are the best way to protect yourself from danger. GFCIs detect any current leakages and immediately shut off the power, reducing the risk of shock or fire. [3]
Safety Tips for Installing an Outdoor Outlet
When installing an outdoor outlet, always keep safety in mind. Make sure all circuit breakers and GFCIs are switched off before you start working. Wear safety glasses and gloves to protect yourself from debris and electricity. If possible, use a plastic outdoor outlet, as it will be more durable in wet conditions.
Finally, always ensure the outlet is installed correctly. Check for proper grounding and consult a professional if you are unsure about anything. These safety tips should keep you safe while installing your outdoor electrical outlet! [3]
Invest in Weatherproof Covers
To ensure your outlet will last, you should invest in weatherproof covers. These are designed to protect the outlets from rain and debris, increasing their lifespan. They are relatively inexpensive and easy to install, making them a great investment for outdoor electrical outlets.
By following these steps, you can be sure that your outdoor electrical outlet is installed correctly and securely. [3]
Keep an Eye Out for Faulty Wiring
Finally, it is important to keep an eye out for faulty wiring. If you notice any sparks or smoke coming from the outlet, disconnect the power immediately and have a professional inspect it. Faulty wiring can cause serious damage, so don’t take any chances! [3]
Project step-by-step
Turn Off the Power
The first step in installing an outdoor electrical outlet is to shut off the power at your home’s main circuit breaker. This will prevent any possible shock when working on the wiring. Once you have successfully turned off the power, it is important to test the outlet to make sure that it is not live before continuing with the installation process. [1]
Adjust the Wires
The second step is to adjust the wires for your outdoor electrical outlet. To do this, you will need to remove the existing wiring from the existing junction box. Depending on your location, you may need to replace some of the wires or add new ones if it is necessary. Once you have all of the wires adjusted, make sure that they are properly secured in their respective places. [1]
Drill Through the Exterior Wall
The third step is to drill through the exterior wall of your home. This will be necessary in order for you to install the outdoor electrical outlet. When drilling, make sure that you go slowly and carefully so as not to damage any wires or electrical components inside of the wall. After this step is completed, you can then begin mounting the box onto the outside of your home. [1]
Mount the Junction Box
The fourth step is to mount the junction box onto the exterior wall of your home. Before doing so, you will need to check that all of the wiring has been properly connected and secured inside of the box. Once everything looks good, use a drill and screws to secure the box in place on the wall. [1]
Run Cable From Other Power Sources
The fifth step is to run cable from other power sources such as a panel or electrical outlet. This will be necessary in order for the outdoor electric outlet to work properly. If you are unsure how to do this, it may be best to consult an experienced electrician who can help you with the task safely and efficiently. [1]

Run Cable Between the Outlets
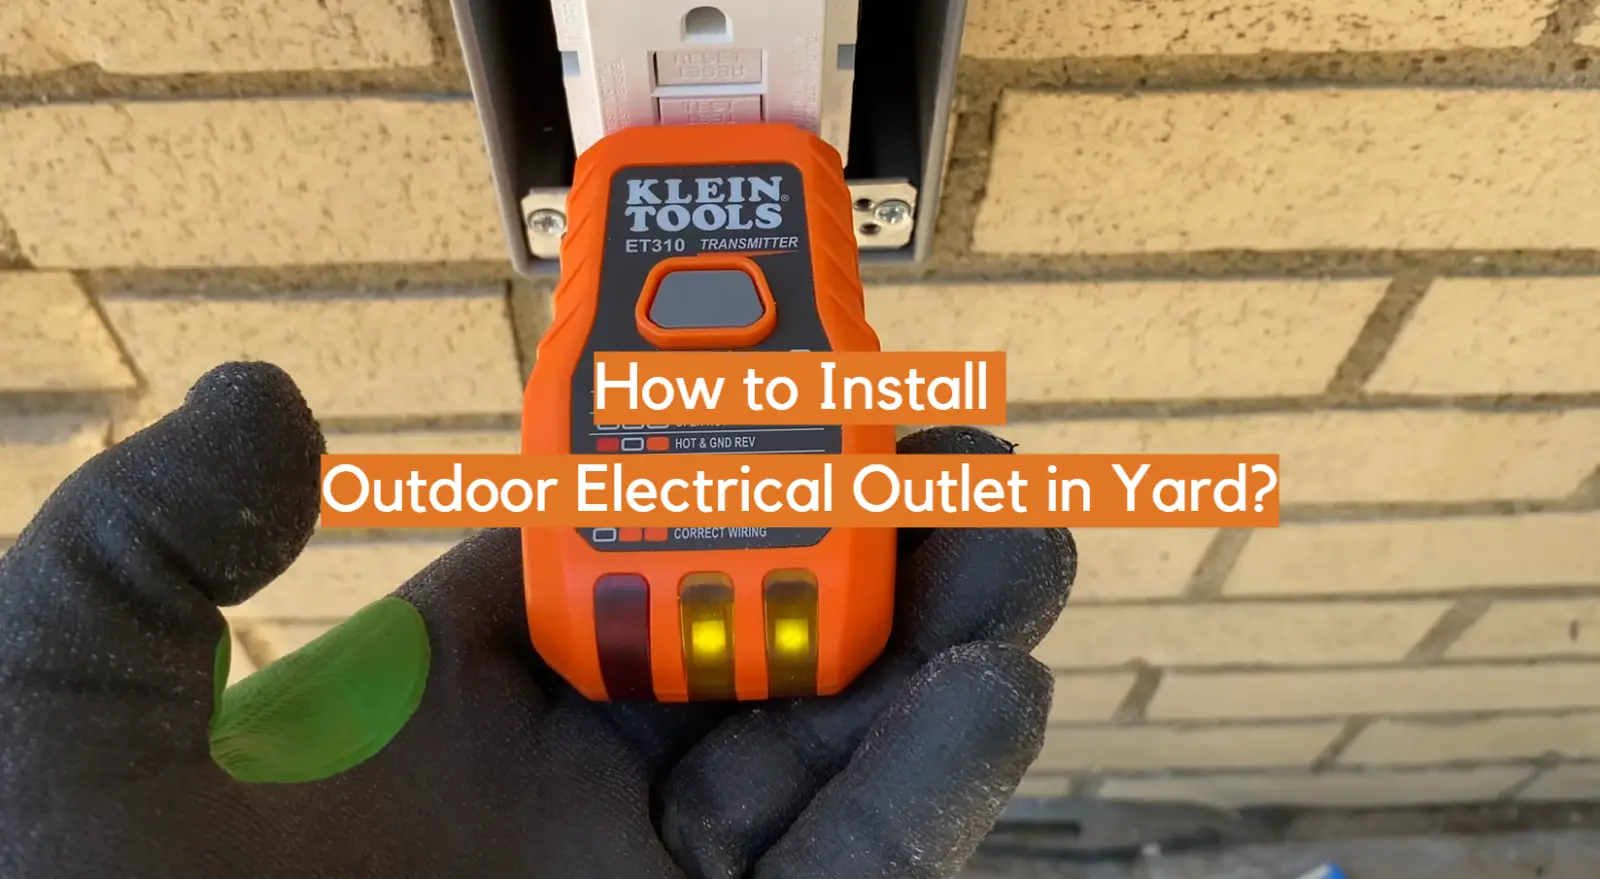
The sixth step is to run cable between the outdoor electric outlets. This will help ensure that all of the wiring is securely connected and that your outlet works properly. Once you have finished this step, you should also test it with a voltage meter to make sure that everything is working correctly. [1]
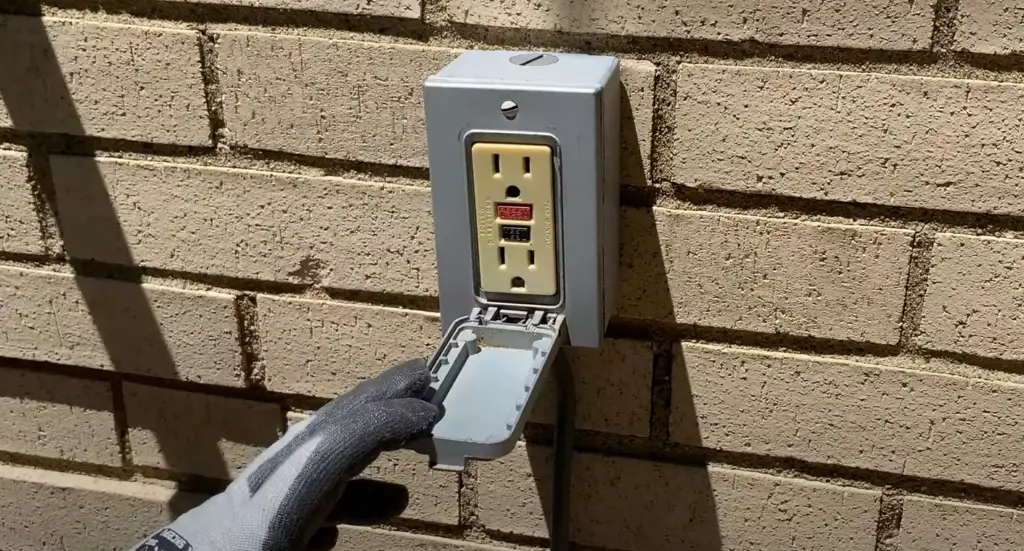
Replace an Electrical Box
The seventh step is to replace an electrical box cover. This should be done carefully so as not to damage any wiring or components inside of the outlet. Once you have replaced the cover, the outdoor electric outlet should be ready for use! [2]
Wire the Interior Outlet
The eighth and final step is to wire the interior outlet. This may involve making additional connections depending on the type of wiring that you have chosen. Once all of the wires are connected and secure, your outdoor electric outlet should be ready for use! [2]
Mount and Wire the New Outlet
The ninth step is to mount and wire the new electrical outlet. This is an important step that should be done carefully, as any mistakes can lead to a dangerous electrical hazard. Make sure to follow all instructions when wiring the outlet and double-check that everything is connected correctly before turning on the power. [2]
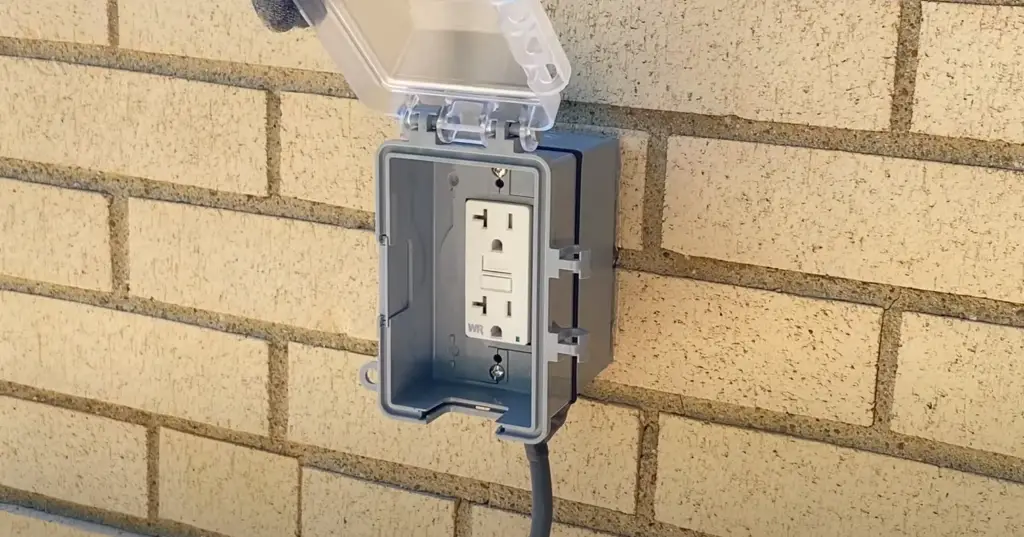
Mount the Weatherproof Electrical Outlet Box Cover
The tenth and final step is to mount the weatherproof electrical outlet box cover. This will help protect your outdoor electric outlet from rain, snow, and other elements. Once you have installed the cover, your new outdoor electrical outlet should be complete and ready for use! [2]
Code for Outdoor Receptacles
Before you begin installing your outdoor electrical outlet, make sure to check the local building codes in your area. Depending on the type of receptacle and wiring method you will be using to install it, there may be specific requirements that need to be met. For instance, the National Electrical Code (NEC) requires that all exterior outlets must have a ground fault circuit interrupter (GFCI) installed. In addition, there may be additional requirements on the location of your outdoor receptacle or the type and size of wire you will need to use.
Once you know the code requirements for installing an outdoor electrical outlet, it’s time to get started. First you will need to determine the location of where you want to install the receptacle. Make sure to select a location that is easily accessible and away from direct contact with water. You should also make sure there is adequate clearance around the outlet for any lawn care or gardening equipment in order to prevent accidental damage. [3]
Professional vs. DIY Installations Concerns
Safety and functionality are the main reasons people hire a professional electrician to install an outdoor electrical outlet in their yard. Professional installations usually include burying the conduit underground, connecting it to an existing power line, and running it up the side of a building or along a fence. Additionally, they will seal all connections with waterproofing materials such as silicone caulk and weather-resistant outlets.
On the other hand, DIY installations can be much simpler. A shallow trench to run electrical conduit can be dug easily with a power auger or shovel, and the connections can be made using standard weatherproof materials. However, it is important to note that these types of installations are not as safe and reliable as those done by professionals and should only be attempted if you’re confident in your ability to do so safely. [3]
FAQ
Can you put an outlet in your yard?
Yes, you can install an outdoor electrical outlet in your yard. Many homeowners find this to be a convenient way to power lighting or other accessories on their property.
Do exterior outlets need to be grounded?
Yes, exterior outlets need to be properly grounded in order to reduce the risk of electric shock and provide adequate protection from electrical hazards. Most local codes will require any outdoor outlets to have ground fault circuit interrupters (GFCIs) installed for added safety.
How high should an outdoor outlet be from the ground?
Outdoor outlets should be placed at least 3 feet off the ground where possible to help keep them out of range of water, snow and debris. This will also minimize the risk of electric shock or injury. Additionally, outlets should not be installed in an area that is exposed to direct sunlight or extreme weather conditions.
What happens if an outlet doesn’t have a ground?
If an outlet does not have a ground wire, it is important to replace the entire outlet with one that has been approved for outdoor use and is properly grounded. This will minimize the risk of electric shock and ensure proper operation. It is also recommended to install a GFCI outlet for added protection from electrical hazards.
How do you ground an outlet that has no ground?
If an outlet does not have a ground wire, it can be grounded by using an approved grounding plate. The grounding plate should be securely attached to the exterior surface of the house where the outlet is being installed. A qualified electrician should be consulted for assistance with this type of project.
How do you ground an outlet that is not grounded?
If an outlet is not grounded, it can be grounded by installing a grounding plate. The grounding plate should be securely attached to the exterior surface of the house where the outlet is being installed. A qualified electrician should be consulted for assistance with this type of project. Additionally, any outdoor outlets should also have GFCIs installed for added protection from electrical hazards.
How to install a grounded outlet when there is no ground wire?
If there is no ground wire present, a grounding plate can be installed in order to provide the proper grounding for the outlet. The grounded plate should be securely attached to the exterior surface of the house where the outlet is being installed. A qualified electrician should be consulted for assistance with this type of project.
Useful Video: Outdoor GFCI Outlet Installation for Beginners
Conclusion
Installing an outdoor electrical outlet in the yard can be a handy and cost-effective way to add convenience and value to your home. With the right tools, materials, and know-how, you can do this project yourself and save on hiring an electrician. Just make sure you follow all safety precautions before starting any electrical work.
Be sure to check with local building codes and national electric codes to ensure you are meeting all the necessary requirements. Remember, safety should always come first when working on any electrical project.
Good luck and happy wiring!
References
- https://bates-electric.com/install-outdoor-electrical-outlet-in-yard/
- https://www.familyhandyman.com/project/how-to-add-an-outdoor-outlet/
- https://www.angi.com/articles/install-outdoor-outlet-yard.htm