
Headphones have become a popular way to listen to music and audio while keeping others from being disturbed. It has become a common item in our lives. Many individuals prefer wireless headphones for their convenience, but they can’t match wired headphones in terms of immersive audio quality.
However, wired headphones have the disadvantage of being more susceptible to wear and tear. If you don’t utilize them correctly, the wires will become damaged. Either the headphones may cease operating altogether or the quality of sound will be reduced.
The earlier choices were either to replace them or repair them using soldering, which was both expensive and difficult. Replacing them is an expensive option. Soldering, on the other hand, is time-consuming and requires some expertise.
Furthermore, the warranty will not be valid if the headphones malfunction because of improper handling.
Do you have a broken headphone jack? Don’t worry, you don’t need to solder it back together! In this blog post, three ways how you can fix a broken headphone jack without soldering will be discussed. Our soldering experts will also provide some tips on how to prevent your headphone jack from breaking in the first place. Let’s get started!
Parts Of A Headphone Set:
1) Cable
The cable is the long, thin wire that connects your headphones to your audio device. Most headphone cables are made of copper, which is a good conductor of electricity. However, some high-end headphones use gold-plated connectors for better sound quality. Cables can also be made of other materials, such as Kevlar or Teflon, which improve durability [1]. If your headphone cable is damaged, you may be able to replace it with a new one.
 If you ask me, the choice of materials in headphone cables significantly impacts performance. Copper, a common conductor, provides good electrical conductivity. High-end options with gold-plated connectors aim for enhanced sound quality, while materials like Kevlar or Teflon enhance durability. Replacing a damaged cable can rejuvenate headphone performance.
2) Jack
The jack is the part of the headphone that plugs into your audio device. The most common type is the TRRS (tip-ring-ring-sleeve) jack, which has four conductors for stereo sound and a microphone [2].
Some headphones use a TRS (tip-ring-sleeve) jack, which has three conductors for stereo sound only. If your headphone jack is damaged, you may need to replace it with a new one.
When choosing a new headphone jack, make sure it is compatible with your audio device.
3) Speakers
The speakers are the parts of the headphone that produce sound. Most headphones have two speakers, one for each ear. The speaker is usually a small coil of wire that vibrates when electricity is applied to it.
If your headphone jack is damaged, you may need to replace it with a new one. When choosing a new headphone jack, make sure it is compatible with your audio device.
4) Headphone Cushions
The headphone cushions are the parts of the headphone that rest on your ears. They are usually made of soft materials, such as foam or leather, to make them comfortable to wear. If your headphone cushions are damaged, you may be able to replace them with new ones.
5) Headband
The headband is the part of the headphone that goes over your head. It is usually made of metal or plastic and is padded for comfort. If your headband is damaged, you may be able to replace it with a new one.
You can find replacement parts for your headphones online or at a local electronics store. Make sure to get the correct parts for your model of headphones. Soldering may be required to attach some parts. If you are not comfortable soldering, you can take your headphones to a local repair shop.
Replacing damaged parts on your headphones is a relatively easy process that anyone can do. With a few tools and some patience, you can fix most problems yourself without having to solder.
Causes Of Headphone Malfunction:
Improper Usage And Handling
Not Cleaning Headphone Cushions
Another common cause of headphone damage is not cleaning the headphone cushions. Over time, sweat and dirt build up on the cushions, which can eventually lead to them tearing or breaking. Be sure to clean your headphone cushions regularly with a soft, dry cloth.
Not Storing Properly
Another common cause of headphone damage is not storing them properly. When not in use, be sure to store your headphones in a safe place where they will not be crushed or bent. Also, avoid exposing your headphones to extreme temperatures as this can damage the wires and other components.
Listening To High Volume
Listening to music at high volumes can damage your headphones. Over time, this can cause the drivers to break down and eventually fail. If you must listen to music at high volumes, be sure to take breaks every few songs to give your headphones a rest.

If you follow these simple tips, you can avoid damaging your headphones and extend their lifespan. However, if your headphones do become damaged, there are some ways you can fix them without soldering.
Fixing Headphones Without Soldering [3]:
1) Cut The Aux Cable
Begin by cutting the AUX cable at a distance of a few feet from the connector. There’s no use taking chances, especially when it comes to electricity. If it’s too short and you make a mistake, there’s no way to go back.
2) Remove The Rubber Sheath
Now that you have a clean cut, it’s time to remove the rubber sheath. This part covers the inner wires and protects them from damage.
Start by peeling it back a few inches from the end of the cable. If it’s stuck, you can use a knife to help get it started. Once you have a few inches exposed, gently pull on the wire until the sheath comes off completely.
You should now be able to see four smaller wires inside two insulated in copper and two without any insulation at all. These are your ground and signal wires.
3) Clean The Varnish
Light the wire end for a split second using a flame to burn away 0.3 inches of the wire. After blowing and removing the spark, wind and dispose of the insulation.
Now you need to clean the varnish from the signal wire. To do this, insert the end of the wire into a container of acetone and leave it for a few minutes until the liquid has evaporated. If you don’t have any acetone, you can use nail polish remover instead.
Once the varnish is gone, your signal wire should be bright and shiny.
4) Cut The Headphone Cable
Now, using the same technique you used to cut the AUX cable, cut the headphone cable. Take 0.3 inches or more from the connector end to be safe.
As before, remove the rubber sheath and expose the four wires inside.
You should now have two sets of signal and ground wires: one from the AUX cable and one from the headphones.
Now is a good time to test that everything is working as it should be. Connect your headphones to an audio source and see if you can hear any sound coming through. If not, check all your connections and make sure there are no loose wires.
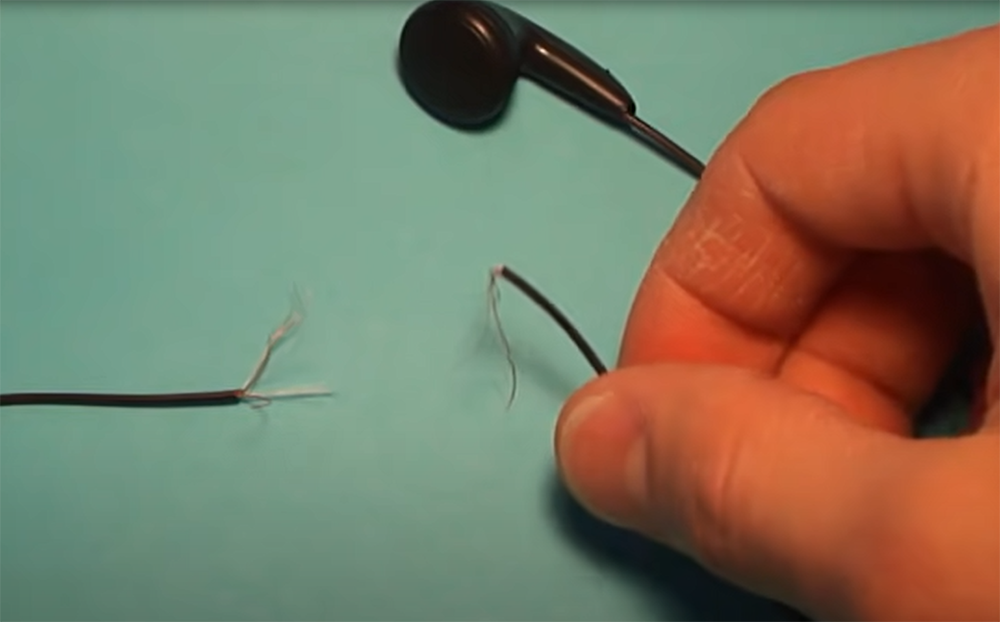
5) Twist The Wires
You may come across up to 5 wires in your headphone cable. You’ll need to connect three of the AUX cable terminals with the corresponding wires from your headphones. Gold, blue, and red are the most frequent hues. Green instead of gold and blue rather than blue are sometimes found in headphones.
Now comes the hard part: twisting these strands together.
Remember that the gold wire is always grounded. Twist the AUX cable’s gold wires together with the headphone’s gold wires. Similarly, twist the same-colored cables together.
6) Isolate The Wires

Because the varnish has been removed, the wires are naked. Each wire twist must be isolated and linked with scotch tape. You’re now ready to go. Using headphones, you can listen to your favorite music and songs.
Tips To Prolong The Life Of Your Headphones:
Keep Your Headphones Tangle-Free
If you do find yourself with tangled headphones, be careful not to yank on the cord too hard as this can cause irreversible damage. Instead, gently untangle them using your fingers.
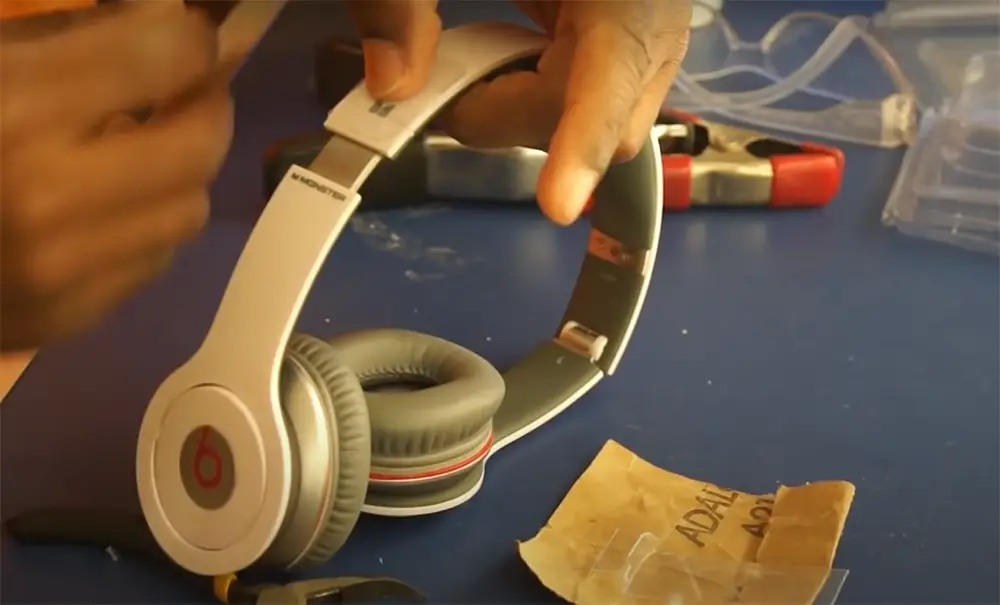
Avoid Dropping Them
Dropping your headphones can cause serious damage, so it’s important to be careful with them. If possible, try to keep them stored in a safe place where they won’t get knocked around. If you do drop them, inspect the cord and jack for any signs of damage before continuing to use them.
If you’re not careful, dropping your headphones can easily lead to a broken jack. Avoid this by being mindful of where you’re placing them and always handling them with care.
Be Wary of Water Damage
Water and electronics don’t mix, so it’s important to keep your headphones away from any sources of water. If they do get wet, be sure to dry them off completely as soon as possible. Leaving them wet for too long can cause irreparable damage.
It’s also a good idea to avoid using them in humid environments as this can also lead to water damage. If you must use them in a humid environment, be sure to store them in a moisture-proof case when not in use.
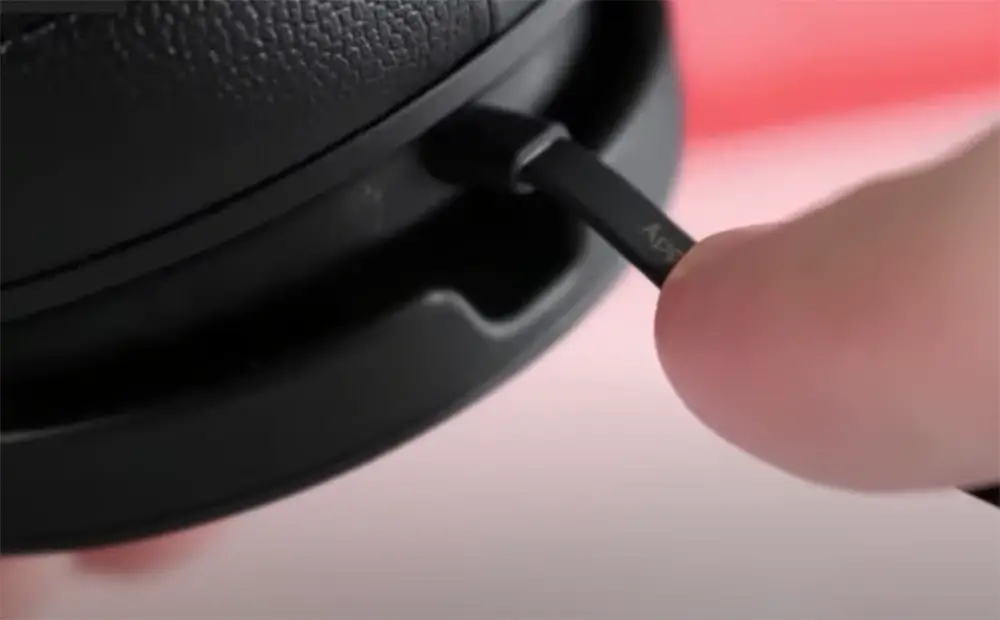
Do Not Pull The Headset By The Cord
One of the most common ways people damage their headphones is by pulling on the cord. This can put a strain on the internal wires and cause them to break. If you need to move your headphones, be sure to hold onto the body of the headset instead of the cord.
When you’re not using your headphones, it’s important to store them properly. This means avoiding tangles, drops, and water damage. With proper care, you can prolong the life of your headphones and avoid costly repairs.
FAQ
How can I fix my earphones without tools?
If your headphones are not working, you may be able to fix them by simply cleaning the headphone jack.
To do this, you will need a can of compressed air and a cotton swab:
- First, remove any dirt or debris from the headphone jack using the compressed air;
- Then, use the cotton swab to clean any remaining dirt or debris;
If your headphones still do not work, you may need to replace the headphone jack.
Can a damaged headphone jack be fixed?
Replacing the headphone jack is relatively simple and does not require soldering.
You will need a small screwdriver and a new headphone jack:
- First, remove the screws from the back of the headphones using the screwdriver;
- Next, remove the old headphone jack and replace it with the new one;
- Finally, screw the back of the headphones back on;
How do you fix headphone wires with tape?
Electrical tape is used to cover electrical wires. Electrical tape with black color, in particular, is meant for low-voltage electrical wiring, so it may be used to repair a short and easy headphone wire rupture [5].
Cut a small piece of black electrical tape and wrap it around the headphone wires where they are split. Try not to make the electrical tape too thick, as this can cause sound quality issues. Make sure that the electrical tape is wrapped tightly so that the wires are secure.
How do you fix a 3.5-mm jack?
The most common way to fix a damaged or broken headphone jack is by soldering.
You will need a soldering iron, solder, and wire cutters:
- First, remove the damaged or broken headphone jack from the headphones;
- Next, cut a small piece of wire and strip both ends of the wire;
- Then, solder one end of the wire to the positive terminal on the headphone jack;
- Finally, solder the other end of the wire to the negative terminal on the headphone jack;
If you do not have a soldering iron or if you are not comfortable using one, you can also use electrical tape to repair your headphones:
- Simply wrap electrical tape around the terminals on the headphone jack where you would normally solder them;
- Make sure that the electrical tape is wrapped tightly so that the wires are secure;
Why do headphones jacks break so easily?
The headphone jack is one of the most commonly used parts of our phones, and also one of the most fragile. Every time we plug in or unplug our headphones, we’re putting stress on the tiny metal pieces inside the headphone jack. Over time, this can cause the connection to break down, which is why so many people end up with a broken headphone jack.
There are a few ways to fix a broken headphone jack without soldering.
One way is to use a conductive adhesive material like copper tape or carbon fiber tape.
Another way is to use a conductive epoxy.
How do you wire a headphone jack?
To wire a headphone jack, you’ll need to solder the positive and negative wires to the correct terminals on the jack. You can also use a conductive adhesive material like copper tape or carbon fiber tape.
With either of these methods, you’ll need to be careful not to short circuit any of the terminals on the headphone jack.
How long do earphones last?
A pair of decent earbuds may last for up to two to three years. However, if your new set stops working after a few months, it is likely that you have purchased a low-quality gadget [6].
How do I know if my headphone jack is broken?
There are a few signs that your headphone jack may be broken.
One is if you can no longer hear sound through your headphones.
Another is if you see visible damage to the headphone jack.
Finally, if your headphones keep falling out of the jack, this may also be a sign that the connection is loose and needs to be repaired.
Useful Video: How To Repair Headphone Jack (with mic) Without Soldering 🔥🔥🔥
References:
- https://soundsightheadphones.com/guides/5-types-of-headphone-jacks-everything-you-need-to-know/
- https://monopricesupport.kayako.com/article/102-what-is-the-difference-between-ts-trs-and-trrs
- https://www.electronicshub.org/how-to-fix-headphones-without-soldering/
- https://hereplus.me/fix-broken-headphones-without-tools/
- https://www.headphonesty.com/2020/12/fix-headphone-wires/
- https://www.headphonesty.com/2020/07/earbuds-keep-breaking/