
When it comes to choosing the right microcontroller for your project, you want something that is powerful enough and easy to use. Two great options from Arduino are the Micro and Pro Micro boards––so which one should you choose? In this blog post, we’ll compare the differences between these two controllers in terms of specs, capabilities, and ease of use. We’ll also discuss the best uses for each board so that you can make an informed decision on which board is best suited for your workflow needs. So stay tuned as we explore these two popular Arduino microcontrollers!
What Is Arduino Micro?
The board features two rows of headers for connecting additional components such as sensors, switches, and LEDs, making it suitable for use in projects that require multiple inputs and outputs.
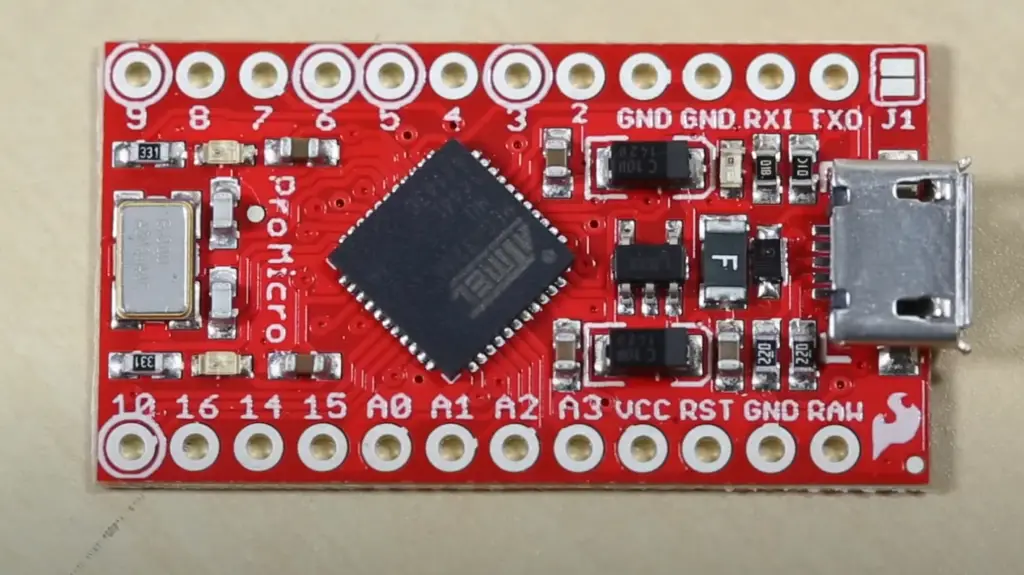
What Is Arduino Pro Micro?
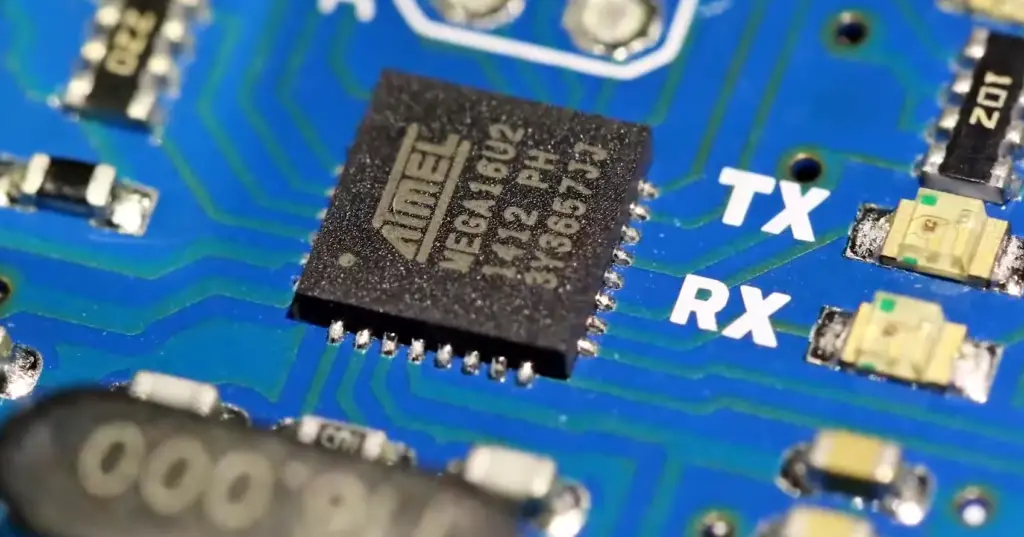
It uses an Atmega32U4 processor instead of the regular ATmega328P processor used in the original. It also has more memory, with 32KB of Flash and 2.5KB of SRAM onboard. The Pro Micro is capable of running higher-level programming languages such as C/C++ and Python, making it ideal for use in more complicated projects than just basic I/O operations. [1]
Pros of Arduino Micro
- It is easy to use and has a wide range of features that makes it suitable for many applications.
- The Arduino Micro can be used with both 5 and 3.3V logic levels, making it easier to work with components from different manufacturers.
- It offers an extensive number of digital I/O pins along with multiple analog-to-digital converters (ADCs). This allows users to have more control over the devices they are connecting to their microcontroller board.
- Its small form factor makes it ideal for projects requiring high accuracy and precision but limited space.
- Arduino Micro also provides access to some advanced debugging capabilities, allowing users to quickly identify any issues in their code or hardware.
Cons of Arduino Micro
- It is more expensive than the Pro Micro due to its enhanced features.
- Arduino micros require a USB-C connection, which may not be compatible with all devices or hardware components.
- Its limited memory size can make it difficult to store large programs and data sets on the board itself.
- The programming environment for Arduino micros is also slightly more restrictive than that of other boards as they use Atmel’s AVR library instead of the open source C library used by most microcontrollers.
- Finally, its low power consumption means that it is not suitable for projects requiring higher processing capabilities or frequent updates and changes in code. [2]
Pros of Arduino Pro Micro
- The Arduino Pro Micro has a built-in micro USB port for easy connection to computers.
- It also has an ATmega32U4 processor, which is more powerful than the ATmega328P processor in the Arduino Micro.
- The Arduino Pro Micro allows you to program it using the Arduino IDE, or with other popular development tools such as Atmel Studio and AVRDude.
- It includes two dedicated hardware UARTs (Universal Asynchronous Receiver/Transmitter) that allow for serial communication between devices without a need for additional software overhead.
- Additionally, the board features pins and GPIOs (General Purpose Input/Output) that can be used to control external components and sensors via I2C, SPI and other common serial communication protocols.
- The Pro Micro is smaller than the Arduino Micro, making it more suitable for projects with space constraints.
- Finally, the board features a battery charging circuit that can be used to power devices from rechargeable batteries and even solar panels.
Cons of Arduino Pro Micro
- The board is more expensive than the Arduino Micro, which may not make it a financially viable option for some users.
- Additionally, the ATmega32U4 processor used on the Pro Micro is only supported on modern operating systems such as Windows 10 and macOS; users of older operating systems may have difficulty programming the board.
- Similarly, because of its size, it can be difficult to attach additional components to the Arduino Pro Micro compared with the Arduino Micro or other larger boards in the Arduino family.
- Finally, because of its reliance on USB connectivity for power and programming, projects utilizing this board will require an external computer or laptop to function properly. [3]
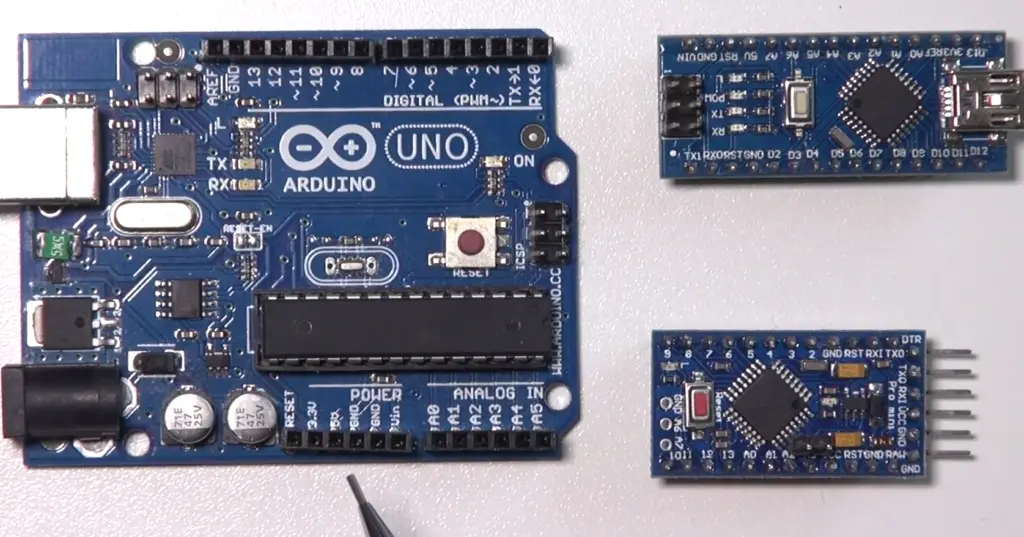
Arduino Micro vs Arduino Pro Micro
At first glance, it might seem like these two microcontrollers are virtually identical. However there are several key differences that should be considered when selecting over the other.
Arduino Micro is a small version of the classic Arduino board. It has 14 digital input/output pins, 6 analog inputs, and 8 timers. Its size makes it an ideal choice for projects where space is limited.
The Micro also features more memory than its Pro Micro counterpart, with 32KB of Flash memory and 2KB of SRAM compared to the Pro’s 16KB and 1KB respectively. Additionally, the Micro has a sophisticated ICSP (In-circuit Serial Programming) connector that allows advanced users to access the board’s memory directly.
The Arduino Pro Micro, on the other hand, is a much smaller version of the Arduino board and features less pins in comparison. It has only 12 digital input/output pins, 8 analog inputs, and 6 timers. This makes it ideal for projects where size and cost are both important factors.
In terms of memory, the Pro Micro offers 16KB of Flash memory and 1KB of SRAM compared to the Micro’s 32KB and 2KB respectively. Additionally, its ICSP connector is more basic than that found on the Micro and does not offer direct access to the microcontroller’s memory.
When deciding between an Arduino Micro or an Arduino Pro Micro, it is important to take into consideration the project’s specific requirements. If space or cost are important factors, then the Pro Micro is an excellent choice. However if more memory and a sophisticated ICSP connector are needed, then the Arduino Micro should be chosen. Ultimately, which board you choose ultimately depends on your project’s requirements.

Where to Use Arduino Micro?
It can be used for many different applications, such as controlling robotics or creating interactive digital items that respond to user input. When paired with a suitable programming language (such as C++), Arduino Micro makes it simple to develop custom control systems for any number of applications.
Arduino Micro is ideal for building low-power applications where space is at a premium. For example, it would be perfect for use in wireless sensor networks or other embedded systems where space is limited. It can also be used to design Internet of Things (IoT) projects due to its low power consumption and small size. [4]
Where to Use Arduino Pro Micro?
The Arduino Pro Micro is best suited for applications that require a fast and reliable solution, as it’s more powerful than the standard Arduino Micro. It has an Atmel ATmega32U4 processor, which makes it ideal for projects involving data communication and low-level control tasks. As such, the Pro Micro has become popular in robotics and automation systems. Additionally, its small size makes it suitable for wearable tech projects such as electronic clothing and jewelry designs.
Furthermore, its wide voltage range of 3.3V to 5V and wide supply current of 500mA allows the Pro Micro to be used in a variety of different applications.
How to Use Arduino Micro?
Arduino Micro is a small and powerful development board based on the Arduino Leonardo platform. It is equipped with an ATmega32u4 microcontroller, which allows it to be programmed using the Arduino IDE. To use Arduino Micro, you will need to plug in the USB cable and download the latest version of Arduino IDE software from the official website. Once downloaded, launch the application and select “Arduino Micro” as your board type under Tools > Board Type.
Once selected, you can write code in a text editor (such as Notepad) or directly within Arduino IDE’s built-in editor. When you are done writing your code, compile it by pressing Ctrl+U or going to Sketch > Verify/Compile menu. This will compile your code and create a .hex file that can be uploaded to the board. To upload it, press Ctrl+Shift+U or go to Sketch > Upload menu. This will transfer the compiled program to the board and you are ready to test it out!
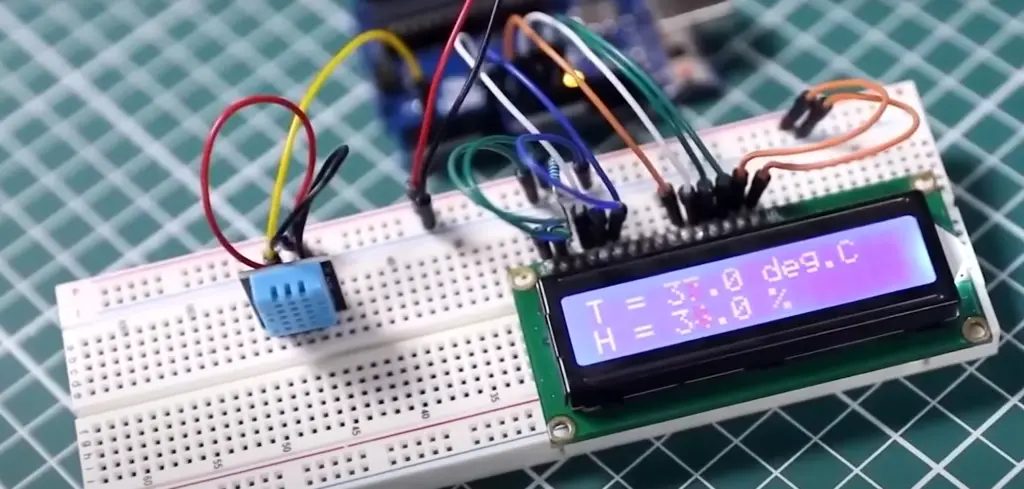
Arduino Micro also has several other features such as built-in serial communication which allows for data exchange with other devices, I2C bus support for connecting multiple boards together, and an on-board power regulator for supplying power from an external source. All of these features make Arduino Micro perfect for any project where space is limited but functionality is not compromised. With its small form factor, users have more flexibility when building projects into tight spaces. [5]
How to Use Arduino Pro Micro?
Using Arduino Pro Micro is simple. First, connect the board to your computer via USB cable and open the Arduino IDE. Once in the IDE, you can start programming. With the Pro Micro’s built-in 8-bit AVR microcontroller running at 16MHz, it has plenty of power for most applications.
Within Arduino IDE, you can upload sketches (scripts that help define microcontroller operations) using the “Sketch>Upload” command. The Pro Micro also supports libraries for motors, sensors and more – allowing for more advanced projects than possible with Arduino Uno or Nano boards.
For example, if you wanted to build a robot car that could follow a line autonomously you would need to use an Arduino Pro Micro. With the board, you can attach various motors and sensors that allow the robot car to move around on its own.
The Pro Micro board is a versatile device, easily capable of handling all sorts of projects from simple automation tasks to complex robotics applications. With its small size, low cost and powerful features, it’s no wonder why so many people choose the Pro Micro for their projects.
Overall, the Arduino Pro Micro is an excellent choice when it comes to building basic or advanced projects. Its small form factor allows for easy integration with other components while its powerful microcontroller makes sure your project will run smoothly.
Which Is Better?
When considering an Arduino Micro or Pro Micro, it’s important to consider the individual needs of a project and what type of board best suits those needs. Both boards have similar characteristics and capabilities, but there are some key differences that should be taken into consideration.
The Arduino Micro is slightly larger than the Pro Micro with more pins for greater connectivity options. It is also compatible with more shields and accessories than the Pro Micro. The Arduino Micro also comes with an ATmega32u4 processor compared to the 8-bit ATmega328 on the Pro Micro. This gives it greater computing power for more complex tasks, making it better suited for larger projects or applications requiring high performance.
On the other hand, the Pro Micro is much smaller and more lightweight than the Arduino Micro. This makes it ideal for applications where size and weight are limited, such as wearable devices or robotics. It also has fewer pins compared to the Arduino Micro, but they are still capable of performing most basic tasks. The Pro Micro’s 8-bit ATmega328 processor is not as powerful as the 32u4 on the Arduino Micro, but it is still adequate for small projects or applications with limited requirements.
When choosing between an Arduino Micro and a Pro Micro, consider which board best suits your specific needs in terms of computing power and physical size. Also consider what accessories or shields you may need for your project and make sure that the board you select is compatible with them. With these factors in mind, you can make the best decision as to which board is right for your project. [6]
FAQ
Is Arduino Micro the same as Pro Micro?
No. Arduino Micro and Pro Micro are two different boards with different sets of features that make them suitable for different applications. The Arduino Micro is a more powerful board than the Pro Micro, but it is also larger and more expensive. Pro Micro is smaller and cheaper, but not as powerful as the Arduino Micro.
Is Pro Micro the same as Leonardo?
No. Although they are both Arduino boards, Pro Micro and Leonardo have different features and use different microcontrollers. The Leonardo uses an ATmega32U4 microcontroller while the Pro Micro uses an ATmega328P-AU.
What is the difference between Arduino Pro Mini and Arduino Pro Micro?
It has 14 digital input/output pins with 6 analog inputs, an 8 MHz resonator, a reset button, and a USB connection for downloading sketches. The board comes in two sizes – 5V/16MHz and 3V/8MHz versions – so it can be used in both low-power applications and high-speed applications. The Arduino Pro Micro is also based on the ATmega32U4 chip but boasts more features than the Pro Mini. It has 20 digital input/output pins (7 of which can be used as PWM outputs), 12 analog inputs, an ICSP header, a reset button, and a USB connection for downloading sketches. The Pro Micro also runs at 8MHz and comes in both 3V/8MHz and 5V/16MHz versions. One key difference between the two boards is that the Pro Mini does not have an on-board USB interface, while the Pro Micro does. This means that the user must use an external FTDI or other serial device to communicate with it over a USB connection. Additionally, the Pro Micro has more I/O pins than the Pro Mini which can be beneficial for projects requiring more input/outputs.
Why use Arduino Pro Mini?
The Arduino Pro Mini is a miniature version of the popular Arduino Uno board. It is an ideal choice for applications that require a small form factor or low-cost development boards. The Mini has all the same capabilities as the Uno, but it includes 2 digital I/O pins and 6 analog inputs compared to the Uno’s 14 digital and 6 analog pins. Additionally, its small size makes it great for portable projects that need to fit in tight spaces. This board also operates on 3.3V instead of 5V like other Arduinos, which allows for compatibility with voltage sensitive components such as sensors and LCDs.
Why is Arduino Micro so expensive?
It has twice as many input/output pins (20 digital, 12 analog) as the Pro Mini and can be easily connected to sensors using its built-in SPI and I2C headers. Its higher price point is due to its additional functionality, but it’s also worth noting that this board operates at 5V instead of 3.3V which makes it better suited for high power projects such as motor drivers or LED displays.
Useful Video: Arduino Pro Micro Quick Look
Conclusion
Arduino Micro and Pro Micro are both good options for different projects. The Arduino Micro is best suited for hobbyist projects that require more RAM, due to its larger memory capacity. On the other hand, the Pro Micro is better for smaller, simpler applications because of its low cost and power efficiency. Ultimately, it depends on what type of project you are working on and which features are most important to you in order to determine which board is better suited for your needs. If you’re still unsure of which one is right for your project, then the best course of action may be to consult a professional or do additional research into each option before making a decision.
References
- https://arduino.stackexchange.com/questions/38257/arduino-micro-vs-pro-micro
- https://iotdunia.com/arduino-micro-and-pro-micro-board/
- https://iotdunia.com/arduino-micro-and-pro-micro-board/
- https://forum.arduino.cc/t/micro-vs-micro-pro/675976
- https://all-arduino.ru/product/arduino-micro-i-arduino-pro-micro/
- https://electronicshacks.com/arduino-micro-vs-nano/