
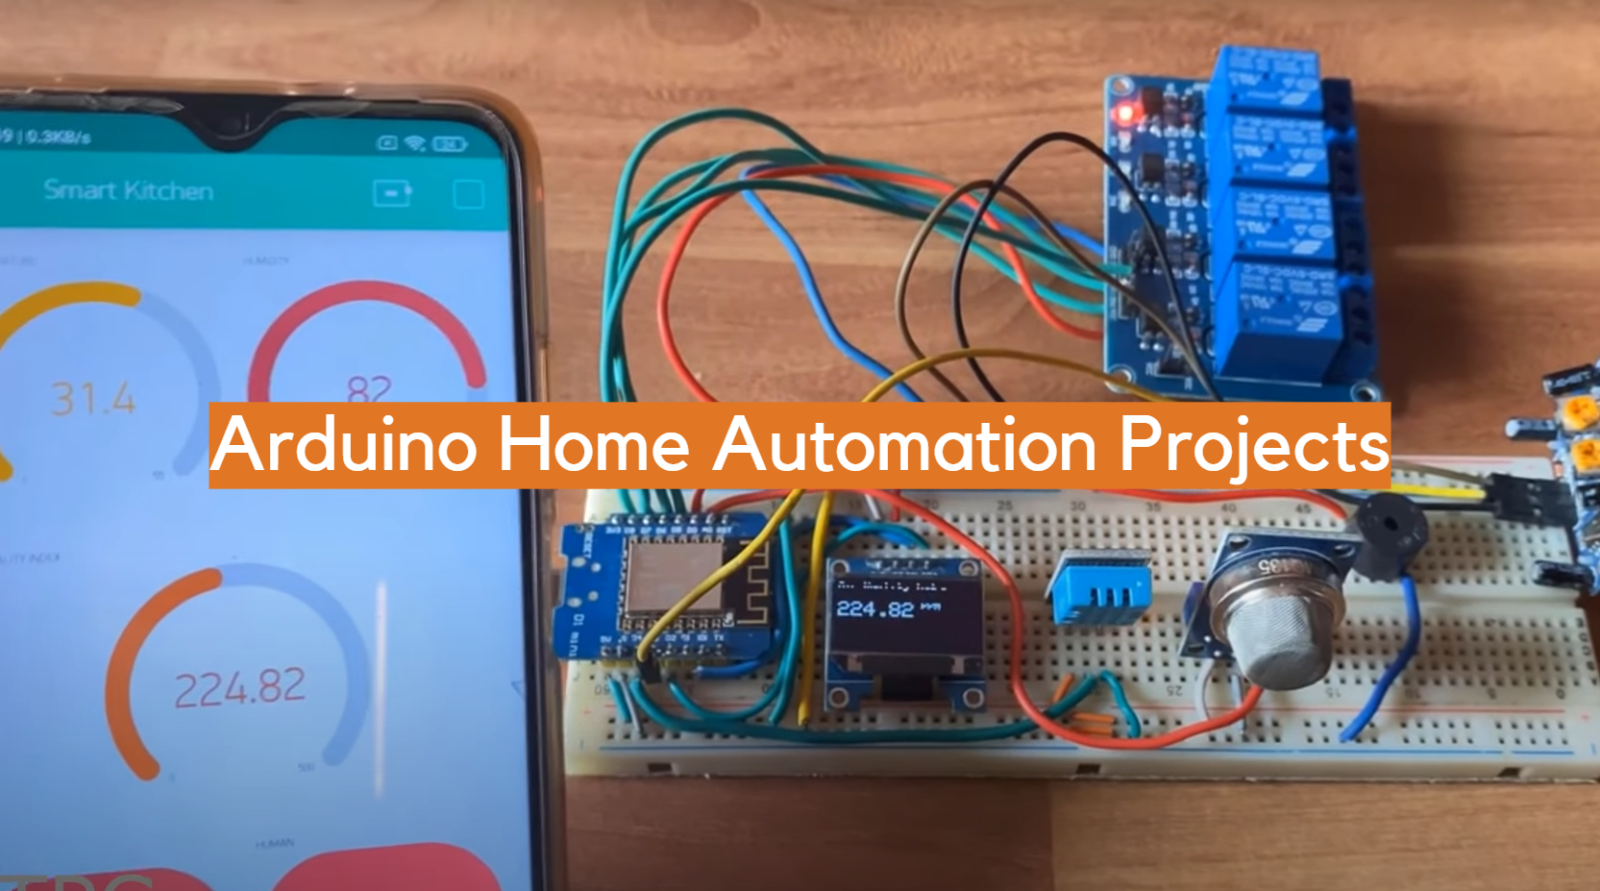
Arduino home automation projects are becoming more and more popular. With the right tools, you can automate just about anything in your home! In this article, we will discuss some of the most popular Arduino home automation projects and provide tips on how to get started. We will also answer some common questions that people have about Arduino home automation. So if you’re ready to take your home into the future, keep reading!
Arduino in General
The Arduino development board consists of a simple circuit board, with an Atmel AVR microcontroller at its core. This microcontroller has all the necessary parts to run it: memory, timers, communication ports, power supply and clock source.
The Arduino software comprises a programming language (based on C/C++) and the Arduino Development Environment (IDE). The IDE allows you to write programs in the graphical environment of your choice and upload them to the device via USB or other serial connection methods.
In addition to the main board, Arduino also offers a wide variety of additional components and modules that can be used for projects. These include shields (sensors, networking capabilities, display/touch screens), boards (robotics and motor control) as well as other various add-ons such as modules for prototyping, data storage and more.
Arduino is great for beginners because it allows you to quickly build basic projects without having to learn complex programming languages or having to solder parts together. Its popularity has led to an excellent online community with plenty of support and resources available. It’s also easy to expand its capabilities by adding sensors and other devices without needing any special expertise. [1]
Can Arduino be Used For Home Automation?
Yes, Arduino can be used for home automation. It’s an excellent platform for creating automated control systems, as it provides a wide range of sensors and modules that can be used to make your home smart.
For example, you can use Arduino to activate lights or appliances based on movement or temperature readings. You can also use it to monitor energy usage in order to optimize efficiency and save money on bills. Additionally, its open-source nature means that many third-party libraries and shields are available to extend the capabilities of your projects.
Arduino is fairly easy to program and set up in home automation projects, but it does require some knowledge of electronics and programming – so if you’re just starting out, you may want to have a look at some tutorials and guides before you start.
If you’re looking for an easy way to get started with home automation, there are several Arduino shields and libraries available that will enable you to quickly create basic projects. However, for more advanced projects it may be necessary to write your own code or use additional third-party components.
Best Arduino Home Automation Projects
Now that you know what Arduino is and how it can be used for home automation, let’s take a look at some of the best projects that can be created using this platform.
Automatic Sliding Door Project
The first step towards building an automatic sliding door is to gather all the materials you will need. The main components you will need are: Arduino UNO, OLED display, breadboard, and push button and various other hardware like screws and nuts.
Obviously, you will also need to have access to the garage door motor in order to interface the Arduino with it.
Once you have gathered all the required parts it’s time to get started on assembling your automated door system. Begin by connecting the OLED display to your Arduino and then connecting all the other components of the motor to the Arduino.
Next, you will need to write a program for your automated door system using a C++ programming language. This programming language is very important as it helps tell the Arduino what to do when certain conditions are met. You can find many example programs online that serve as a guide during this process.
Once you have written your code, upload it onto the Arduino board and boot up your system. Now test out the automatic sliding door by pressing the button or other input device used for controlling the door system. If everything works correctly then you have successfully created an automated sliding garage door system!
Smoke Detection with MQ-2 Gas Sensor Project
Smoke detection is an essential component of any home automation system. Smoke can cause permanent and irreversible damage, such as starting fires, so it’s important to be able to detect smoke in the home before it gets out of hand. Fortunately, Arduino makes this easy with its MQ-2 gas sensor.
The MQ-2 gas sensor is a simple device that consists of two electrodes placed close together in a sealed chamber filled with an electrolyte solution like air or other flammable gasses. When one electrode comes into contact with smoke particles, an electrochemical reaction occurs which causes the voltage across the electrodes to change. This change in voltage can then be measured by the Arduino board and used to trigger an alert or take predetermined action.
For this project you will need Arduino UNO, MQ-2 smoke sensor, red and green LED, and buzzer. The setup is relatively simple: Connect the MQ-2 smoke sensor to the Arduino UNO board using the provided connection cable. Then connect the LEDs and buzzer to the sensor. Once everything is connected, you can upload the code to the Arduino board.
The code will measure the voltage across the MQ-2 sensor and if it detects a change in voltage that indicates smoke, then it will trigger an alert by activating the LEDs and buzzer. The exact thresholds for triggering alerts can be adjusted depending on your preferences.
7 Segment Clock Project
A 7 segment clock project is a great way to get started with Arduino home automation projects. In this project, you’ll learn how to construct and program an LCD display that shows the time. With some simple coding, you can customize your clock to display the current date and time in a variety of formats.
You will need several components for this project: ED bulbs which are arranged in the form of an Arduino Uno board, a 7 segment display, breadboard, jumper wires, 74HC595 IC and DS3231 RTC Module.
A 74HC595 IC is used to interface the 7 segment display with Arduino. It is a 8-bit shift register and can be used to send data into the latch pin of the display. The shift register takes in an 8-bit parallel data, stores it, and then converts it into serial output for the 7 segment display using its clock pin.
The DS3231 RTC Module will provide us with accurate time information which we’ll use to display on our LCD screen. This module has a built-in temperature sensor as well so you can also show accurate temperature readings on your LCD screen along with date and time.
To begin building this project, simply plug in all the components into their respective ports as per their schematics. Use the jumper wires to connect all the components and then, upload the code into your Arduino board. Once you have successfully uploaded the code, you will be able to see the time being displayed on your LCD screen.
Once you have wired everything up, program your project with C++ code.
You can also customize your 7 segment clock project by adding features like alarms, timers and more. With a few lines of code, you can even add a sunrise/sunset feature that displays what time it is in other parts of the world. The possibilities are endless!
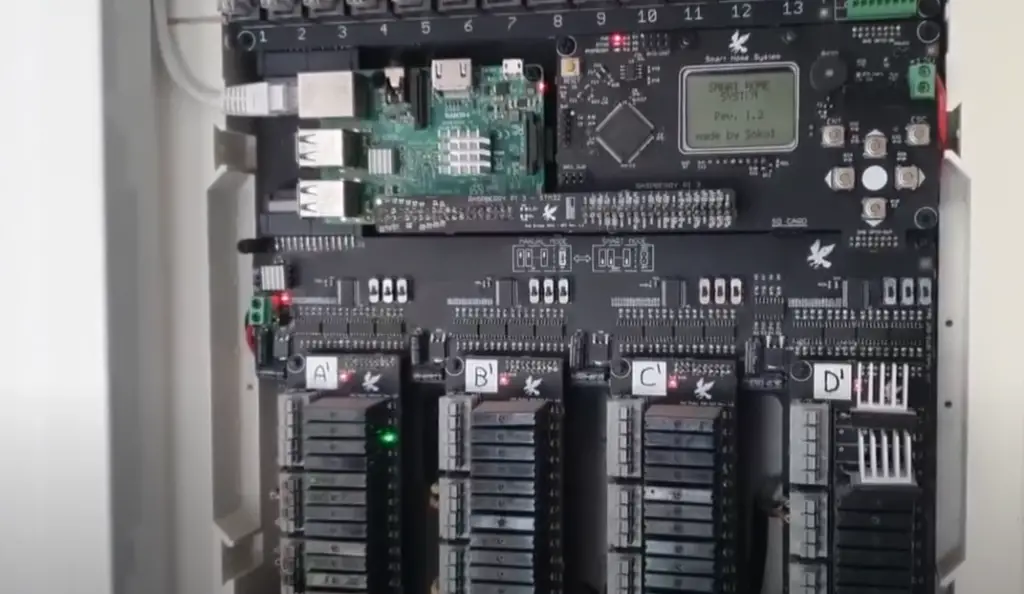
LED Lighting System Project
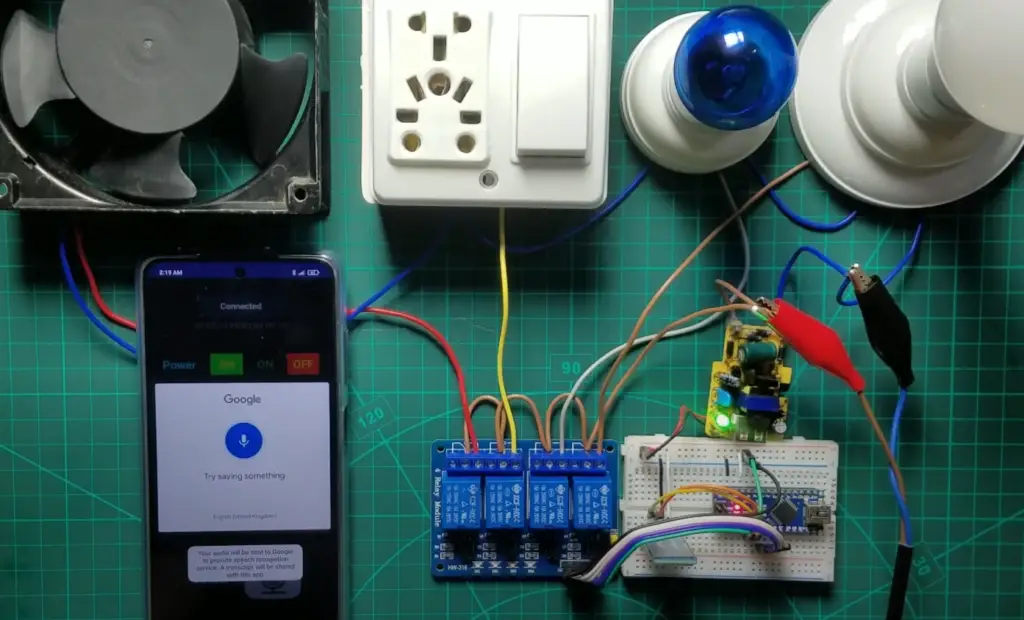
Another of the most popular Arduino home automation projects is creating a LED lighting system. This involves setting up LEDs so that they can be turned on or off with the press of a button, such as a remote control or switch. This project is fairly simple to do and requires no additional equipment other than the Arduino board itself.
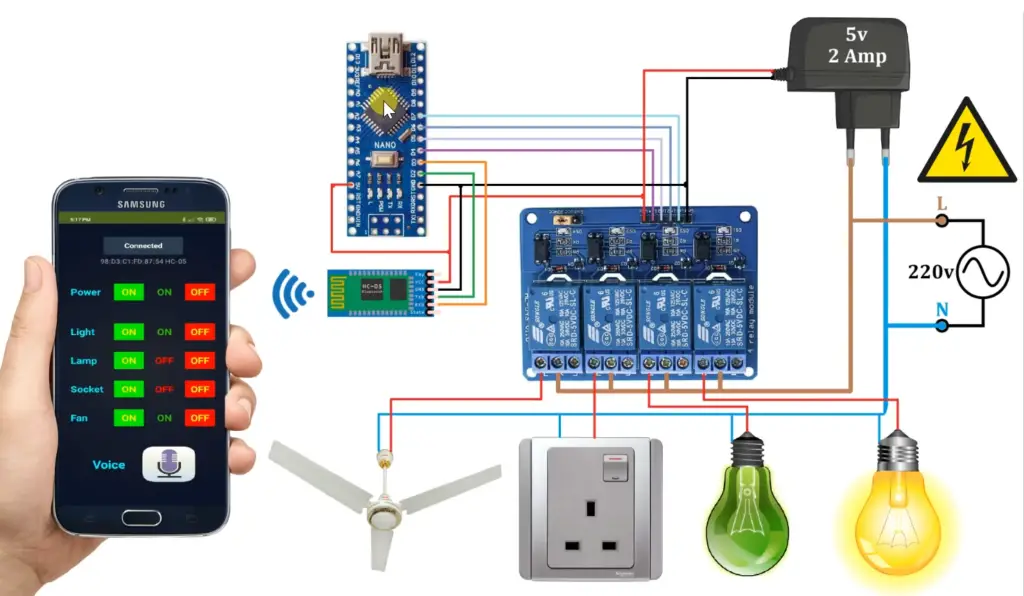
To start this project, you will need an Arduino Nano R3, Raspberry Pi 3B, HC-05 Bluetooth module, KRIDA 8-channel dimmer, drop ceiling LED lamp, 7-inch touchscreen display, and a 12V power supply. The first step is to connect the Arduino board, Raspberry Pi, Bluetooth module, dimmer, and display together by wiring them up with appropriate connectors. Once you have connected all the components correctly, it’s time to write the code for the project.
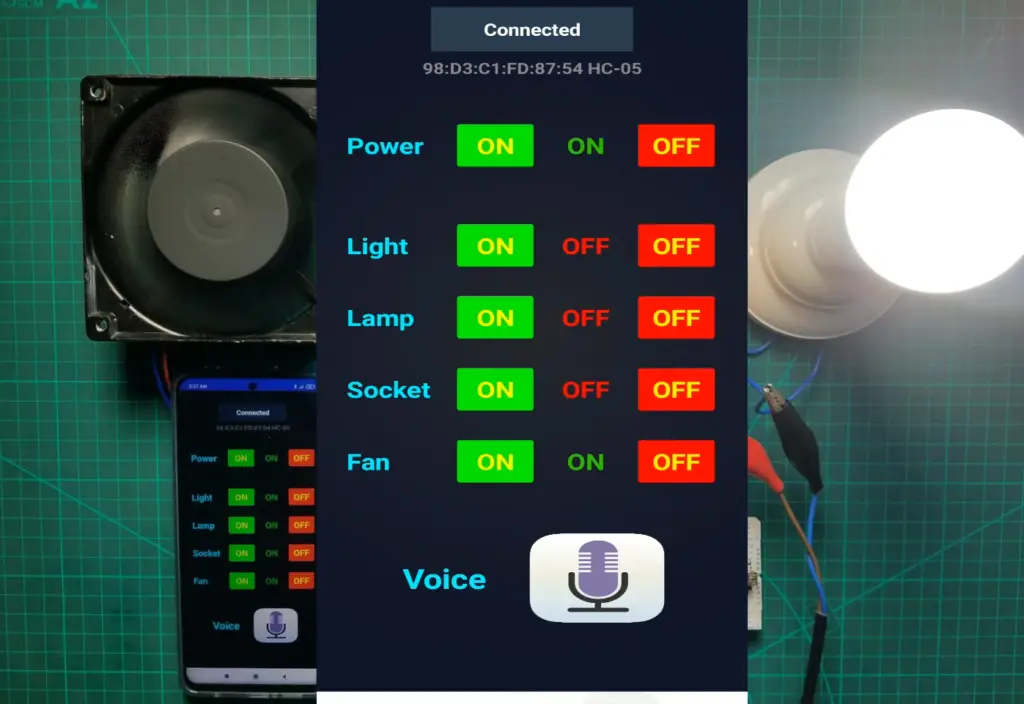
You can install those lights in your ceiling in the same way you would any other light. You will then need to connect the dimmer and power supply to the corresponding lights so that they can be controlled via the Arduino board. To do this, you will need to write a C++ program for your Arduino board that takes in commands from either your Bluetooth device or touchscreen display. This program should be able to turn lights on and off as well as dim or brighten them depending on the input it receives.
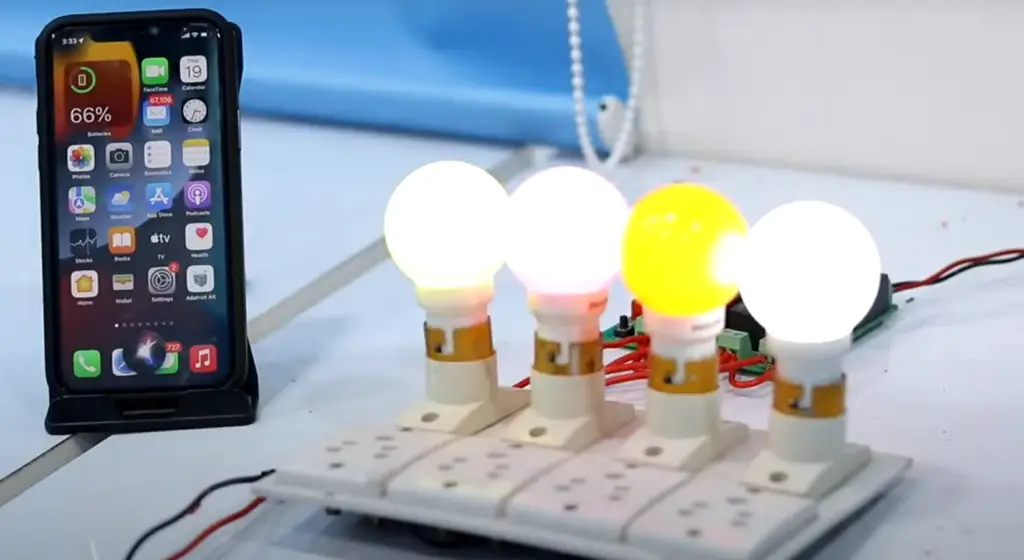
Once you have written your code, it’s time to test it out. If all goes according to plan, you should now be able to control your LED lighting system with either your remote control or touchscreen display!
Bluetooth Door Lock
Last project we are going to discuss is building a Bluetooth door lock. This project will allow you to control access to your door and improve security with a simple setup.
First, you will need to gather all the components necessary for the project. This includes an Arduino Nano, Bluetooth module, servo motor, 5-V wall adapter and a slide lock.
Next, you want to wire the servo to the Arduino, and the slide lock to the servo. This will allow you to use a servo motor in order to move the slide lock when commanded from your phone. Once you add the servo, test it! Make sure you can control it with the Arduino.
It’s time to code the Arduino. Use Arduino IDE to write the code that will allow you to control the servo with your phone. This code will monitor the serial port for commands, and if it receives a command that indicates an open or close action, then it will run the appropriate function to move the servo motor.
Now, connect the Bluetooth module to the Arduino. This will enable communication between your phone and the Arduino. Solder it properly and use the same code that you used to control the servo, but with a few modifications. Make sure it has a unique identification number (UID) so your device can search for it.
Now that all your components are connected and tested, you need to install your creation into the lock. This will usually involve unscrewing the lock and replacing it with your door lock.

That’s it! You have successfully created your own Arduino-powered Bluetooth door lock! Now you can rest easy knowing that only authorized persons have access to your home. [2], [3], [4], [5], [6]
FAQ
Can Arduino be used for home automation?
Absolutely! Arduino can be used for home automation projects in a variety of different ways, depending on the desired end goal. With its wide range of available components and sensors, Arduino is an ideal platform for creating custom home automation solutions.
For example, you could use an Arduino microcontroller along with motion sensors to detect intruders or unexpected activity around your house. You could also use it to create automated lighting systems, climate control systems, door opening and closing systems (with the help of servo motors), or even water-level monitoring systems.
What can I automate with Arduino?
Arduino can be used to automate a variety of tasks in the home. Some popular examples include controlling lighting, heating and cooling systems, monitoring security cameras, locking/unlocking doors and windows, sensing motion or other environmental changes, and even more complex projects such as automating irrigation systems or pool control.
With Arduino’s built-in inputs and outputs (I/O), you have access to all sorts of sensors that allow you to interact with your environment in clever ways. You can use these inputs and outputs to detect when something is happening in your home (perhaps a door opening or closing) and use that information to trigger an action (such as turning on lights). This opens up endless possibilities for what you can do with Arduino.
Additionally, the Arduino platform is highly customizable and can be used to create a variety of projects that are tailored to your specific needs.
How to build home automation with Arduino?
Building home automation with Arduino is a relatively simple process. The first step is to purchase an Arduino and the necessary components, such as sensors, actuators, LCDs, breadboards, wires, and relays. Once you have all the components needed to build your project, connect them to your Arduino board using the appropriate jacks. Connecting the components should be done in the order of input (sensors) → output (actuators) according to the guide you’re using.
Once everything is connected properly and securely, it’s time to write and upload code for your project. Depending on what type of home automation project you are trying to create with your Arduino setup, you may need different libraries and/or sketches that can be found on websites like GitHub. Once you have written the code, upload it to your Arduino and ensure that everything is working as intended.
Finally, connect your Arduino board to a power source like USB or battery and test out your home automation project. You may need to make adjustments in the code if you find any bugs or errors during this testing phase. With some patience, creativity, and tinkering, you should have no problem building an effective home automation setup with Arduino!
How to build a Bluetooth-controlled home automation system using Arduino?
Building a Bluetooth-controlled home automation system using Arduino is not as difficult as it may seem. All you need is an Arduino board, some basic components and the right software.
First of all, you need to define what kind of home automation system you want to build, what components are necessary and which ones can be omitted. It depends on the complexity of your project and the budget available.
Usually, Bluetooth home automated products can be divided into two groups – those that are connected to an existing Wi-Fi network, and those that require a dedicated Bluetooth controller. For example, if you want to control lights, ceiling fans or air conditioners from your mobile device via Bluetooth, then you will definitely need a Bluetooth controller.
Useful Video: 10 Brilliant Home Automation Ideas you must try
Conclusion
Arduino is a great choice for home automation projects. It is cost-effective, easy to program and use, and has a large base of support from both the professional and hobbyist communities.
In this article we’ve looked at some of the most common questions about Arduino home automation projects as well as a few tips and tricks to help with project planning. We’ve also provided you with a few ideas regarding starting points and project ideas.
Whether you’re a hobbyist or professional, there are many great ways to use the power of Arduino for home automation projects. With the right combination of hardware and software, you can create anything from an automatic pet feeder to a programmable lighting system. Take your time and explore all that Arduino has to offer – you won’t regret it!
Good luck with your home automation adventures! Have fun and stay safe out there!
References
- https://learn.sparkfun.com/tutorials/what-is-an-arduino/all
- https://www.watelectronics.com/arduino-projects/
- https://projecthub.arduino.cc/DVDMDN/b4d79086-e05f-4b42-8441-41bb0f5b5518
- https://circuitdigest.com/microcontroller-projects/interfacing-mq2-gas-sensor-with-arduino
- https://all3dp.com/2/arduino-smart-home-project/
- https://www.instructables.com/Bluetooth-Door-Lock-Arduino/