From crafting smart home systems to designing retro gaming consoles, the Raspberry Pi’s versatility knows no bounds. Yet, amid the realm of endless opportunities, a subtle warning often emerges, a signal that demands our attention and underscores the importance of a stable foundation: the infamous “Low Voltage Warning”. This unassuming alert, often in the form of a lightning bolt icon, serves as a crucial safeguard, a digital sentinel tasked with notifying us when the power supply to our Raspberry Pi becomes inadequate, potentially jeopardizing its operation and data integrity.
As the beating heart of our digital endeavors, the Raspberry Pi relies on a consistent and robust power supply to flourish. In this comprehensive guide, we embark on a journey to decode the nuances of the low voltage warning – to unravel its significance, understand its implications, and equip ourselves with actionable insights to ensure a resilient and trouble-free Raspberry Pi experience.
From demystifying the warning itself to unveiling the intricacies of optimal voltage levels and recommended power supplies, we delve deep into the realm of power management for our beloved Raspberry Pi. So, whether you’re a seasoned Raspberry Pi aficionado or a curious newcomer, join us as we navigate the terrain of low-voltage warnings and chart a course toward a more empowered and fortified Raspberry Pi journey.
Optimal Voltage Level for Raspberry Pi:
Voltage Level for Raspberry Pi Computer Boards: A Vital Factor
The Raspberry Pi operates on a delicate balance of power supply and consumption. The voltage supplied to the board directly impacts its performance, stability, and longevity. The official recommended voltage for most Raspberry Pi models is 5V, although slight variations are acceptable. It’s crucial to ensure that the voltage remains within an acceptable range to prevent potential issues such as system crashes, data corruption, and even hardware damage [1].
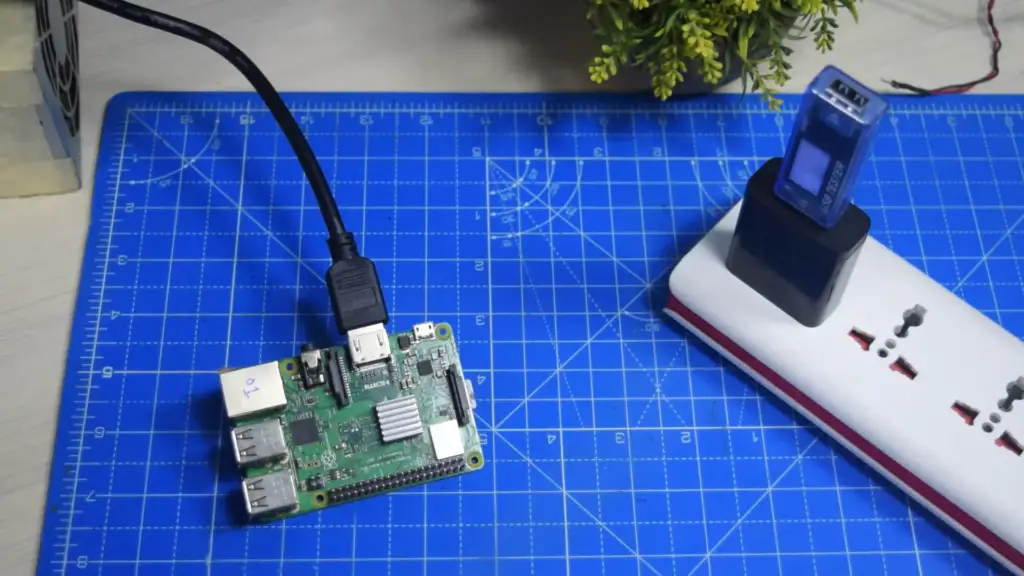
CPU Throttling: Balancing Performance and Heat
One of the ways Raspberry Pi manages its power consumption and temperature is through a mechanism known as CPU throttling. CPU throttling is a dynamic process where the Raspberry Pi’s processor (CPU) scales back its performance to reduce heat generation and power consumption. This is particularly important when the board is exposed to high loads or unfavorable environmental conditions.
CPU throttling is a protective measure that prevents the Raspberry Pi from overheating and potentially damaging itself. When the temperature of the CPU reaches a certain threshold, the board will automatically reduce its clock speed and voltage, effectively slowing down its processing power. While this action helps maintain the board’s temperature within safe limits, it can also lead to reduced performance during resource-intensive tasks.
Achieving Optimal Voltage Levels: A Practical Plan
To ensure your Raspberry Pi operates at its best, here’s a practical plan to achieve and maintain optimal voltage levels:
- Select a Quality Power Supply: Invest in a high-quality power supply that meets the recommended voltage requirements for your specific Raspberry Pi model. The official Raspberry Pi website provides valuable information on the recommended power supplies, helping you make an informed choice;
- Inspect the USB Cable: The USB cable connecting the power supply to the Raspberry Pi plays a significant role in maintaining voltage stability. Opt for a short, high-quality USB cable with good power conductivity to minimize voltage drops;
- Consider a Powered USB Hub: If you’re connecting power-hungry peripherals or devices to your Raspberry Pi, consider using a powered USB hub. This will distribute the power load and prevent voltage fluctuations caused by peripheral devices;
- Monitor Power Consumption: Utilize software tools to monitor your Raspberry Pi’s power consumption. Keep an eye on power-hungry activities or components that might be draining more power than anticipated;
- Check for Overclocking and Cooling: While overclocking can boost performance, it can also increase power consumption and heat generation. Strike a balance between performance and stability. Additionally, ensure proper cooling mechanisms are in place to dissipate heat effectively;
- Update Firmware: Regularly update your Raspberry Pi’s firmware to benefit from improved power management and overall stability. Firmware updates often include optimizations that can help maintain optimal voltage levels;
- Inspect for Short Circuits: Periodically inspect your Raspberry Pi setup for loose wires, metal contacts, or other potential sources of short circuits. Such issues can disrupt power supply and impact voltage stability;
- External Power Supply: If low voltage warnings persist despite your best efforts, consider using an external power supply with a stable output. This can help mitigate power-related issues;
- Understand CPU Throttling: Familiarize yourself with the concept of CPU throttling and its role in managing temperature and power consumption. Recognize that occasional CPU throttling is a protective measure and not necessarily a cause for concern;
- Regular Maintenance: Routinely assess your Raspberry Pi setup and power components. Over time, connections can become loose, cables can degrade, and power supplies can weaken. Proactive maintenance can prevent voltage-related problems from arising [2];
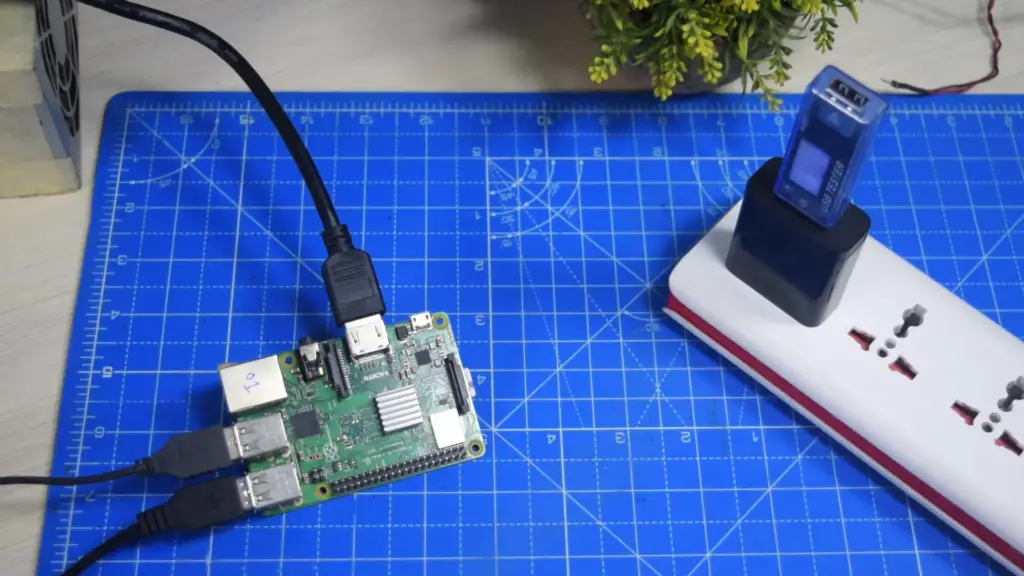
How to Identify Raspberry PI Undervoltage Detected Messages?
Boot-Up Message
When your Raspberry Pi boots up, it performs a series of diagnostic checks. If the power supply voltage is below the recommended level, you might see a message during the boot sequence that indicates “Under-voltage detected!” or something similar. This message typically appears in bright red or yellow text on the screen.
Monitor Log Files
Check the system log files for any mentions of undervoltage issues. The primary log file you should monitor is the syslog. You can use the following command to view the contents of the syslog:
cat /var/log/syslog
Raspberry Pi Icon:
In some cases, an undervoltage icon (a small lightning bolt symbol) may appear in the top-right corner of the screen. This icon is an indicator that the Raspberry Pi is not receiving sufficient power.
Check the Act LED
The Raspberry Pi has several LEDs on the board. The “Act” (activity) LED can also serve as an indicator of undervoltage. If the “Act” LED blinks irregularly or remains off, it could be due to power supply issues.
Command-Line Tools
The Raspberry Pi provides command-line tools to check various hardware aspects, including the power supply. Use the vcgencmd command with the get_throttled parameter to get the status of any current under-voltage warnings:
vcgencmd get_throttled
Use Monitoring Software
There are third-party monitoring software applications that can provide real-time information about the status of your Raspberry Pi, including power supply voltage. One popular option is rpi-monitor.
Physical Inspection
Check the power supply cable and connection points. Ensure that the USB cable is securely connected to both the Raspberry Pi and the power source. Examine the cable for any signs of damage or fraying.
Voltage Testing
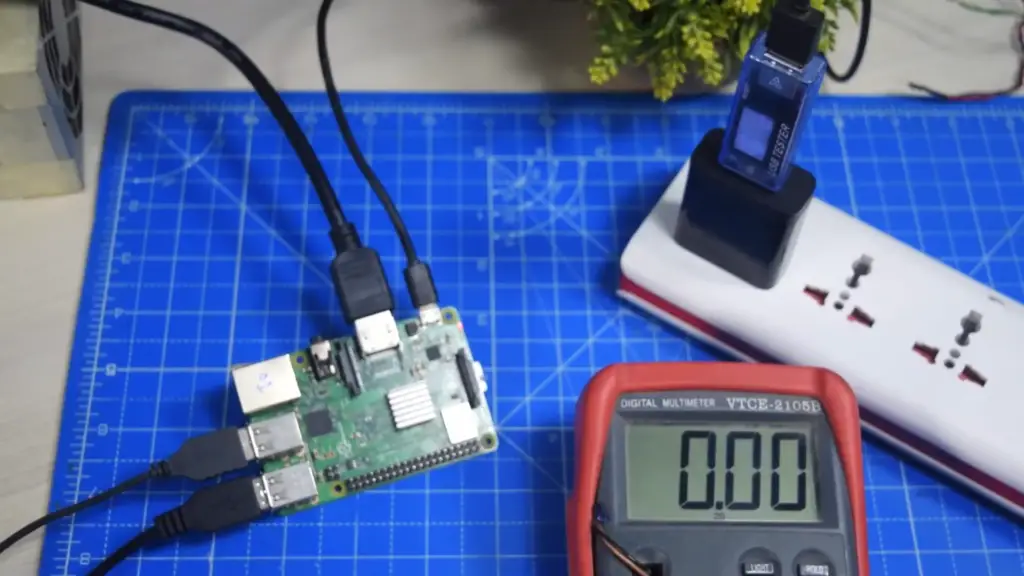
You can use a multimeter to measure the voltage being supplied to the Raspberry Pi. Measure the voltage at the GPIO pins (usually between pin 2 and pin 6, which correspond to the 5V and ground pins). The voltage should be as close to 5V as possible.
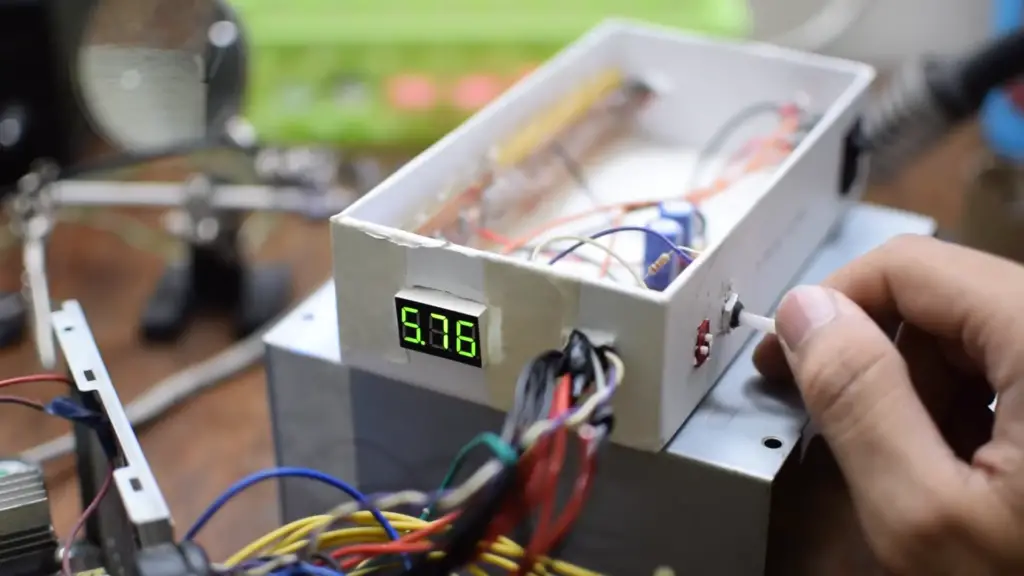
Try a Different Power Supply
If you suspect that your current power supply is inadequate, try using a different, high-quality power supply that meets the recommended voltage and current requirements for your Raspberry Pi model.
Power Consumption and Activities
Be aware of power-intensive activities and connected devices. Running resource-intensive applications or using power-hungry peripherals can increase power consumption and trigger undervoltage issues.
Consider an External Powered USB Hub
If you’re connecting multiple devices to the Raspberry Pi’s USB ports, consider using a powered USB hub. This can help distribute the power load and prevent undervoltage situations.
Checking If Raspberry Pi Is Suffering From Low Voltage
Low voltage can result in various symptoms that may affect the performance and stability of your Raspberry Pi. Some common signs include random reboots, freezes, sudden shutdowns, or even the appearance of a low-voltage lightning bolt icon on the display. If you notice any of these symptoms, it’s crucial to investigate further.
Checking Voltage Levels
To determine if your Raspberry Pi is suffering from low voltage, you can measure the voltage levels directly on the board. Here’s how:
- Power Off: Ensure that your Raspberry Pi is powered off before proceeding with the voltage check;
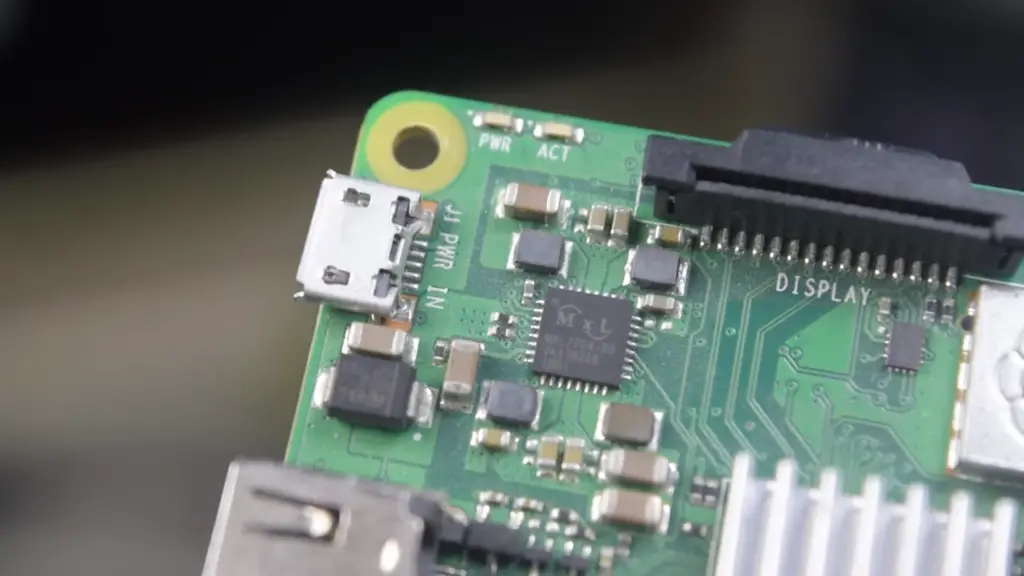
- Locate Test Points: On the Raspberry Pi board, there are two test points labeled TP1 and TP2. TP1 is the 3.3V test point, and TP2 is the 5V test point;
- Connect Multimeter: Set your multimeter to DC voltage mode and connect the positive (red) probe to TP1 and the negative (black) probe to TP2;
- Power On: Power on your Raspberry Pi while keeping the multimeter connected;
- Voltage Reading: The ideal voltage reading for TP1 is around 3.3V, while TP2 should show a reading close to 5V. If the readings are significantly lower, it indicates low voltage [3];
Troubleshooting Steps
If you have confirmed that your Raspberry Pi is suffering from low voltage, here are some troubleshooting steps to resolve the issue:
- Power Supply: Ensure that you are using a high-quality power supply with the correct voltage and current rating for your Raspberry Pi model;
- Cable Quality: Check the quality of the power cable you are using. A poor-quality cable can lead to voltage drops;
- Power Requirements: Make sure that the power supply can provide enough current to meet your Raspberry Pi’s power requirements. Some projects or peripherals may demand additional power;
- USB Ports: Avoid using power-hungry devices on the USB ports of your Raspberry Pi, as they can draw excessive current and cause voltage drops;
- Overclocking: If you have overclocked your Raspberry Pi, consider reverting to the default settings, as overclocking can increase power consumption;
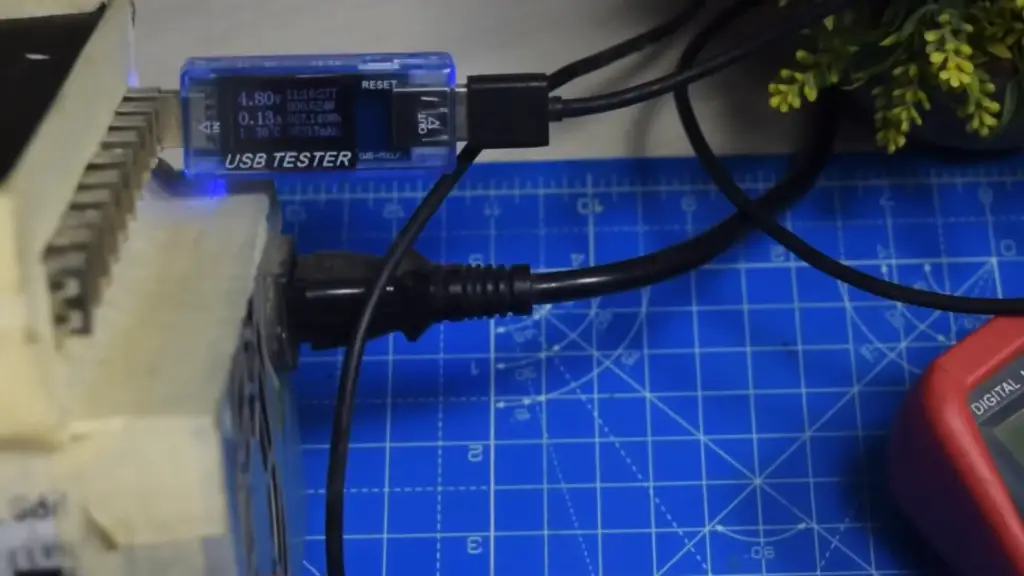
Looking for the Undervoltage Warning in Raspberry Pi OS Desktop
In the Raspberry Pi OS desktop environment, you can visually identify undervoltage warnings through specific icons displayed on the screen. These icons serve as clear indicators of potential power supply issues.
Original Under-Voltage Warning
The original undervoltage warning is represented by a small lightning bolt symbol that appears in the top-right corner of the desktop screen. This warning symbol indicates that the Raspberry Pi is not receiving sufficient power, which can lead to instability and other problems.
If you see this lightning bolt icon, it’s a clear indication that your Raspberry Pi is currently experiencing undervoltage. To address this issue, follow the steps mentioned earlier in this conversation, such as checking your power supply, using a quality USB cable, and monitoring for power consumption.
New Low Voltage Warning
The new low voltage warning is a redesigned version of the undervoltage warning and aims to provide clearer information about the power supply status. It features a more detailed icon that includes a lightning bolt along with a temperature gauge.
This warning icon not only alerts you to potential undervoltage issues but also indicates that the Raspberry Pi’s temperature might be causing performance throttling due to inadequate power. This new warning system offers more comprehensive information to users, helping them take appropriate actions to ensure the proper functioning of their Raspberry Pi.
In both cases, these warning icons are essential visual cues that prompt you to investigate and resolve any power supply issues affecting your Raspberry Pi. By addressing undervoltage or low-voltage situations, you can maintain stability, prevent data corruption, and ensure a smooth computing experience on your Raspberry Pi.
The Low Voltage Warning Within the Terminal:
Using the vcgencmd Command:
The vcgencmd command is a powerful utility that allows you to interact with various aspects of your Raspberry Pi’s hardware, including monitoring voltage levels. To check for low voltage warnings using this command:
Open a terminal window on your Raspberry Pi.
Run the following command to retrieve information about the system’s current status, including any undervoltage warnings:
vcgencmd get_throttled
The output will consist of a hexadecimal value that represents different conditions, such as temperature and under-voltage warnings. Focus on the 16th bit (bit 16) of the value:
If bit 16 is set (indicated by a value of 0x50000), an undervoltage warning is present.
If bit 16 and bit 17 are set (indicated by a value of 0x50005), the system is currently throttling due to both temperature and undervoltage.
If an undervoltage warning is detected, it’s essential to address the power supply issue promptly to prevent further complications [4].
Checking the Kernel Message Buffer:
The kernel message buffer contains system messages, including hardware-related notifications. To access and review the kernel message buffer:
Open a terminal window on your Raspberry Pi.
Run the following command to view the kernel message buffer:
dmesg
Look for entries related to voltage or power issues. You might find messages indicating low voltage or power fluctuations that could impact your Raspberry Pi’s stability.
To filter the output for specific keywords, you can use tools like grep. For example, to only display messages containing “undervoltage” use:
dmesg | grep undervoltage
Addressing Low Voltage Warnings:
If you identify low voltage warnings through the terminal, it’s important to take appropriate actions:
- Check Power Supply: Ensure that your Raspberry Pi is using a high-quality power supply that meets the recommended voltage and current specifications for your model;
- Inspect Connections: Verify that all power connections, including the USB cable and power source, are secure and free from damage;
- Reduce Power Consumption: If your Raspberry Pi is running power-intensive tasks or using power-hungry peripherals, consider optimizing your setup to reduce power consumption
- Avoid Overclocking: Overclocking can increase power demands and exacerbate low voltage issues. Consider reverting to default clock speeds if you’re overclocking your Raspberry Pi;
The Solution to the Low Voltage Warning on the Raspberry Pi:
1. Purchase an Official Power Supply
The Raspberry Pi Foundation provides official power supplies that are designed to meet the specific power demands of Raspberry Pi models. These power supplies are optimized to deliver stable and reliable voltage, reducing the likelihood of low voltage warnings.
Here’s how you can benefit from using an official power supply:
- Guaranteed Compatibility: Official power supplies are rigorously tested and guaranteed to work seamlessly with Raspberry Pi devices. They eliminate compatibility issues and ensure proper power delivery;
- Stable Voltage: Official power supplies provide consistent voltage, reducing the risk of voltage drops that can trigger low voltage warnings;
- Longevity: Using a quality power supply can extend the lifespan of your Raspberry Pi by preventing potential damage caused by inadequate power;
2. Ensure Your Alternate Power Supply Satisfies the Power Requirements
If you choose to use an alternate power supply, it’s crucial to ensure that it meets the power requirements of your specific Raspberry Pi model.
Follow these steps to ensure your alternate power supply is suitable:
- Check Voltage and Current Ratings: Refer to the official Raspberry Pi documentation or the product specifications for your model to determine the recommended voltage and current ratings. Ensure that your alternate power supply provides these ratings;
- Quality USB Cable: Use a high-quality USB cable with good power conductivity to minimize voltage drops between the power supply and the Raspberry Pi;
- Powered USB Hub: If you’re connecting power-hungry peripherals, consider using a powered USB hub. This can help distribute the power load and prevent undervoltage situations;
- Monitor Power Consumption: Use software tools to monitor your Raspberry Pi’s power consumption. Be aware of power-intensive activities or connected devices that might exceed the capabilities of your power supply;
- Regular Inspections: Periodically inspect the power supply cable and connections for signs of wear, damage, or poor contact. Replace any faulty components promptly [5];
Avoid Low Voltage Warning on Raspberry Pi:
Replace Raspberry Pi Power Supply
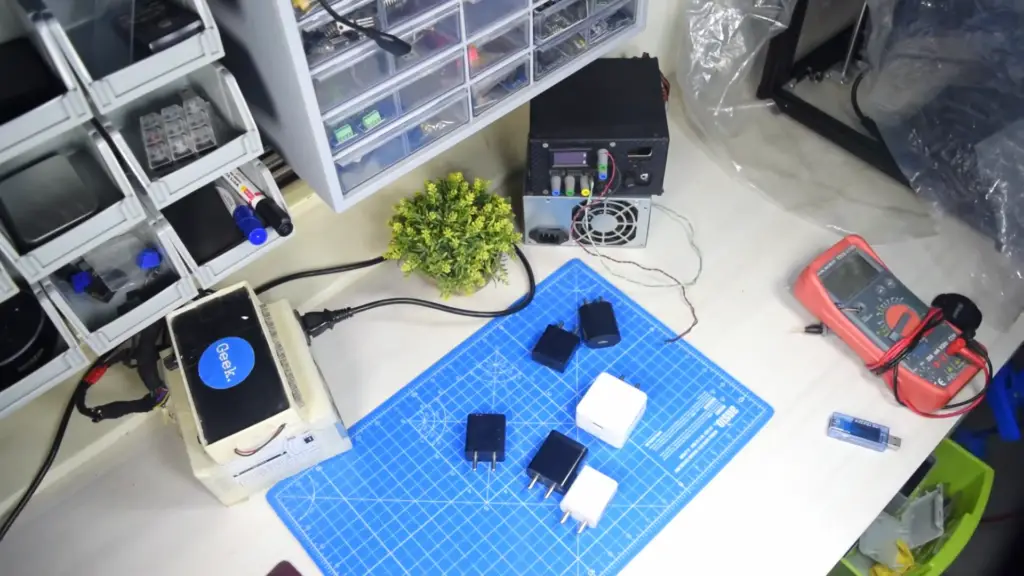
The power supply is the lifeline of your Raspberry Pi. Using an inadequate or subpar power supply can lead to low voltage issues. While it might be tempting to use any USB charger lying around, it’s best to opt for the official Raspberry Pi power supply. These supplies are specifically designed to meet the power demands of Raspberry Pi models and provide a stable voltage, minimizing the risk of low voltage warnings.
Cable May Cause Problem
A power supply is only as good as the cable that connects it to your Raspberry Pi. Low-quality or damaged USB cables can result in voltage drops and trigger low-voltage warnings. Invest in a high-quality USB cable with good power conductivity to ensure a consistent power flow from the supply to your Raspberry Pi.
Main Socket May Cause Problem
Believe it or not, the socket into which you plug your power supply matters. Avoid using overloaded power strips or outlets that are already powering numerous devices. Connecting your Raspberry Pi to a dedicated and reliable electrical socket can help maintain a stable power supply.
Don’t Plug the Raspberry Pi Directly Into Your Computer
While it might seem convenient to power your Raspberry Pi through a USB port on your computer, this method is not recommended. Computer USB ports often provide lower power outputs than dedicated power supplies, leading to potential voltage issues. Opt for a proper power supply instead.
Don’t Use Your Phone Charger
As tempting as it might be to repurpose your smartphone charger, it might not deliver the required power for your Raspberry Pi. Phone chargers are designed for mobile devices, not for the energy demands of a computer. Stick to dedicated Raspberry Pi power supplies for optimal performance.
Reduce Power-Hungry Peripherals
Your Raspberry Pi might be doing heavy lifting, but power-hungry peripherals can exacerbate low-voltage problems. Devices like external hard drives, cameras, and USB accessories draw additional power from your Raspberry Pi. Consider using a powered USB hub to distribute the power load and prevent voltage drops.
Disable Power-Hungry Features
Sometimes, your Raspberry Pi might be doing more than it needs to. Disabling power-hungry features like onboard LEDs, Wi-Fi, and Bluetooth when not in use can help conserve power and reduce the risk of voltage drops. Remember, it’s all about finding the balance between performance and power consumption.
Monitor and Tweak Power Consumption
Use software tools to monitor your Raspberry Pi’s power consumption. Be vigilant during resource-intensive tasks or when multiple peripherals are connected. Adjust your setup if you notice power consumption nearing the edge of your power supply’s capabilities.
Proactive Maintenance
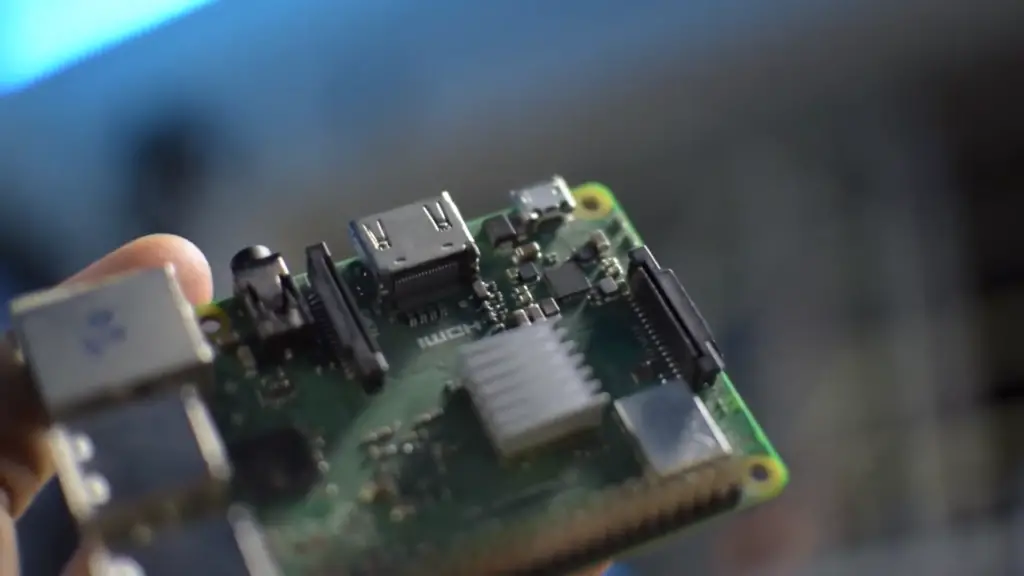
Regularly inspect your power supply setup for signs of wear, damage, or loose connections. A loose cable or a frayed wire can disrupt the power flow and lead to low voltage warnings. Be proactive in addressing these issues to ensure a consistent and reliable power supply.
Raspberry Pi 1, 2, 3 Power Requirements
Raspberry Pi 1:
The original Raspberry Pi Model B (released in 2012) has the following power requirements:
- Input Voltage: 5V;
- Recommended Power Supply Current: 700mA (3.5W);
- Maximum Power Consumption: Around 3.5W;
It’s important to note that while the recommended power supply current is 700mA, using a power supply with higher current capability (e.g., 1A) is advisable, especially if you plan to connect USB peripherals or use power-intensive applications.
Raspberry Pi 2:
The Raspberry Pi 2 Model B (released in 2015) offers improved performance over the original model and has slightly higher power requirements:
- Input Voltage: 5V;
- Recommended Power Supply Current: 1.8A (9W);
- Maximum Power Consumption: Around 4W;
Again, using a power supply with higher current capability is recommended, especially when connecting peripherals or running resource-intensive tasks.
Raspberry Pi 3:
The Raspberry Pi 3 Model B (also released in 2015) continues the trend of increased performance and capabilities, resulting in higher power consumption:
- Input Voltage: 5V;
- Recommended Power Supply Current: 2.5A (12.5W);
- Maximum Power Consumption: Around 7.5W;
The Raspberry Pi 3 introduced built-in Wi-Fi and Bluetooth capabilities, which contribute to the higher power requirements. As with the previous models, opting for a power supply with higher current output can provide better stability and prevent potential undervoltage issues.
The power requirements mentioned above are general recommendations for the Raspberry Pi models under typical operating conditions. However, the actual power consumption can vary based on factors such as connected peripherals, CPU load, and overclocking. When selecting a power supply, it’s advisable to choose one with a current rating slightly higher than the recommended value to ensure stable operation and accommodate potential power spikes.
Raspberry Pi 4 Power Requirements
The Raspberry Pi 4 Model B, released in 2019, is a significant upgrade in terms of performance and capabilities compared to its predecessors. As a result, its power requirements are higher to accommodate the increased computing power and additional features.
Raspberry Pi 4 Model B:
- Input Voltage: 5V;
- Recommended Power Supply Current: 3.0A (15W);
- Maximum Power Consumption: Around 7.5W (under typical loads);
The Raspberry Pi 4 Model B is more power-hungry due to its quad-core ARM Cortex-A72 processor, increased RAM options (1GB, 2GB, or 4GB), USB 3.0 ports, Gigabit Ethernet, and support for dual 4K displays. It also introduced a USB-C power connector, replacing the micro USB connector used in previous models.
Notes On Using:
- USB-C Cable: When using a USB-C power supply, ensure that you also use a quality USB-C cable. Poor-quality cables can affect power delivery and lead to voltage drops. Look for cables that are USB-IF certified to ensure compatibility and reliability;
- Passive Cooling: Due to the increased power consumption and potential for higher operating temperatures, consider using passive cooling solutions, such as heatsinks and cases with adequate ventilation, to help dissipate heat and maintain optimal performance;
- Power-Hungry Peripherals: When connecting power-hungry USB peripherals to the Raspberry Pi 4, such as external hard drives or high-power USB devices, consider using a powered USB hub to distribute the power load and prevent undervoltage situations;
- Power Management: The Raspberry Pi 4 includes advanced power management features that allow it to dynamically adjust its power consumption based on the workload. This helps optimize performance while minimizing power usage;
- Overclocking: If you choose to overclock your Raspberry Pi 4 to achieve higher performance, keep in mind that it may increase power consumption and heat generation. Ensure that your power supply and cooling solution can handle the increased demands;
As with all Raspberry Pi models, it’s crucial to refer to the official documentation and specifications provided by the Raspberry Pi Foundation for the most accurate and up-to-date information on power requirements. Providing adequate and stable power is essential to ensure optimal performance and reliability of your Raspberry Pi 4 projects;
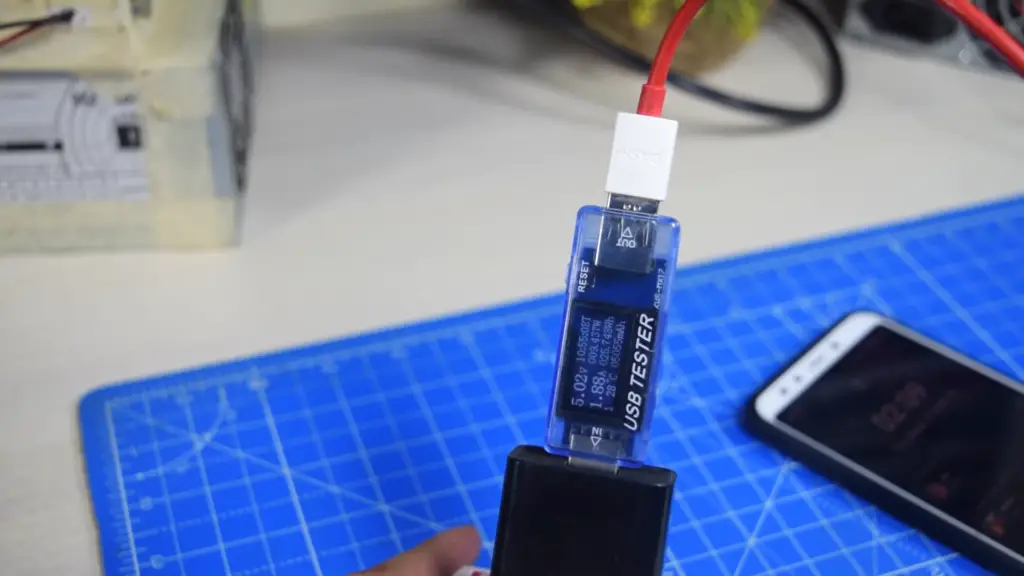
Disabling the Low Voltage Warning
Disabling the low voltage warning on your Raspberry Pi might seem like a tempting solution, but it’s important to note that the warning is a protective feature designed to alert you when the power supply is insufficient. Disabling the warning can potentially lead to unstable operation, data corruption, and even hardware damage if the power supply is inadequate.
That said, there is a way to suppress the warning if you’re certain that your power supply is sufficient and you understand the risks involved. Keep in mind that this should only be done if you’re fully aware of the implications and have taken steps to ensure a reliable power source.
Here’s how you can suppress the low-voltage warning:
Edit the config.txt File:
Open a terminal on your Raspberry Pi and enter the following command to edit the config.txt file:
sudo nano /boot/config.txt
Add the Disable Warning Line:
Add the following line at the end of the config.txt file:
avoid_warnings=1
Save and Exit:
Press Ctrl + O to save the file, then press Enter. After that, press Ctrl + X to exit the text editor.
Reboot:
Reboot your Raspberry Pi to apply the changes by entering the following command:
sudo reboot
Please keep in mind the following important points:
- Proceed with Caution: Disabling the warning may hide critical issues related to power supply instability. Make sure you’re confident that your power supply is adequate and reliable;
- Monitor the System: Even if you disable the warning, it’s crucial to monitor your Raspberry Pi’s performance and power supply regularly. If you notice any unexpected behavior or instability, consider re-enabling the warning and addressing the power supply issue;
- Quality Power Supply: Using a high-quality, official power supply is always the best approach to ensuring stable and reliable operation. The low voltage warning is there to protect your Raspberry Pi from potential harm;
- Risk of Data Loss: Inadequate power supply can lead to data corruption and loss. It’s recommended to have proper backup measures in place before disabling the warning;
In general, it’s strongly advised to address the root cause of any low voltage warnings rather than disabling the warning itself. Ensuring a stable and reliable power supply is essential for the proper functioning and longevity of your Raspberry Pi.
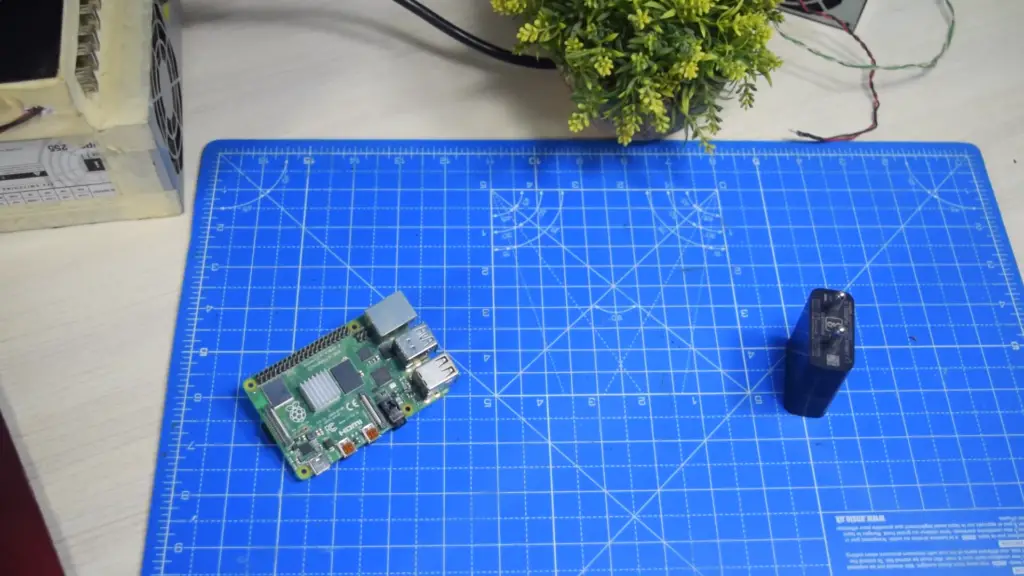
FAQ:
1. What may happen if the Raspberry Pi voltage is too low?
If the Raspberry Pi voltage is too low, it may lead to instability, crashes, data corruption, and even hardware damage. The system might fail to boot or could exhibit erratic behavior. Peripherals may not function as expected, and the overall performance of the Raspberry Pi could be severely impacted.
2. Can low voltage damage Raspberry Pi?
Yes, low voltage can potentially damage the Raspberry Pi. Operating the Raspberry Pi with insufficient voltage may cause it to draw more current than usual, leading to overheating and component stress. Prolonged exposure to low voltage conditions could result in hardware degradation or failure over time.
3. What happens if you underpower a Raspberry Pi?
Underpowering a Raspberry Pi can cause a range of issues. It might lead to instability, frequent crashes, errors during boot, and reduced performance. The Raspberry Pi’s CPU might throttle itself to reduce power consumption, resulting in slower processing speeds.
4. What does “low voltage warning” mean?
A low voltage warning on the Raspberry Pi indicates that the power supply is not providing sufficient voltage for the board to operate reliably. It serves as an alert to the user that the power source should be improved to avoid potential problems.
5. What would cause low voltage?
Low voltage can be caused by using an inadequate power supply, poor-quality USB cables, long cable lengths, high power consumption from peripherals, or using power sources that are already under heavy load.
6. Can low voltage cause damage?
Yes, low voltage can potentially cause damage by overloading components and leading to overheating. Operating the Raspberry Pi at voltages below its recommended range can lead to decreased performance and reduced lifespan of the components.
7. Does Raspberry Pi have overvoltage protection?
Yes, Raspberry Pi models have built-in overvoltage protection. They are designed to withstand minor voltage fluctuations, but consistent operation outside the recommended voltage range can still lead to issues.
8. Can low-voltage damage motherboard?
Yes, low voltage can damage the motherboard and its components over time due to increased current draw, overheating, and instability. It’s crucial to provide a stable power supply to prevent such damage.
9. What voltage is low for GPIO Raspberry Pi?
For the GPIO pins on Raspberry Pi 4, the voltage range is typically 0V to 3.3V. A voltage below 3.3V could be considered low for GPIO applications.
10. Is it safe to use low voltage?
Using low voltage is not safe for the Raspberry Pi. It can lead to operational issues, reduced performance, and potential hardware damage.
11. Is low voltage a battery problem?
Low voltage can be caused by various factors, including an inadequate power supply, poor-quality cables, or high power consumption. While a weak battery could contribute, it’s not the only potential cause.
12. Can low voltage damage the battery?
Low voltage can affect battery performance and lifespan, but it’s more likely to damage the device being powered (such as a Raspberry Pi) than the battery itself.
13. Does low voltage cause short circuits?
Low voltage itself does not cause short circuits. Short circuits are typically caused by direct electrical contact between conductive materials.
14. What is the minimum voltage for Raspberry Pi 4?
The minimum recommended input voltage for the Raspberry Pi 4 is 5V.
15. What voltage does Raspberry Pi 3 need?
The Raspberry Pi 3 typically requires an input voltage of 5V.
16. How long can a Raspberry Pi stay on battery?
The duration a Raspberry Pi can stay on a battery depends on the battery capacity, power consumption of the Pi, and the tasks it’s performing. A larger battery capacity will provide a longer runtime.
17. How long can a Raspberry Pi run on 10000mAh?
To calculate runtime, you need to know the average power consumption of your Raspberry Pi. As a rough estimate, a Raspberry Pi 4 with moderate usage might run for several hours on a 10000mAh battery.
18. How to check the voltage on Raspberry Pi?
You can use the vcgencmd command in the terminal to check various hardware information, including voltage. For example, vcgencmd measure_volts core will display the core voltage.
19. How much voltage can a Raspberry Pi handle?
Raspberry Pi models are designed to operate within a specific input voltage range, usually around 5V. Operating outside this range can lead to instability and potential damage.
20. What does it mean when it says low voltage?
“Low voltage” refers to a situation where the power supply is not providing sufficient voltage for a device, such as the Raspberry Pi, to function properly.
21. Is low voltage low hazard?
While low voltage itself might not be a direct hazard, it can lead to unstable operation, crashes, and potential hardware damage in electronic devices.
22. Does low voltage mean a dead battery?
Low voltage can indicate a weak or depleted battery, but it can also result from other factors, such as an inadequate power supply or poor-quality cables.
23. What problems can low voltage cause?
Low voltage can cause a range of problems, including system instability, crashes, data corruption, reduced performance, and potential hardware damage in electronic devices like the Raspberry Pi.
Useful Video: Raspberry Pi 4 and Pi 3 Low Voltage Problems Solved 5.00 Volts Not Enough!
References
- https://pimylifeup.com/raspberry-pi-low-voltage-warning
- https://linuxhint.com/avoid-low-voltage-warning-raspberry-pi/
- https://peppe8o.com/raspberry-pi-undervoltage-detected/
- https://raspberrytips.com/under-voltage-errors-raspberry-pi/
- https://gist.github.com/andersevenrud/18183761acb00031a7c8fccdc0c4b4d7





Leave a Reply