
With Arduino, you can easily create devices that respond to your environment by reading data from sensors and controlling lights, motors, and other actuators.
In this comprehensive guide to uploading code to Arduino, we will answer some of the most common questions about how to upload code to Arduino?
How to Upload Code to Arduino?
When you’re ready to begin building your Arduino project, the first step is to upload code. You can write a program in any text editor and save it with the .ino extension. To upload this code to your Arduino board, follow these steps:
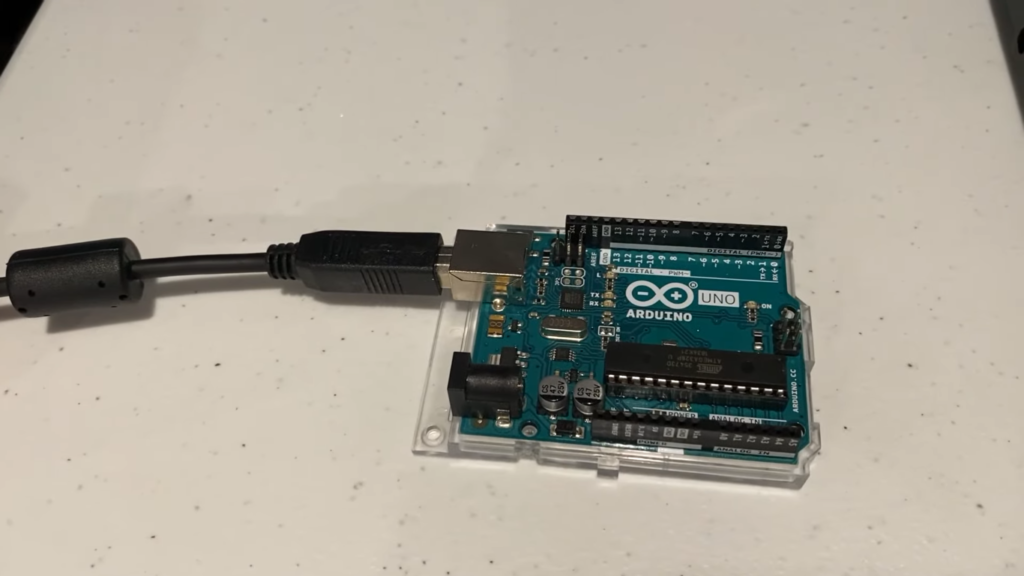
- Connect your Arduino board to your computer via USB cable.
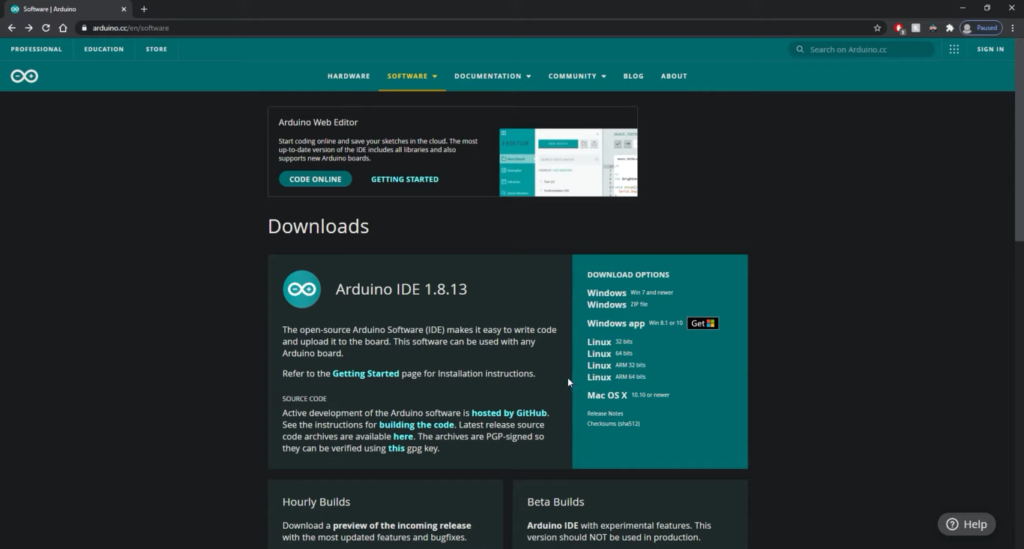
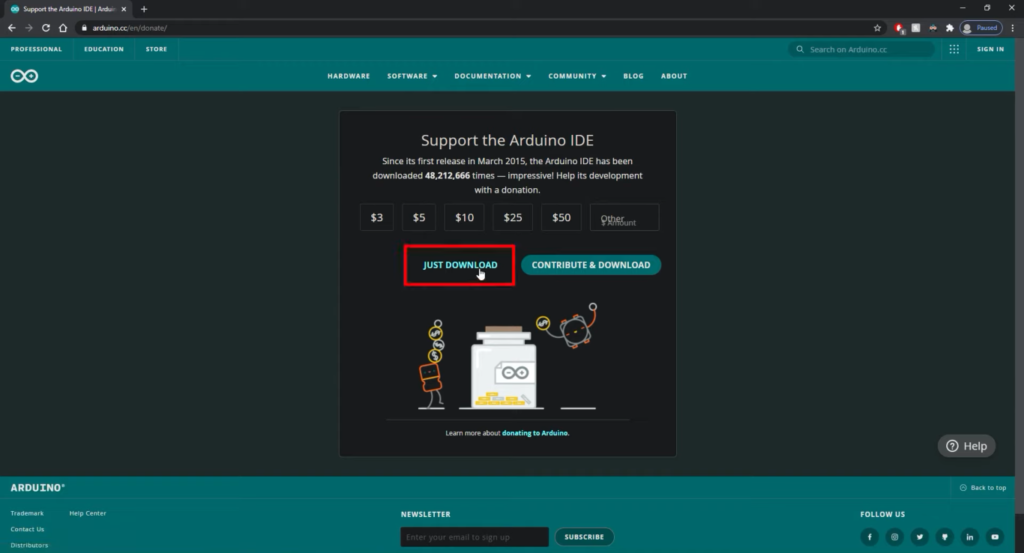
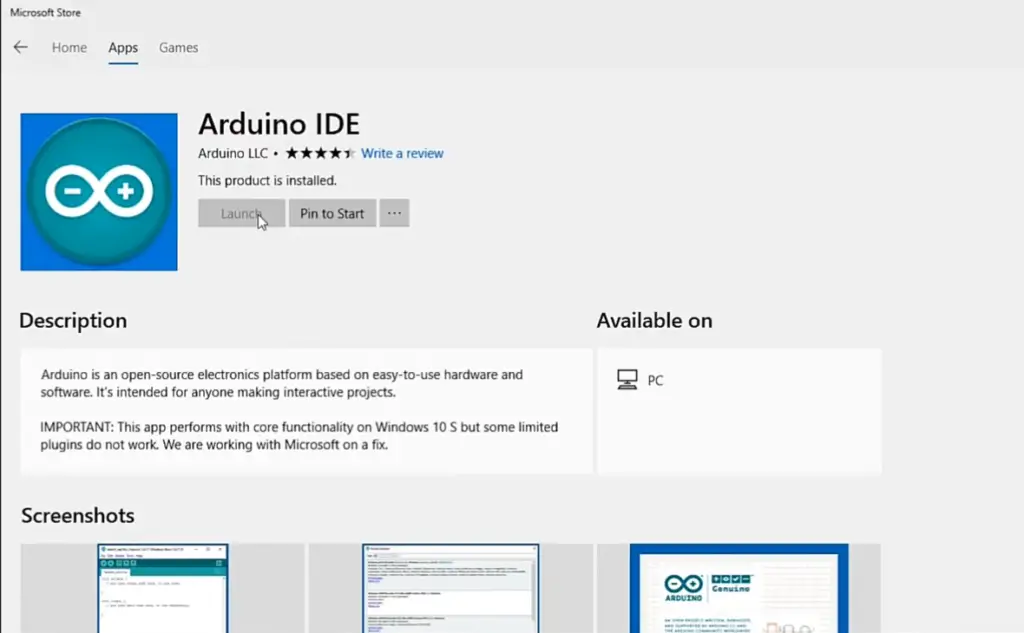
- Download and install the Arduino IDE software. This is available for free from arduino.cc/en/main/software
- Open your program in the Arduino IDE, or type it directly into the editor window
- Select your board type and serial port from the Tools menu
- Click the Upload button (this looks like an arrow pointing to the right)
- If all goes well, you should see a “Done uploading” message in the bottom-right corner of the IDE window
With the code successfully uploaded, you’re ready to begin building your project. Remember to save a copy of your program before uploading it, so you can easily make changes later on.
Uploading Code to Arduino using PC or Laptop
If you have a PC or laptop, uploading code to Arduino is easy. Just connect your board using a USB cable and select the board type and serial port in the Arduino IDE. Then click on the Upload button and wait for it to finish uploading.
Uploading Code to Arduino using Android Device
It is now possible to upload code to Arduino remotely from your Android device. To do this, you need an app such as Blynk or ArduinoDroid. After installing the app on your Android device, connect it to the same Wi-Fi network as your board and follow the instructions provided in the app. [1]
Uploading Code to Arduino Using Smartphone or Tablet
Uploading code to Arduino from your smartphone or tablet is similar to uploading from an Android device. You need an app such as Blynk or ArduinoDroid, and you also need to be connected to the same Wi-Fi network as your board.
Once connected, follow the instructions provided in the app to upload code to your board.
Uploading Code to Arduino Using Any Other Arduino Board
You can also upload code to your board from another Arduino board. To do this, connect the two boards together with a USB cable and use the Arduino IDE to select the board type, serial port, and program for both boards.
Once selected, you can then click on the Upload button in the IDE window to send the code from one board to the other. [1]
How To Upload Source Code In An Arduino Board And Work With The Board?
Once you have uploaded the code to your board, you can start working with it. To do this, open up the Serial Monitor in the Arduino IDE and type in commands for the board to execute.
You can also use other programs such as Processing or MATLAB to work with the board remotely. Finally, make sure you have all the required components connected to the board and that they are securely attached.
Tips for Troubleshooting Code Uploads
If you have any issues uploading code to your board, here are a few tips that may help:
- Make sure the board type and serial port settings in the Arduino IDE are correct
- Try another USB cable or port
- Check your power source is providing enough current
- Make sure your program is properly formatted and not missing any brackets or other symbols
- Ensure your program does not exceed the memory limits of your board
- If you’re using a wireless connection, make sure it’s stable with no signal dropouts
- If you’re using a remote app, make sure it’s compatible with your board.
Common Problems When Uploading Arduino Code
USB Port not Available
If you get an error that says “USB port not available” when trying to upload code to your Arduino, it means that the board is still plugged into the computer. To fix this, disconnect the board from the computer before trying to upload the code.
Board Not Detected
If your board is not detected by the Arduino IDE, it could mean that you have not installed the correct drivers. Make sure to install the correct drivers according to your operating system before trying to upload code.
Incorrect Signature
This error occurs when the wrong board type is selected in the Tools menu of the Arduino IDE. Double-check which board type you are using and select it in the menu before trying to upload again.
Errors in Code
When writing your program, make sure that you follow all of the correct syntax rules and pay attention to any error messages that may appear in the IDE window. These can indicate which lines of code are causing problems and help you troubleshoot more quickly.
Program is too Large
If your program is too large to fit on the Arduino board, you may get an error message. In this case, try breaking up your code into smaller pieces or using more efficient coding techniques such as optimising loops and removing unnecessary lines.
Firmware Not Up-to-Date
If your board is not running the latest version of its firmware, you may get errors when trying to upload code. Make sure you are running the latest version of the firmware before attempting to upload new code.
Board and Serial Port Mismatch
If the board type and serial port do not match, you might get errors during uploading.
My Board Wasn’t Listed in the IDE
If your board was not listed in the IDE, it could mean that the drivers for this board type are not installed correctly. Try reinstalling the drivers or trying a different USB cable if possible.
Wrong COM Port or COM Port Greyed Out
If you are getting an error that says “COM port not available” or your COM port is greyed out, it means that the serial port is being used by another program. Close any other programs that might be using the same port and try uploading again.
Programmer is Not Responding
If your programmer is not responding, it could mean that there is a problem with the connection between the Arduino and the PC. Try unplugging the USB cable from both devices and reconnecting them to see if this solves the issue.
To Fix This Problem
There are a few things you need to do in order to start using your Arduino board.
- First, make sure that all the required components are connected correctly. Next, make sure that you have the correct drivers for your operating system and board type installed in the Arduino IDE.
- You should also check to see if any other programs are taking up your serial port and close them if needed.
- Finally, double-check the code for any errors or typos and make sure it is not too large to fit on the board.
If you are still having trouble, try unplugging the USB cable from both devices and reconnecting them again. With these steps, you should be able to successfully upload code to your Arduino board.
FAQ
How do I import codes into an Arduino?
You can import code into an Arduino by connecting your board to a computer, opening the Arduino IDE, and selecting File > Open. From here you can browse your computer’s file system and open the desired program.
What is the best way to upload code to my Arduino?
The best way to upload code to your Arduino is by using the Arduino IDE. This can be downloaded for free from the official website and is used to write, compile, and upload code to your board.
Can I use a USB cable to upload code to my Arduino?
Yes, you can use a USB cable to upload code to your Arduino. Make sure that the correct drivers have been installed for your operating system and board type before attempting to upload again.
What is an IDE?
An Integrated Development Environment (IDE) is a program that provides users with a complete environment for writing, testing, and debugging code. The Arduino IDE is an example of such a program specifically designed for working with Arduino microcontrollers.
What should I do if my code won’t compile?
If your code won’t compile, check to make sure that all the required components are connected properly and that all the code is written correctly. Make sure you have the correct drivers installed for your operating system and board type.
If you are still having issues, try unplugging the USB cable from both devices and reconnecting them again.
What should I do if my COM port is unavailable?
If your COM port is unavailable or greyed out in the Arduino IDE, it could mean that another program is using the same serial port. Close any other programs that might be using the same port and try uploading again.
What should I do if my board was not listed in the IDE?
If your board was not listed in the Arduino IDE, it could mean that the drivers for this board type are not installed correctly. Try reinstalling the drivers or trying a different USB cable if possible.
What should I do if my program is too large to fit on the board?
If your program is too large for the Arduino board, try breaking it up into smaller pieces. You can also use more efficient coding techniques like optimising loops and removing unnecessary lines.
Make sure you are using the latest version of the firmware and that your board type is compatible with the serial port you are using. Finally, double-check the code for any errors or typos that could be causing issues.
How does uploading code to Arduino work?
Uploading code to Arduino involves connecting the board to a computer, opening the Arduino IDE software, writing the desired program in an approved language, compiling it and then uploading it to the board. The process is fairly simple and can take only a few minutes if done correctly.
Once your code has successfully been uploaded to your Arduino board, you will be able to control it via the serial port. This is useful for creating interactive projects or controlling robots, motors and other devices.
Can you upload code to Arduino without IDE?
Yes, you can upload code to Arduino without the IDE. However, most users prefer using the IDE because it is simpler to write and compile code, as well as making sure that all necessary components are installed correctly.
Additionally, since the latest updates are pushed through the IDE, you can make sure your board has all the latest features and bug fixes.
Can we upload code to Arduino online?
Yes, you can upload code to Arduino online. There are several tutorials and programming websites that allow users to write, compile and upload code directly from their browser.
This eliminates the need for downloading any software or drivers, making it a great way for beginners to learn how to use an Arduino board.
Useful Video: How to Upload Code in Arduino| Easy Way| Arduino Programming| Make ARK Engineering
Conclusion
In conclusion, uploading code to Arduino is a fairly simple process that can be accomplished with a few easy steps. By following the instructions in this blog post, you should be able to upload your own code and get your Arduino up and running in no time!
Be sure to double-check the code for any errors and to always use the latest version of firmware. With these tips in mind, you should be off to a great start! Good luck!
References
- https://linuxhint.com/upload-code-arduino-3-methods/
- https://www.electronicsforu.com/technology-trends/learn-electronics/how-to-upload-source-code-on-arduino-board
- https://chipwired.com/uploading-code-arduino/