
If you’re anything like me, the first time you hit the road with a trailer in tow, you had a moment of panic when one of your lights suddenly went out. What do you do? How do you fix it? Don’t worry – testing trailer lights with a multimeter is actually a lot simpler than you might think! In this guide, we’ll walk through the process step-by-step and show you how to troubleshoot common issues.
Why Testing Your Trailer Lights is Important
Your trailer lights are responsible for communicating your intentions to other drivers on the road. If they’re not working properly, it could result in an accident. That’s why it’s important to test them regularly to make sure they’re in good condition. In some states, you might even get pulled over if your trailer lights are not working properly.
There are a few different ways you can test your trailer lights. The most common method is with a multimeter. We will show you how to do that.
How to Diagnose a Problem With Your Trailer Lights
But before we get into how to test your trailer lights with a multimeter, let’s go over how to diagnose there’s a problem with your trailer lights.
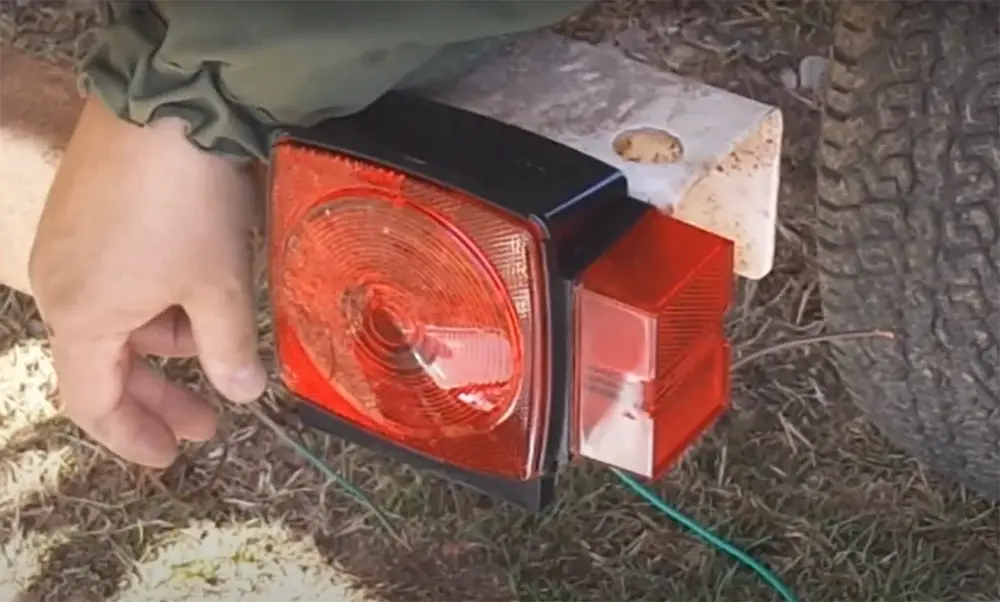
Check for burned lights
One of the most common problems with trailer lights is burned-out bulbs. So, the first thing you should do is check all the bulbs to see if any of them are burned out. If one or more of the bulbs are burned out, replace them and then test the lights again. Make sure the bulbs are securely fastened in their sockets. If they’re not, they can vibrate loose and eventually burn out.
But if all the lights on one side of the trailer are out, there could be a problem with the wiring.
If the problem persists, then it’s likely there’s an issue with the wiring. Which brings us to our next point…
Inspect the Wiring
To access the wiring, you’ll need to remove the tow vehicle’s tail light assembly. After that, plug a tow-vehicle light tester into the vehicle’s tow-vehicle socket. If the tester lights up yellow or red, or doesn’t light up at all, there’s a problem with the trailer’s wiring.
Next, check for any loose connections. Then look for any damaged wires. If you find either of those, tighten/repair them as needed and then test the lights again.
If the problem is still not fixed, then there’s a good chance the issue is with the trailer light socket. Which brings us to our next point…
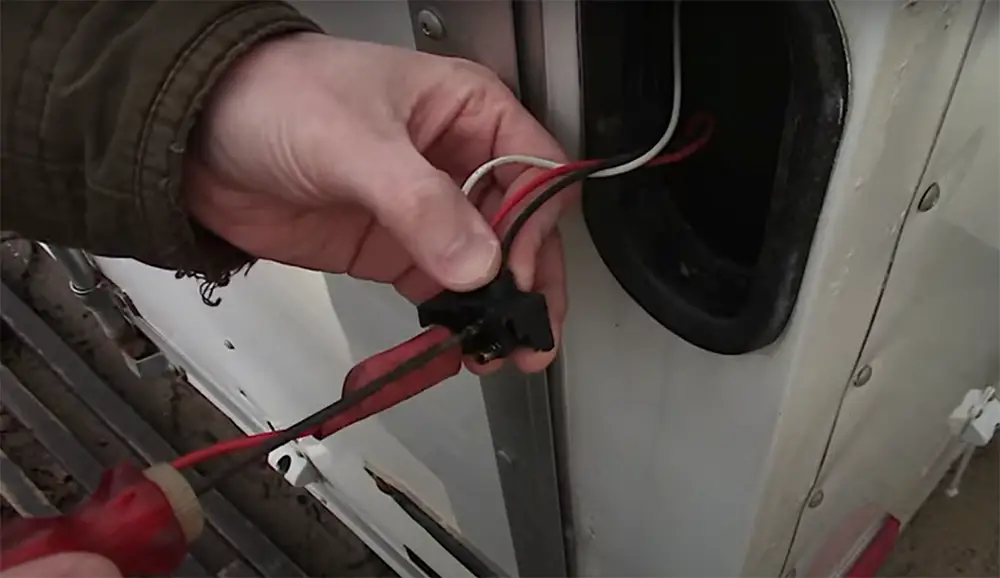
Dive into the connector plugs
If the problem is with the connector plugs, then you’ll need to clean them. The first step is to disconnect the trailer lights from the vehicle. Then, remove the connector plugs and clean them with a wire brush. Once they’re clean, reconnect them and test the lights again.
Be sure to check for corrosion while you’re cleaning the connector plugs. If there’s any corrosion, then you’ll need to remove it.
However, sometimes an issue isn’t as obvious. If you can’t find the problem, then it’s time to break out the multimeter. [1], [2], [3]
How Does Trailer Wiring System Work
The tow vehicle has a connector that plugs into the trailer’s connector. The tow vehicle supplies power to the trailer lights through this connection.
The trailer has its own connector that plugs into the tow vehicle’s connector. This is how the trailer communicates its intentions to the tow vehicle.
The connectors have several pins that carry different signals. There are usually four pins on each connector: ground, left turn, right turn, and tail lights.
Some trailers also have a fifth pin for an auxiliary circuit, such as brake lights or reverse lights.
The ground pin is important because it completes the circuit. Without it, the other lights will not work.
The left turn and right turn signals tell the tow vehicle when the trailer is turning. The tail lights are always on when the trailer is connected to the tow vehicle.
Now that we understand how the system works, let’s move on to testing it with a multimeter.[3]
Testing Voltage with a Multimeter
One of the most important tests you can do with a multimeter is testing voltage. Voltage is the pressure that pushes electrons through a circuit.
It’s like water pressure in a hose. The higher the pressure, the more water flows. In an electrical circuit, the higher the voltage, the more current flows.
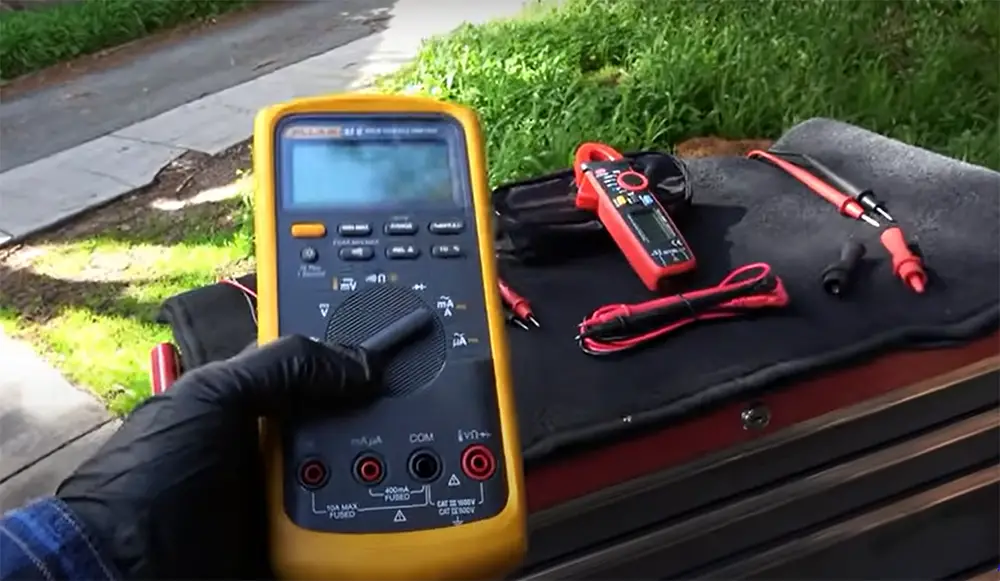
Set-up Your Multimeter to Test Voltage
To test voltage, you’ll need to set your multimeter to the volts setting. On most multimeters, this is done by turning the dial to the V with a straight line next to it.
Some multimeters have a separate setting for DC and AC voltage. You’ll want to make sure your multimeter is set to DC voltage for testing trailer lights.
Once you’ve set your multimeter to the volts setting, you’re ready to start testing.
Connect the probes to the trailer plug pins
Start by connecting the black probe to the negative pin on the trailer connector. Then, connect the red probe to one of the positive terminals.
You should see a reading on your multimeter’s display. If you don’t see a wrong reading, move the probes to different pins until you find one that might be faulty.
Check the redings
The reading on your multimeter will tell you the voltage of the circuit. The acceptable reading will depend on the voltage capacity of your trailer lights battery. For example, if you are running a 15 volt circuit, an acceptable reading would be around 15.
Testing Trailer Lights Continuity With a Multimeter
Besides testing voltage, you can also use a multimeter to test for continuity. Continuity is the ability of an electrical current to flow freely through a circuit. We can use the water hose analogy here as well. If there are no holes in the hose, the water will flow freely. But if there’s a hole in the hose, the water will leak out and the flow will be interrupted.
In an electrical circuit, continuity is important because it allows current to flow freely from one point to another. If there’s a break in the circuit, the current will be interrupted and the lights will not work.
Disconnect the wiring system
The first step is to disconnect the wiring system from the trailer. You will need to do this so that you can safely test the electrical current flowing through the system. If you do not disconnect the wiring, you could get an electric shock. Once the wiring system is disconnected, you can begin testing for continuity.
Set Multimeter to Ohms or Continuity Test
To test your trailer lights, you will need to set your multimeter to the Ohms or Continuity mode. In this mode, the multimeter will measure the resistance of an electrical circuit. If you’re not sure how to set your multimeter to this mode, consult the user manual that came with your device.
Remove the cap to the failed light
Once you have set your multimeter properly, you will need to remove the cap to the failed light. To do this, simply unscrew the cap from the light. Once the cap is off, you will be able to access the wires that connect the light to the rest of the circuit.

Clip the multimeter to the green contact
Next, you will need to clip the multimeter to the green contact. The green contact is the right turn signal wire. Take the red probe and clip it to the green contact.
Touch the green contact under the car lights
Now you have to test the wiring under the cap. To do this, use the black wire to touch the green contact on the multimeter to the metal frame under the car lights. This will complete the circuit and allow you to test for continuity.
If the multimeter shows a continuity between 0.6 or 0.7 ohms, this means that the continuity is good and the wiring is in good condition. If the multimeter does not show continuity or if it shows a resistance that is much lower than that, this means that the wiring will need to be repaired.
Test the other wires
After you tested the green wire and concluded that it isn’t the problem, you should test the other wires. To do this, unplug the multimeter leads from the green wire and plug them into the other wires one at a time. Test the black wire first, then the brown wire, and finally the white wire.
If the multimeter shows continuity between.
Once you have tested all of the wires, you can conclude that the problem lies in either the wiring or the connector itself. If you suspect that it is a problem with the connector, you can try cleaning it with a contact cleaner or replacing it altogether. [1], [3]
Using the Test Lights
Another way you can test your trailer lights is by using test lights. Test lights are simple devices that you can use to check if a circuit is working properly.
To use a test light, you will need to connect one end of the test light to the turn wire of the trailer lights. The other end of the test light will need to be connected to a good ground. Once you have done this, you can turn on your headlights and taillights to see if the test light flashes.
If the test light does not illuminate or is very dim, then there is an issue with the turn wire and you will need to replace it. [3]
FAQ
Why am I not getting power to my trailer lights?
There are a few reasons this might happen. The first thing you should check is the fuse for the trailer lights. If that’s not the issue, then it’s likely a problem with the wiring. Check to make sure all of the connections are tight and there are no bare wires. If you’re still having trouble, you can use a multimeter to test the voltage coming from your vehicle’s tail light connector.
How do you troubleshoot a trailer wire?
The first step is to identify the problem area. Is the issue with the taillights, brake lights, or turn signals? Once you know which light isn’t functioning properly, you can start testing that particular circuit. There are a few ways to test trailer lights, but the most common and reliable method is to use a multimeter.
How do you test a 7 pin trailer plug with a multimeter?
To test a trailer plug with a multimeter, you’ll need to connect the multimeter leads to each of the pins on the trailer plug. Once you have done this, you can use the multimeter to test for continuity between the pins.
If you’re testing a seven-pin trailer plug, there are four wires that you’ll need to test: the ground wire, the left turn signal wire, the right turn signal wire, the taillight wire etc. To test these wires, simply connect one lead of your multimeter to each of the wires in turn and then check for continuity between them.
How do you check a tail light with a multimeter?
The best way to check a tail light with a multimeter is by testing the continuity. To do this, you’ll need to set your multimeter to the “continuity” setting and touch one lead to the positive terminal of the tail light and the other lead to the negative terminal. If the light is working, you should see a reading on the multimeter.
Useful Video: Use a MultiMeter to Troubleshoot Trailer Lights. Part 1.
Conclusion
Regularly testing your trailer lights is an important part of maintaining them. Not only will this help you identify any potential issues early on, but it will also ensure that your trailer lights are always in good working order. Testing trailer lights with a multimeter is a relatively simple and straightforward process. By following the steps outlined in this guide, you can easily test your trailer lights to ensure that they are functioning properly. Don’t forget to perform a visual inspection of your trailer lights on a regular basis as well. This will help you catch any potential problems early on so that they can be fixed before they become serious issues. We hope that you found this guide helpful and informative. If you have any questions or comments, please feel free to leave them below. Thanks for reading!
References:
- https://www.wikihow.com/Test-Trailer-Lights
- https://housetechlab.com/how-to-test-trailer-lights-with-a-multimeter/
- https://electrouniversity.com/how-to-test-trailer-lights-with-a-multimeter/