
Christmas is a time for family, friends, and of course – Christmas lights. While most people enjoy the look of twinkling lights on their tree or around the house, there are some who take great care in checking every strand to make sure they are working properly. If you’re one of those people, or if you just want to be prepared in case something goes wrong with your lights this year, then read on! In this comprehensive guide, we will teach you everything you need to know about how to test Christmas lights with a multimeter.
Why Should You Test Christmas Lights
There are a few reasons you might want to test your Christmas lights. Maybe you just bought a new string of lights and you want to make sure they work before putting them up. Or maybe you’ve had a string of lights for years, and you want to see if any of the bulbs have burned out so you can replace them.
It is always a good idea to test your Christmas lights before you put them up. This way you can be sure that they are working properly and that there are no defective bulbs.
Testing Christmas lights is also a good way to find out which bulbs are burned out. You can then replace the burned out bulbs with new ones so that all of your lights are working.
Whatever your reason for testing, it’s actually pretty easy to do with a multimeter. A multimeter is a device that measures electrical current, voltage and resistance. Most multimeters can also be used to test continuity, which is essential for testing Christmas lights.
There are two main types of multimeters: analog and digital. Analog multimeters use a needle to point to a scale that indicates the amount of current, voltage or resistance being measured. Digital multimeters display a reading on an LCD screen.
Construction of Christmas Lights
Christmas lights are typically made with a thin copper wire that is wrapped around a glass or plastic core. The wire is then coated with a substance such as plastic or rubber to insulate it. The insulation prevents the electrical current from flowing through the wire and causing an electrical shock.
The most common type of Christmas light bulb is the LED (light emitting diode). These lights are very popular because they are more energy efficient than incandescent bulbs. LEDs work by passing an electric current through a semiconductor material which causes it to emit light.
Still, incandescent light bulb christmas lights also see some use nowadays. These bulbs work by heating a filament inside the bulb until it becomes white hot. This creates an intense light that can be seen from far away.
Christmas lights are also available in a variety of colors. The most common colors are red, green, and blue. However, you can also find white, yellow, and even multi-colored Christmas lights. [1], [2]
Checking Continuity of the Entire String With a Multimeter
Before checking for the continuity of individual bulbs, you’ll first want to check the continuity of the entire string. This will tell you if there is a break anywhere in the string of lights.
Set the multimeter to Ohms mode
First, you’ll need to set your multimeter to Ohms mode. To do this, you’ll need to set the multimeter to Ohms mode. On most multimeters, there will be a knob or switch that you can use to change the mode. Look for a setting that says “Ohms” or has the symbol Ω (omega).
Once you’ve found the right setting, turn the knob or switch until it is in the correct position.
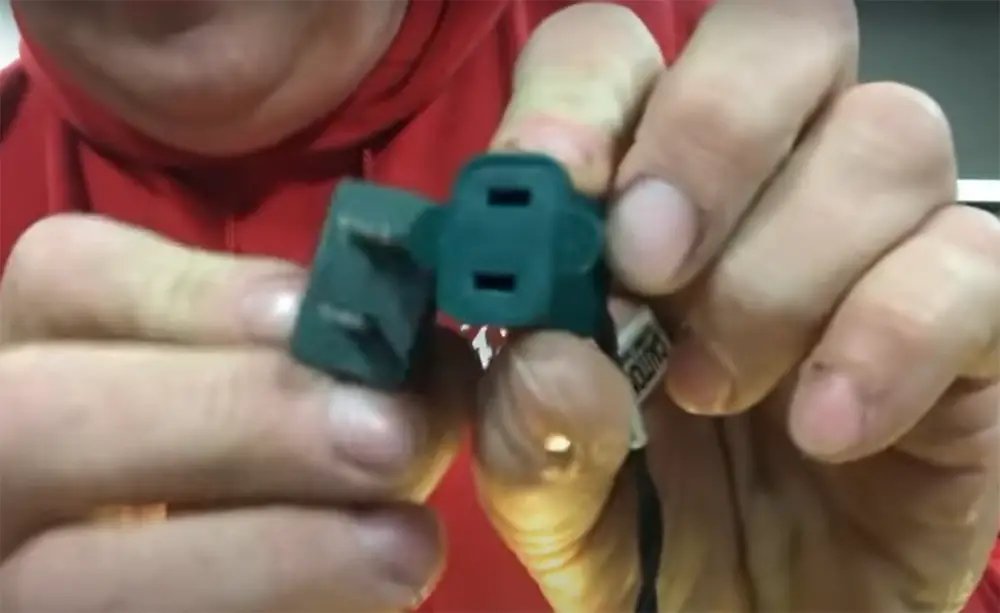
#Unplug the Christmas lights
Touch one of the probes to the female socket
Now, take one of the probes from your multimeter and touch it to the neutral slot of the female socket. The neutral slot is the wider of the two slots. To insert the probe, simply push it into the slot until it clicks into place. You may need to use a little force to get it all the way in.
If you have a polarized plug, the slots will be of the same size, so it doesn’t matter which one you choose.
Touch the male socket with another probe
Now, take the other probe and touch it to the male socket. You should look for the larger of the two prongs sticking out of the back of the plug. Be careful not to touch either probe with your bare hands as you could get an electrical shock.
Check the readings
Once you’ve touched both probes to their respective sockets, take a look at the multimeter. It should display a reading of 0Ω. This indicates that there is no resistance between the two points and that the string of lights is continuous.
If the multimeter displays any other reading, this means that there is a break somewhere in the string of lights. You’ll need to check each individual bulb to find the one that is causing the problem.
For polarized plugs, you may need to check each bulb individually to find the one that is causing the problem as the multimeter will not be able to tell you which side of the plug is broken.
Check the fuse
In case you won’t get 0Ω reading, check the fuse first. The fuse is a small, cylindrical piece of metal located near the male socket. The fuse can melt and break the circuit if there is too much current flowing through it, so there’s a good chance that this is the problem if you’re not getting a 0Ω reading.
To check the fuse, simply look at it to see if it is melted or broken. If the fuse is blown, it will need to be replaced before you can continue. To do this, unscrew the old fuse and screw in a replacement. Be sure to use a fuse with the same amperage rating as the old one.
After you have replaced the fuse, re-test the string of lights to see if you are now getting a 0Ω reading. If not, then you will need to replace the string entirely.
Check the power plug
Another good call would be to check the power plug. The power plug is what you plug the string of lights into an outlet. If both the lightbulbs and the fuse give proper readings, but the string of lights still does not work, then the power plug is likely faulty.
Place the multimeter probes on the two metal prongs of the plug to test the resistance. You should get a reading of around 0 ohms. If you do not, then the plug is likely faulty and needs to be replaced. [2], [3], [4]
Checking the Continuity of Defective Bulbs
Now that you know how to check the continuity of the entire string, you can move on to checking the continuity of individual bulbs. This will help you find the specific bulb that is causing a problem.
Set the multimeter to Ohms
Same as before, you’ll need to set your multimeter to Ohms mode. Twist the knob or flip the switch until you see the setting for Ohms or the Ω symbol. Once the multimeter is in Ohms mode, you can proceed to the next step.
Unplug the Xmas lights
Once the lights are unplugged, you can proceed to the next step.
Remove the bulb
Now it’s time to remove the bulb from the string. To do this, simply twist and pull the bulb out of its socket. Be careful not to touch the metal contacts of the bulb, as they may be hot.
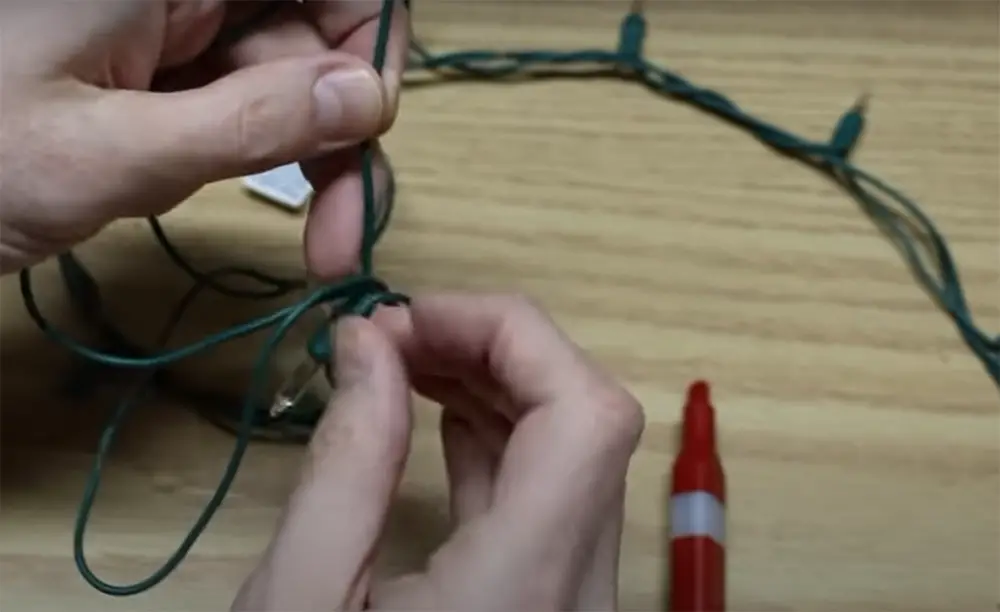
Separate the wires
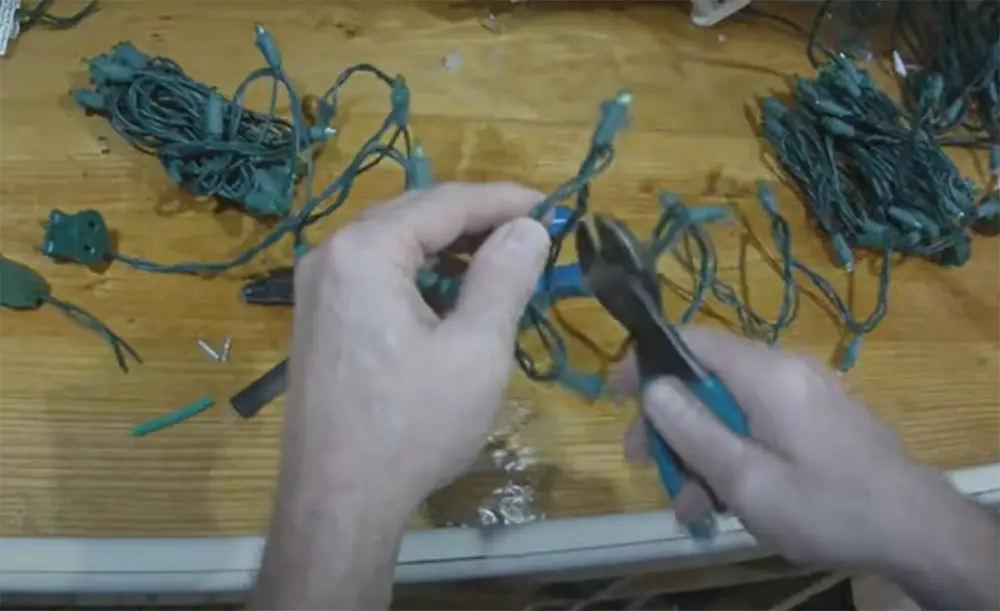
Once you pull the bulb out of its socket, you’ll need to separate the two metal prongs on the back of the bulb. To do this, twist the wires in opposite directions until they come apart. Just be careful not to damage the wires while you’re separating them or you’ll have to replace them. Now that the wires are separated, you can proceed to the next step.
Test the wires
Now it’s time to test the wires. First, touch one of the probes from your multimeter to one of the metal prongs on the back of the bulb. Then, touch the other probe to the other metal prong. If the readings show a value or 0 or close to 0, then the bulb is good and you can move on to testing the next bulb. If the readings show a value other than 0, then the bulb is defective and you’ll need to replace it.
To make the job easier for yourself, start at one end of the string and work your way to the other. That way, you can easily keep track of which bulbs you’ve tested and which ones you still need to test. [3]
FAQ
How do I know my Christmas lights are malfunctioning?
You can test your Christmas lights with a multimeter to see if they are working properly. If the light is not lit, it may be due to a bad bulb or loose connection. To test a string of lights, first unplug the string of lights from the outlet. Then, set your multimeter to the ohms setting and touch one lead to the end of the string where you plug it in. Touch the other lead to each individual light socket. If there is continuity between the two leads, then that particular light is working fine. However, if there is no continuity, then that particular light is not working and needs to be replaced.
Is there an easy way to test Christmas lights?
Yes, there is an easy way to test Christmas lights with a multimeter. You can use a multimeter to test the continuity of the light strands. This will tell you if the strand is broken or not. It’s always a good idea to test your Christmas lights before you put them up. This way you can avoid any problems later on.
How do you check Christmas lights with a voltage tester?
To check Christmas lights with a voltage tester, first make sure that the light is unplugged. Once it is unplugged, touch the probes of the tester to the two metal prongs on the bulb. If the light is working properly, the tester should register a small amount of voltage. If there is no voltage registered, then the light is most likely not working.
What is the best way to test Christmas lights?
The best way to test Christmas lights is with a multimeter. This will allow you to test the continuity of the light strands and ensure that they are working properly. Make sure that your multimeter is set to ohms before testing the lights and don’t forget to unplug them from the outlet. Then, touch one lead of the multimeter to the metal tip of the light bulb. Touch the other lead of the multimeter to the end of the light strand that is plugged into the outlet. If the reading is 0, then the light strand is working properly.
Useful Video: Quickly Find the Bad Bulb on Your Christmas Lights using a Multimeter| How To
Conclusion
So, before you deck the halls with your holiday lights this year, be sure to test them out first! You can do this easily with a multimeter, and it’s definitely worth taking the time to check everything over so that you don’t run into any problems when the Christmas cheer is in full swing. Check both the wire and the lightbulbs, as well as fuse holders and plugs, to be sure that your holiday display will stay lit up all season long. And as always, remember to unplug the lights from the outlet before starting any testing or repairs – safety first! Have you ever had to fix a broken string of Christmas lights? What was your experience like?
References:
- https://www.businessinsider.com/christmas-lights-made-holiday-decoration-factory-electric-circuits-2018-12
- https://electrouniversity.com/how-to-test-christmas-lights-with-multimeter/
- https://www.hunker.com/13414134/how-to-fix-christmas-lights-with-a-multimeter
- https://handtoolsforfun.com/how-to-test-christmas-lights-with-a-multimeter/