
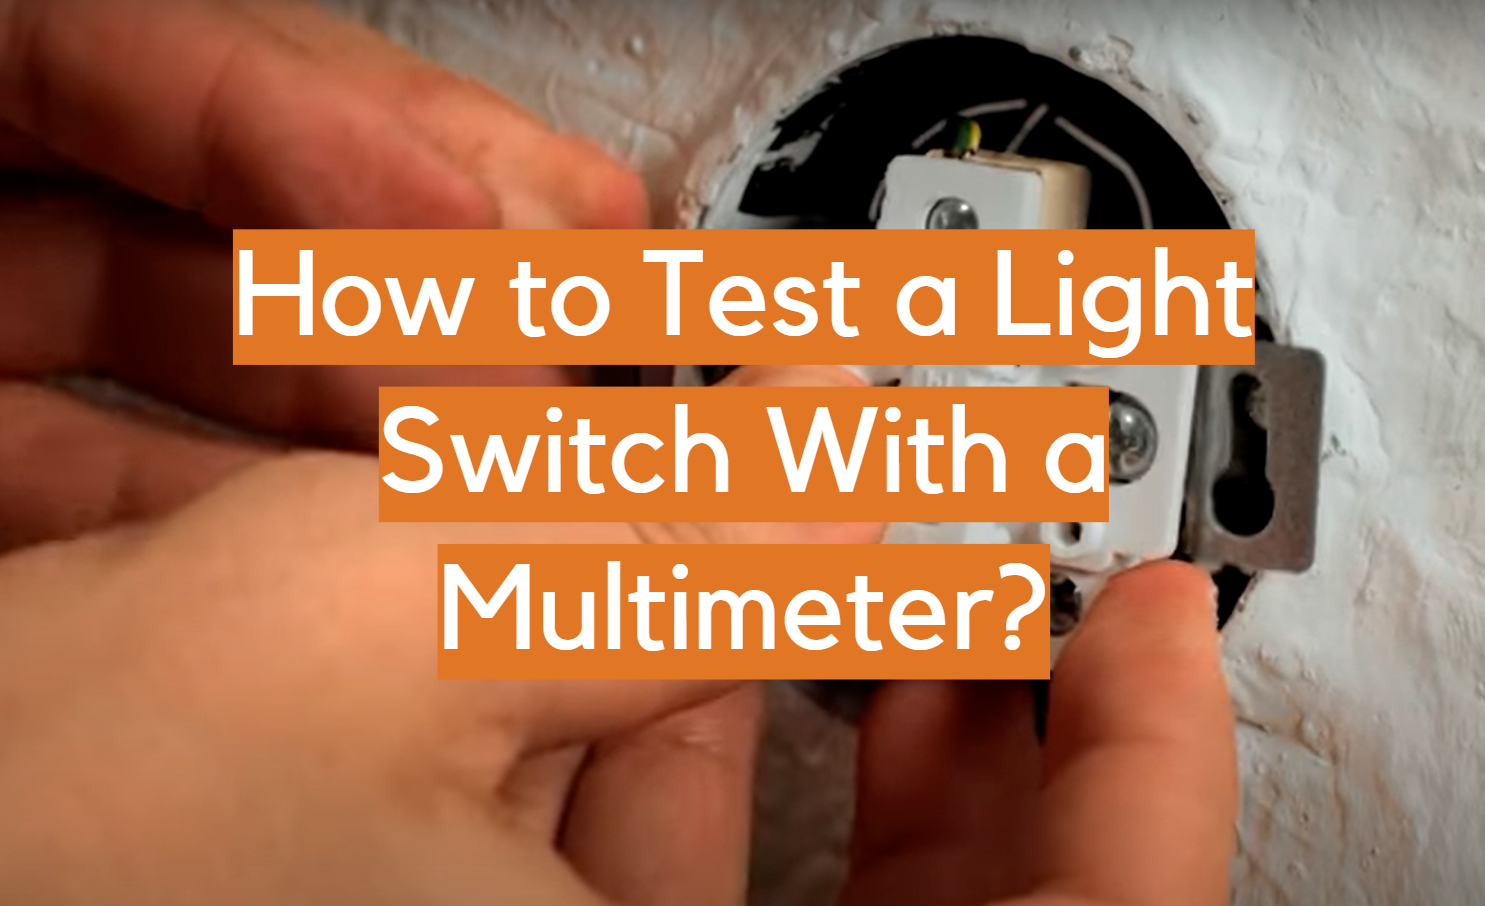
Multimeters are an essential tool for electricians, but they can also be used by homeowners to test light switches. It’s easy to do, and it can help you identify problems with your switches and wiring. In this comprehensive guide, we’ll answer some of the most common questions about how to test a light switch with a multimeter. We’ll provide helpful tips on how to get the best results from your tests, and we’ll show you how to interpret the readings that you get. So whether you’re just getting started with electrical testing or you’re looking for more information on how to test a light switch with a multimeter, this guide has everything you need!
Why Do You Need to Test a Light Switch
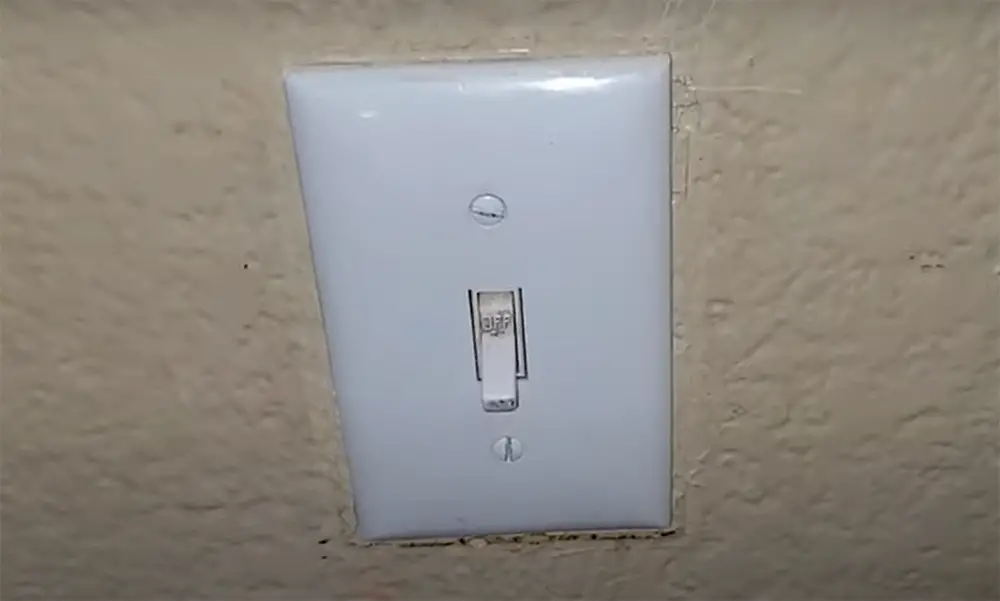
A light switch is a device that controls the flow of electricity to a light fixture or other electrical device. There are two main types of light switches: toggle switches and push-button switches. Toggle switches are the most common type of light switch, and they come in both single-pole and three-way designs. Push-button switches are less common but can be found in some homes.
Most light switches are wired so that they control one or more lights from a single location. However, some light switches are wired to control multiple lights from multiple locations. This type of wiring is called multi-way switching.
Multi-way switching is often used for lighting fixtures that are controlled by more than one switch, such as a staircase. Multi-way switching allows you to turn the lights on or off from multiple locations.
There are a few reasons you might need to test a light switch. Maybe you’re having trouble with the switch itself, or maybe you’re trying to diagnose an issue with the electrical circuit it’s a part of. Either way, testing the switch with a multimeter is a good way to figure out what’s going on.
Multimeters are useful tools that can measure voltage, current, and resistance. By testing the light switch with a multimeter, you can determine if there is an issue with the switch itself or with the wiring in the circuit. [1], [2]
Two Types of Testing
There are two main types of tests you can perform on a light switch: general wire safety and inner wiring pathway diagnostic.
There are two main types of tests you can perform on a light switch: general wire safety and inner wiring pathway diagnostic.
The first type of test, general wire safety, is a quick and easy way to check if the switch is safe to use. This test doesn’t require you to open up the switch, so it’s a good place to start if you’re not sure what’s going on with the switch.
What is a Multimeter
A multimeter is an important tool that every electrician and homeowner should have. A multimeter can measure voltage, current, and resistance.
There are two main types of multimeters: analog and digital. Analog multimeters use a needle and dial to display readings, while digital multimeters use a numerical display. Both types of multimeters are equally effective for testing light switches.[1]
Alternatives to Multimeter Testing
If you don’t have a multimeter, there are a few other ways you can test a light switch.
A non-contact voltage tester is a tool that can be used to detect the presence of voltage without making contact with the live wire. This type of tester is safe to use on live electrical circuits.
To use a non-contact voltage tester, simply hold the tip of the tester near the outlet. If the light switch is energized, the tester will emit a sound or display a reading.
A continuity tester is another tool that can be used to test light switches. A continuity tester is similar to a multimeter, but it does not measure voltage. Instead, a continuity tester only measures whether or not there is a complete circuit between the two probes.
To use a continuity tester, connect the two leads of the tester to the terminals on the switch. If there is a complete circuit, the tester will emit a sound or display a reading.[1]
How to Test a Light Switch Using a Multimeter
Now that you know why you need to test a light switch and what type of tests you can perform, it’s time to learn how to actually do the testing. Testing a light switch is relatively simple, but there are a few things you need to keep in mind.
Shut Off the Power to the Circuit
Before you do anything, you need to make sure that the power to the circuit is shut off. Otherwise, you could seriously injure yourself. The best way to do this is to flip the breaker switch for the relevant circuit in your home’s fuse box/breaker panel.
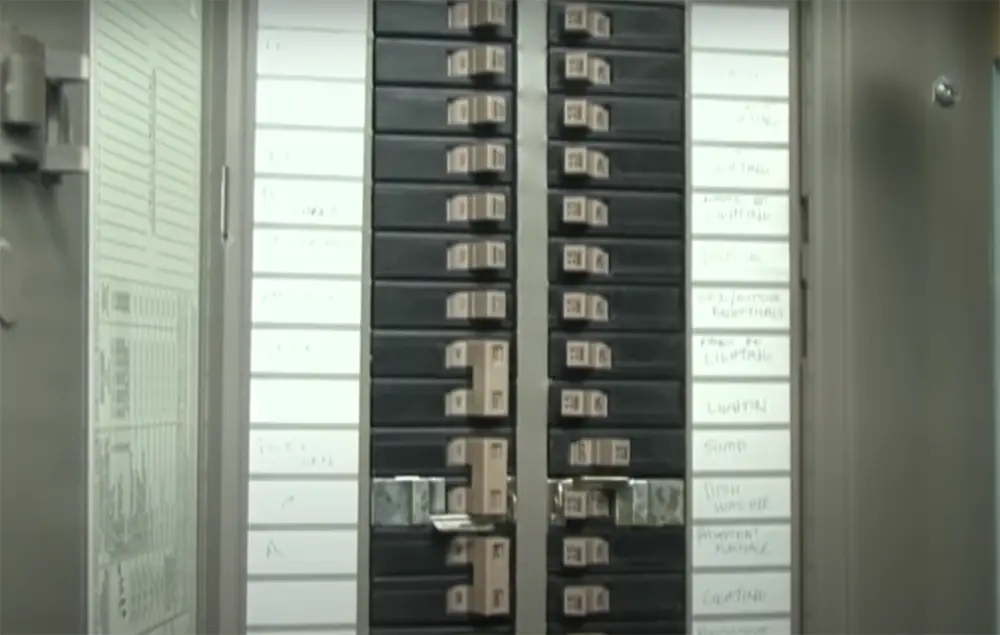
If you’re not sure which breaker switch controls the power to the light switch you’re testing, you can always just shut off all the power in your home by flipping the main breaker switch. Once you’ve done that, test the light switch to see if it’s still receiving power. If it isn’t, then you can proceed with testing.
Test the power with a non-contact voltage tester
Once you’ve shut off the power to the circuit, the next thing you need to do is test the light switch to see if it’s still receiving power. The best way to do this is with a non-contact voltage tester.
A non-contact voltage tester is a tool that beeps and flashes when it comes into contact with live electrical wires. To use a non-contact voltage tester, simply touch one probe to the hot wire (typically black or red) and the other probe to the ground wire (typically white). If the tester beeps or flashes, then there is still power going to the light switch.
Don’t forget to check the side terminals of the switch, as well as the ground wire. If there is power going to any of these places, then the switch is still receiving power and you need to shut off the power at the breaker before proceeding.
Identify what kind of switch you have
Next, remove the cover plate of the switch using a screwdriver. Once the cover plate is off, you should be able to see the inner workings of the switch.
There are two main types of light switches: single-pole and three-way. Single-pole switches have two terminals, while three-way switches have three terminals. Three-way switches are typically used to control lights from two different locations, such as at the top and bottom of a staircase. For this guide, we’ll be focusing on both types of switches.
Disconnect the switch
Once you’ve identified what type of switch you have, the next thing you need to do is disconnect the switch from the circuit. To do this, you’ll usually need to unscrew the two screws that hold the switch in place and pull it out of the electrical box.
You’ll also notice that there are two terminals on the switch itself: one for the hot wire and one for the neutral wire. The ground wire will be connected to a green screw on the side of the switch. At this point, you can proceed with testing the switch.
Test the switch for continuity using multimeter
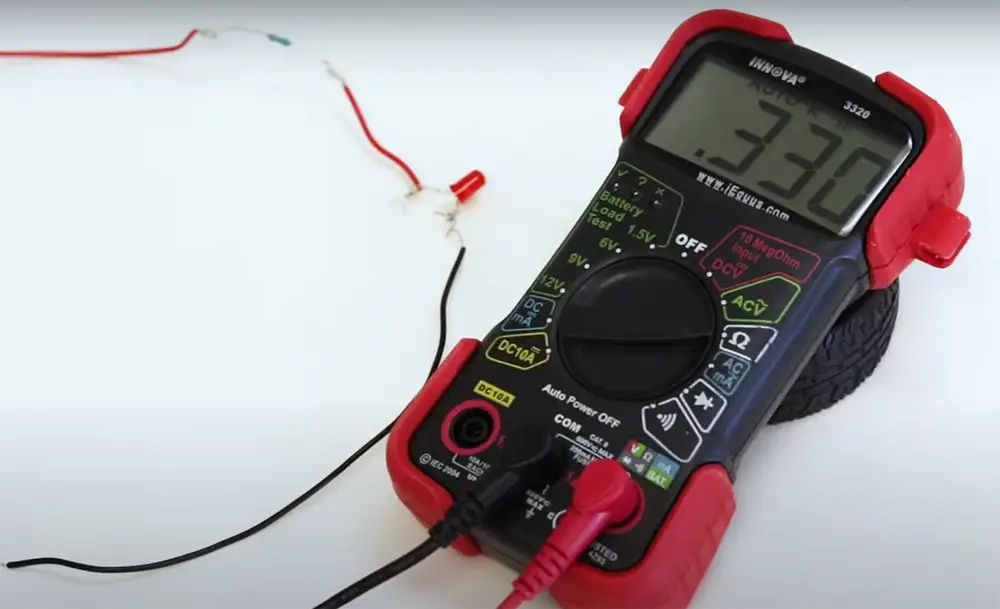
Now that the switch is disconnected from the circuit, you can test it for continuity. Continuity is simply the ability of electricity to flow through a circuit. To test for continuity, you’ll need to use a multimeter.
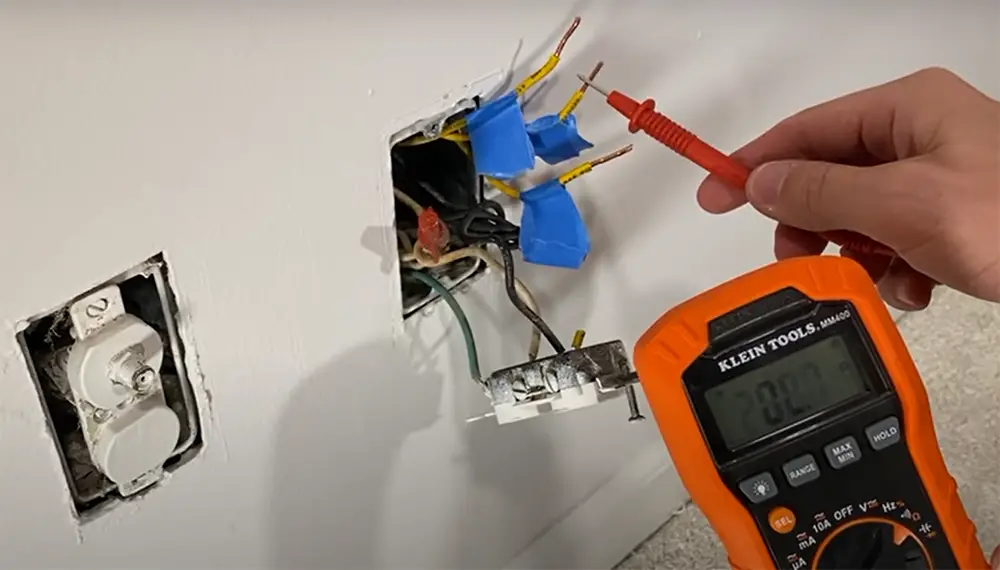
Set the dial to continuity mode
Touch the probes to the terminals of the switch
For single-pole switches, touch each probe to the two terminals on the switch. Next, turn the switch lever ON and OFF. The multimeter should show 0 or close to 0 resistance when the switch is ON and 1 or more when the switch is OFF. If it doesn’t, then the switch is defective and needs to be replaced.
With three-way switches things are slightly complicated. Touch one probe to the dark-colored screw (this is the common terminal) and the other probe to one of the brass-colored screws, traveler terminal. Readings should show continuity with the switch in the ON position and no continuity in the OFF position.
Repeat this process for the other brass-colored screw, traveler terminal. Again, if readings are bad, then replace the switch.
Reinstall or replace the switch
Once you’ve determined that the switch is functioning properly, you can proceed to reinstall it. To do this, simply reconnect the wires to the terminals (making sure to connect the hot wire to the hot terminal and the neutral wire to the neutral terminal), screw it back into place, and replace the cover plate.
If the switch is defective, then you’ll need to replace it with a new one. When doing this, be sure to purchase a switch that is rated for use with your particular electrical circuit. [1], [2]
FAQ
How many ohms should a switch have?
The answer to this question depends on the specific switch you’re testing. A light switch should have 25 or less ohms. If you’re unsure, you can always consult your switch’s manufacturer or a qualified electrician.
How do you check if a light switch is live with a multimeter?
The first thing you need to do is set your multimeter to the “resistance” or “ohms” setting. Once you’ve done that, touch one of the probes to each of the terminals on the switch. If the reading on the multimeter is zero, that means there’s continuity and the switch is live.
If you’re not getting a reading at all, or if you’re getting a reading of infinity, that means there’s no continuity and the switch is not live.
How do I set my multimeter to check a light switch?
First, you’ll need to set your multimeter to the “resistance” or “Ohm” setting. This is typically represented by the Ω symbol. Once you’ve done that, touch one of the probes to each of the light switch’s terminals. If the switch is working properly, you should see a reading of around 0Ω on your multimeter’s display when the switch is turned on.
How can you tell if a light switch is bad?
There are a few telltale signs that indicate a light switch may be going bad. If the switch feels hot to the touch, is making noise, or is no longer functioning properly, it may need to be replaced.
If you’re unsure whether the switch is bad, you can test it with a multimeter. This guide will show you how to test a light switch with a multimeter in just a few simple steps.
Useful Video: Light Switch and Circuit Box Multimeter Testing
Conclusion
Testing a light switch with a multimeter is not difficult, but it does require some basic knowledge of electricity and how to use a multimeter. Ideally, the process shouldn’t take you more than 30 minutes. Just keep the safety precautions in mind and always use extreme caution when working with electrical wiring. If you have any doubts, consult a professional electrician. With a few simple tests, you can easily determine if your light switch is functioning properly. By following the steps in this guide, you should be able to test your light switch and determine if it is working correctly. If you have any questions about how to test a light switch with a multimeter, feel free to leave a comment below and we will do our best to answer them.
References:
- https://www.thespruce.com/testing-single-pole-switches-1152811
- https://toolsweek.com/how-to-test-a-light-switch-with-a-multimeter/