
Learning how to test a capacitor with a multimeter is an essential skill for anyone who wants to work with or around electronics. In this guide, we will walk you through the process of testing capacitors using a multimeter, step-by-step.
We will answer some common questions about capacitors and provide some tips for getting the most accurate readings. So, whether you are just starting out in electronics or you are looking for a more in-depth understanding of how to test capacitors, this guide has you covered!
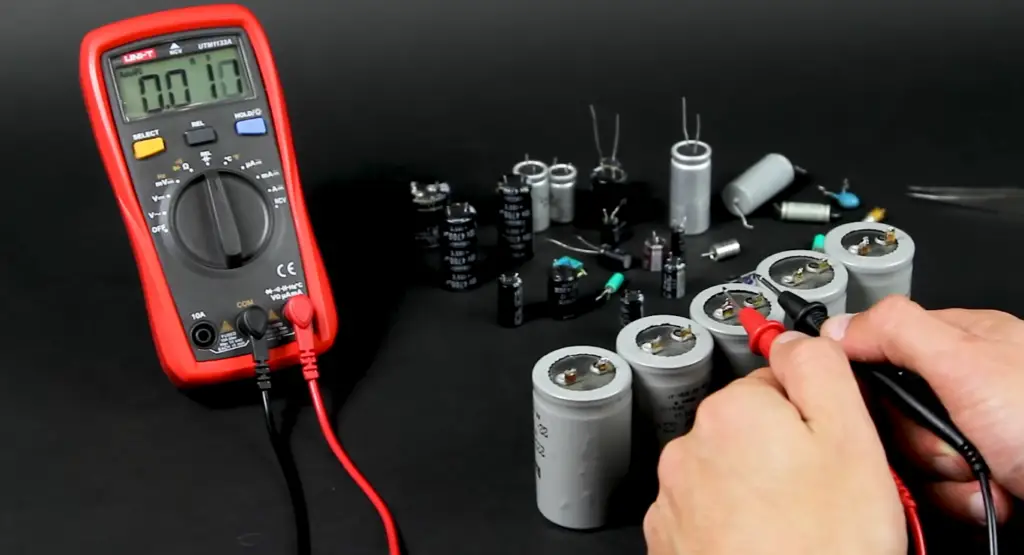
How to Test a Capacitor With a Multimeter?
Testing a capacitor with a multimeter is an important skill for anyone who works with electronic components. By using the right tools and procedures, you can quickly determine if your capacitor is working properly or needs to be replaced.
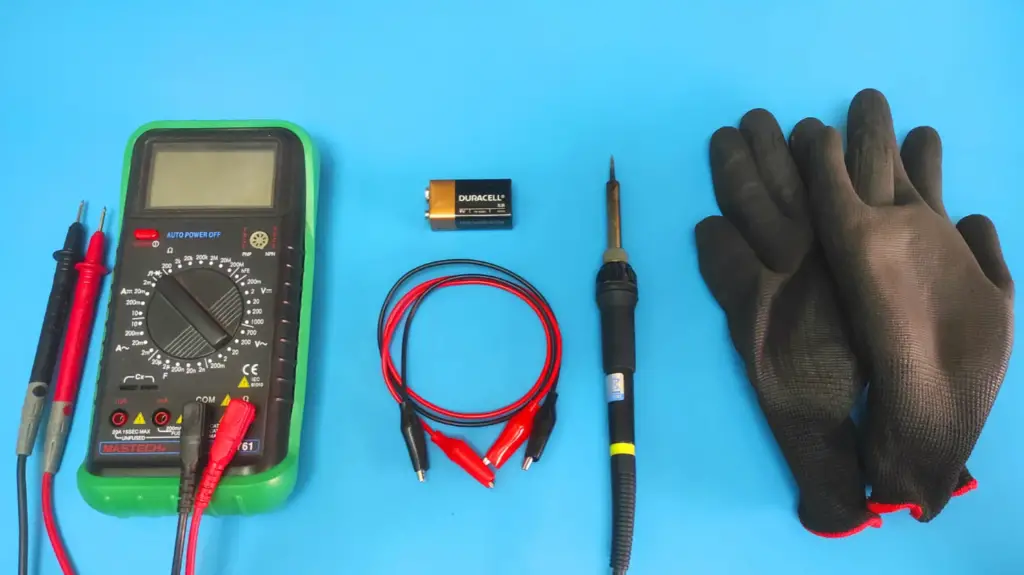
To start, you will need some basic tools: a multimeter, wire cutters/strippers, and a soldering iron (optional). Make sure that your multimeter is set to the right settings for testing capacitors. Most multimeters have an “Ohms/Capacitance” setting.
Now that you have all the supplies you need, it is time to take apart the component that contains the capacitor. Be careful when removing any screws or clips that may be holding it in place. If there are any wires attached, use your wire cutters/strippers to carefully remove them.
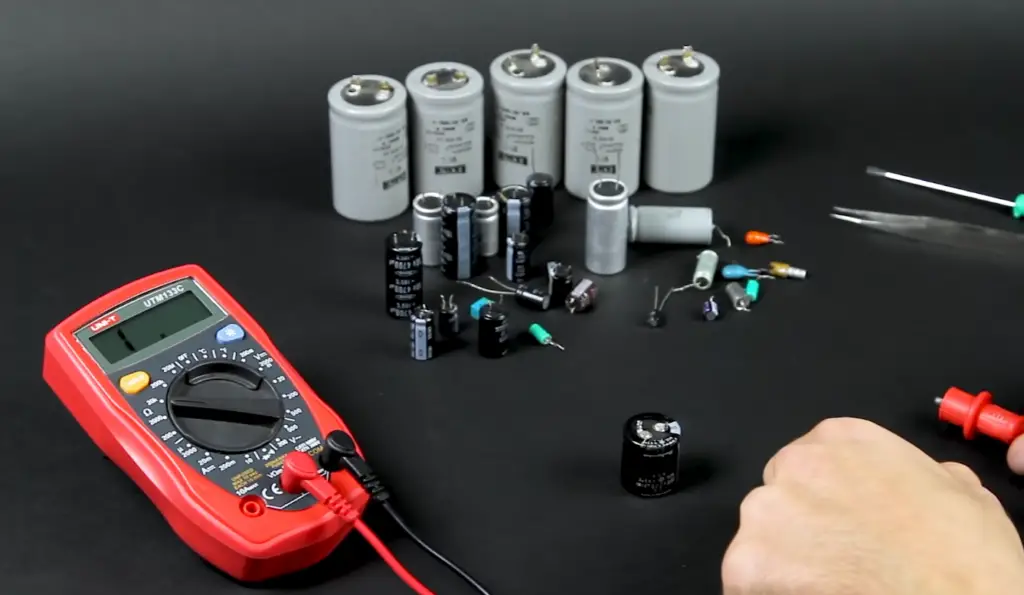
To test a capacitor with a multimeter, you will need to first expose the terminals. For capacitors with two leads, simply connect one lead to each terminal. For capacitors with three leads, connect one lead to each terminal and then connect the third lead to ground.
If it doesn’t read zero or something else unexpected, this means that the capacitor needs to be replaced.
To finish up, reassemble the component and reconnect any wires you removed earlier. If you encounter any difficulties during this part of the process, you can consult a user manual or seek out professional assistance.
Testing capacitors with a multimeter is a simple way to check if your circuits are working properly. By using a multimeter, you can quickly identify any problems with your capacitor and fix them quickly.
Use the Capacitance Mode on the Multimeter
To test a capacitor with a multimeter, you’ll need to use the capacitance mode. This is usually represented by the symbol “µF” on the multimeter.
To switch to this mode, rotate the dial on the multimeter to the “µF” position. Once the multimeter is in capacitance mode, you can connect one lead to each of the capacitor’s terminals and read the result on the screen. [1]
Use the Resistance Mode
If the multimeter doesn’t have a capacitance mode, you can use the resistance mode instead. This is usually represented by the symbol “Ω” on the multimeter.
To switch to this mode, rotate the dial on the multimeter to the “Ω” position. Once the multimeter is in resistance mode, you can connect one lead to each of the capacitor’s terminals and read the result on the screen.
If the reading is 0Ω or a very low number, this usually indicates that your capacitor is working correctly. If it reads something higher than expected, then you may need to replace your capacitor.
Finally, remember to switch your multimeter back to the “OFF” position when you are done testing. This will prevent any damage to the multimeter and/or capacitor due to excessive current flow.
Use a Simple Voltmeter
If you don’t have a multimeter, you can use a simple voltmeter instead. This is usually represented by the symbol “V” on the multimeter.
To switch to this mode, rotate the dial on the multimeter to the “V” position. [1]
Use the Continuity Mode of a Multimeter
To switch to this mode, rotate the dial on the multimeter to the “Ω” position. Once the multimeter is in continuity mode, you can connect one lead to each of the capacitor’s terminals and read the result on the screen.
If your capacitor is working correctly, it should beep when you test it. If there is no sound, then your capacitor may need to be replaced.
Testing capacitors with a multimeter is not only convenient and efficient, but it also helps you identify any issues with your circuit quickly.
Use the Time Constant Parameter
The time constant of a capacitor is the time it takes for the voltage across the capacitor to charge or discharge by 63.2%.
You can use this parameter to test a capacitor. To do so, you’ll need to measure the time it takes for the voltage across the capacitor to change by 63.2%. If it takes more than the stated time, then your capacitor may need to be replaced.
Testing capacitors with a multimeter is an effective and efficient way to make sure that your circuits are functioning properly.
Whether you’re using the capacitance mode, resistance mode, or continuity mode on the multimeter, you’ll be able to quickly identify any issues with your capacitors.
Check the Capacitor Visually for Faults
The first thing you should do when testing a capacitor is to check for any physical damage. This can be anything from cracks in the casing to leaking electrolyte. If you see any of these issues, it’s best to replace the capacitor because it might not work correctly.
If there is no visible damage, the next thing to do is to test the capacitor with a multimeter. This will tell you if the capacitor is functioning correctly or not.
Check the Capacitor’s Capacitance
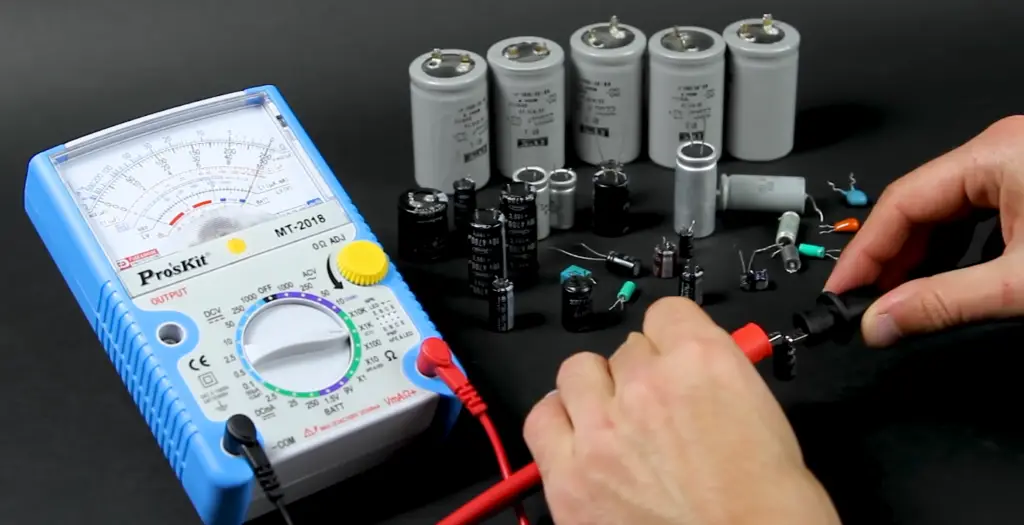
You can use a multimeter to check the capacitance of a capacitor. To do this, set the multimeter to measure capacitance and touch the probes to the two terminals on the capacitor. This will show you if it is working correctly or not.
You should also check the tolerance of the capacitor to make sure it is within the acceptable range. This can be done by setting your multimeter to measure resistance and then touching one probe to each terminal on the capacitor. [2]
Check for Leakage Current
To check for this, you’ll need to set your multimeter to measure current and then touch one probe each to the two terminals of the capacitor.
Check the Voltage Rating
Make sure that the capacitor you select is suitable for your needs. This can be done by checking the voltage rating with a multimeter. Touch one probe to each terminal of the capacitor to measure the voltage.

Traditional Method to Check a Capacitor
There are two ways to test a capacitor with a multimeter.
- The first way is the traditional way. You measure the capacitance of the capacitor.
- The second way is to use the multimeter’s capacitance setting.
To do this, you first need to discharge the capacitor completely. To do this, connect one lead of the multimeter to one of the terminals of the capacitor, and the other lead of the multimeter to the other terminal. Keep the leads of the multimeter as close to the terminals of the capacitor as possible.
Now, switch on the multimeter to the capacitance setting. You should see a reading of 0. If you don’t, it means that there is still some charge left in the capacitor and you need to discharge it again.
Once you have discharge the capacitor, you can now measure the capacitance. To do this, connect the leads of the multimeter in the same way as before. But this time, switch on the multimeter to the capacitance setting.
You should see a reading that is close to the rated value of the capacitor. If not, then there might be something wrong with the capacitor.
How Do You Check if a Capacitor is Bad with a Multimeter?
The second way to test a capacitor with a multimeter is to use the multimeter’s capacitance setting. This is the more accurate way to test a capacitor.
To discharge the capacitor, you will need to connect one lead of the multimeter to one of the terminals of the capacitor, and the other lead of the multimeter to the other terminal. Keep the leads of the multimeter as close to the terminals of the capacitor as possible.
Now, turn on the multimeter to the capacitance setting. You should see a reading of 0. If you don’t, it means that there is still some charge left in the capacitor and you need to discharge it again.
Now that you have discharged the capacitor, you can measure the capacitance. Connect the leads of the multimeter in the same way as before.
But this time, switch on the multimeter to the capacitance setting. You should see a reading that is close to the rated value of the capacitor. If not, then there might be something wrong with it. [3]
Can You Check Continuity Through a Capacitor?
Yes, you can check continuity through a capacitor. To do this, you need to connect one lead of the multimeter to one of the terminals of the capacitor, and the other lead of the multimeter to the other terminal.
Now, turn on the multimeter to the continuity setting. If there is continuity, you will hear a beeping sound. If there is no continuity, you will not hear a beeping sound.
Will a Multimeter Discharge a Capacitor?
No, a multimeter will not discharge a capacitor. To discharge a capacitor, you need to connect one lead of the multimeter to one of the terminals of the capacitor, and the other lead of the multimeter to the other terminal.
FAQ
How do you test if a capacitor is bad?
There are several ways to test if a capacitor is bad. The most common way is to use an ohmmeter or multimeter set to the resistance setting. If the capacitor is good, the metre should show a low resistance reading. If the reading is high or infinite, then the capacitor is bad.
Another way to test a capacitor is to use a capacitor tester. This is a device that applies electricity to the capacitor and measures how much electricity flows out. If the current is low, then the capacitor is good. If the current is high, then the capacitor is bad.
A third way to test a capacitor is to use an AC voltmeter. Connect the voltmeter to the capacitor, and then apply an AC voltage to the capacitor. If the capacitor is good, the voltmeter should show a small AC voltage. If the voltmeter shows a large AC voltage, then the capacitor is bad.
How many ohms should a capacitor have?
A capacitor should have a very low resistance, usually below 1 ohm. If the resistance is high, then the capacitor is bad.
Should a capacitor have continuity?
No, a capacitor should not have continuity. If a metre shows continuity, then the capacitor is bad.
How do you tell if a capacitor is polarised?
A polarised capacitor has two leads, a positive lead and a negative lead. The positive lead is usually longer than the negative lead. If you reverse the leads, the capacitor will not work.
Can a capacitor be replaced with a resistor?
No, a capacitor cannot be replaced with a resistor. They are two different components that serve two different purposes.
What is the difference between a capacitor and a battery?
A capacitor stores electricity in an electric field, while a battery stores electricity in a chemical reaction. Capacitors can store more electricity than batteries, but they can only hold the charge for a short time.
Batteries can store less electricity than capacitors, but they can hold the charge for a long time.
What does a capacitor do in a circuit?
A capacitor stores electricity and releases it when the voltage is too low. This helps to stabilise the voltage in a circuit and prevent the voltage from dropping too low.
What happens when a capacitor goes bad?
When a capacitor goes bad, it can cause the voltage in a circuit to drop too low. This can cause the circuit to stop working or to work improperly.
Can you bypass a capacitor?
Yes, you can bypass a capacitor by connecting the two leads together. This will allow the current to bypass the capacitor and flow directly through the circuit.
What happens if you put a capacitor backwards?
If you put a capacitor backwards, it will not work. The capacitor is polarised, which means that it has a positive lead and a negative lead. If you reverse the leads, the capacitor will not work.
What is the difference between a capacitor and an inductor?
A capacitor stores electricity in an electric field, while an inductor stores electricity in a magnetic field. A capacitor can store more electricity than an inductor, but it can only hold the charge for a short time. An inductor can store less electricity than a capacitor, but it can hold the charge for a long time.
How long does a capacitor last?
The lifespan of a capacitor depends on the type of capacitor and how it is used. Some capacitors can last for many years, while others may only last for a few months.
What are the symptoms of a bad capacitor?
Some of the symptoms of a bad capacitor include:
- The circuit not working properly
- The voltage in the circuit dropping too low
- The circuit stopping working altogether
If you notice any of these symptoms, it is a good idea to check the capacitor to see if it is bad. If the capacitor is bad, it should be replaced.
Useful Video: How to Test a Capacitor with a Multimeter and LCR Meter
Conclusion
All in all, testing a capacitor with a multimeter is not as complicated as it may seem. By following the simple steps outlined in this article, you should be able to test your capacitor and determine whether or not it needs to be replaced.
Have you tried testing a capacitor using this method? What challenges did you encounter? Let us know in the comments below.
References
- https://tameson.com/capacitor-multimeter.html
- https://www.electricaltechnology.org/2013/06/how-to-check-capacitor-with-digital.html
- https://lambdageeks.com/how-to-test-a-capacitor-with-a-multimeter