
In the era of digital interconnectivity, the ability to seamlessly share files and resources across diverse platforms and devices has become a necessity rather than a luxury.
Enter the Raspberry Pi Samba Server – a versatile and cost-effective solution that bridges the gap between disparate operating systems, enabling effortless file sharing, printer access, and collaborative endeavors.
This comprehensive guide aims to demystify the process of setting up your own Raspberry Pi Samba Server, ushering you into a realm where Windows, macOS, and Linux systems coexist harmoniously within a unified network environment.
Whether you’re a tech enthusiast looking to optimize resource sharing or a small business seeking an efficient means of collaboration, this tutorial will empower you to establish a robust and user-friendly file-sharing infrastructure. Join us as we embark on a journey to unlock the potential of your Raspberry Pi and transform it into a dynamic Samba Server, ready to streamline data exchange and redefine the way your network operates.
What Is a Samba Server?
In the realm of computer networking, a Samba server stands as a pivotal bridge, enabling seamless communication and file sharing between disparate operating systems. At its core, a Samba server facilitates the integration of Windows, macOS, and Linux systems within a unified network environment. This versatile tool empowers users to share files, printers, and other resources effortlessly, transcending the traditional boundaries imposed by varying operating systems [1].
The Essence of Samba
Functionality and Use Cases
At its core, a Samba server acts as a mediator, translating the SMB protocol into a language that all participating systems can understand.
Here’s a glimpse into some of the key functionalities and use cases of a Samba server:
- File Sharing: One of the fundamental purposes of a Samba server is to enable file sharing between different operating systems. This means that a Windows user can seamlessly access files and folders hosted on a Samba server from their macOS or Linux machine, and vice versa;
- Printer Sharing: Samba extends its support beyond file sharing to include printer sharing. A Samba server can manage and distribute printer resources, allowing diverse devices to send print jobs to a shared printer regardless of their native operating system;
- Centralized Data Storage: With a Samba server, organizations can establish a centralized repository for files, ensuring that critical data is easily accessible and maintainable across the network;
- Cross-Platform Collaboration: Samba servers foster collaboration by breaking down the barriers between different operating systems. This is particularly beneficial in environments where diverse teams work together using a mix of Windows, macOS, and Linux systems;
- Backup and Recovery: Samba servers play a crucial role in backup and recovery strategies. By hosting important files and resources, they enable efficient data backup, ensuring that valuable information remains secure and retrievable;
Reasons to Use Samba Server on Raspberry Pi
Using a Samba server on a Raspberry Pi offers a plethora of benefits, making it a versatile and valuable addition to your network infrastructure.
Here are some compelling reasons to consider setting up a Samba server on your Raspberry Pi:
- Cross-Platform Compatibility: Samba enables seamless communication and file sharing between Windows, macOS, and Linux systems. It breaks down the barriers of different operating systems, allowing diverse devices to collaborate effortlessly;
- Cost-Effective Solution: Raspberry Pi boards are affordable and energy-efficient, making them an economical choice for creating a powerful file-sharing server without breaking the bank;
- Centralized Data Storage: A Samba server lets you consolidate files and resources in one central location, simplifying data management and enhancing organization within your network;
- Effortless File Sharing: Samba provides a user-friendly interface for sharing files and folders across devices. Users can access shared content as if it were on their local machine;
- Printer Sharing: With Samba, you can transform your Raspberry Pi into a print server, allowing network users to send print jobs to a shared printer regardless of their device’s operating system;
- Customizable Access Control: Samba offers fine-grained control over access permissions. You can define who can read, write, and modify shared content, ensuring data security and privacy;
- Integration with Active Directory: Samba can be configured to work with Active Directory domains, making it an ideal choice for businesses that require domain-based authentication and user management;
- Remote Access: Once set up, you can access your Samba shares remotely over the internet, enabling convenient access to your files from anywhere;
- Backup and Recovery: Samba facilitates easy backup and recovery processes by centralizing data storage. You can create regular backups of shared content to safeguard critical information;
- Educational Tool: Configuring a Samba server on a Raspberry Pi can serve as an educational project, helping individuals learn about networking, server administration, and Linux systems;
- Community Support: Samba is a well-established open-source project with an active community. This means you can find ample documentation, tutorials, and forums to help you troubleshoot and optimize your setup;
- Low Power Consumption: Raspberry Pi boards are energy-efficient, consuming minimal power while performing server tasks, making them eco-friendly and cost-effective in the long run;
- Scalability: You can expand the capabilities of your Raspberry Pi Samba server by adding external hard drives or additional Raspberry Pi units to increase storage and performance as your needs grow [2];
Setting Up a Raspberry Pi Samba Server:
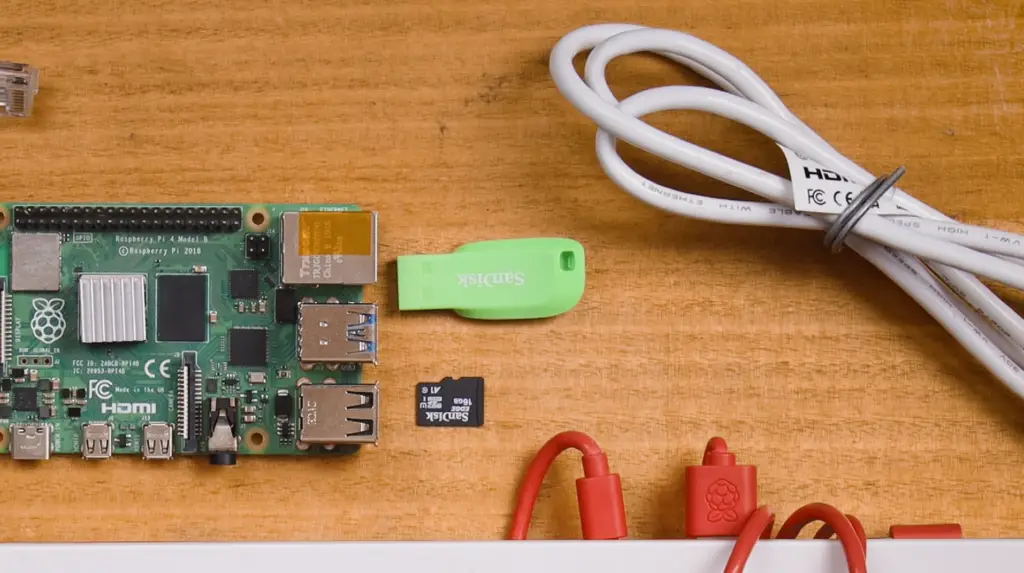
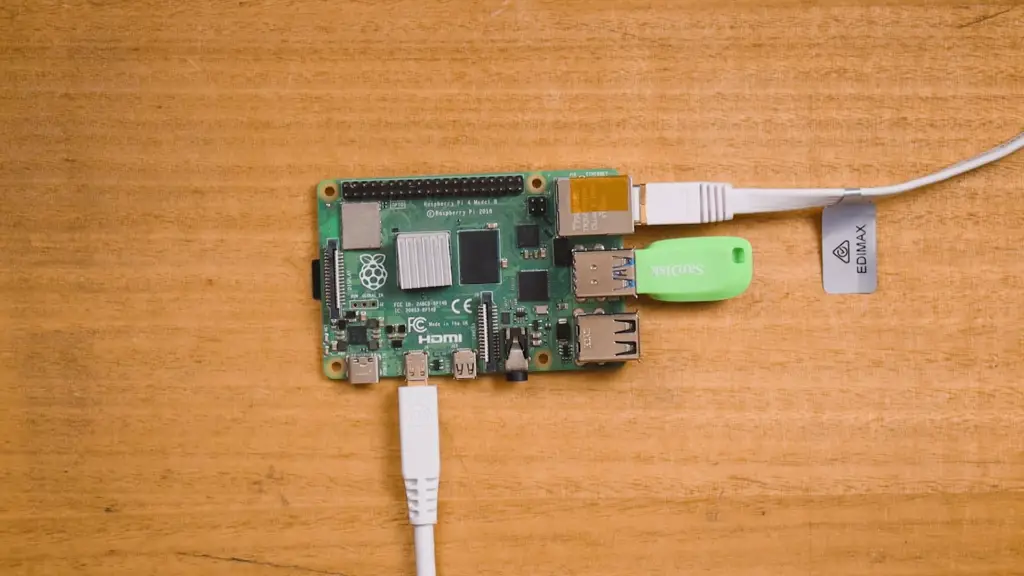
1. Necessary Equipment:
- Raspberry Pi: The heart of your Samba server, a Raspberry Pi is an affordable and versatile single-board computer;
- Micro SD Card (8GB+): A high-capacity SD card to host the operating system and Samba server software;
- Ethernet Cable or Wi-Fi: Establish a network connection for seamless communication;
- External Hard Drive: For storing and sharing files on your Samba server;
- Raspberry Pi Case: Protect your Raspberry Pi from physical damage;
- USB Keyboard and Mouse: Necessary for initial setup and configuration;
- HDMI Cable: Connect your Raspberry Pi to a monitor for display;
2. Samba Server Setup:
Global Configurations:
Begin by installing the Raspbian OS (or Raspberry Pi OS) on your micro SD card. Follow official guides to ensure a successful installation.
Connect your Raspberry Pi to the network using an Ethernet cable or Wi-Fi, and power it up.
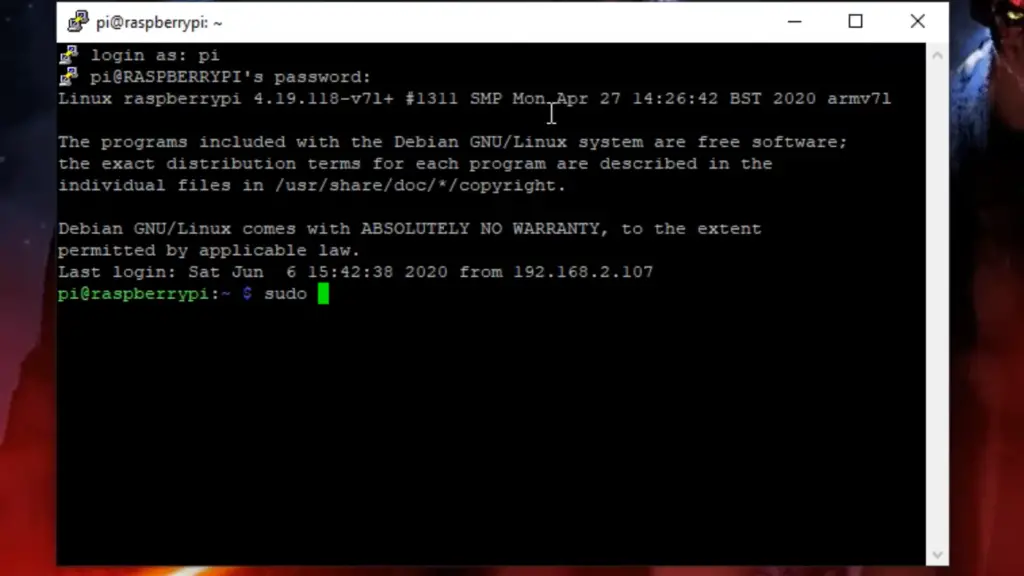
Open a terminal or connect remotely to your Raspberry Pi using SSH.
Update the system packages using the following commands:
sudo apt update
sudo apt upgrade
Securing The Connection:
Change the default password for the ‘pi’ user using the command: passwd
For enhanced security, consider disabling SSH access for the ‘root’ user and enabling key-based authentication.
Adding Samba Shares:
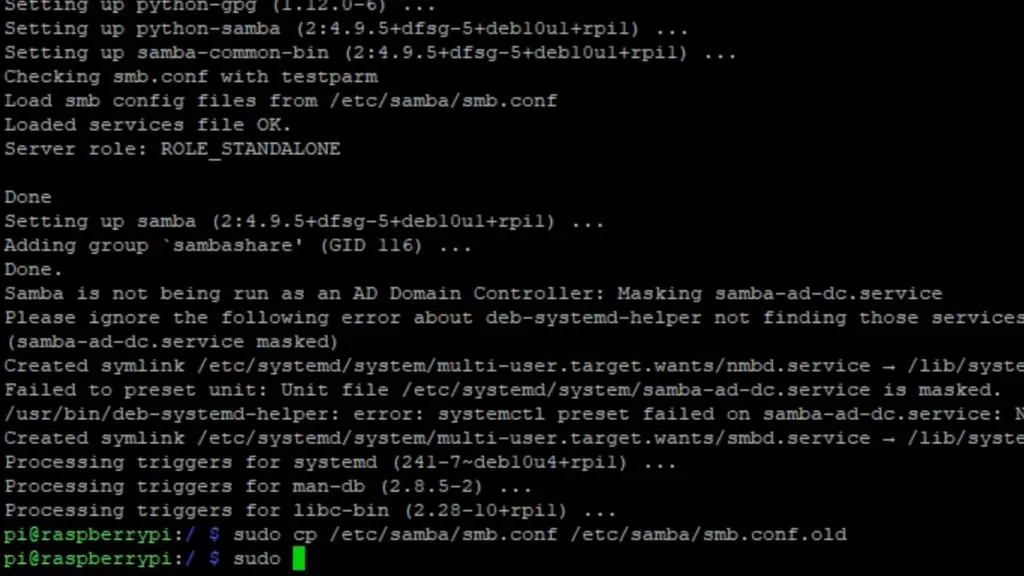
Install the Samba software using the command: sudo apt install samba
Create a directory on your external hard drive where you will store the shared files. Ensure appropriate permissions using chmod and chown.
Create Mount Directories:
On your Raspberry Pi, create mount directories for each of your Samba shares.
Add Shares To The Samba Config:
Edit the Samba configuration file using a text editor:
sudo nano /etc/samba/smb.conf
Add share definitions by specifying the path, permissions, and access settings.
Testing (Linux):
Test your Samba configuration by accessing the shares from a Linux client. Use the smbclient command to connect to the shares:
smbclient //RASPBERRY_PI_IP/ShareName -U username
Mount Shares On Start-Up On Raspberry Pi:
Edit the /etc/fstab file to automatically mount Samba shares at startup.
Client Configuration (Linux):
On your Linux client, ensure you have the cifs-utils package installed.
Mount the Samba shares using the mount command or by adding entries to the /etc/fstab file.
Configure Samba With A GUI Program:
Optionally, you can use a graphical user interface (GUI) program like system-config-samba to simplify the Samba configuration process [3].
Dealing With Slow Writes:
If you encounter slow write speeds, consider adjusting the Samba configuration by modifying the write cache size and socket options parameters.
How to Setup a Raspberry Pi Samba Server On Different OS:
Setting Up on Windows OS:
Install Samba Client:
Windows doesn’t come with built-in support for Samba. To access a Samba share from Windows, you need to install a Samba client. Download and install “Samba Client for Windows” or “WinSCP” for a user-friendly experience.
Accessing the Samba Share:
- Open the Samba client you installed;
- Enter the IP address of your Raspberry Pi in the server field;
- Provide the username and password you configured for Samba on your Raspberry Pi;
- Browse and access the shared folders on your Raspberry Pi from Windows Explorer;
Setting Up on macOS:
Accessing Samba Shares:
- Open Finder on your macOS machine;
- In the menu, select “Go” and then “Connect to Server…”;
- Enter the Samba URL in the format smb://RASPBERRY_PI_IP/ShareName;
- Click “Connect” and provide the Samba username and password;
Persistent Connections:
- Connect to the Samba share as mentioned above;
- After connecting, the share will appear on your desktop and in Finder’s sidebar;
- To reconnect in the future, simply click on the share icon [4];
Tips:
- Firewall Settings: Ensure that your Raspberry Pi’s firewall allows Samba traffic. You may need to open the necessary ports for Samba to function;
- User Permissions: When setting up Samba shares, configure appropriate user permissions to control who can access and modify the shared content;
- Network Discovery: For easier access, ensure that network discovery is enabled on Windows and macOS systems. This allows the Raspberry Pi Samba server to be automatically detected on the network;
- Mounting Shares: On macOS, you can mount Samba shares as network drives by clicking on the share and selecting “Add to Sidebar.” On Windows, you can map network drives to Samba shares for quick access;
Turn Raspberry Pi Into a NAS With Samba:
Prepare the Hard Drive:
- Select the Hard Drive: Choose an external USB hard drive that meets your storage needs. Ensure the drive is compatible with your Raspberry Pi and has ample space to accommodate your files;
- Connect the Drive: Plug the USB hard drive into one of the available USB ports on your Raspberry Pi;
Format The Drive:
- Open a Terminal: Access the command-line interface on your Raspberry Pi. You can do this by connecting a monitor and keyboard or using SSH;
- Identify the Drive: Use the lsblk command to list the available drives and identify your USB hard drive;
- Format the Drive: Format the drive using a file system format such as ext4. Replace /dev/sdX1 with the appropriate drive identifier: sudo mkfs.ext4 /dev/sdX1;
Mount The Drive:
Create A Mount Directory:
Make a directory where you want to mount the hard drive. For example:
sudo mkdir /media/myNAS
Get The UUID Of The Drive:
Obtain the Universally Unique Identifier (UUID) of your hard drive using the following command:
sudo blkid /dev/sdX1
Edit The Fstab Config File:
Open the /etc/fstab file with a text editor:
sudo nano /etc/fstab
Mount The Drive:
Add an entry to the fstab file to automatically mount the drive at boot. Replace UUID and /media/myNAS with your drive’s UUID and the mount directory [5]:
UUID=your_drive_UUID /media/myNAS ext4 defaults 0 0
Verify:
Mount the Drive:
Manually mount the drive to verify that everything is working as expected:
sudo mount -a
Check Mounting:
Use the df -h command to confirm that the drive is mounted correctly and displaying the expected storage capacity.
Give Users Access To the NAS:
Create a Unix Usergroup for NAS Users:
Create a new group for users who will have access to the NAS:
sudo addgroup nasusers
Create A User:
Add a new user and assign them to the nasusers group:
sudo adduser username
sudo usermod -aG nasusers username
Give Your User A Samba Password:
Set a Samba password for the user:
sudo smbpasswd -a username
Install Samba:
Install Samba if it’s not already installed: sudo apt-get install samba
Edit the Samba Config:
Open the Samba configuration file for editing:
sudo nano /etc/samba/smb.conf
Configure Shares:
Add your shared directories to the Samba configuration. For example:
[SharedFolder] comment = Shared Folderpath = /media/myNAS
read only = no
valid users = @nasusers
Test the NAS:
Restart Samba:
Restart the Samba service to apply the configuration changes:
sudo service smbd restart
Access the NAS:
On a Windows PC or macOS machine, open File Explorer or Finder and enter the Raspberry Pi’s IP address in the address bar. You should see the shared folder.
Enter Credentials:
When prompted, enter the Samba username and password you created earlier.
How to Install Samba?
1) On Debian-Based Systems (e.g., Ubuntu):
Open a Terminal: Launch the terminal on your Debian-based system. You can usually find it in the Applications menu or use the keyboard shortcut Ctrl + Alt + T;
Update Package Lists: Before installing any software, it’s a good practice to update the package lists:
sudo apt update
Install Samba:
Use the following command to install Samba:
sudo apt install samba
Check Samba Version (Optional):
To verify that Samba has been installed, you can check its version:
smbstatus –version
2) On Red Hat-Based Systems (e.g., CentOS):
- Open a Terminal: Launch the terminal on your Red Hat-based system;
- Update Package Lists: Update the package lists before installing software: sudo yum update;
- Install Samba: Use the following command to install Samba: sudo yum install samba;
Check Samba Version (Optional):
To verify the Samba installation and its version, you can use:
smbstatus –version

3) On Arch Linux:
- Open a Terminal: Launch the terminal on your Arch Linux system;
- Update Package Lists: Update the package lists by running: sudo pacman -Syu;
- Install Samba using the following command: sudo pacman -S samba;
Check Samba Version (Optional):
To verify the Samba installation and its version, you can use:
smbstatus –version
4) On macOS:
- Open Terminal: On macOS, you can find the Terminal in the Utilities folder within the Applications folder;
- Install Samba: macOS comes with Samba preinstalled. However, if you want to use a more recent version, you can install it using Homebrew: brew install samba [6];
Check Samba Version (Optional):
To verify the Samba installation and its version, you can use: smbstatus –version
5) Additional Configuration Steps:
After installing Samba, you might need to make some additional configurations depending on your use case. The main configuration file for Samba is usually located at /etc/samba/smb.conf on Linux systems. You can edit this file using a text editor like nano or vim.
Once Samba is installed and configured, you can start sharing files and resources across your network seamlessly, regardless of the operating systems involved.
Configure Samba:
1) Add A New Share:
Open the Configuration File:
Use a text editor to open the Samba configuration file. The file is typically located at /etc/samba/smb.conf. You’ll need administrative privileges to edit this file, so you might need to use the sudo command.
sudo nano /etc/samba/smb.conf
2) Add a New Share Section:
Scroll down to the end of the configuration file or to an appropriate section. To add a new share, follow this format:
[ShareName] comment = Description of the sharepath = /path/to/shared/folder
valid users = @users
read only = no
- Replace ShareName with a name for your share;
- Provide a brief description in the comment field
- Replace /path/to/shared/folder with the actual path to the folder you want to share;
- Adjust the valid users and read-only settings as needed;

3) Save and Exit:
After making changes, save the file and exit the text editor.
4) Verify The Config File:
Check for Errors:
Before restarting the Samba service, it’s a good practice to check the configuration file for syntax errors. Run the following command to validate the configuration: testparm
This command will analyze the configuration and provide feedback on any errors or issues.
Restart Samba:
After verifying that there are no errors in the configuration, restart the Samba service to apply the changes:
sudo service smbd restart
Verify the Share:
To ensure that the new share is available and accessible, try accessing it from a client machine on your network. You can use the file explorer or terminal commands depending on your operating system.
Test Read and Write Access:
Test both read and write access to the new share. Create, modify, and delete files to confirm that the permissions are correctly set.
5) Additional Considerations:
- Authentication and Permissions: Samba allows you to set fine-grained access controls and permissions for each share. Make sure you define valid users and read-only settings as needed to control who can access and modify the shared content;
- User Authentication: Users accessing the Samba shares might need to provide their Samba username and password. Ensure that Samba users are created using the smbpasswd command;
- Firewall Settings: Verify that your firewall settings allow Samba traffic. Adjust your firewall rules if necessary to ensure proper communication;
- Logging: Samba generates log files that can be useful for troubleshooting. You can find these logs in the /var/log/samba/ directory;
Security Considerations:
While Samba greatly enhances network connectivity and resource sharing, it’s crucial to implement robust security measures to safeguard your network and data:
- Firewall Settings: Configure firewalls to allow Samba traffic while blocking unauthorized access;
- User Authentication: Enforce strong passwords and proper user authentication to prevent unauthorized access to shared resources;
- Access Controls: Set granular access controls and permissions to ensure that only authorized users can access specific folders;
- Encryption: Implement encryption protocols like SMB3 to secure data transmission between devices;
FAQ:
1. How to set up an SMB server on my Raspberry Pi?
To set up an SMB (Server Message Block) server on your Raspberry Pi, you can use the Samba software. Here’s a brief overview of the steps:
Install Samba: Open a terminal and run the following commands to install Samba on your Raspberry Pi:
sudo apt update
sudo apt install samba
Configure Samba: Edit the Samba configuration file /etc/samba/smb.conf to define shares, access permissions, and other settings.
Create Shares: Define the folders you want to share and specify the access permissions for each share.
Create Samba Users: Use the smbpasswd command to create Samba users and set their passwords.
Restart Samba: Restart the Samba service to apply your changes: sudo service smbd restart
Access Shares: On other devices in your network, you can access the Raspberry Pi SMB server by entering its IP address in a file explorer.
2. Can you use a Raspberry Pi as a NAS server?
Yes, you can use a Raspberry Pi as a NAS (Network Attached Storage) server by setting up Samba or other file-sharing services. A Raspberry Pi NAS allows you to centralize data storage, share files, and access them from different devices on your network.
3. Is there a GUI for Samba?
Yes, there are graphical user interfaces (GUIs) available for Samba configuration. One popular option is the system-config-samba tool, which provides a user-friendly interface to set up and manage Samba shares.
4. Is Samba deprecated?
Samba is not deprecated. It continues to be actively developed and maintained as an open-source software suite for SMB/CIFS networking.
5. Is Samba only for Windows OS?
Samba is not only for Windows OS. While it was initially developed to enable Windows and Linux interoperability, it has evolved to support various operating systems, including macOS. Samba allows file and printer sharing between different platforms.
6. What kind of servers can you run on a Raspberry Pi?
You can run a variety of servers on a Raspberry Pi, including:
- Web server (e.g., Apache, Nginx);
- Database server (e.g., MySQL, PostgreSQL);
- File server (e.g., Samba, Nextcloud);
- Media server (e.g., Plex, Kodi);
- Game server (e.g., Minecraft, RetroPie);
- IoT server (e.g., Home Assistant, Node-RED);
- VPN server (e.g., OpenVPN, WireGuard);
- DNS server (e.g., Pi-hole);
7. Is Samba the same as SMB?
Samba is not the same as SMB. SMB (Server Message Block) is a network file-sharing protocol. Samba is a software suite that provides SMB/CIFS services, allowing non-Windows systems to communicate using the SMB protocol.
8. How does a Samba server work?
A Samba server enables file and printer sharing between different devices on a network. It translates requests and responses between the SMB/CIFS protocol used by Windows systems and the native protocols of other operating systems, allowing seamless communication and resource sharing.
9. What is the difference between NFS and Samba?
NFS (Network File System) and Samba are both file-sharing protocols, but they have differences.
NFS is primarily used in Unix-like environments.
Samba provides compatibility with SMB/CIFS, making it suitable for sharing files with Windows systems.
Samba is more versatile in cross-platform environments, while NFS is better suited for Unix-to-Unix sharing.
10. What is the alternative to Samba in Raspberry Pi?
NFS (Network File System) is a popular alternative to Samba for file sharing on Raspberry Pi, particularly in Unix-like environments.
11. How to host a local server on Raspberry Pi?
To host a local server on a Raspberry Pi, follow these steps:
- Install and configure the desired server software (e.g., web server, database server);
- Access the server using the Raspberry Pi’s IP address from other devices on the same network.
- Configure firewall settings if necessary;
- Make sure the Raspberry Pi is powered and connected to the network;
12. Does Samba use TCP or UDP?
Samba primarily uses TCP (Transmission Control Protocol) for communication. It uses port 139 and port 445 for SMB/CIFS file sharing over TCP.
13. What are the advantages of a Samba server?
The advantages of a Samba server include:
- Cross-platform compatibility, allowing file sharing between Windows, macOS, and Linux systems;
- Centralized data storage and sharing within a network;
- Support for printer sharing;
- Fine-grained access control and permission settings;
- Integration with existing authentication systems;
- Flexibility to configure and customize shares according to specific needs;
14. How fast is a Samba server?
The speed of a Samba server’s file transfer depends on various factors, including network speed, hardware performance, and the configuration of the Samba server. It’s possible to achieve good file transfer speeds with an optimized setup.
15. What port is Samba using?
Samba uses port 139 and port 445 for SMB/CIFS file sharing over TCP. Port 137 and port 138 are used for NetBIOS name resolution over UDP.
16. What is the difference between Samba 3 and 4?
Samba 3 and Samba 4 are different major versions of the Samba software suite. Samba 4 introduced Active Directory (AD) support, making it more suitable for integration with Windows domains and providing enhanced authentication and security features.
17. What version of SMB does Samba use?
Samba supports various versions of the SMB protocol, including SMB1 (obsolete and not recommended due to security vulnerabilities) and SMB2/SMB3 (modern versions with improved security and performance).
18. What is the file size limit for a Samba server?
Samba itself does not impose a specific file size limit. However, the file size limit may be determined by the underlying file system of your storage device and the capabilities of your network infrastructure.
19. Can Samba be encrypted?
Yes, Samba supports encryption for secure communication. It can use encryption protocols like SMB3 to ensure the confidentiality and integrity of data transferred between the Samba server and clients.
20. Can I use any model of Raspberry Pi for a Samba Server?
Yes, you can use various Raspberry Pi models, such as Raspberry Pi 3, 4, or the Raspberry Pi Zero W, to set up a Samba Server. However, consider the performance and storage capacity of the Raspberry Pi model based on your specific needs.
21. Do I need a dedicated external hard drive for my Samba Server?
While you can use an external hard drive for additional storage, it’s not mandatory. You can also share folders from the Raspberry Pi’s internal storage or use USB drives, SD cards, or network-attached storage (NAS) devices.
22. How do I access my Samba Server from Windows or macOS?
On Windows, you can access the Samba Server by entering \\RASPBERRY_PI_IP in the File Explorer address bar. On macOS, use smb://RASPBERRY_PI_IP in Finder’s “Connect to Server” option.
23. Can I set up user accounts for Samba access?
Yes, you can create Samba user accounts using the smbpasswd command. This allows you to enforce access controls and manage who can access shared resources.
24. Is Samba secure?
Samba can be configured to be secure by setting appropriate user permissions, enabling encryption, and managing firewall settings. Regularly updating your Raspberry Pi’s software also helps maintain security.
25. Are there graphical user interfaces (GUIs) for Samba configuration?
Yes, there are GUI tools like system-config-samba that provide a user-friendly way to configure Samba shares and settings.
26. Can I use my Raspberry Pi Samba Server over the internet?
Yes, you can configure your Samba Server to be accessible over the Internet. However, proper security measures, such as VPNs and strong authentication, should be implemented to protect your data.
27. What happens if I encounter issues during setup?
Samba has an active user community, and you can find extensive documentation, forums, and tutorials online. If you encounter issues, searching for solutions or asking for help in forums can be valuable.
28. Can I use my Raspberry Pi Samba Server for media streaming?
Yes, you can configure your Samba Server to share media files with other devices, making it possible to stream videos, music, and other content across your network.
Useful Video: Raspberry Pi – Install SAMBA Folder Sharing
References
- https://pimylifeup.com/raspberry-pi-samba/
- https://linuxhint.com/setup-raspberry-pi-samba-server/
- https://adamtheautomator.com/raspberry-pi-nas/
- https://tutorials-raspberrypi.com/raspberry-pi-samba-server-share-files-in-the-local-network/
- https://www.geekyhacker.com/turn-a-raspberry-pi-into-a-samba-server/
- https://www.themoderncoder.com/samba-raspberry-pi-nas/