
Do you want to turn your Raspberry Pi into a personal display, complete with customizable layouts and powerful analytics? Look no further than DAKboard! With its impressive range of features, it’s one of the best ways to monitor all your key performance indicators on an easy-to-use and attractive platform. In this blog post, we’ll walk through all the steps necessary to get up and running with DAKboard on your Raspberry Pi device. We’ll dig into topics like preparing for installation, gathering the right hardware components, configuring settings and more so you can have access to unparalleled visuals in no time at all. So buckle up – let’s dive into setting up DAKboard on your Raspberry Pi today!
Raspberry Pi Basics and Features
Let’s explore the basics of the Raspberry Pi, including its hardware specs, operating systems and features.
Hardware Specifications
The Raspberry Pi is available in several different models, each with unique hardware specifications. The most recent model Raspberry Pi Zero 2 W is the smallest model available, measuring only 65 mm by 30 mm. It has a 1GHz processor, 512 MB RAM and a microSD card slot for storage. The Raspberry Pi 3 model B is the most powerful model available, with a 1.2GHz processor and 1GB RAM.
The Raspberry Pi also has numerous ports, including HDMI for video output, Ethernet for networking, USB 2.0 ports for connecting peripherals like mice and keyboards and an audio jack for connecting speakers or headphones.
Operating Systems
The Raspberry Pi supports several operating systems, including Raspbian (a Debian-based OS), Ubuntu MATE and Windows 10 IoT Core. Each of these has its own set of features, but all are designed to be user friendly and easy to install on the Raspberry Pi’s onboard SD card.
Raspbian is the official OS for Raspberry Pi, providing users with an easy way to get started with the device. It includes various programming tools, as well as a range of applications such as LibreOffice and Scratch.
Ubuntu MATE is another popular choice for Raspberry Pi users who want access to a familiar Linux environment with additional features. It comes with its own set of applications such as Firefox, GIMP and VLC.
Windows 10 IoT Core is a slimmed-down version of Windows 10 designed for Internet of Things (IoT) devices such as Raspberry Pi. Windows 10 supports programming tools such as Visual Studio Code and PowerShell, making it ideal for those who prefer the Windows ecosystem. [1]
Features
The Raspberry Pi has a variety of features that make it suitable for many different applications. Some of the most notable include:
- GPIO pins for connecting external hardware components, such as LEDs, sensors and motors.
- Support for Bluetooth and Wi-Fi connections.
- HDMI output to connect displays or TVs.
- Pi Camera Module for capturing photos and videos.
- Built-in audio output for connecting speakers or headphones.
- USB ports for connecting external storage devices, mouse and keyboard.
These features make the Raspberry Pi a great platform for learning how to program and build connected projects. With its wide range of applications, it’s no surprise that the Raspberry Pi is one of the most popular microcomputer platforms.
The Raspberry Pi also has a vibrant community of users who share tips, tutorials and projects to help make the learning process easier. With support for a wide range of programming languages and development tools, there’s something for everyone on the Raspberry Pi. Whether you’re just starting out or an experienced programmer, the Raspberry Pi is a great way to explore the world of electronics. [2]
When it comes to tinkering, there’s nothing quite like the Raspberry Pi. Its low cost and wide range of features make it ideal for those who want to explore electronics without breaking the bank.
What Purposes is Raspberry Pi Suitable for?
Raspberry Pi is suitable for a range of uses, from basic Internet of Things (IoT) projects and home automation to more serious applications such as robotic engineering. Raspberry Pi boards are also great for creating custom computer systems and learning about coding and electronics. Some common uses include:
- Home Automation: Raspberry Pi can be used to control lights, appliances, and other elements around the home.
- Home Entertainment: Raspberry Pi can be used to stream media from services such as Netflix and YouTube, or connected to a TV via HDMI for viewing movies and playing games.
- Robotics Engineering: With Raspberry Pi, you can build your own robots and control them via coding using languages like Python.
- Education: Raspberry Pi makes it easy to learn about coding and electronics by using the board to create customized projects such as musical instruments.
- IoT Projects: Classic examples of Raspberry Pi being used for Internet of Things include setting up a home security system with cameras, or creating a custom weather station.
- Networking: You can use a Raspberry Pi to connect multiple computers and create a local network. [3]
Key Benefits of Raspberry Pi
Raspberry Pi is a powerful and cost-effective device that can be used for a wide variety of applications. It offers several key benefits, including:
- Flexibility – The Raspberry Pi is a small computer that can be configured to meet your specific needs. This makes it the perfect solution for hobbyists or those who need a custom system built to their exact specifications.
- Low Cost – Since the Raspberry Pi is a low-cost device, it can be used to build projects on limited budgets or for educational purposes. It offers an excellent value for money and allows students to learn about computers without breaking the bank.
- Performance – The Raspberry Pi has enough power to run complex applications and even games. It is also capable of handling high-level tasks such as web hosting and media streaming.
- Durability – The Raspberry Pi is built to last, meaning that it can handle extreme temperatures and remain operational for extended periods of time without any issues. This makes it the ideal device for applications that need to stay on 24/7. [4]
How to Choose a Raspberry Pi?
Choosing the right Raspberry Pi for your project can be a daunting task. There are so many different models available, each with its own features and capabilities. To make sure you pick the right one for your needs, here are some key factors to consider:
- Budget: The cost of Raspberry Pis can range from as little as $20 for the most basic model to hundreds of dollars for the more advanced models. Decide how much you’re willing to spend on your project and shop around accordingly.
- Usage: Consider what you’ll be using your Raspberry Pi for and select a model that offers the features you need. For example, if you want to use it as a media streaming device or game console, you’ll need one with more power.
- Expansion and Connectivity: Certain models offer the ability to expand their capabilities, either through additional hardware or software. Make sure your chosen model can accommodate whatever expansions you have planned. Additionally, consider what ports and connectors are offered on the Raspberry Pi; different models will support different types of connections (USB, HDMI, Ethernet, etc).
- Operating System: Make sure the model you choose supports whatever operating system you prefer – whether that’s Linux or Windows. Most Raspberry Pi models are compatible with a variety of OSs, so it shouldn’t be too hard to find one that meets your needs.
- Heat Management: Some projects require more computing power than others. If yours does, you’ll need to make sure the Raspberry Pi model you choose can handle the heat generated by high-intensity processing. Look for models with built-in heat sinks or fans, or consider adding a cooling system to your setup. [5]
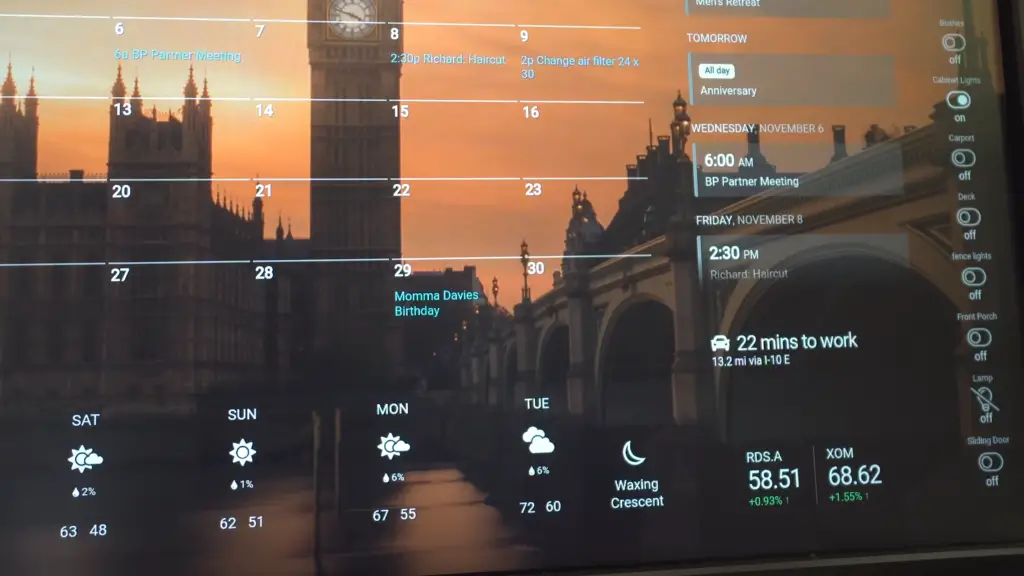
What is DAKboard and What are its Features?
DAKboard is a Raspberry Pi based visualization and control solution. It allows you to wirelessly stream data from any Raspberry Pi project directly to your computer or mobile device. This makes it easier to keep track of projects, monitor their progress, and even control them remotely. With DAKboard’s intuitive interface and comprehensive features, users can easily manage multiple projects from one device, saving them time and effort.
Some of the features that make DAKboard so powerful include:
- A dashboard for keeping track of multiple Raspberry Pi projects in real-time – even from a distance
- An easy to use graphical user interface (GUI) for controlling your projects with just a few taps or clicks
- Automated system-wide notifications that make it easy to stay on top of any changes or developments
- Customizable visualizations so you can track your data in real time and take action quickly
- Flexible security settings to ensure your projects are safe and secure
- Remote access capabilities so you can keep tabs on everything from your mobile device, even when away from home. [6]
DAKboard is the perfect solution for any Raspberry Pi project. With its simple setup, powerful features, and intuitive design, you can be sure your projects are on track – no matter where you are. So if you’re looking to take your Raspberry Pi projects to the next level, look no further than DAKboard!
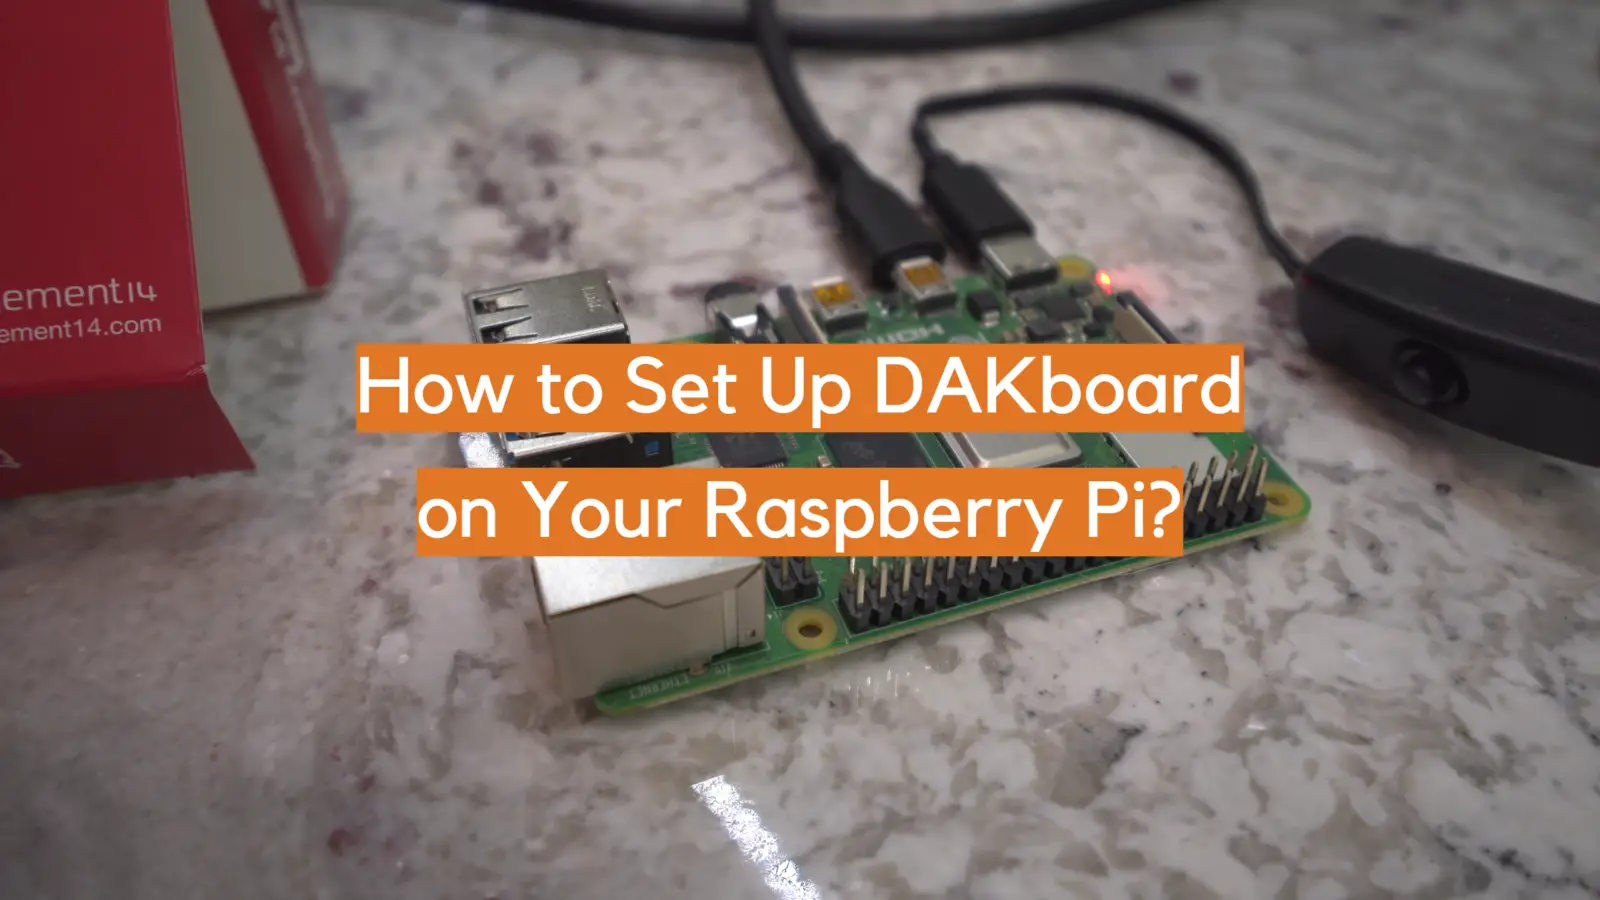
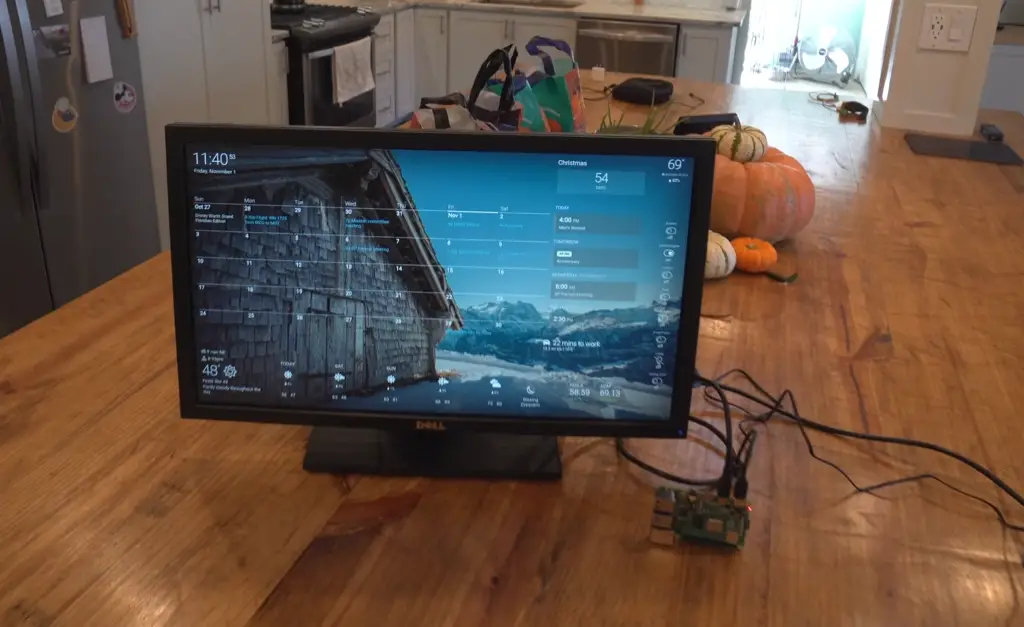
How to Set Up a DAKboard on Raspberry Pi?
Setting up a DAKboard on Raspberry Pi is easy with the right tools and instructions! All you need is a Raspberry Pi, a DAKboard display, an HDMI cable, a USB power supply, a micro SD card, and this guide. With these simple steps you will be able to get your own personalized digital dashboard running in no time.
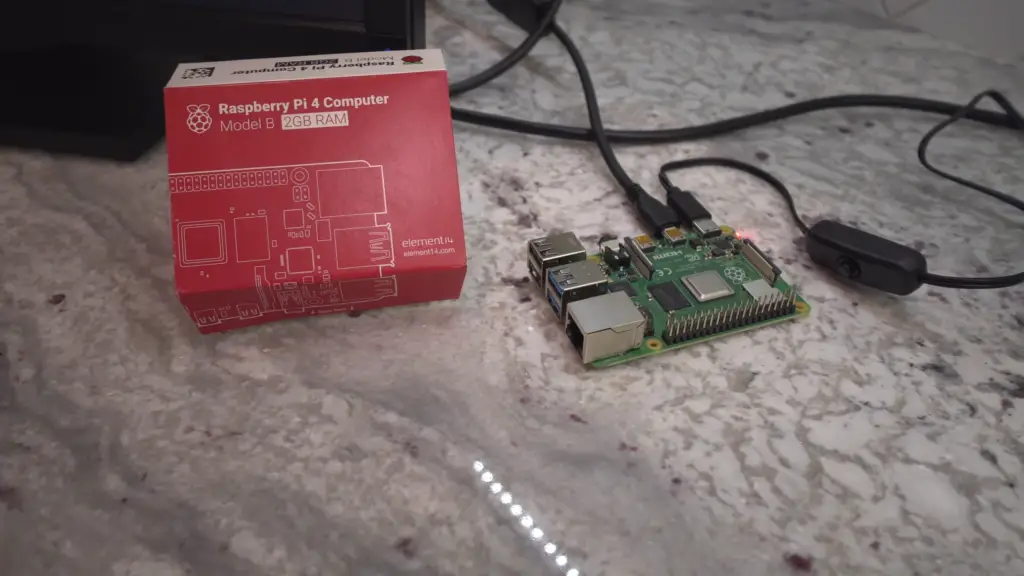
- Step 1: Get the Raspberry Pi. Depending on your needs, you can choose any version of the Raspberry Pi but we recommend getting one with at least 4 GB RAM for a better user experience.
- Step 2: Gather all the necessary components for setting up your DAKboard. This includes the HDMI cable, USB power supply, micro SD card, and DAKboard display.
- Step 3: Connect the HDMI cable to your Raspberry Pi and then plug in the USB power supply and DAKboard display.
- Step 4: Insert the micro SD card into the Raspberry Pi and start up the device.
- Step 5: Download and install Raspbian OS on your Raspberry Pi. This is an operating system that can be used to control the Raspberry Pi.
- Step 6: Once Raspbian OS is installed, you can download and install the DAKboard software on your device.
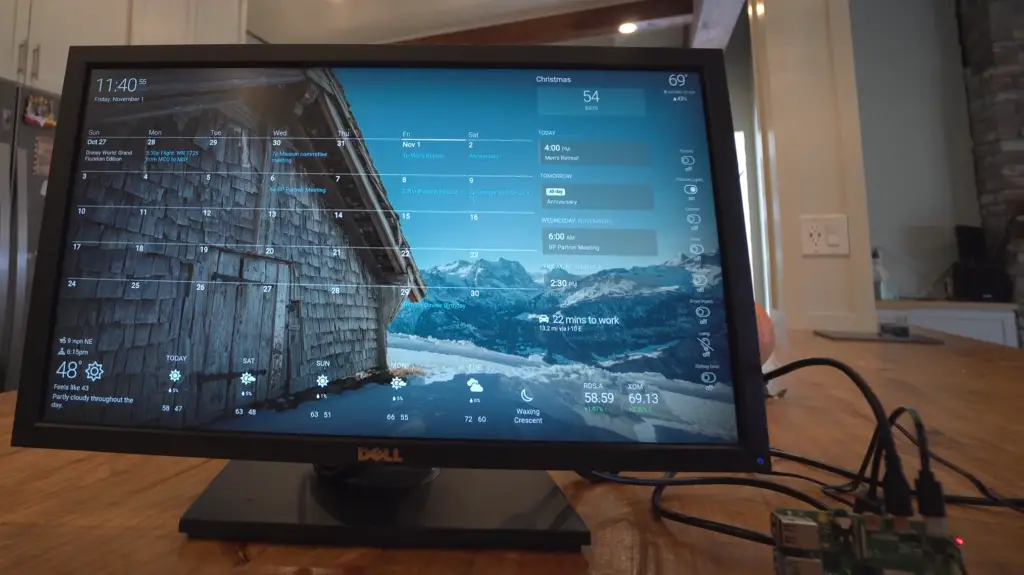
- Step 7: Configure the DAKboard settings to customize the look of your digital dashboard. You can also add widgets that will show additional information like weather forecasts or news headlines.
- Step 8: Once all the settings are in place, your DAKboard is ready to go! You can enjoy personalized digital dashboards right from your Raspberry Pi. [7]
What Problems Can Happen with DAKboard Settings on Raspberry Pi?
When setting up a DAKboard on your Raspberry Pi, there are some potential problems that you may encounter. They include:
- Wrong or outdated drivers – this can prevent certain devices from connecting to your DAKboard, or cause the display to not work properly.
- Incorrect board configuration – misconfigured settings on your Raspberry Pi’s board may result in a blank screen or other errors when trying to connect it to your DAKboard.
- Incompatible operating system – running an unsupported version of the Raspberry Pi OS may cause issues with connecting your DAKboard.
- Insufficient RAM – if you’re running a low-powered setup, it’s possible that there won’t be enough memory available for the DAKboard to run properly.
- Network connection issues – if your network is slow or unreliable, it can cause problems with connecting or streaming data to your DAKboard.
FAQs
What Raspberry Pi do I need for DAKboard?
The Raspberry Pi 3B+ or 4 is the recommended hardware for running DAKboard. The Raspberry Pi Zero W has been tested and can run a simplified version of DAKboard, but there may be performance issues depending on the content you are displaying.
How do you set up a DAKboard?
Setting up a DAKboard is incredibly easy – it requires no coding or knowledge of Raspberry Pi. All you need to do is connect the board and power it on. Then, connect to a monitor and follow the setup wizard instructions that come with the device. You can also download the free DAKboard app available for Android and iOS devices and manage your settings from there.
Once the setup is complete, you can begin displaying content on your board from a range of sources, such as news feeds, social media accounts, and weather forecasts. You can also use it to keep track of reminders, tasks, and deadlines or even set up a digital photo frame.
Can I use Raspberry Pi for digital signage?
Yes, Raspberry Pi can be used for digital signage applications. Digital signage systems allow you to create dynamic displays which can be used in a variety of contexts including retail stores, schools, hospitals and many other places.
With a Raspberry Pi, you have the ability to customize your digital signage setup and create interactive experiences for customers or visitors. The Pi allows you to connect multiple displays and create a network of digital signage screens. You can also easily integrate web applications, apps, and other digital content into your system. With the help of Raspberry Pi, you can design creative campaigns and display them to your target audience in an efficient and cost-effective manner. It’s an ideal tool for any business which wants to create engaging digital signage experiences that will capture the attention of their customers.
How do I set up my Raspberry Pi display?
Setting up the Raspberry Pi display is usually quite straightforward. All you need to do is connect your display device (e.g. monitor, TV or projector) to the HDMI port of your Raspberry Pi and also plug in a power source for your Raspberry Pi unit itself. Then, you can boot it up and make sure everything is working properly.
You can also adjust the display settings from the Raspberry Pi configuration menu. This allows you to set different resolutions, change aspect ratios and make other tweaks such as adjusting the overscan settings. You can even add a custom wallpaper if you wish!
Additionally, there is now an official 7-inch touchscreen display for Raspberry Pi that comes with its own mounting stand. This makes the setup process even easier and allows you to control your Raspberry Pi from the touchscreen itself – no keyboard or mouse required.
Once you’ve got your Raspberry Pi display set up, it’s time to start exploring all its capabilities!
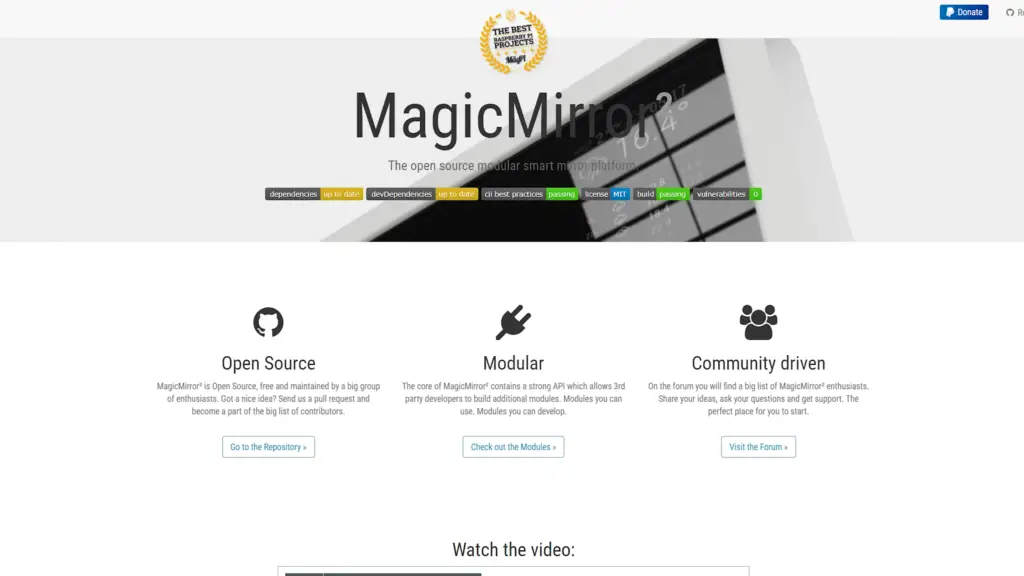
Useful Video: Intro to Home Display Boards – Dakboard and MagicMirror
Final Thoughts
To wrap it up, the Raspberry Pi is a powerful and user-friendly device that’s revolutionized the way people use technology. It has improved the lives of many people by allowing them to develop new skills, create interactive projects, and control devices within their homes. Not only that, but using the Raspberry Pi is a great way to teach students about coding and digital engineering. With so much value packed into one tiny device, it is no wonder why many prefer the Raspberry Pi over other similar gadgets in today’s market. Additionally, setting up DAKboard on your Raspberry Pi makes life much easier as it allows you to keep track of multiple tasks at once from one centralized location. All in all, owning a Raspberry Pi provides benefits well beyond its price tag – so consider taking the plunge if you haven’t already!
References
- https://intellipaat.com/blog/what-is-raspberry-pi/?US
- https://www.spiceworks.com/tech/networking/articles/what-is-raspberry-pi/
- https://www.makeuseof.com/tag/different-uses-raspberry-pi/
- https://www.pantechelearning.com/advantages-disadvantages-of-raspberry-pi/
- https://www.makeuseof.com/which-raspberry-pi-model-next-project/
- https://bellalinda.com.au/what-is-dakboard/
- https://linuxhint.com/guide-setup-dakboard-raspberry-pi-browser/