Have you ever wondered how robots work? Are you interested in getting into the mysterious world of robotics and exploring its capabilities? If so, this beginner-friendly guide is for you! We have prepared an epic guide with simple robotics projects for beginners, addressing common questions and providing useful tips to help you get started with your robotic journey. From assembling robot parts to making a robot that can navigate autonomously, this guide will become an irreplaceable source of helpful information. So let’s dive into the world of robotics together and uncover its secrets!
Why Robotic Projects Are So Fun
Robotic projects can be educational, creative, and fun all at the same time.
Building robots allows kids to use their imagination and challenge themselves in problem-solving tasks to create something that works. Working on robotic projects gives kids the chance to use tools they may never have seen before as well as understand how they work together. They’ll learn about wiring circuits, programming components, constructing mechanical structures, understanding sensors and other hardware components – all while having fun!
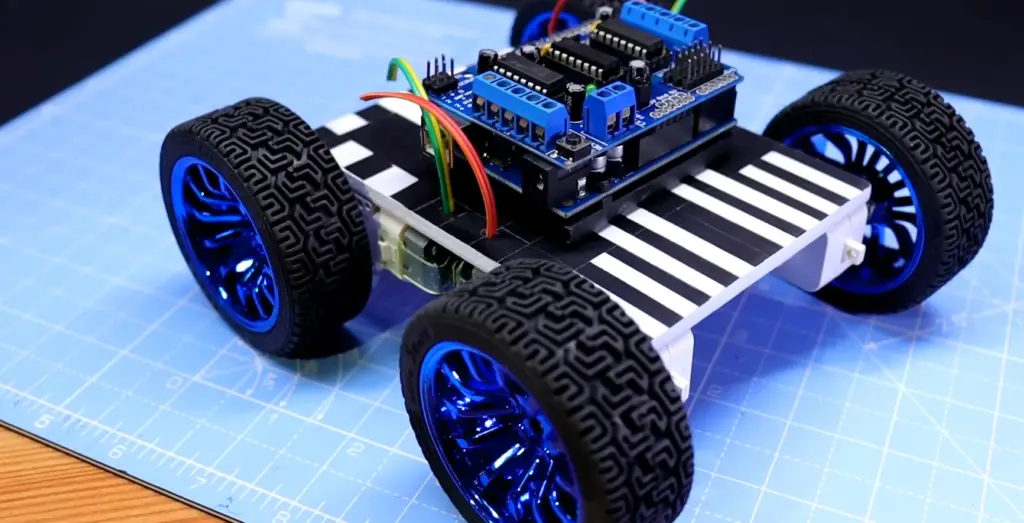
Because robots are a physical object that you can touch and see the result of your work, it can be very satisfying. Being able to witness the robot you built come alive and move around on its own is an incredibly rewarding experience. Plus, there’s always something new to learn when working with robots – new programming languages, concepts, hardware components, and more.
And as for adults, working on robotic projects can provide a great creative outlet while expanding technical skills. It’s an opportunity to explore new technologies and make something that actually works! Plus, as robot technology continues to advance, there are always new challenges and tasks that grown-ups can tackle.
Simple Robotic Projects
In this section we’ll discuss some simple robotic projects that are great for beginners. While these may not be as complex as more advanced projects, they’re still a great way to get started and learn the basics of robotics.
A ball tracking robot
The goal of the robot is to locate, follow and catch the ball in order to complete certain tasks. Depending on its design, the robot can be used for sports or entertainment applications such as juggling, batting practice or robotics competitions.
Ball tracking robots rely on sensors such as image processing cameras or light-based ones like infrared vision (IR) cameras to detect and localize the position of the ball within their environment. They then use algorithms such as Kalman filters and optical flow techniques to predict future positions of the ball so they can approach it correctly. Finally, depending on its application, the robot has different mechanisms such as grippers or extended arms to catch the ball in mid-air and complete its task.
For this project you will need:
- Raspberry Pi 2 Model B ×1
- Raspberry Pi Camera Module ×1
- Arduino Ultrasonic Sensor × 3
- SparkFun Dual H-Bridge motor drivers L298 × 2
- DC motor (generic) × 2
- Breadboard (generic) × 1
- Connectors/ Wires
The goal is to build a ball tracking robot that can identify and follow a red colored ball of 2” in diameter using the Raspberry Pi camera module and Arduino ultrasonic sensors for navigation. The robot should be able to track the ball accurately within its environment and approach it correctly with help from the dual H-bridge motor drivers to control the motion of two DC motors connected to wheels on either side of the robot body.
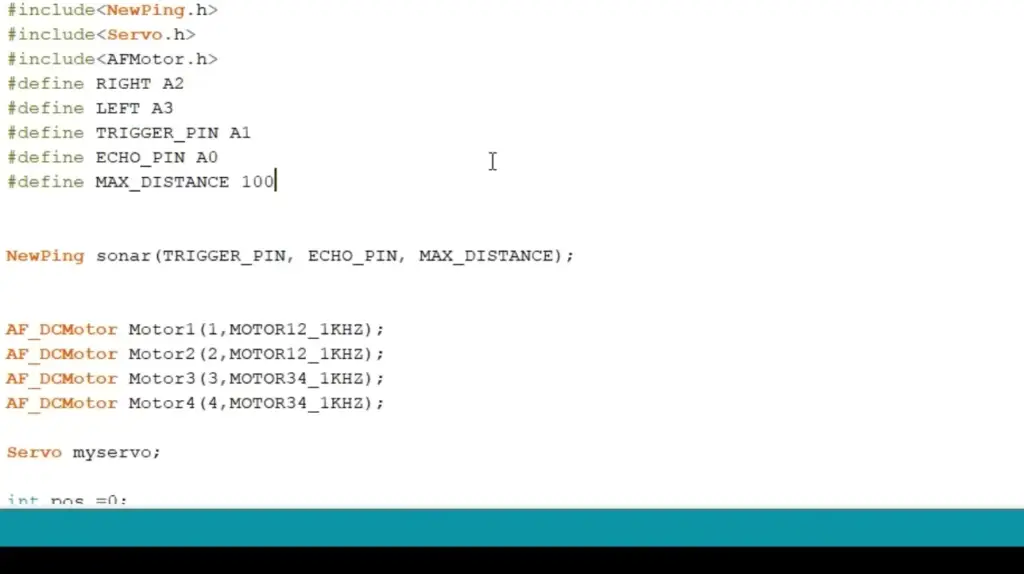
You will need to hardcode the color recognition algorithm and navigation algorithm into the Raspberry Pi to allow the robot to detect and follow the ball. You will also need to use a combination of ultrasonic sensors, motor drivers and DC motors for obstacle detection and accurate motion control. With all these components in place, you should be able to build a working Ball Tracking Robot that can track and catch a red colored ball with accuracy.
A color following robot
This type of robot can be used for many purposes, such as tracking objects in manufacturing plants, sorting items by color for retail stores, or identifying obstacles in a robotic vehicle’s path.
Color following robots use sensors to detect the presence of the target color. These sensors send data back to the robot’s computer so it can calculate the direction and distance from which the object is located. The robot then uses this information to move towards the object until it has reached its destination. In many cases, these robots are also equipped with cameras or other imaging systems so they can recognize patterns on their targets. They may even have arms or other manipulators so they can interact with the objects they find.
To create a color following robot on your own, you will need: Breadboard, DC motor, 9V battery and a color sensor. For software, you will need an Arduino IDE and the necessary libraries to program the robot.
Once assembled and wired up, you can start coding your robot. The first step is to set up an AFMotor library for the DC motor and define all the motors involved in the project.
You will need to write a loop that checks if a certain color is and then move accordingly. Next, you will need to activate serial communication so your robot can send and receive data from the computer. Then, you can begin programming the color sensor to detect and track specific colors.
Use the color() function to set the color detection parameters and then use the motor commands to send instructions for your robot’s movements. Finally, you can add additional code so that your robot can react differently depending on what kind of object it encounters.
Finally it’s time to actually detect and track the colors! To do this, you need to first set up a loop that will constantly check for any objects within the range of the color sensor. Then, if an object is detected, you can use code to move the robot towards it until it has reached its destination. If-else loops are great for this kind of activity.
Once you have your robot up and running, you can start experimenting with different colors and objects to see how well your robot performs. Keep in mind that color sensors are sensitive to light conditions, so make sure to test your robot in a variety of lighting conditions too. With some tinkering and practice, you’ll soon be able to create an efficient color following robot!
Obstacle avoidance robot
It achieves this by using a combination of sensors, such as infrared sensors, ultrasonic sensors, and cameras. Using these sensors, the robot can detect objects and navigate around them accordingly. An obstacle avoidance robot is typically used for navigation in indoor or outdoor settings that may contain unknown obstacles or varying terrain. They are commonly used in robots designed for exploration and mapping missions.
Some advantages of an obstacle avoidance robot include increased safety since they can sense when something is in their way, improved reliability since they don’t require human intervention to navigate, greater efficiency due to faster navigation times and lower energy consumption. In addition, obstacle avoidance robots can be used in a variety of applications such as security, search and rescue, and exploration.
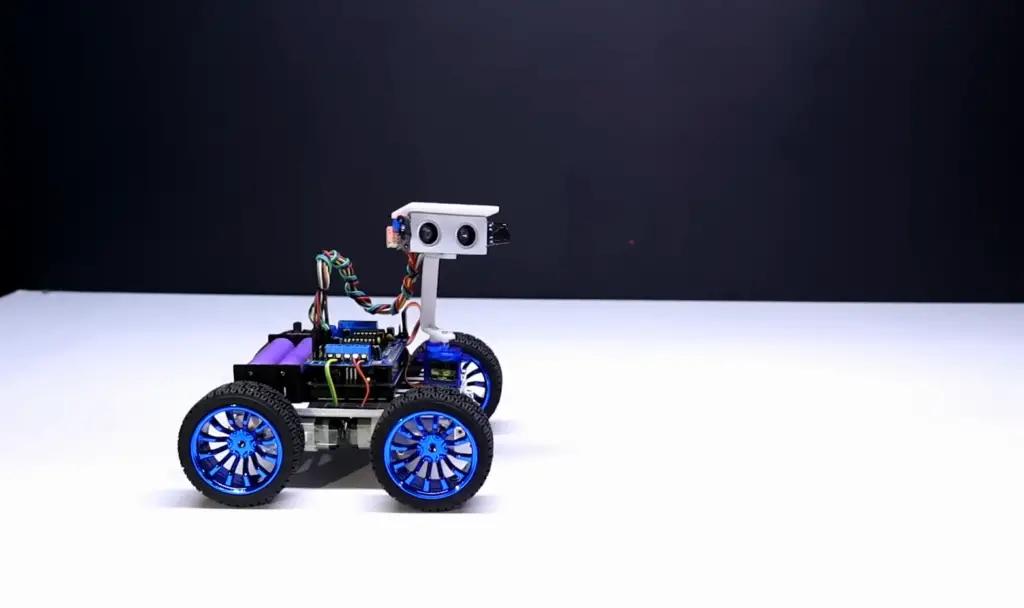
To create this robot you will need: Servos (Tower Pro MG996R), Ultrasonic Sensor – HC-SR04 (Generic), Arduino MotorShield Rev3 and Arduino Uno.
First things first, you will need to assemble a chassis for your robot. There are many different types of chassis you can use, from simple wheels to complex multi-wheeled structures that incorporate tracks and other components. The type of chassis you choose will largely depend on the size and shape of the obstacles your robot will be expected to navigate around.
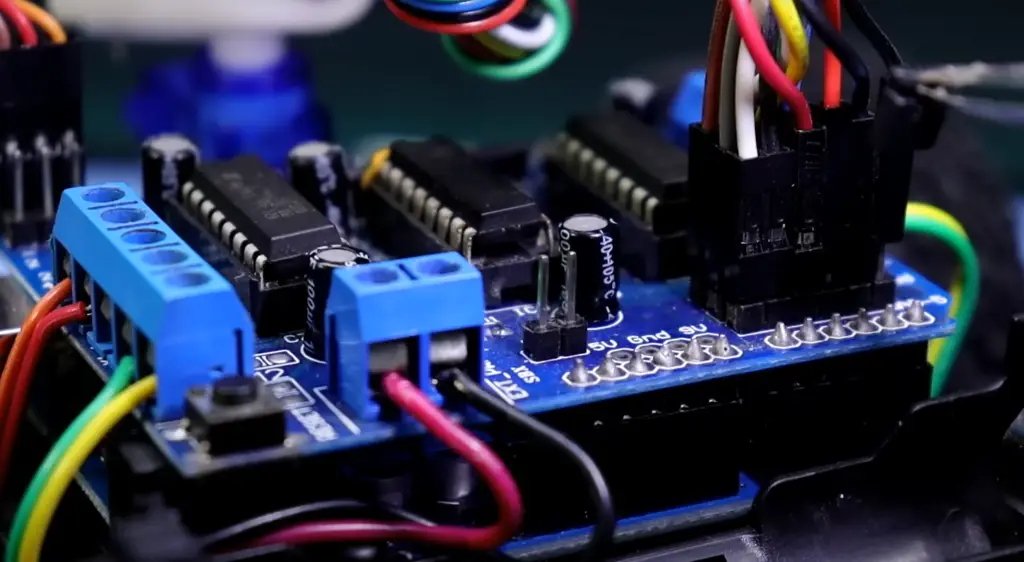
Once you have set up the frame of your robot, insert a servo motor into each wheel of your chassis. Connect these servos to the Arduino MotorShield Rev3, and then connect this to the Arduino Uno.
Now make connections between the sensor and Arduino Uno. The HC-SR04 Ultrasonic Sensor is used to detect obstacles around the robot. Connect this sensor to the Arduino MotorShield Rev3, and then connect this board to the Arduino Uno. It should look like this:
- Gnd >> Gnd
- Vcc >> Vcc
- Trig >> A4
- Echo >> A5
Now what’s left is coding your robot. To program the obstacle avoidance robot, you will need to use an Arduino programming language like C/C++. You will also need to include various libraries related to the components that you are using for your robot. You can find plenty of tutorials online on how to write code for obstacle avoidance robots.
Gesture controlled robot
A gesture controlled robot is a type of robot that can be operated and directed by specific hand motions or gestures. The robot has sensors that detect the user’s hand movements and interpret them into commands, which it then executes.
Gesture controlled robots have been used in many applications, including entertainment, industrial automation, military operations, medical research and robotics education. For example, robotic arms are often designed with gesture control capabilities to allow for more precise manipulation of objects. In addition, these robots are also used in gaming consoles such as Microsoft’s Kinect and Sony’s Move controllers to let users interact with their games without the need for physical controllers.
The technology behind gesture control robotics is based on the principle of motion tracking. This involves using various types of cameras, sensors and processors to detect and track movements in three-dimensional space. The data collected is then analyzed and interpreted into instructions that can be executed by the robot.
For this task you will need:
- Switch Actuator, APEM A01 series Illuminated Push-Button Switches
- 1x HC-05 Bluetooth Module
- 1x Dual H-Bridge motor drivers L293D
- 1x Ultrasonic Sensor – HC-SR04 (Generic)
- 1x Inertial Measurement Unit (IMU) (6 deg of freedom)
- 1x Slide Switch
- 1x Arduino UNO
- 1x Arduino Nano R3
- 1x Robot wheels
- 1x PCB’s
- 1x Rechargeable Battery, Lithium Ion
- 1x 9V battery (generic)
- 1x DC Motor, 12V
- 1x Robot chassis
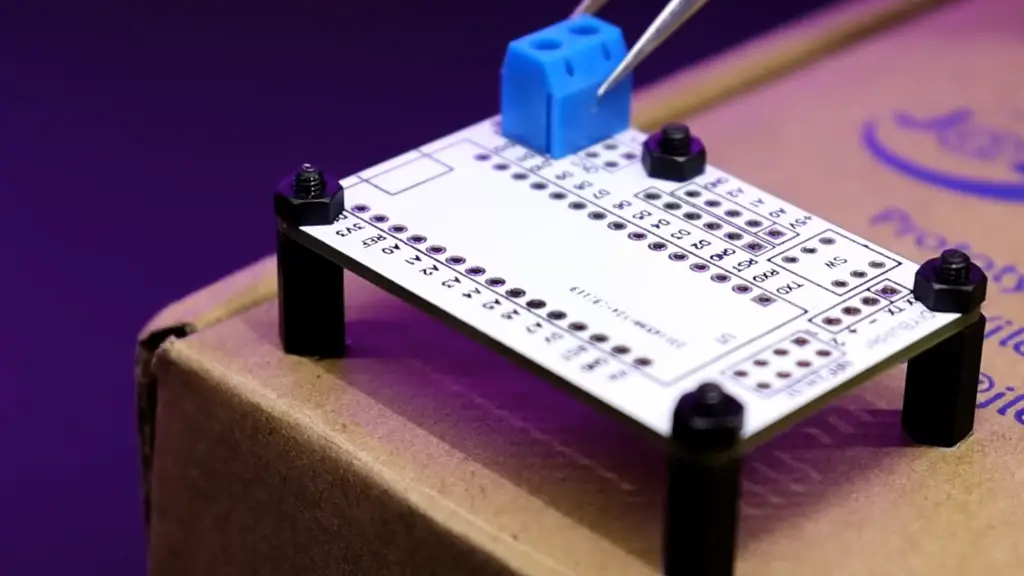
First you will need to build the transmission unit of the robot, this is made up of the processor and sensors that will be used to capture your hand movements. The software then has to be set up correctly as it will convert your hand movements into instructions for the robot’s motors. It is also necessary to program a set of predetermined gestures, so the robot can differentiate between different commands. Take the Arduino, and solder the mpu6050 sensor, Bluetooth module, push-button and 9V battery to the PCB board.
Now it’s time to build the reception unit, or the robotic platform. You can either build your own, or modify an existing one for this purpose. This time, the main brain will be Arduino UNO. Again, take a second slave bluetooth module, H-bridge l293d, 9V and 12v batteries (for Arduino and motors respectively) and ultrasonic sensor, and solder these to the PCB board as well.
Next, code! This is the toughest part of making a gesture controlled robot and requires some programming knowledge. Start off by writing code for the transmission unit, which will be responsible for capturing user’s hand-gestures and sending it to the reception unit via Bluetooth. Once you’re done with that, move on to coding the reception unit. This will involve setting up a Bluetooth connection between both units, then reading gestures from the transmission unit and mapping them to motor movements of the robot.
Finally, test your robot! To ensure everything is working correctly, put your robot into action and see if all the commands are being executed successfully. If all goes well, you have yourself an operational Gesture Controlled Robot!
A soccer robot
It is typically programmed to respond to certain triggers and stimuli, allowing it to complete basic tasks on the field such as passing and shooting. Soccer robots can also be used in exhibitions and tournaments, providing an entertaining way for spectators to watch a match. Soccer robots have advanced significantly over the past few years, with many models incorporating complex algorithms that enable them to move around the field autonomously and interact with other players or objects.
For this project you will need:
- 1x Mediatek linkit one
- 1x GoPiGo robot base
- 2x Geared motors
- 1x Caster wheel
- 1x Micro servo motor
- 1x 3.7v Lithium battery
- 1x L293d motor driver IC
- 1x HC-05 bluetooth module
- 1x Battery pack to drive the motors
- 1x 16 pin IC socket
- Male-male jumper wires
- Male-female jumper wires
- Perfboard
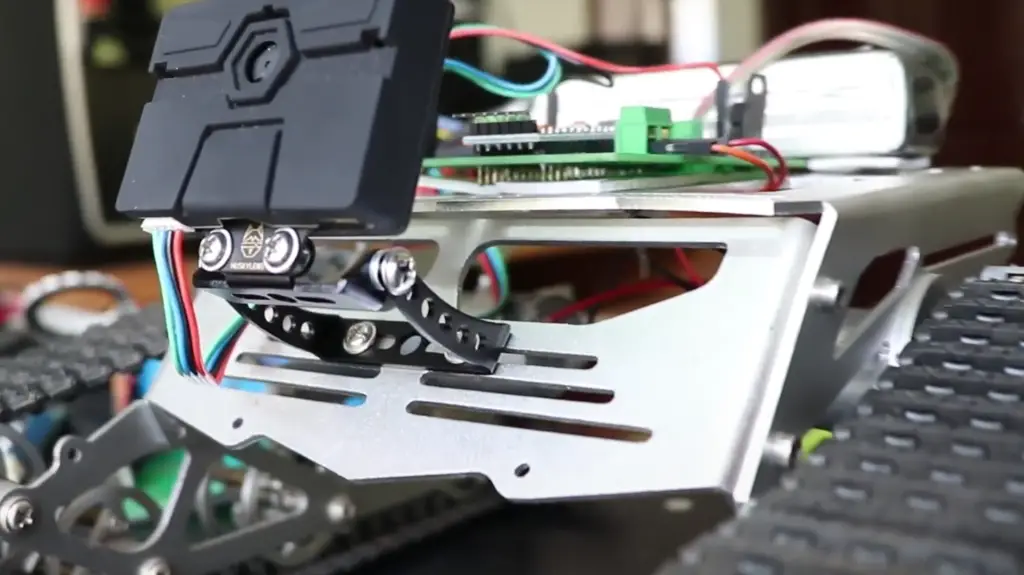
First you will need to assemble the robot base, by following the instructions included in the GoPiGo kit. Then you need to connect the Bluetooth module. Use the following pinout:
- Vcc of module – 5v of linkit one (or 3.3v depending on your module)
- Gnd – Gnd
- Tx – D0 (Rx)
- Rx – D1 (Tx)
Now solder the motor driver circuit on the perfboard. This circuit consists of two L293d driver ICs, 16 pin IC socket, male-male jumper wires and female-female jumper wires. Make sure to connect all components properly as per the circuit diagram provided in this tutorial. Next you will need to connect the motor driver to Linkit One. Use the following pinout:
- Pins 1, 9, 16 of L293d – 5v of Linkit one
- Pins 4, 5, 12, 13 – Gnd
- Pin 2 – D4
- Pin 7 – D5
- Pin 10 – D6
- Pin 15 – D7
The next step is connecting motors to the driver circuit. Connect the red and black wires of each motor to OUT1 and OUT2 of L293d respectively. Finally, connect the servo and glue it to your creation:
- Vcc of servo (orange) – 5v of Linkit one
- Gnd (brown) – Gnd
- Signal (yellow) – D3
Now connect the kicker motor to the servo to have something to kick the ball. Finally, upload the code to your Linkit one and the robot is ready. Now you can use this soccer robot to play a real game of soccer with friends or family! Enjoy! [1], [2], [3], [4], [5]
FAQ
Can I build my own robot?
Yes! Building your own robot is possible and a great way to learn about robotics. There are many kits available that provide the necessary components and instructions for building a simple robot. Many of these kits have been specifically tailored to teach beginners the basics of robotics, including electronics, programming and mechanics.
For starters, you can look into Arduino-based robotic projects such as wheeled robots or line-following robots. To get more in-depth with robotics, you may consider learning how to control servos and build an animate arm or walker robot. If you’re looking to get even deeper into robotics, then there are more advanced projects like a self-balancing scooter or humanoid bot.
No matter what level of robotics you plan on pursuing, some of the basics principles and concepts will remain the same: sensors, motors, microcontrollers and programming. With these components you can construct a variety of robots with various capabilities.
Is Arduino or Raspberry Pi best for robotics?
The answer to this question depends on the specific project being worked on. Though both are great platforms, Arduino typically offers more flexibility and control when it comes to robot building because of its low power consumption and robust programming language. Conversely, Raspberry Pi is a powerful choice with an extensive suite of software and hardware resources available.
For projects that require advanced processing capabilities or multiple ports for external components, such as sensors and servos, Raspberry Pi may be the better choice due to its faster processors and larger memory capacity. On the other hand, simpler projects that require basic interactions with sensors or motors can often be done easily using an Arduino board.
What is the easiest robot to make?
A line-following robot uses sensors, often infrared or ultrasonic, to follow a predefined path, like a black line on white paper. Line following robots can be made with basic electronic components, such as microcontrollers and LEDs for visual feedback. The programming code for the microcontroller is also relatively straightforward and can usually be found online.
Another simple robot is an obstacle avoidance robot. This type of robot uses sensors to detect obstacles in its path and then change course accordingly in order to avoid them. You can use the same basic parts mentioned above (microcontrollers and LED lights) to create an obstacle avoidance robot; however, you may need additional components such as motors and wheels in order to make it mobile. The code for obstacle avoidance robots is slightly more complex, but can still be found online.
How do I start robotics for beginners?
Beginning robotics is an exciting and rewarding journey. It can be intimidating, but with the right resources, it can be very achievable. Here are some steps you should take to get started:
- Learn the basics of electronics – You need to understand basic electronic components such as resistors, capacitors, transistors, etc. before diving into robotics projects. You can learn these by taking courses online or attending a local electronics club meeting.
- Read up on artificial intelligence and machine learning – Robotics involves programming machines that have a reasonable degree of autonomy (ability to perform tasks without direct human intervention). Artificial Intelligence (AI) and Machine Learning (ML) concepts will help in understanding how robots can interact with their environment and make decisions.
- Acquire the right hardware – You need to acquire a development platform that can be used to build and program your robot. Popular robotics development platforms are Arduino, Raspberry Pi, Lego Mindstorms EV3, etc. Depending on the type of robot you plan to build and its complexity, you may also need additional components such as motors, sensors, or microcontrollers.
- Choose a programming language – Robotics projects involve programming the machine with commands for it to execute certain tasks. Popular programming languages for robotics are C++, Python and Java. It is important to choose the best suited language depending on your project requirements and level of comfort with each language.
- Start with basic projects – Once you have the necessary hardware and programming language, start with basic projects to get comfortable with robotics concepts. Some popular beginner projects are line-following robots or obstacle-avoidance robots. You can find tutorials online or read books on robotics to help guide you through the process.
How to build a simple robot from scratch?
Building a robot from scratch can be an intimidating task for beginners. Fortunately, it is not as daunting as it may seem. With the right supplies and knowledge, you can build your very own robot in just a few hours!
The first step to building a simple robot is gathering the necessary materials. Depending on the type of robot you are building, you will need some basic components such as motors, sensors, batteries, wires, and circuit boards. You may also need additional parts such as servos or aluminum framing depending on what type of functionality you want your robot to have.
Once you have gathered all of the necessary materials for your project, it’s time to assemble them into a usable form. The way that you assemble the parts will depend on the type of robot you are building. For instance, if you are building a wheeled robot it will require a different assembly than a four-legged one.
The next step is programming your robot. Depending on the complexity of your project and how many functions you want your robot to have, programming can be either very simple or extremely complex. If you are new to robotics, it’s best to start with something simple and then add more features as your knowledge expands. Once you have programmed your robot, it should be ready to go!
Useful Video: How to Start with Robotics? for Absolute Beginners || The Ultimate 3-Step Guide
Conclusion
Robotics projects for beginners can be a fun and rewarding way to get started with robotics. With the right tools and supplies, it’s possible to create an impressive robot in no time at all. As you continue down your robotics journey, you may find that more complex projects are within reach – like controlling autonomous vehicles or building AI-powered robots.
In this article we’ve covered some great beginner robotics projects that can help you get started with robotics. From building basic robots to controlling autonomous vehicles, there are plenty of opportunities for beginners to explore. Whatever your ultimate goal is, remember that starting small and simple is the best way to grow in knowledge and skill. Have fun exploring these robotic projects!
References
- https://www.hackster.io/junejarohan/ball-tracking-robot-7a9865
- https://projecthub.arduino.cc/Maxconnor/6bb76838-eda4-4ab5-829c-da2e5a0a4e1c
- https://projecthub.arduino.cc/technuttiez/f5c173de-f779-4b38-bc39-702044b9441d
- https://projecthub.arduino.cc/abdelkader_ch/3d232f60-999c-4504-8a59-d1da4f07f944
- https://www.instructables.com/The-Soccer-Robot/







Leave a Reply