
Cleaning a soldering iron is an important part of owning one. If you don’t clean it regularly, the gunk that builds up on the tip can cause all sorts of problems. Not only will your solderings be less effective, but you could also damage the iron itself. In this guide, we will walk you through the steps necessary to clean a soldering iron safely and effectively. So read on and learn how to clean a soldering iron like a pro!
Why Cleaning a Soldering Iron Is Important
Otherwise, it can become clogged and less effective at doing its job. Over time, a buildup of flux residue can cause corrosion on the tip, which will eventually reduce its lifespan and affect the performance. Therefore, keeping your soldering iron clean is essential if you want to get the most out of this invaluable tool.
But cleaning a soldering iron doesn’t have to be complex or intimidating – as long as you follow some basic guidelines and take proper care of your equipment. Below we’ll go through the different methods for cleaning your soldering iron so that you can ensure that it works properly for years to come!
Preparation
Before you begin cleaning your soldering iron, make sure you take all the safety measures. Wear protective eye gear and heat-resistant gloves to protect yourself from any potential burns. Make sure that the area you are working in is well-ventilated so there will be no risk of exposing yourself to fumes or smoke.
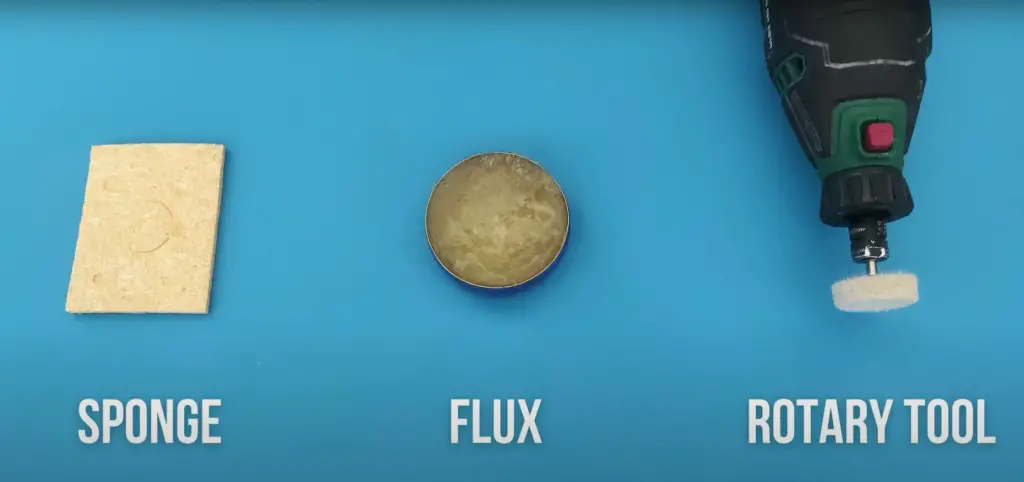
You’ll also need a few basic supplies, such as a solder wick/braid, a brass brush and a flux. These items will come in handy when it comes time to actually clean your soldering iron. Below we will cover all the possible options you have!
Mechanically Cleaning Soldering Iron Tips
First method you can use to clean the tip of your soldering iron is mechanical cleaning. Start off by using a brass brush to remove any excess solder that has built up on the tip. Still, we don’t recommend the below methods as a sole cleaning method because it can be quite abrasive and may damage the tip of your soldering iron. And you definitely don’t want that!
If you do opt for mechanical cleaning, be sure to use a light touch and don’t apply too much pressure or scrub in one direction for too long. You should also remember to brush away from yourself, as this will help to avoid sparks that could cause an accident.
Brass-brush cleaning
Using a brass brush is one of the simplest and most effective ways to clean a soldering iron. This method requires minimal effort, but can be time consuming if you don’t have the right tools.
Start by gathering your supplies – a brass brush, soldering iron tip cleaner, and some water. You may also want to wear gloves for extra protection.
Once you have all of your materials ready, heat your iron to the soldering temperature. This will help dislodge any grime that has built up on the tip. Next, apply some rosin flux to the brass brush, then use the brush to clean the tip of your soldering iron. Make sure to move it in a circular motion and apply gentle pressure so that you don’t damage or burn away any of the metal on the tip.
Keep in mind that it may require several passes to completely clean the soldering iron tip. Once you’re finished, use a damp cloth to wipe away any rosin or grime from the tip of your soldering iron. Finally, plug in the soldering iron and wait for it to heat up. Be sure not to use too much pressure as it may damage the iron’s tip.
Green scotch-brite scouring pad
One of the safer and more effective methods of cleaning a soldering iron is to use a green Scotch-Brite scouring pad. It’s an abrasive material with tiny ridges that can help scrub away any dirt, grease or residue that builds up on your soldering iron tip. The fine edges of the scouring pad should be used for finer details, while the wide surfaces can be used for rougher cleaning. It’s also important to note that when using a scouring pad on your soldering iron tip, you should never use heavy pressure as this could damage the tip or even cause it to warp.
First, you want to make sure that your soldering iron is unplugged and cool before you begin the cleaning process. Once it’s cooled off, place a green Scotch-Brite scouring pad on top of the soldering iron tip. Slowly start moving the pad along the surface of the soldering iron tip in a circular motion.
As you do this, you’ll start to see dirt and residue coming off as you work. Keep going until all of the dirt is removed and your soldering iron tip looks shiny again. Once you’re finished, be sure to throw away the used scouring pad and get a new one before beginning the cleaning process again.
Once you’ve finished scrubbing, apply a fresh layer of solder to the tip. This will help protect it from corrosion and keep it in good condition for future projects.
Weller polishing bar
These bars are specifically designed to remove oxide build up on the surface of your soldering iron. Still, this method also holds a risk of damaging your iron’s tip if not used properly.
To clean your soldering iron using a Weller polishing bar you can risk either cold or hot tip cleaning. Usually you’ll be fine with cold cleaning but if you have accumulated a lot of oxidation on the tip then hot cleaning is recommended.
For cold tip cleaning, start by turning off and unplugging your iron. Before using the polishing bar make sure to clean off any excess solder from the bit. Then gently scrub the tip of the iron against the polishing bar. Do not apply too much pressure and only use light strokes.
We suggest using this method as your last resort as it can quickly damage the tip of your iron. [1], [2], [3]
Safer Approaches to Clean a Soldering Iron Tip
If you want to be double sure that you don’t damage the tip of your soldering iron, there is an even safer approach when it comes to cleaning. These methods require a few more supplies and take a bit longer than other methods, but it can still be done quickly and easily.
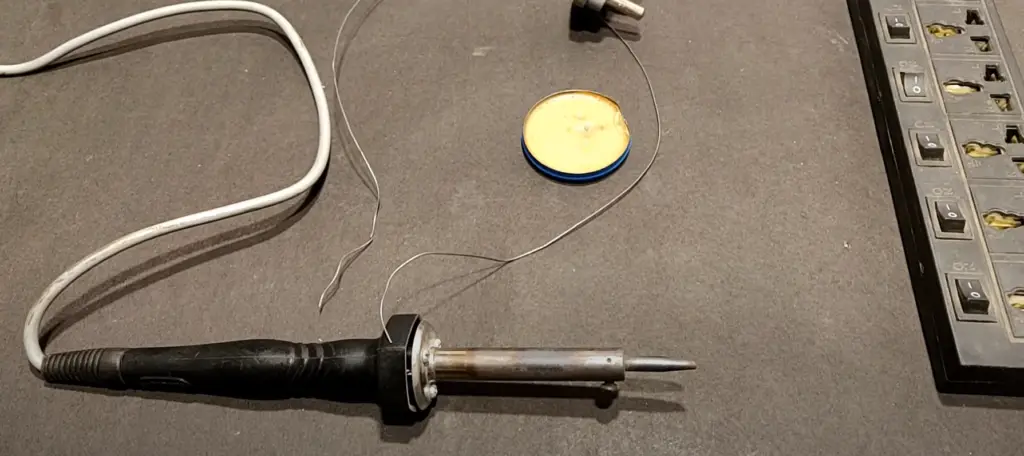
Soldering sponge
It’s a specially designed piece of material with sulfur-free cellulose that has an abrasive surface that can be used to clean away dirt and debris from your tip without damaging it.
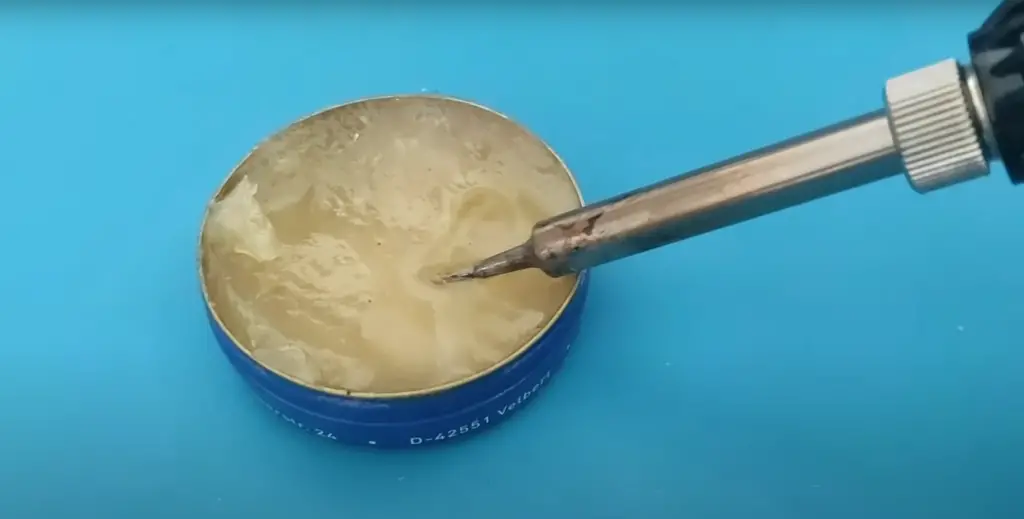
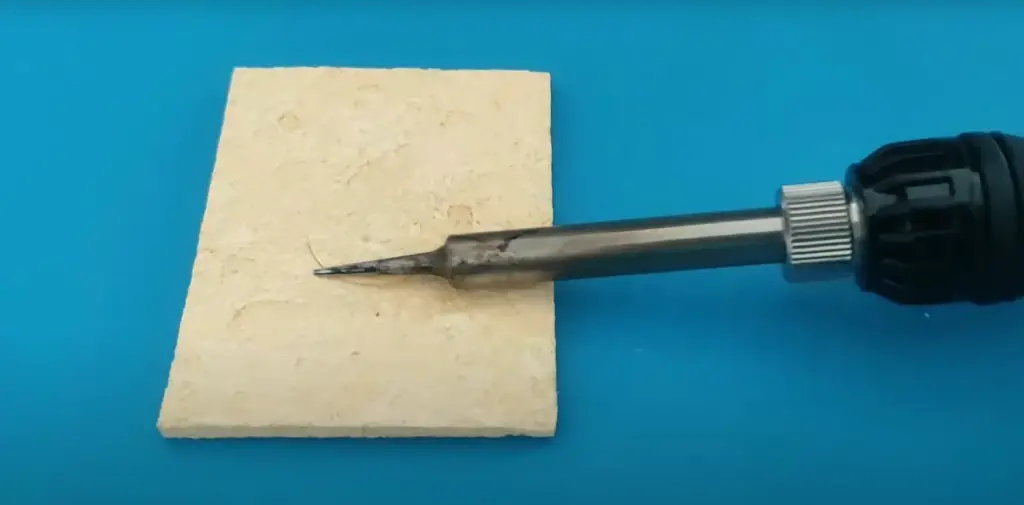
Begin by heating the iron to its soldering temperature and turning off the power switch. Once done, dip the tip in the flux. The flux helps to dissolve any oxidation on the iron and also provides a better electrical connection for when you solder. Then, slightly wet the sponge and make sure it is damp, not wet. Be careful to not over-soak the sponge. Once the sponge is ready, go ahead and rub the tip of the iron with a sponge. Move the sponge around in a circular motion to ensure you get all of the oxidation away.
After some cleaning, you can melt a 60/40 solder onto the clean part of the tip. This will help to re-tin the soldering iron and make it easier to solder with. Repeat this process until the soldering iron is completely clean.
Tip tinner
It also helps restore electrical continuity between the tip and workpiece by removing any corrosion or oxidation.
Because the tip tinners are acidic, we suggest not using them if you aren’t dealing with heavy oxidation or corrosion. Proper storage and maintenance of your soldering iron can help prevent the need for this kind of deep cleaning.
To use a tip tinner, you’ll need to heat up your soldering iron. Once it is hot, turn off the power and dip the tip of your soldering iron into the tinner for a few seconds at a time. Be sure to avoid contact with skin during this process.
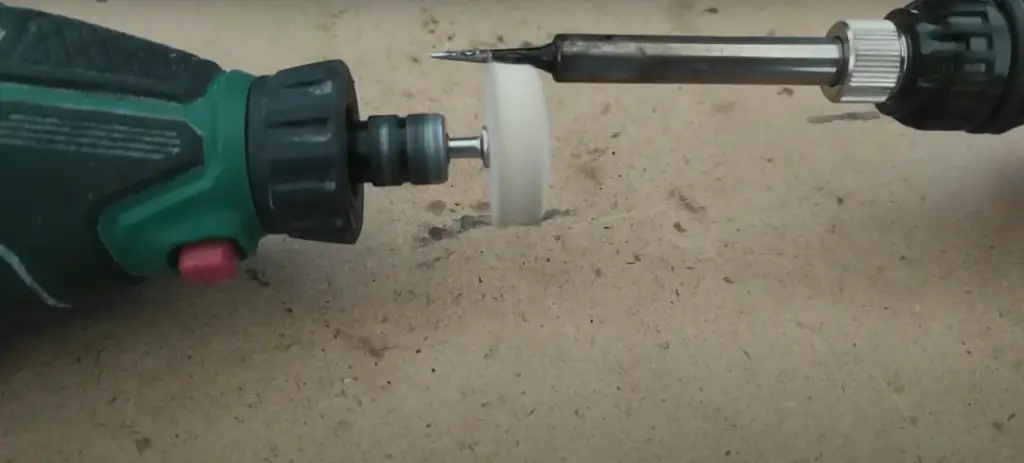
Motorized tip cleaner
It works by using abrasive materials such as steel wool or brass wool to remove oxidation from the soldering iron’s tip. The motorized tip cleaner spins at different speeds which helps to evenly remove any debris or oxidation from the tip without causing damage.
The motorized tip cleaner is simple to use – just plug it in, dip the soldering iron’s tip into some flux, place it inside the brush of the cleaner and press down on top. Then turn on the power switch and let it run for a few seconds until you see all of the dirt and oxidation come off.
Brass tip cleaner
Brass tip cleaners can effectively remove build-up from the tip of the soldering iron with little effort.
Unplug the soldering iron from the wall or power source before you begin. You should also allow it to cool down before attempting to clean it in order to avoid possible burns. Next, simply poke a soldering iron into the brass tip cleaner and move it back and forth a few times until the build-up on the soldering iron’s tip is gone.
Once you’re done cleaning it with the brass tip cleaner, plug the soldering iron back in and allow it to heat up before continuing your work. [1], [2], [3]
Tin Your Soldering Iron Tip Regularly
Besides cleaning your soldering iron regularly, it is also important to tin the tip of your soldering iron on a regular basis. Tinning helps to prevent oxidation and ensures that your solder joint will be strong and reliable.
To tin your soldering iron tip, you will need to heat up the tip until it is hot enough to melt solder quickly. Once the temperature is reached, you will then need to apply a small amount of new solder onto the tip and allow it to spread evenly over the surface area. This helps to create an even layer of protection on your soldering iron that prevents oxidation and makes for a much better connection when soldering components together.
When done correctly, this process should only take a few seconds so be sure not to leave the tip exposed for too long as this can cause damage or burning. Additionally, be sure not to use too much solder as this can cause clogging and poor connections during soldering. After tinning your tip, you should then wipe off the excess solder with a damp sponge or cloth before continuing to use your soldering iron.
And lastly, use a high quality solder for the best results. Cheap solders can contain impurities that can damage your soldering iron’s tip over time and lead to poor connections.
Following this simple step will help to ensure that your connections are reliable and strong every time.
FAQ
Do you need to clean soldering iron?
Yes, it is important to clean your soldering iron regularly: not only does this help maintain its performance and extend its life, but it also helps prevent any damage that can be caused by accumulated oxidation or dirt.
When cleaning a soldering iron, the most important thing to remember is that no matter what type of tip you are using – whether it is a chisel tip or conical tip – you need to be very careful and follow instructions closely. This will help ensure that your soldering iron is kept in good condition and able to last for many years.
What is the most popular method for cleaning the tip of the soldering iron?
Wet sponge soldering cleaning is the most popular method for cleaning a soldering iron tip. To clean a soldering iron tip, simply wet a moistened sulfur-free sponge or brass wool and wipe off oxidation from the tip in a circular motion. Be sure to not touch the metal parts of your iron with the wet sponge as it can cause shorting or other electrical shock hazards.
Just don’t forget to re-apply flux on the tip afterwards! Cleaning will absolutely remove the protective layer of flux that helps to keep your soldering iron at the right temperature, so it is important to re-apply flux before each use of the soldering iron for optimal performance.
How do you remove oxidation from a soldering iron?
One of the most common problems with soldering irons is oxidation. Oxidation can cause the surface of the tip to become rough and pitted, which prevents it from making a proper electrical connection. Fortunately, there are a few simple steps you can take to remove this oxidation and restore your soldering iron’s performance.
You can either use a mechanical cleaner, such as a brass brush, to scrub away the oxidation, or you can use a chemical cleaner. Mechanical methods have a bigger risk of damaging the tip, so if you choose to go this route, be sure to use a gentle bristle brush and scrub lightly.
If you opt for a chemical cleaner, soaking your soldering iron in an appropriate solution is usually the most effective method. A tip thinner or tip cleaning paste is often used for removing oxidation from soldering irons because it’s both safe and effective. Be sure to read and follow all instructions on the cleaning solution carefully before using it. After soaking, use a soft cloth or brush to remove any leftover residue.
So we suggest against using sandpaper to clean a soldering iron, and recommend instead using a sulfur free sponge or tip tinner. This will remove the majority of residue without risking damage to your device.
Can I use sandpaper to clean soldering iron?
While it’s possible to use sandpaper to clean a soldering iron, it’s not recommended. Sandpaper is abrasive and can remove protective coatings from the tool, potentially leading to more problems down the line. Additionally, conducting heat through sandpaper also carries a risk of shock or burn if you don’t take proper precautions.
Instead of sandpaper, you should use a sulfur free sponge or tip tinner. These products are specifically designed for cleaning soldering irons and can remove the majority of residue without risking damage to your device. We recommend following the instructions on the product you choose to ensure optimal performance. [1], [2], [3]
Useful Video: How to clean solder iron tip
Conclusion
Cleaning a tip of your soldering iron is essential for optimal performance and longevity. With the steps and techniques discussed in this article, you can easily clean your soldering iron tip to get rid of any build-up or corrosion. To prevent more damage from occurring, remember to routinely check and clean your soldering iron as required.
In this article, we discussed various ways to clean a soldering iron tip including using tip thinners, brass wool, soldering sponges and polishing bars. We also explained which methods are safer and more effective and how to apply them.
Regular maintenance is the key to a successful soldering job with a safe, well-functioning tool that will last for many years. Now that you know how to properly clean your soldering iron, it’s time to get started! Happy soldering!
References
- https://www.makeuseof.com/how-to-clean-your-soldering-iron/
- https://forum.digikey.com/t/how-to-clean-tin-and-maintain-soldering-iron-tip/2006
- https://www.wikihow.com/Clean-a-Solder-Iron