
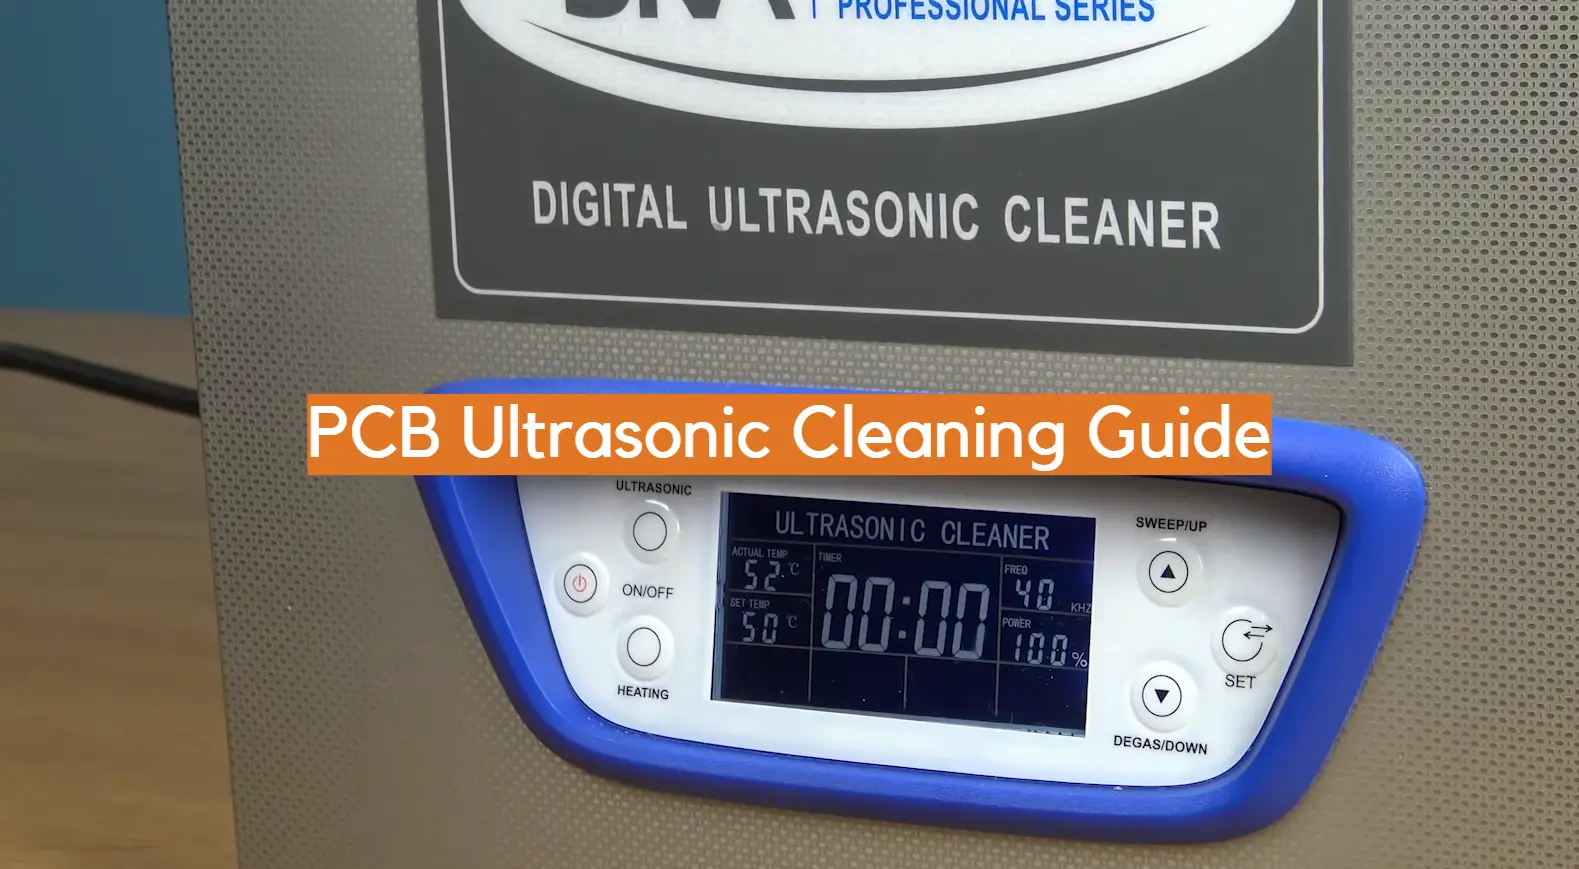
PCB Ultrasonic Cleaning is a process used to clean Printed Circuit Boards (PCBs) and other electronic components. This technique uses sound waves, usually at frequencies between 20 kHz and 400 kHz, to agitate microscopic particles of contaminants from PCBs. It is an efficient and cost-effective way to ensure that your circuit boards are free from dirt, dust, flux, and other residues that can affect the performance of your electronic devices.
With this guide, you will learn more about PCB Ultrasonic Cleaning, its advantages, and how to make sure your cleaning process is done correctly. We’ll also answer some of the most frequently asked questions about ultrasonic cleaning and provide useful tips on how to get the most out of the process.
Why Is It Important To Clean Flux From PCBs?
However, if not cleaned properly, flux residue can remain on the board and cause electrical shorts or other problems that could lead to malfunctions or damage to your electronics. Therefore, it’s important to use an ultrasonic cleaning process to ensure that all flux residues are fully removed from your PCBs. [2]
Cleaning Examples
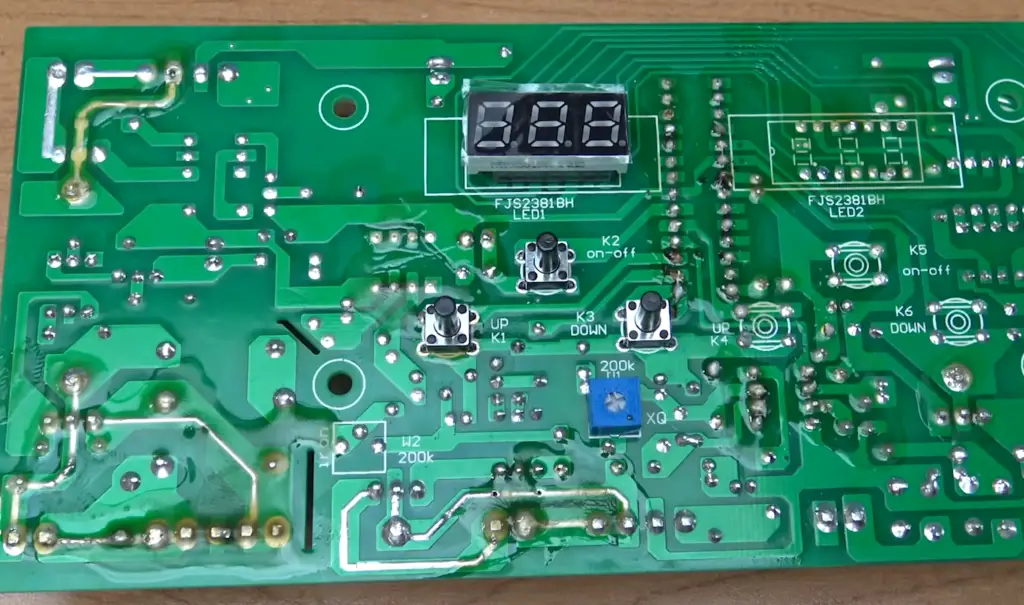
PCB ultrasonic cleaning is often used to clean a variety of objects, such as electronics components (e.g. capacitors, resistors), printed circuit boards (PCBs), and even medical instruments. It can even be used for difficult-to-reach places that manual cleaning methods are unable to access.
For example, a PCB may contain components with a variety of surface finishes, such as lead-free HASL (hot air soldering leveler), ENIG (electroless nickel immersion gold), or OSP (organic solderability preservative). PCB ultrasonic cleaning can effectively remove contaminants from these surfaces without damaging the underlying metal coating. [2]
How an Ultrasonic PCB Cleaner Works?
An ultrasonic PCB cleaner works by using sound waves to decontaminate a printed circuit board (PCB). Ultrasound is generated by a transducer, which produces vibrations in the liquid. These vibrations create microscopic bubbles that implode when they come into contact with contaminants on the surface of the PCB. This process, known as cavitation, loosens and removes the contaminants. Ultrasonic cleaning is not only effective, but it is also a fast and efficient way to decontaminate PCBs.

Using an ultrasonic cleaner for your PCBs can have many advantages. It can remove a variety of stubborn contaminants, such as oils, greases, and fluxes. The process is non-abrasive which helps to preserve the integrity of the board. Furthermore, ultrasonic cleaning is effective at decontaminating both sides of a PCB simultaneously, which can save time. [2]
Why Use an Ultrasonic Cleaner?
Ultrasonic cleaning is a powerful tool for removing contaminants from Printed Circuit Boards (PCBs), and it offers a number of advantages. Ultrasonic cleaners are highly effective at removing oils, flux residues, soldering paste, burned particles, and other PCB contaminants without damaging the sensitive components on the board.
The ultrasonic energy generated by an ultrasonic cleaner is intense enough to remove particles from difficult-to-reach places, such as the small crevices between components and in complex geometries. This makes them ideal for cleaning intricate PCBs without damaging delicate parts.
Furthermore, ultrasonic cleaners are highly efficient and can clean a large number of boards in a short period of time. [2]
How To Clean Flux With an Ultrasonic Cleaner?
Manual Cleaning Method
Before attempting to use an ultrasonic cleaner, manual cleaning methods should be used first. A stiff bristle brush can be used to remove any debris and accumulated flux from the PCB surfaces. Make sure to clean off all visible residues before continuing with the ultrasonic cleaning process.
The most effective way to clean the boards is to submerge them in a heated bath of a cleaning agent. A common solvent such as isopropyl alcohol (IPA) can be used to break down the residues and loosen them from the board surface. After letting it sit in the bath, make sure to use a brush or rag to scrub away any remaining debris before rinsing with deionized water. [1]
Ultrasonic Cleaning Method
Once all visible residue has been removed from the boards, you can move on to using an ultrasonic cleaner. Ultrasonic cleaners use high frequency sound waves to agitate and disperse cleaning agents into tight corners where manual scrubbing can’t reach. This method is especially useful for removing harder-to-reach residues that have built up over time. [1]
Gas Phase Cleaning
Gas phase cleaning is another method used to remove flux residues from PCBs. In this process, the board is exposed to a stream of heated air that carries a reactive gas such as nitrogen or oxygen. This gas interacts with the residue and breaks it down into small particles which can then be vacuumed away. It’s important to note that this method should only be used for boards with no components attached.
No matter which method you choose to clean your PCBs, make sure to take extra caution when using any cleaning agents or solvents as they can be damaging to the board and other components. Also, always read the manufacturer’s instructions before beginning the process. [4]
Deionized Water Wash
Once you’ve finished cleaning the boards, it’s important to give them a final rinse with deionized water. This is done to remove any remaining traces of cleaning agents or solvents. After giving them a thorough rinse, dry the boards off with lint-free rags or compressed air and store in an anti-static bag.
Following these steps will ensure your PCBs are clean and free of any residues or debris. Cleaning flux off of boards is a necessary part of the manufacturing process, but it doesn’t have to be a difficult task. By following this guide and using the right cleaning techniques, you can easily keep your PCBs looking their best. [4]
Are There Any Potential Risks?
When considering ultrasonic cleaning for PCBs, there are some potential risks to consider. First and foremost is the possibility of damaging components due to improper settings or too high a concentration of chemicals. Additionally, it’s important to be aware that some chemicals may react with one another if mixed together in solution or when exposed to certain temperatures. As such, it’s important to consult any relevant safety documentation prior to using any chemicals.
Another potential risk of PCB ultrasonic cleaning is that it can cause corrosion or other damage to sensitive components if the cycle time is not controlled properly. It’s important to monitor all parameters closely and adjust as needed in order to ensure optimal results without causing any damage. [3]
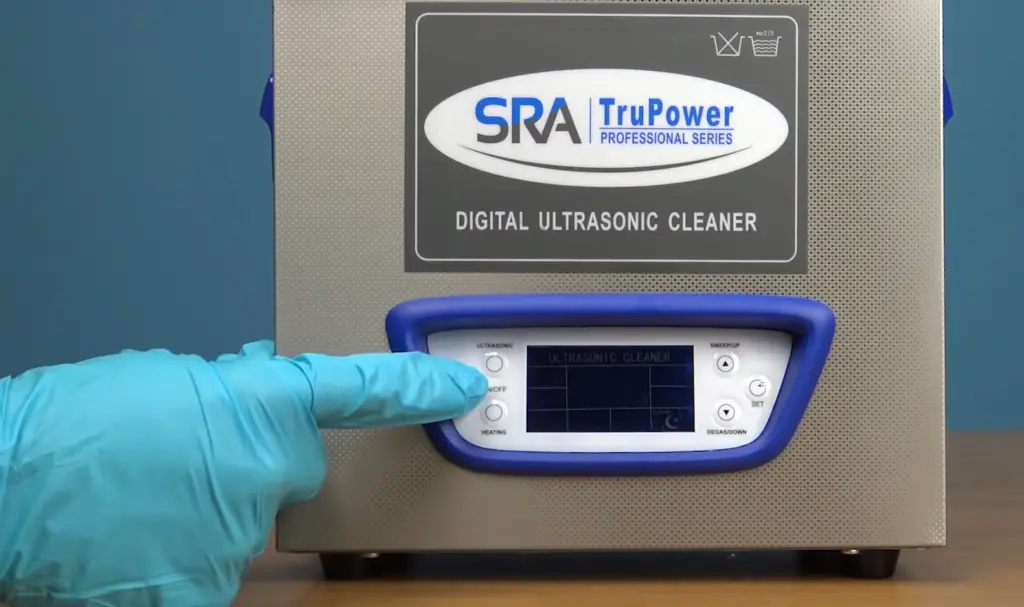
Selecting your Ultrasonic PCB Cleaner
Do you need something that can be used on a variety of substrates or are you looking for something specific for printed circuit boards? In addition, you should look at the size and power of the cleaner as well as whether it includes additional features like timer control and temperature settings.
Once you have narrowed down the type of cleaner you need, you should also consider its size. An ultrasonic pcb cleaner needs to be large enough to clean a single board or multiple boards, depending on your needs. Make sure that the tank is big enough for all of the boards and components that will need. [3]
Selecting your Ultrasonic PCB Cleaner Solution
Once you’ve decided to use an ultrasonic cleaner for your PCBs, it’s time to choose the right cleaning solution. This is a crucial step in order to ensure that your PCBs are properly cleaned and not damaged during the process.
The ideal cleaning solution will depend on many factors, including the type of contaminants present, as well as the materials of the PCBs. It is important to choose a cleaning solution that is designed for use with electronics and specifically for use with printed circuit boards.
When selecting an ultrasonic cleaner for your PCBs, you’ll want to consider both water-based solutions and solvent-based solutions.
Water-based solutions are usually formulated using surfactant technology and have the benefit of being non-flammable. They are also environmentally friendly, making them ideal for use in a production facility or lab. These solutions are typically less aggressive than solvent-based solutions and can be used to remove light-to-moderate contaminants from PCBs.
Solvent-based solutions contain active chemicals that can provide superior cleaning results compared to water-based solutions. These solutions are often more aggressive and can be used to remove heavier contaminants from PCBs. However, solvent-based solutions can be hazardous if not handled properly, so it is important to exercise caution when using them. [3]
A Suggested PCB Cleaning Cycle
PCB ultrasonic cleaning is an important part of the manufacturing process for PCBs. The following cycle may help you ensure a thorough clean:
- Pre-rinse with filtered, deionized water to remove surface contaminants.
- Immerse boards in a cleaning fluid and agitate with ultrasound waves to loosen more stubborn impurities.
- Rinse the boards with filtered, deionized water again to remove all remaining contaminants.
- Dry the boards with a microfiber cloth or compressed air to prevent additional oxidation and for improved electrical performance of the board.
- If necessary, use an approved conformal coating to protect your board from moisture and corrosion after cleaning. [3]
Solder Flux Disposal
Once the degreasing phase is complete, you should dispose of any remaining solder flux. The type of flux used and the solvents used to remove it will both influence how this step should be performed. If you use an acidic or mildly caustic aqueous-based solution, you can easily flush these substances down the drain with plenty of water running after it.
If you use a solvent-based degreaser, you need to be more careful. These solvents may require special handling and disposal depending on your local laws. Check with your municipality or other regulatory body to find out the proper way to dispose of these materials. Some people prefer not to use traditional cleaning solvents and opt for biodegradable solvents instead. If you choose to use these materials, make sure to follow the manufacturer’s instructions for disposal.
Finally, it is important to remember that any degreaser or cleaner used will need to be filtered and/or disposed of properly before continuing on with this process. [5]
Protecting printed circuit boards
When it comes to printed circuit boards, cleaning is an essential aspect of their maintenance. PCB ultrasonic cleaning offers the most efficient and reliable way to keep your circuitry working optimally. By removing any contamination such as dust, flux residue, organic material and oil, you can ensure that all parts are kept free from dirt and debris. This improves overall performance and extends the life of your PCB.
The process is simple, using high-frequency sound waves to agitate a cleaning solution that quickly and effectively removes contaminants from the board’s surface. Depending on what type of contamination needs to be removed, various solutions can be used in ultrasonic cleaning tanks. [5]
Safely Tips of Cleaning
Cleaning with ultrasonic waves has been used for decades in the electronics industry, but there are some safety considerations to keep in mind when using this method. To ensure your cleaning process is safe and effective, here are some tips:
- Make sure the PCBs you’re cleaning are compatible with ultrasonic waves: Ultrasonic waves can be damaging to sensitive components on some electronics. Before you attempt any ultrasonic cleaning, check your PCBs are compatible with the method by reading their specs.
- Use a protective solution: Detergents and soaps should be used in combination with ultrasonic waves for maximum effectiveness. These solutions protect the PCBs from corrosion, but make sure to test your mixture on a small area before cleaning the entire board.
- Set safe cleaning times: Specific components of a PCB can be damaged by excessive exposure to ultrasonic waves, so make sure you’re not cleaning for too long. Read up on the specs for your particular components and adjust the length of your cleaning time accordingly.
- Monitor the temperature: Heating liquids with ultrasonic waves can cause them to boil and damage your components. Keep an eye on the temperature of your cleaning solution as it rises, and turn off the cleaner if necessary.
Following these tips will ensure that you get the best possible results from your PCB Ultrasonic Cleaner without putting any of your components at risk. [5]
FAQ
What liquid to use in ultrasonic cleaner for PCB?
The best type of liquid to use is an ultrasonic cleaning solution specifically designed for electronic components. Look for a non-corrosive, low-foaming, and eco-friendly formula with no pH buffers or chelating agents. Using ordinary detergent may leave residue behind that can cause corrosion later on. When in doubt, consult the PCB manufacturer’s instructions.
What is the best Hz for ultrasonic cleaning?
The frequency of your ultrasonic cleaner is important because it affects how effectively the cleaning solution can penetrate and remove contaminants from the surface. Generally, lower frequencies are more effective for removing heavier particles, while higher frequencies will loosen lighter particles. Although there is no single best frequency that works in all cases — it depends on the size and type of particles you’re trying to remove — most PCBs are best cleaned between 40kHz and 80kHz.
What liquid do you use in an ultrasonic cleaner for electronics?
The best type of liquid to use is an ultrasonic cleaning solution specifically designed for electronic components. Look for a non-corrosive, low-foaming, and eco-friendly formula with no pH buffers or chelating agents. When in doubt, consult the PCB manufacturer’s instructions. Distilled water can also be used as it has less impurities that could cause corrosion.
Can I use alcohol in an ultrasonic cleaner?
Yes, alcohol can be used in an ultrasonic cleaner for cleaning PCB components. However, it is important to note that alcohol can damage certain types of plastic and should not be used if the parts have any plastic or rubber components. Additionally, some types of alcohol can leave a residue behind which could cause corrosion, so be sure to use the right type and consult the PCB manufacturer’s instructions for the best approach.
What chemical can I use in an ultrasonic cleaner?
The best type of chemical to use is an ultrasonic cleaning solution specifically designed for electronic components. Look for a non-corrosive, low-foaming, and eco-friendly formula with no pH buffers or chelating agents. When in doubt, consult the PCB manufacturer’s instructions. Other types of chemicals such as degreasers can also be used, but should only be done so if the PCB manufacturer specifically recommends them. Additionally, always use distilled water when rinsing off chemicals from your PCB.
Can I use water in an ultrasonic cleaner?
Yes, you can use water in an ultrasonic cleaner for cleaning PCB components. However, it is important to note that plain tap water contains impurities which could cause corrosion if not rinsed off properly. For this reason, distilled water is recommended as it has fewer impurities and will reduce the risk of damage to your PCB.
What not to put in an ultrasonic cleaner?
Certain types of materials and chemicals should never be put in an ultrasonic cleaner. This includes any type of plastic or rubber components, as well as corrosive chemicals such as acids or alkali. Additionally, anything that is not specifically designed to be cleaned with an ultrasonic cleaner should not be used — for example, paper documents or delicate artwork.
Can I make my own ultrasonic cleaning solution?
Although it is possible to make your own ultrasonic cleaning solution, it is not recommended unless you have extensive knowledge of the ingredients and process. The best approach is to purchase an ultrasonic cleaning solution specifically designed for electronic components from a reputable supplier. This will ensure that you’re using the right type and concentration of chemicals for maximum effectiveness and protection of your PCBs.
Useful Video: How to Clean a Circuit Board (PCB) with an Ultrasonic Cleaner
Conclusion
PCB ultrasonic cleaning is an effective and efficient way to remove dirt, debris, and oxidation from your PCBs. It requires minimal effort and can be done quickly in a matter of minutes or hours depending on the job. With proper care and maintenance, it is possible to keep your PCBs clean for many years to come. Following the tips outlined above will ensure your PCBs are cleaned effectively and safely. Remember, prevention is the best policy when it comes to PCB cleaning. Take the necessary precautions before you begin and take the time to make sure each step of the process is done correctly for optimal results.
Good luck!
References
- https://www.upcorp.com/blog/removing-flux-from-pcbs-using-an-ultrasonic-cleaner/
- https://tovatech.com/blog/609/ultrasonic-cleaner/ultrasonic-pcb-cleaner-for-safe-cleaning
- https://www.pcbway.com/blog/Engineering_Technical/Safely_Tips_of_Cleaning_PCB_With_Ultrasonic_Cleaning.html
- https://www.kemet.co.uk/blog/cleaning/pcb-cleaning
- https://worldsway.com/different-pcb-cleaning-methods/