
Are you looking to connect your device to the internet and add a layer of functionality? If so, then look no further than the ESP8266! This powerful little processor allows for WiFi connectivity, along with full microcontroller capabilities. But how do you get started programming your own project with an ESP8266? In this blog post, we’ll go over everything you need to know about programming ESP8266 boards. From the basics to tips on creating custom projects, we’ve got it all covered here! So keep reading if you’re interested in taking your IoT applications and electronics tinkering to the next level!
What is ESP8266?
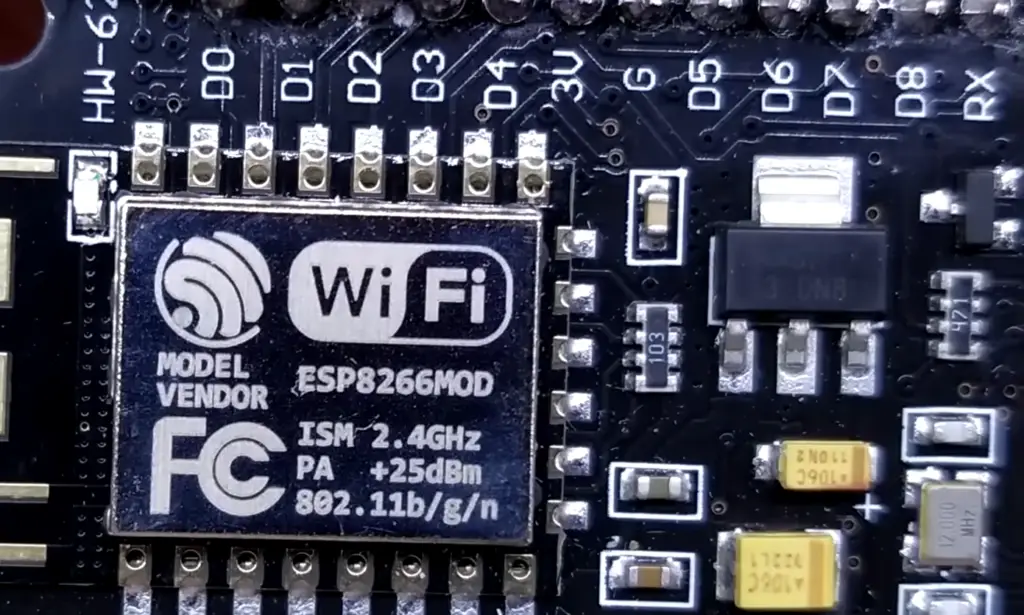
It is often integrated into development boards such as the ESP8266 NodeMCU, which provides both Wi-Fi functionality and a powerful 32-bit processor in one package. The ESP8266 can be programmed using either the Lua programming language or Arduino IDE to create custom applications that can interact with hardware peripherals, control home automation systems, and more. With its low cost and small form factor, it has become a popular choice for DIY projects.
Which Board to Choose?
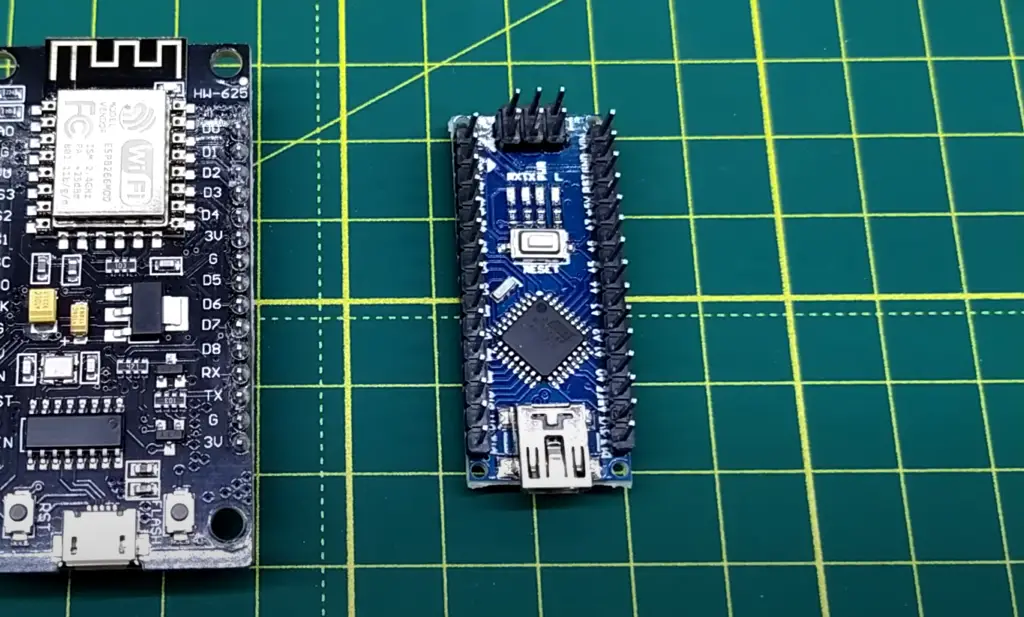
It is important to choose the right board when programming the ESP8266. The most popular boards for the ESP8266 are the NodeMCU and Wemos D1 Mini. It’s important to ensure your chosen board has enough pins and memory for your project requirements.
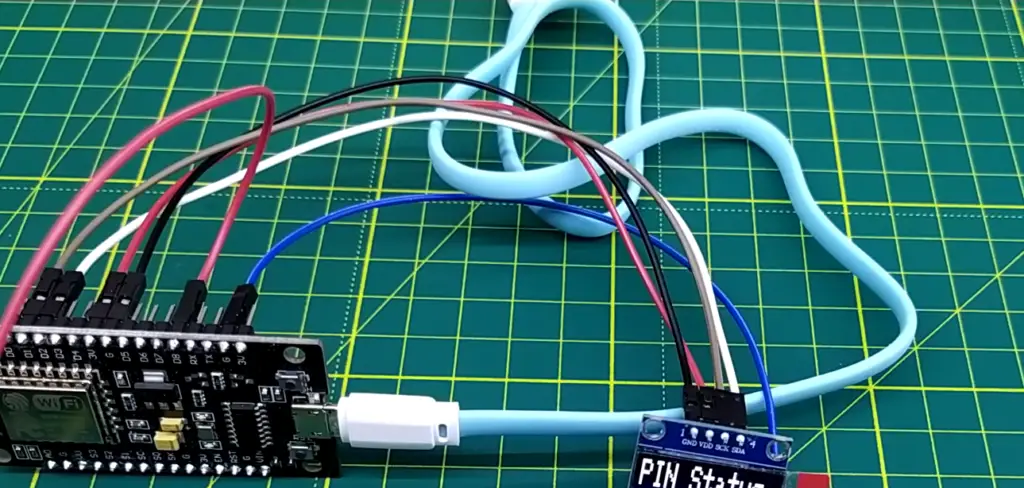
The NodeMCU is a development board that contains an ESP8266 chip with WiFi capability, as well as other installation options such as USB connection or UART bootloader access. It also includes 8 GPIO pins, 10 ADC channels, SPI interface and I2C support. This makes it perfect for projects that require more complex communication between multiple devices or components.
The Wemos D1 Mini offers a more compact design than the NodeMCU board, making it ideal for projects where space is at a premium. It has 11 GPIO pins, 10 ADC channels, SPI interface and I2C support. The D1 Mini also includes an onboard USB port, allowing you to easily connect your ESP8266 to a computer or other devices.
No matter which board you choose, the programming process remains the same. All that’s needed is a connection between the board and your computer via USB cable. From there, you can use the Arduino IDE or other programs like Lua NodeMCU to write code and upload it to your board. Once uploaded, you can start developing your project with ease! [1]
How to Program ESP8266?
Programming the ESP8266 with the Arduino IDE
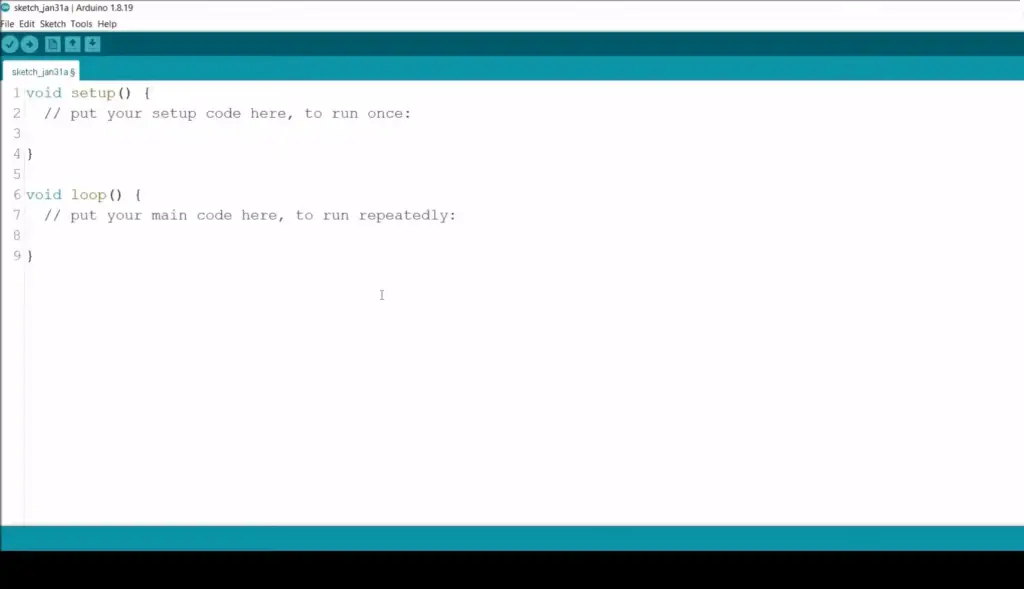
It is relatively easy. You can use the Arduino IDE to write programs for the ESP8266 and upload them over a USB connection or Serial connection. In order to program the ESP8266 with Arduino IDE, you need to do the following:
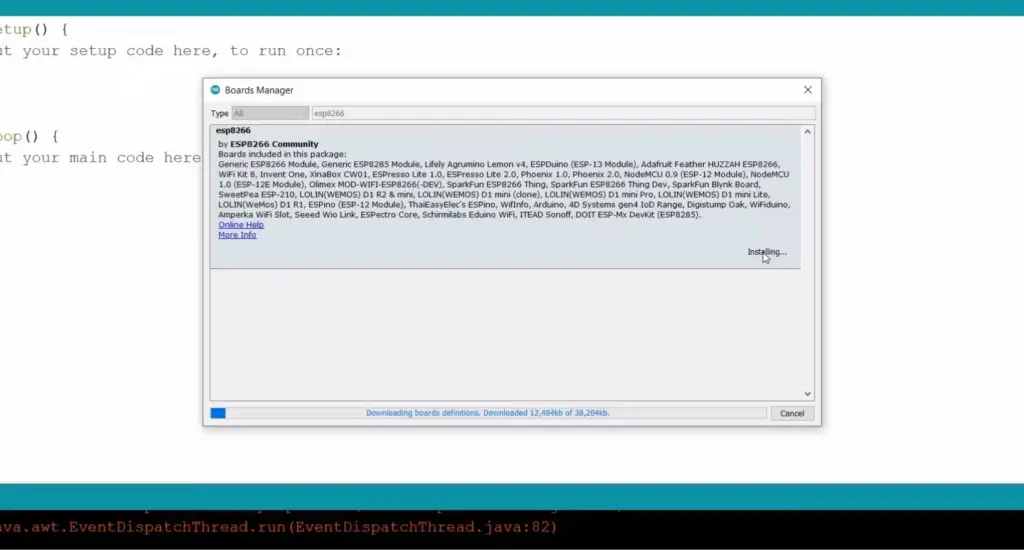
- Download and install the latest version of the Arduino IDE from arduino.cc/en/Main/Software
- Connect your ESP8266 board (NodeMCU) using a micro USB cable to your computer’s USB port
- Open Tools > Board menu in Arduino IDE, select your board type (in this case, it’s NodeMCU 1.0)
- Select appropriate Port number from Tools > Port menu
- Write code in Arduino IDE, then save it
- Upload the program to your ESP8266 board by clicking the “Upload” button
- After successful upload and execution of the program, you can check the result from the Serial Monitor window in Arduino IDE.
It is also possible to flash firmware directly onto some ESP8266 boards using this method. [2]
Programming ESP8266 with ESPHome
ESPHome is a powerful tool that allows you to program the ESP8266 without any coding knowledge. It has an easy-to-use web interface, where you can configure all aspects of your device. You can also use it to flash firmware to the ESP8266 and manage Wi-Fi connections.
To get started, plug in your ESP8266 into your computer using a USB cable and open up the web page for ESPhome. From there, you will be able to create new projects and configure them as needed. Once everything is set up, you can then download the generated code into the ESP8266 memory and start controlling it with just a few clicks!
With this simple yet powerful tool, programming your ESP8266 will become a much and more efficient task. All you need to do is create a, configure your settings, and then flash the code onto the ESP8266 – no coding knowledge necessary! So if you’re looking for an easy way to program your ESP8266 without any coding experience, try ESPhome today! It’ll make programming your device fast and hassle-free.
Pros of ESP8266
The ESP8266 is an incredibly powerful and cost-efficient microcontroller that offers several advantages for programming. It’s easy to learn with its simple instruction set, and can be programmed using a variety of languages, including Arduino and C. The board also has a built-in Wi-Fi module which makes it possible to quickly create networked applications without needing additional hardware or code.
Additionally, the ESP8266 boasts low power consumption, allowing projects to run on battery power for extended periods of time. This makes it ideal for Internet of Things (IoT) projects as well as other connected devices.
Finally, the wide range of compatible sensors and peripherals makes the ESP8266 an ideal choice for a variety of embedded applications. All of these benefits make the ESP8266 a great choice for beginners and experienced coders alike. [3]

Cons of ESP8266
Despite its many advantages, there are some limitations that should be kept in mind when programming with the ESP8266. The small size of the board restricts the number of sensors and peripherals that can be connected to it at one time.
Additionally, non-standard libraries may need to be written for complex operations due to a lack of standard drivers or libraries available for certain protocols.
Finally, while Wi-Fi support is built into the board, limited range makes it difficult to use in applications where long-distance communication is necessary.
Overall, the ESP8266 offers plenty of features that make it a great choice for a variety of projects. While there are some drawbacks to keep in mind when working with this powerful microcontroller, careful consideration of the pros and cons will help you decide if it’s the right choice for your project. Its low cost and simple programming options, the ESP8266 is an attractive option for beginners and experienced coders alike.
Where to Use ESP8266?
The ESP8266 is a low-cost, yet powerful Wi-Fi module that can be used in many different applications. It has the ability to connect to existing wireless networks or create its own access point and can communicate with other devices. This flexibility makes it ideal for IoT (Internet of Things) applications where sensors, actuators, and other connected devices need to communicate with each other over a wireless network.
For example, you might use an ESP8266 in home automation to turn lights on and off remotely over Wi-Fi or control appliances through voice commands via Amazon Echo. The ESP8266 could also be used as part of a home security system by connecting motion detectors and cameras wirelessly and sending out alerts when something is detected. Other applications include creating smart thermostats and monitoring energy usage in a home, as well as remotely controlling robots or drones.
The ESP8266 is also great for hobbyists looking to get started with embedded programming. It’s relatively easy to program and can be used to create exciting projects like robot car races and Wi-Fi controlled toys. With its low cost and versatile range of uses, the ESP8266 is an attractive option for building all kinds of projects. [4]
How to Use ESP8266?
The ESP8266 supports both station and access point modes, making it suitable for a wide variety of communication applications.
To use the ESP8266, you will need the following items:
- A development board such as NodeMCU or WeMos D1 Mini;
- USB Power Adaptor;
- USB cable;
- An IDE such as Arduino or PlatformIO; and
- Libraries appropriate for your development environment.
Once you have these items ready, the first step in programming the ESP8 is to install the libraries needed for your development environment. For example, if you are using Arduino IDE, you will need to install the ESP8266 library from Github in order to be able to program your board. After this, you can start writing your code in the IDE and upload it onto your board via USB cable.
The next step is to configure the Wi-Fi settings on the ESP8266. This can be done by connecting the board to a computer or mobile device and following instructions provided by your development environment. Once connected, you can enter your Wi-Fi network details and save them into memory for future use.
Once these steps have been completed, you can begin developing applications with the ESP8266. The board supports a range of programming languages, including C/C++, Lua, and MicroPython. This means you can use the8266 to develop powerful IoT applications in no time!
How Powerful Is ESP8266?
The ESP8266 is an incredibly powerful and versatile microcontroller, capable of a wide range of tasks. It can be used for simple projects like home automation to more complex systems such as robotics. Its low cost, combined with its built-in WiFi module, make it the perfect choice for many applications.
One of the most impressive features of the ESP8266 is its ability to communicate with other devices over a WiFi network. This opens up a world of possibilities when building projects that require network connectivity or remote control. The ESP8266 also provides support for various programming languages, making it easily accessible to both experienced developers and those new to coding.
In addition to networking capabilities, the ESP8266 offers 16 GPIO pins which can be used to control external peripherals or act as digital inputs. This opens up a range of possibilities, from controlling lighting systems to monitoring sensors.
The ESP8266 has become an incredibly popular choice for IoT projects due to its low cost and ease of programming. Its powerful features make it the perfect device for those looking to build their own custom projects or create solutions that require network connectivity. It’s sure to continue being one of the most reliable options when it comes to tackling any project that requires microcontroller-based networking capabilities! [5]
Which Language Is Used to Program ESP8266?
The ESP8266 is programmed with the Arduino IDE, which supports C++ and the Arduino libraries. You can also program it using other languages such as Lua or MicroPython, but they are not supported natively by the ESP8266 platform. In addition to these languages, you can develop programs in JavaScript via NodeMCU (an open source development environment supporting Lua scripting language).
It offers a built-in interpreter to help you write custom scripts for your project. With NodeMCU you have access to a wide range of modules for various hardware functions including Wi-Fi, I2C and Serial communications.
In conclusion, there are several programming languages that could be used to program the ESP8266 depending on what application area you want to use it for.
For basic projects like IoT or home automation, Arduino with C++ (or optionally Lua or MicroPython) is likely the best choice. However, if you need greater power and features, NodeMCU with its JavaScript interpreter may be the way to go. [6]
FAQ
Can I program ESP8266 with Python?
Yes, you can program ESP8266 with Python by using either the MicroPython firmware or regular Python. The MicroPython firmware is designed specifically for ESP8266 and comes pre-installed on some boards. If it’s not available, you can also install it by flashing your board with the right software. For those who prefer to use regular Python, there are several development platforms for ESP8266 that allow you to write and run programs in Python. These include NodeMCU, which provides an integrated development environment (IDE) as well as a wide range of libraries for different types of tasks from programming an LED to creating a Wi-Fi connection. Additionally, many online tutorials and forums exist that offer support and tips on how to get started programming with Python on ESP8266.
Can I use a different language, such as C/C++, to program ESP8266?
Yes, you can use other languages such as C/C++ to program ESP8266. There are several development platforms that offer support for these languages including PlatformIO and Arduino IDE. Additionally, you can also install the SDK (Software Development Kit) provided by Espressif Systems, the company that manufactures ESP8266 modules. The SDK provides everything needed to compile and upload code into the board. Once installed, you can then write code using your preferred language and upload it directly to the board.
What is the easiest way to get started with programming ESP8266?
There are many tutorials and guides available online that provide detailed instructions on how to set up and use the Arduino IDE as well as how to write code in it. Additionally, there is also a wide range of libraries and examples available which can help you quickly bring your projects to life. If you’re looking for more control or flexibility over your project, then using other development platforms such as PlatformIO may be better suited.
Are there any other resources I can use when learning ESP8266?
Yes! In addition to tutorials, forums and development platforms, there are several books available to help you learn how to program ESP8266. Additionally, Espressif Systems offers a wide range of resources including free technical documents and software tools for developing with ESP8266. Finally, there are also many online communities dedicated to ESP8266 that provide support and advice from experienced users. These resources should give you enough information to get started programming with ESP8266 quickly and easily. With a little practice, you will soon be able to create your own projects with ease!
How to digitally write on ESP8266?
To digitally write on the ESP8266, there are a few different methods depending on your needs. One of the simplest ways is to use the Arduino IDE. When using Arduino IDE you have access to many libraries and sensors that allow for easy digital writing. To get started, you’ll need to download and install the software onto your computer. Once installed, select “Board Type” as “Generic ESP8266 Module” from Tools > Board. Connecting an ESP8266 module to your computer via USB cable will typically be your next step followed by selecting the correct port in Tools >Port. From here, you can write code onto the board using C/C++ language and upload it using Sketch > Upload.
Another way to digitally write on the ESP8266 is through NodeMCU. NodeMCU is an open-source platform that utilizes the Lua scripting language, making it a great tool for controlling the ESP8266. To begin writing code with NodeMCU, you’ll need to install and configure the software first. After setting up the environment, you can start writing your own scripts in Lua or use ones from libraries like Arduino IDE or other sources online. Once your script is written, all that’s left is to upload it using Sketch > Upload within the software.
Does ESP8266 need an Arduino?
No, ESP8266 does not need an Arduino. While the ESP8266 is a microcontroller, it can be programmed by itself and in many cases can take the place of an Arduino or other microcontroller to control various components and devices. Generally speaking, programming the ESP8266 requires downloading its firmware onto the chip with a tool like esptool.py using your computer over USB. Once flashed, you can use code editors like PlatformIO or Atom to write programs for the chip and upload them over WiFi or serial connection. Additionally, some boards come pre-programmed with NodeMCU Lua which allows scripts written in Lua to be uploaded directly from command line tools such as putty without having to flash any custom firmware onto the chip.
Which IDE for ESP8266?
The most popular IDE for ESP8266 is PlatformIO. It supports a variety of operating systems including Windows, MacOS, and Linux. Additionally, it offers support for writing code in many languages such as C/C++, Python, JavaScript, and more. PlatformIO integrates with Atom making it easy to edit files and upload them to the board over WiFi or serial connection. It also has integrated debugging tools that allow you to debug your code step-by-step from within the editor window. Other popular IDEs include Arduino IDE which has built-in support for programming the ESP8266 as well as Visual Studio Code which can be used to write code in several different languages compatible with the chip.
Is MicroPython better than Arduino?
The answer to this question depends on the individual’s needs and programming style. MicroPython is designed specifically for the ESP8266, making it easier to program than Arduino, which must be compiled into a binary form and then uploaded to the ESP8266. Additionally, MicroPython allows users to write code in easy-to-understand syntax with minimal setup time. On the other hand, Arduino offers more flexibility when it comes to coding and has a larger variety of libraries and tools available. Therefore, it depends on how experienced you are as a programmer and what specific tasks you are trying to accomplish as to which platform is better suited for your project.
Useful Video: How to Setup and Program NodeMCU ESP8266–Complete Guide
Conclusion
In conclusion, programming an ESP8266 is a process that can be done with minimal effort and cost. With the right software, hardware and a few lines of code you can have your device up and running quickly. The benefits of having a programmable device like this are endless; from automating tasks to connecting multiple devices together for something bigger. Just remember to research thoroughly before diving into any project, as it’s important to make sure you’re using the correct components and coding correctly to ensure the best results.
Good luck!
References
- https://smartsolutions4home.com/how-to-program-esp8266/
- http://help.ubidots.com/en/articles/928408-program-the-esp8266-with-the-arduino-ide-in-3-simple-steps
- https://www.instructables.com/3-Simple-Ways-of-Programming-an-ESP8266-12X-Module/
- http://help.ubidots.com/en/articles/928408-program-the-esp8266-with-the-arduino-ide-in-3-simple-steps
- https://www.instructables.com/Program-ESP8266-MicroPython/
- https://www.embedded-robotics.com/programming-esp8266/