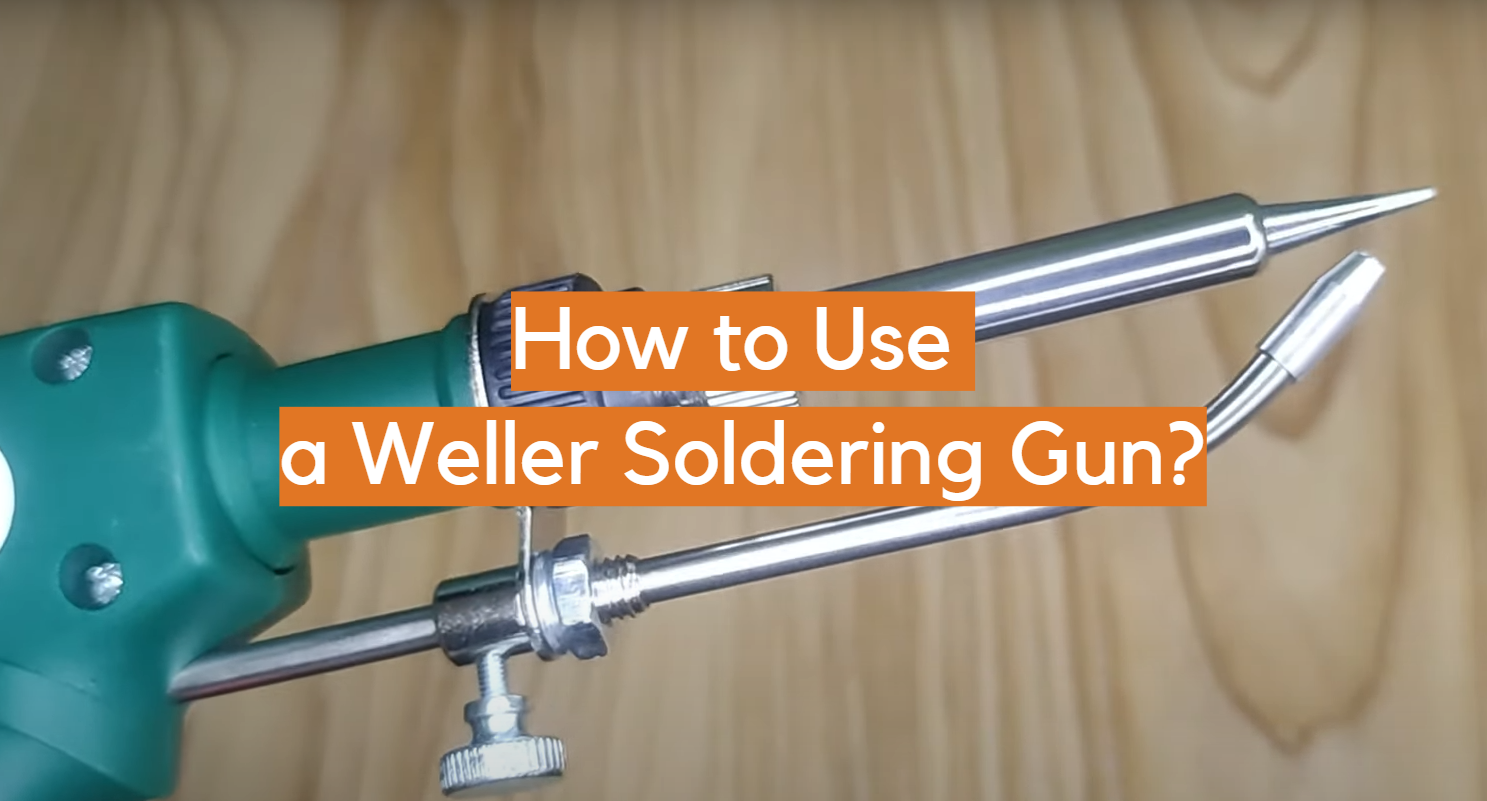
When it comes to electronics, there is no tool more important than a soldering gun. If you’re just starting out in the world of electronics, it can be confusing trying to figure out how to use a Weller soldering gun. In this article, we will walk you through the basics of using a Weller soldering gun. We’ll answer some common questions and give you some tips for getting the most out of your soldering gun. So let’s get started!
Benefits of the Weller Soldering Gun
It features a heated metal tip, which is used to melt and join pieces of metal together. The heat generated by the soldering gun allows for a strong bond between two pieces of metal while avoiding warping or other damage to the components being joined.
When used properly, a soldering gun can be useful in a variety of situations such as repairing electronics, connecting wires in automobiles or other machinery, customizing jewelry and creating art pieces. As such it is an important tool for many professionals as well as hobbyists and DIYers alike.
One of the most popular soldering guns on the market is the Weller Soldering Gun. This high-powered tool offers a range of features that make it an invaluable asset to any home workshop or professional environment. Here are some of the benefits of using a Weller Soldering Gun.
The Weller soldering gun is a great tool for anyone looking to make precise electrical connections. With its powerful heating element and comfort grip handle, it is an ideal choice for small and large projects alike.
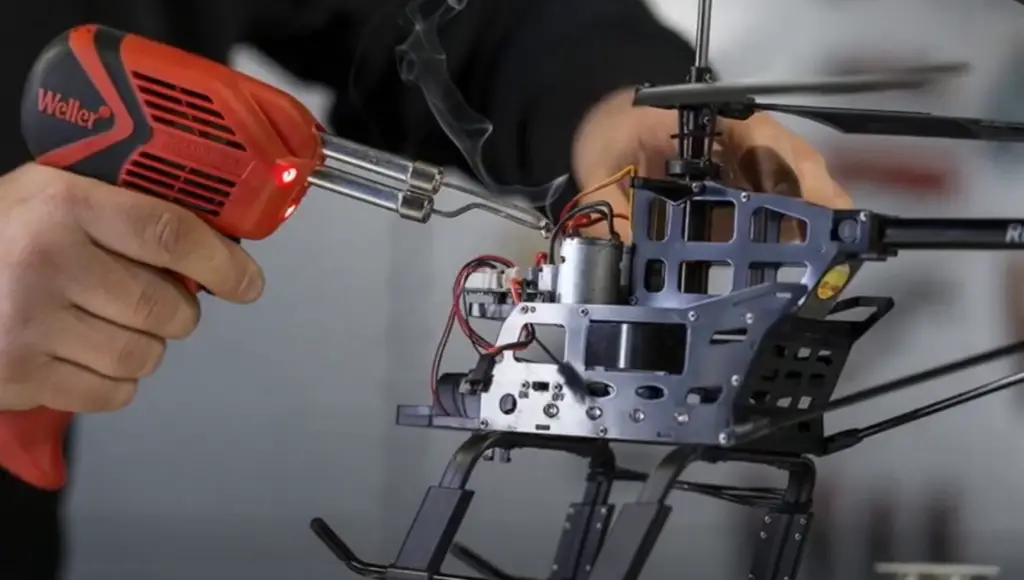
Using a soldering gun has many benefits compared to other types of solders.
It also heats up quickly, within two seconds, so you can start working right away without waiting for the device to warm up.
In addition to its fast heating ability, the Weller soldering gun provides more accurate temperature control than other models. This feature is especially important for sensitive work such as circuit boards. With temperature control, you can more easily avoid overheating the components and damaging them in the process.
The Weller soldering gun also is incredibly lightweight with an ergonomic handle designed for comfortable use. This makes it a great choice for long projects that require numerous soldering connections and extended periods of use.
Additionally, its low-drip nozzle prevents hot solder from spilling onto your work surface or project components, reducing mess and waste.
Finally, using a Weller soldering gun is extremely safe compared to other types of solders due to its insulated handle and special safety shutoff switch that are designed to prevent electric shocks from occurring. [1], [2]
How to Use a Weller Soldering Gun
Using a Weller soldering gun is relatively straightforward. In this section, we’ll provide a detailed guide on how to set up and use your Weller soldering gun.
Unpack the soldering gun
Obvious as it may sound, unpacking the Weller soldering gun is a vital part of its setup. Once you’ve located your soldering gun in the box, double-check that all its components are present, including the handle and heating element. If anything is missing or appears to be damaged, contact the manufacturer as soon as possible. It’s also worth familiarizing yourself with the manual of the soldering gun that you’re using, as there are various models available and some steps may vary.
Once the soldering gun is out, plug it into the 120-volt AC power outlet using the power cord provided. Then switch on the soldering gun by pressing the red button located at its handle end. Now, you’re ready to start soldering!
Practice the soldering technique
If it’s your first time using a soldering gun, it’s a good idea to practice the technique with scrap material or any other less important project before starting your main task. Metal wires are great for this job.
Begin by twisting the ends of a bare metal wire, making sure that no insulation is peeking through the joint. This creates a ‘joint’ between the two ends and helps prevent wax from slipping out from beneath the solder when heated.
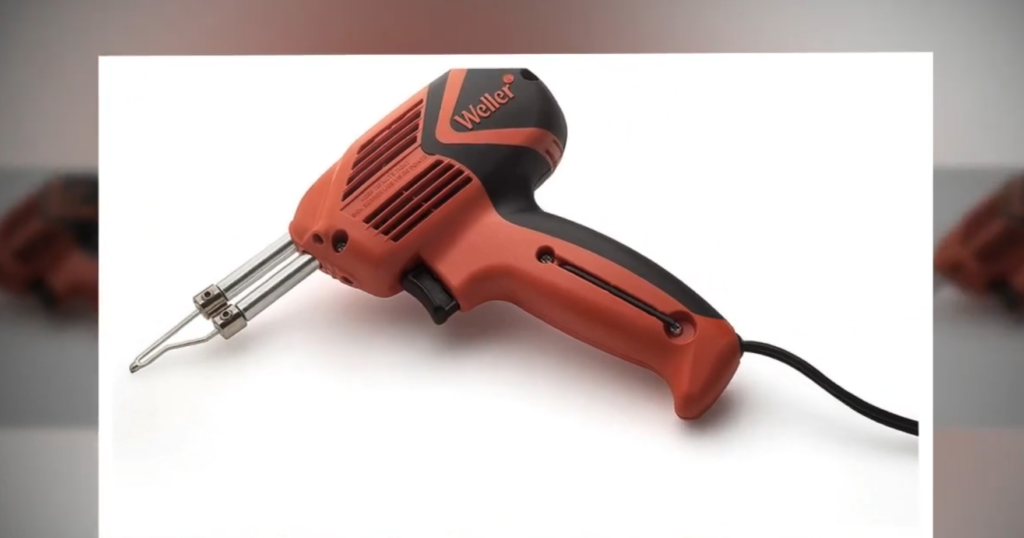
Next, pull a length of soldering gun from the case or packaging and press the trigger button. The soldering gun should heat up and the tip should become bright red. Touch the soldering wire to the end of the heated tip and allow it to melt onto the tip, changing the color.
Now that you got solder ready, don’t stop depressing the trigger button yet; touch it against the joint between the two metal wires and allow the solder to run down over it. Make sure that you don’t hold the gun for too long, as this can cause damage to your project. It’s also important to note you should never feed the solder to the heated tip, as this can also cause soldering gun damage.
Once the joint has been filled with solder, remove the heat tip away. You now can release the trigger and allow the joint to cool. Lay it down in a way the tip does not touch anything. After it’s cooled down, inspect the joint and ensure that there are no gaps or imperfections in your solder. If everything looks good, you’re ready for the next project! [3]
Additional Soldering Tips
Knowing how to properly use a Weller soldering gun can save you time and money. In this section, we’ve rounded up some extra tips that you should keep in mind when soldering.
Never solder in a closed room
When using a Weller soldering gun, it’s important to always work in a well-ventilated room. Soldering involves the use of heated materials that can release toxic fumes and smoke. If you’re working in an enclosed space without proper ventilation, these fumes and smoke will become trapped and present a health hazard. It’s also important to ensure that no flammable items are near your work area when using the soldering gun as sparks can easily ignite them.
To mitigate these risks, make sure you have some kind of fan or venting system available to disperse any fumes or smoke generated from soldering. Working with open windows is also highly recommended as natural air currents will help clear out the space quickly and efficiently.
Always allow the solder gun to cool before storing it
When it comes to using a Weller soldering gun, one of the most important rules is to always allow the gun to cool before storing it. Failing to do so could lead to dangerous situations, as well as damage and wear-and-tear on your unit over time.
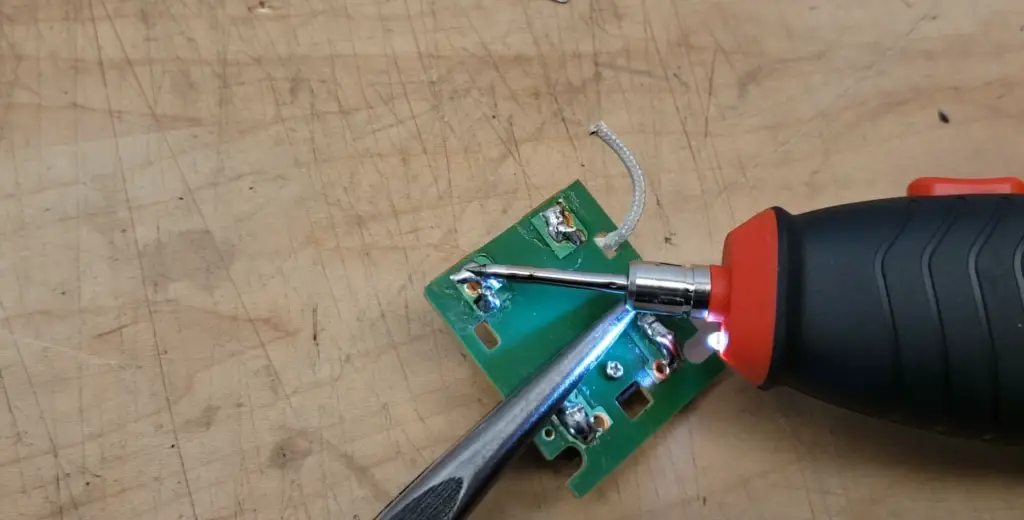
For starters, allowing your soldering gun to cool down before storing will help you avoid burning yourself or any materials. This is especially true if the gun has been heated up to a high temperature setting and not allowed to cool down before you put it away. As such, it’s important to remember that your Weller soldering gun should never be stored while hot.
Additionally, allowing your soldering iron to cool down prior to storage will help ensure that its internal components remain in good condition over time.
Practice your technique on wires
Soldering is a precise task, and it requires skill and experience to do accurately. Even if you’re just beginning to learn about soldering, practicing with a Weller soldering gun will help you become an expert in no time.
When learning how to solder correctly, there are several factors that can affect the quality of your work. It’s important to understand the following techniques: pre-heating your iron tip, fluxing appropriately for each joint type, having the right size of wire, using the right amount of solder, cleaning off residue after soldering and tinning properly.
As we outlined in the article already, you can use spare wires as a practice material since they’re readily available and inexpensive. It may be helpful to practice on various types of wires, such as stranded, solid core or multi-strand. When soldering these different kinds of wires, you’ll need to adjust your technique accordingly.
In addition to practicing on different types of wire, it can also help to try out the different heat settings on your Weller soldering gun. This will give you a better understanding of how each setting affects the solder joint and allows you to choose the best one for each job.
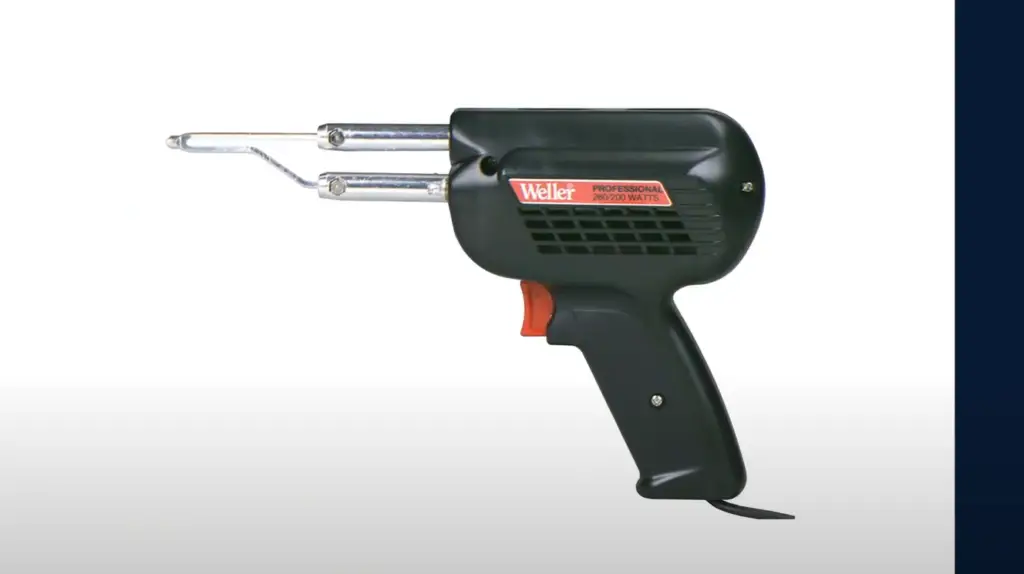
Soldering isn’t a skill you can master overnight, so practice is key. With a little bit of patience and the right Weller soldering gun, you’ll soon be an expert in no time. Good luck! [3]
FAQ
Is soldering hard?
Soldering is a precise craft but it doesn’t have to be difficult. With the right tools, it can be quite easy and rewarding.
However, besides it, it’s also important to use a quality solder, flux and proper tips to ensure a successful soldering job.
How do I use a Weller soldering gun?
Using a Weller soldering gun is relatively straightforward and requires basic safety precautions. Before you begin, you should always put on your safety glasses and make sure the area is well-ventilated with proper ventilation.
To begin, plug in your Weller soldering gun to an outlet or power source and press the trigger. Once the gun is heated up, you can then touch it to the soldering wire and apply it to the joint that you are soldering. Make sure that the area is clean and free of debris before doing so.
Once your soldering gun is in place, move it around the joint to ensure it makes full contact with the metal. Keep the gun steady and move it in a continuous motion. This ensures that the solder will be evenly distributed across the joint. Finally, when you’re done, turn off your Weller soldering gun and unplug it from the power source.
How does a Weller soldering iron work?
It works by heating up a metal alloy (called solder) to very high temperatures and then melting it onto the base metal—creating a strong, permanent bond. The tip of the gun has a magnet on its end that holds a power switch. When the power is turned on, the magnet starts to lose its magnetism, allowing the tip of the gun to heat up. Once the solder melts, it bonds the two pieces of metal together—creating a strong, durable bond.
How long does it take a Weller soldering gun to heat up?
Most Weller soldering guns can heat up to the optimal temperature in just six seconds. You should always check your user manual or product description for an exact heating time as this may vary depending on your model of soldering gun and size of tip.
The best way to ensure that the solder melts quickly is by using the right amount of power. Make sure you are selecting the correct wattage when using any soldering tool, as too much or too little will cause problems with melting points, flow rate, clarity and adhesion.
Once heated, keep an eye on both the appearance and behavior of the solder. If it’s not adhering correctly or is taking a long time to melt then you need to reduce the heat.
If it gets too hot it could potentially damage your components, cords or boards.
Useful Video: How to Use a Soldering Gun : Lawn Care & Power Tools
Conclusion
Weller soldering guns can be an incredibly useful tool for DIYers, hobbyists, and professionals alike. With the right knowledge and materials, you can use them safely and effectively to complete all kinds of projects.
In this article, we’ve covered the basics of using a Weller soldering gun and provided some helpful tips. From understanding what type of solder to use, to cleaning up after each session, it’s important to follow best practices for safety and successful soldering.
Whether you’re just starting out or have been around the block with a soldering iron, make sure you’re comfortable and confident before beginning any project. With the right setup and practice, you can easily get great results with your Weller soldering gun.
The most important thing is that you never rush the job and make sure to follow these guidelines every time you use your Weller soldering gun. This way, you’ll prevent any accidents or damage while ensuring that your project turns out exactly as planned. Happy soldering!
References
- https://www.twi-global.com/technical-knowledge/faqs/what-is-soldering
- https://www.weller-tools.com/we1010na/
- https://homesteady.com/12154827/how-to-solder-with-a-weller-gun






Leave a Reply