
When something goes wrong with your electronic devices, the last thing you want to do is spend hours trying to track down the source of the problem. With a multimeter, you can quickly and easily trace wires and identify any issues. In this guide, we will answer some common questions about how to use a multimeter to trace wires. We’ll also provide some tips that will help make the process easier and more accurate.
What is a Multimeter?
There are a few reasons you might need to trace a wire. Maybe you’re troubleshooting an electrical issue and need to find a break in the circuit. Or maybe you’re trying to install new equipment and need to know which wires to connect it to. Whatever the reason, tracing a wire with a multimeter is a relatively simple process that anyone can do with the right tools and some patience.
One way to trace a wire is by using a multimeter. A multimeter is a device that measures electrical properties like voltage, current, and resistance. It can also be used to test for continuity, or the lack of an electrical connection between two points. Multimeters are an essential tool for anyone working with electricity, whether they’re a professional electrician or a hobbyist electronics enthusiast.
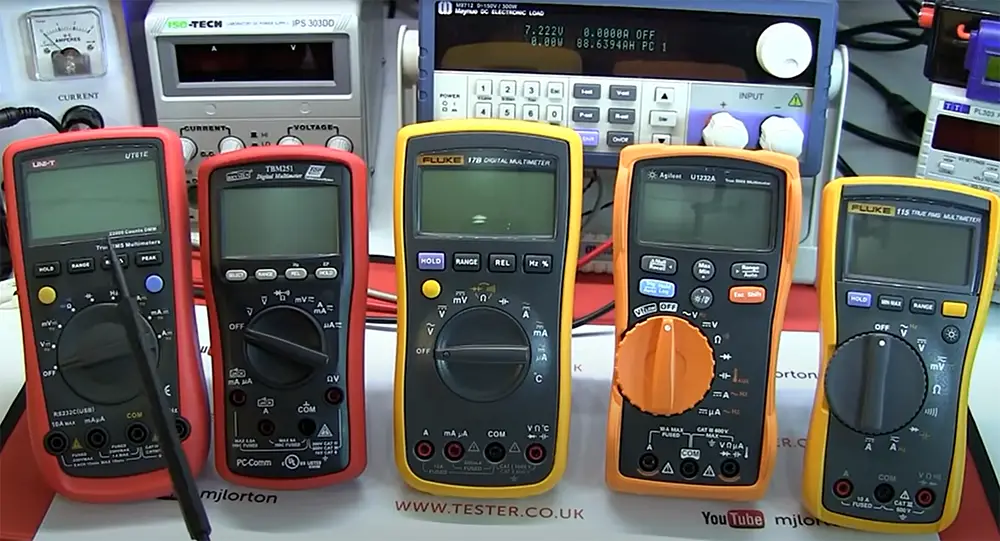
There are many different variations of multimeters on the market, ranging from simple, handheld devices to complex benchtop models. But regardless of the type of multimeter you have, the basics of how to use one are always the same.
The two main types of multimeters are analog and digital.
Analog multimeters
Analog multimeters use a needle and a physical dial to display readings. These meters are typically less expensive than their digital counterparts, but they can be more difficult to read accurately.
Digital multimeters
Digital multimeters (DMM) are the most common type of multimeter. They usually have a large, easy-to-read LCD display that shows you the numerical value of the electrical quantity being measured. Digital multimeters are typically more accurate than analog models and can also measure AC voltage, which is not possible with an analog meter.
Most digital multimeters will also have a built-in resistor for measuring resistance, as well as a continuity tester for checking whether there is an electrical connection between two points. [1], [2], [3]
What is a Continuity Test?
A continuity test is an electrical testing procedure used to determine if there is a complete path for current flow between two points. A multimeter can be used to perform a continuity test, which will measure resistance between the two points. If there’s no path, then you’ll get a reading of “infinity” on your multimeter display.
If the resistance is low, this indicates that there is a good connection and current can flow freely between the two points. If the resistance is high, this means that there is not a good connection and current will not be able to flow freely. [4]
General Tips About Using Multimeters
Before you proceed with any type of electrical testing, there are a few general safety tips you should always keep in mind.
Determine the wire type
The first thing you need to do is determine what type of wire you’re dealing with. There are two main types of electrical wiring in homes and businesses: AC (alternating current) and DC (direct current).

AC voltage is the type of electricity that powers your appliances, lights, and other devices that use household power. It’s also the type of power that flows through the wires in your walls. AC voltage typically ranges from 110 volts to 240 volts.
DC voltage is found in batteries, solar panels, and some electronic devices like computers. The voltage in a DC circuit is typically much lower than an AC circuit, usually ranging from around 0-12 volts. Luckly, most multimeters can measure both AC and DC voltage, but it’s important to know the difference before you start testing.
Use the correct settings
Test the continuity of different colored wires
As you may know, most electrical wires are color-coded. The different colors represent the different functions of the wires. For example, green wires are typically used for grounding, white or gray wires are usually neutral (ungrounded), and black or red wires are typically hot (live or energized). When you’re tracing a wire, it’s important to test the continuity of all the different colored wires to make sure you’re not missing anything.
Inspect the condition of the multimeter
Before using a multimeter, it’s important to inspect it for any damage that might have occurred. Check the condition of the probes and make sure they’re securely attached to the meter. Also, check the battery and make sure it has enough power.
The wires of the multimeter should also be checked for any damage. If the multimeter has damaged wires, it could give you false readings or even cause an electrical shock.
Another thing to keep in mind is that multimeters are delicate instruments and can be easily damaged if they’re dropped or handled roughly. So, it’s important to treat them with care.
Use safety equipment
Whenever you’re working with electricity, there’s always a risk of shock. To minimize the risk, always make sure you’re using the proper safety equipment. This includes rubber gloves, safety glasses, and a non-conductive work surface. If you’re working with high voltages, you should also consider using a voltage tester to help avoid accidental shocks.

Test the multimeter beforehand
It’s also a good idea to test your multimeter before using it on live electrical circuits. This will help ensure that the meter is working properly and will give you a chance to familiarize yourself with its features and controls.
To test a digital multimeter, simply touch the leads together and look for a reading of “0” on the display.
If you don’t get a reading in either case, then there’s something wrong with your meter and you should not use it until you’ve troubleshooted the issue. [1], [3]
How to Trace a Wire With a Multimeter?
So, now that you know the basics, let’s get into how to actually trace a wire with a multimeter.
Turn off the power source
The first step is to find the power source and turn it off. This is important for two reasons. First, you don’t want to accidentally shock yourself while working on the circuit. Second, if there’s a break in the wire, turning off the power will help prevent any further damage to the wire or surrounding components.
If you’re tracing a car wire, turn off the engine. If you’re tracing a wire in your home, find the circuit breaker box and turn off the power to the appropriate circuit.
Physically inspect the wire
Once the power is off, you can begin physically inspecting the wire. Start by looking for any obvious signs of damage, such as frayed insulation or exposed copper wire. If you see any damage, it’s likely that the wire is damaged and cannot be traced properly.
If there’s no obvious damage, then you can proceed to use your multimeter to test for continuity.
Set your multimeter’s dial to Continuity Mode
The next step is to set your multimeter’s dial to continuity mode. If your multimeter doesn’t have a continuity mode, you can use the resistance (Ohm) setting instead.
Probe the wire
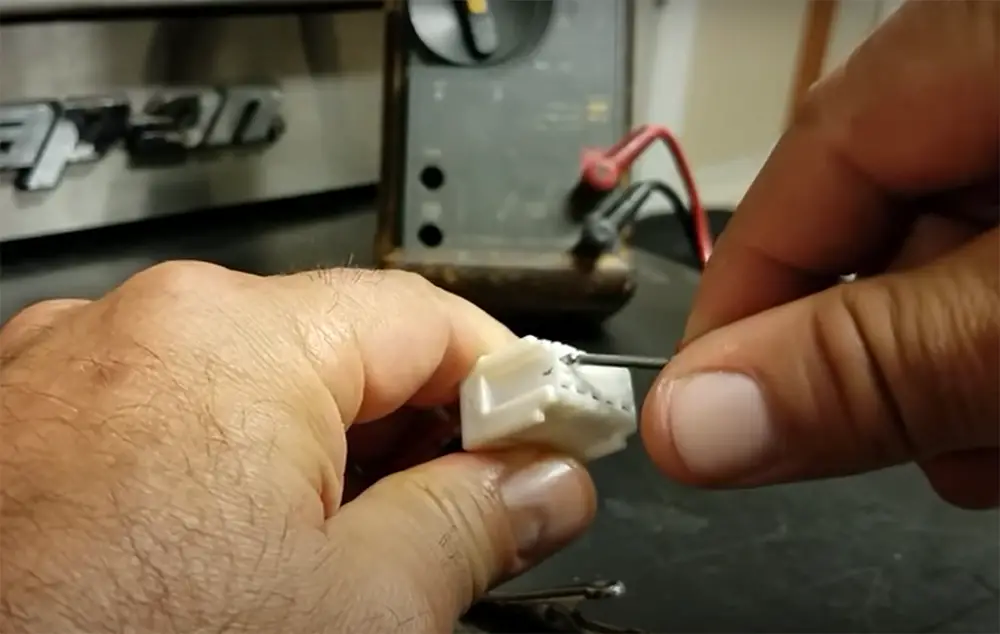
With the multimeter set to continuity mode (or resistance), touch the leads of the meter to the wires. Multimeters have two wires, one red and one black.
Take the red probe and touch it to the exposed end of the wire you want to test. Now, take the black probe and touch it to any other exposed part of the wire in the circuit.
If your wire has multiple endings, you can attach the black probe to another end of the wire you think is related to the one you’re testing.
Analyze the readings
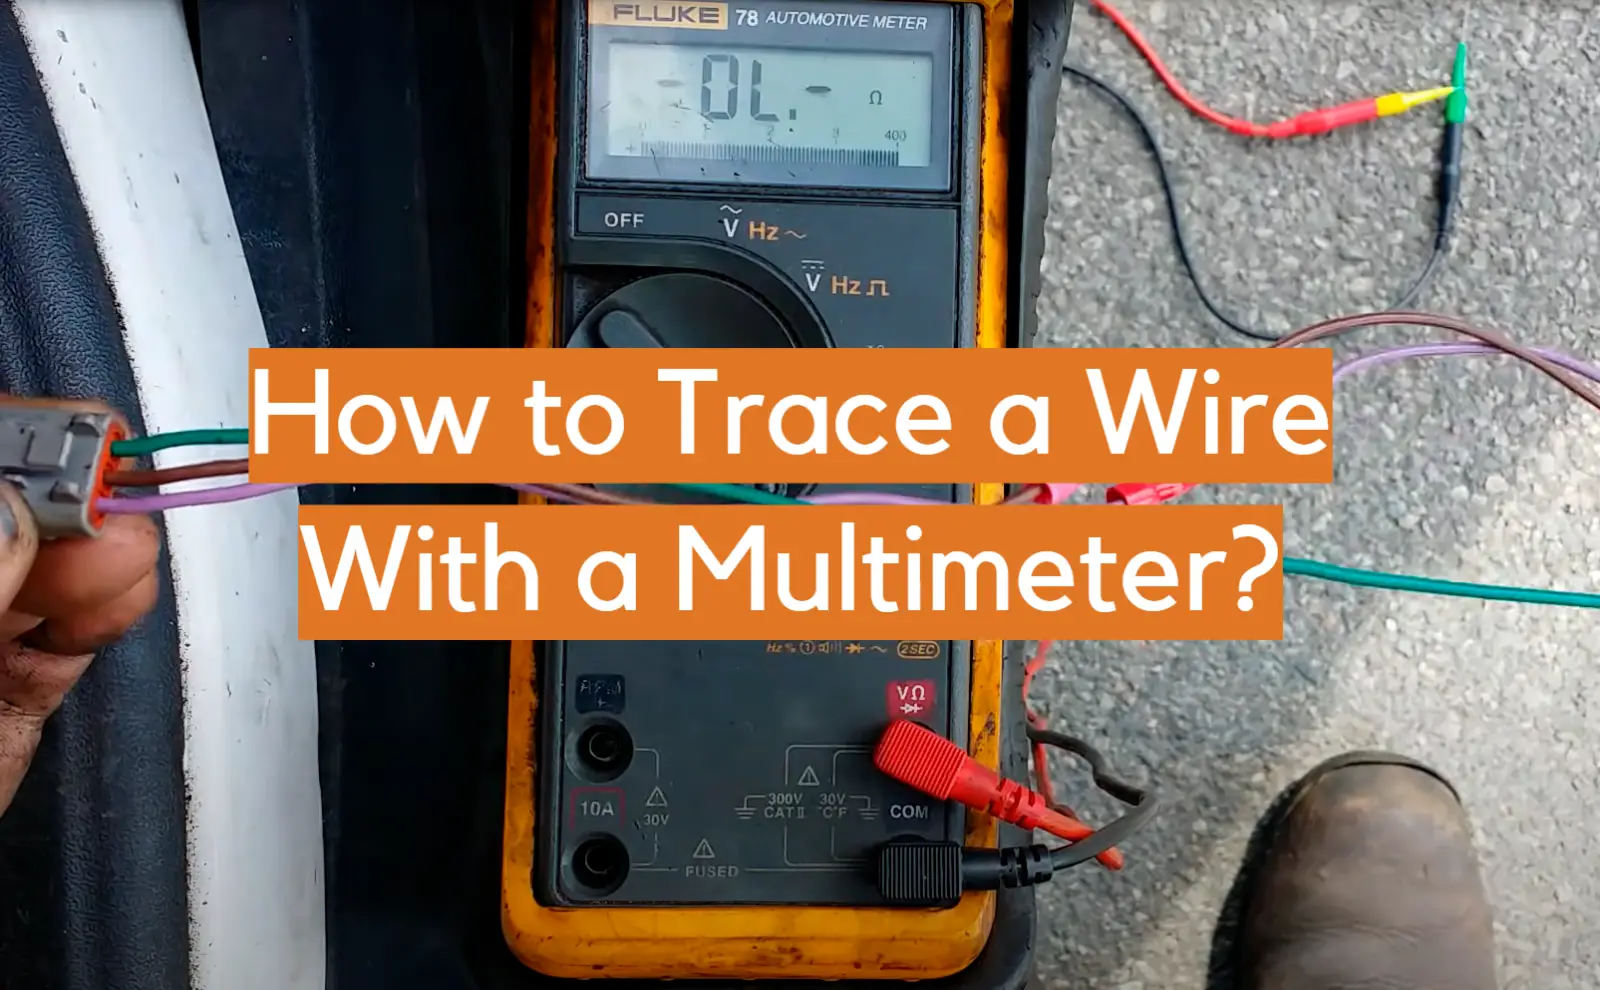
When you touch the probes to the wire, you should see a reading on the multimeter’s display. If you see an “infinity” or “OL” symbol, that means the wire ending doesn’t match the one you’re testing against and there’s no continuity.
However, if you see a reading of 0 on the multimeter’s display, that means the ending does match and there’s continuity.
Additional Testing Tips
As you can see, testing for continuity is a pretty simple process. However, there are a few things you can do to make the process even easier.
Don’t test insulated wires with a multimeter
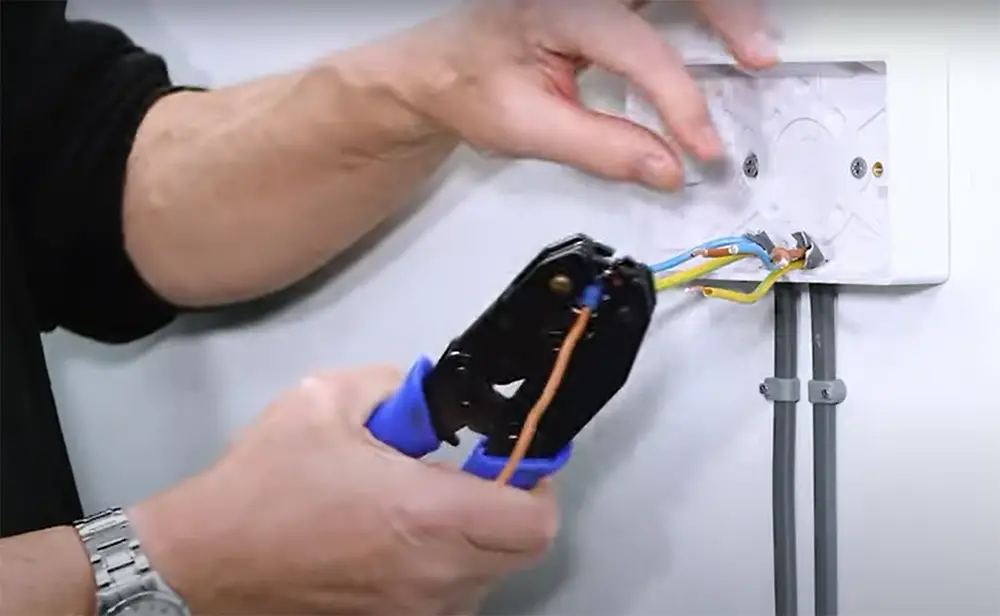
When testing wires, you can only test the exposed ends of the wire. If the wire is insulated, you won’t be able to get a reading. To test an insulated wire, you may need to strip away the insulation first. Use wire strippers or a sharp knife to carefully remove the insulation without damaging the wire underneath.
Extend smaller wires before testing
This is particularly helpful when testing for continuity in smaller wires. By extending the wire, you give yourself more room to work with and make it easier to get a good connection with your multimeter leads.
If you’re having trouble reaching both ends of the wire with the multimeter probes, try extending the wire with some jumper cables or alligator clips. This will give you more room to work and make it easier to get a good connection with the probes.Just be sure to insulate any exposed wires so you don’t accidentally shock yourself.
Disconnect bad wires before testing
Testing bad wires won’t do you any good. You’ll just end up wasting time tracing wires that are already broken. So, before you start testing, make sure to disconnect any wires that you know are bad as this will save you a lot of time and frustration in the long run.
Check if you can to trace the wires visually first
Before you even grab your multimeter, it’s a good idea to try and follow the wire visually. This is especially helpful if you’re tracing a wire that’s already been installed. Oftentimes, you’ll be able to see where the wire goes without even having to test for continuity.
Avoid tracing hot wires
If you’re tracing a wire that’s carrying current, it’s best to avoid touching it directly. Not only is this dangerous, but it can also damage your multimeter. To test a hot wire, you’ll need to use an adapter that allows you to test the wire without coming into contact with it. You can purchase these adapters at most hardware stores or online. [1], [2]
FAQ
How do I trace a single electrical wire?
First, try to visually follow the wire from one end to the other. If that isn’t possible or if you need to find a break in the wire, you can use a multimeter set to the “resistance” setting. Touch one probe of the multimeter to each end of the wire; if there is continuity, the multimeter will beep or register a zero ohm reading. If there is no continuity, then either the wire is broken or there is an open connection somewhere along its length.
How do you trace a wire with no power?
The easiest way to trace a wire is by using a circuit breaker finder or a non-contact voltage tester. If you don’t have either of those tools, you can use a voltage detector or a multimeter to find the general area where the power is coming from. Once you’ve found the general area, you can use a process of elimination to narrow down the specific location of the wire.
How do I trace a single electrical wire?
To trace a single electrical wire, you’ll need to attach the multimeter’s ground lead to one end of the circuit. Next, use the multimeter’s probe to touch the other end of the circuit. The multimeter will beep if there is continuity between the two points. Keep in mind it might take you more than one try to get a reading, so be patient!
How do you find out where a wire is coming from?
In some cases a visual inspection will tell you where a wire is coming from. In other cases, you’ll need to use a multimeter set to its continuity mode. This will tell you whether there’s a conductive path between two points.
Useful Video: How To Trace Wires In A Wall | Multimeter Continuity Test
Conclusion
If you can’t perform a visual tracing of the wire, then using a multimeter is the next best thing. Tracing a wire with a multimeter is not difficult, but there are a few things you need to keep in mind. First, make sure that the multimeter is set to the correct mode. Second, always test the wires before tracing them. And finally, be careful when tracing live wires. If you follow these simple tips, then you should have no problem tracing a wire with a multimeter. Thanks for reading! We hope this guide was helpful. If you have any questions or comments, please feel free to leave them below. As always, happy tinkering!
References:
- https://diyquickly.com/how-to-trace-a-wire-with-a-multimeter/
- https://electrouniversity.com/how-to-trace-a-wire-with-a-multimeter/
- https://www.fluke.com/en/learn/blog/safety/multimeter-guide
- https://www.fluke.com/en/learn/blog/electrical/what-is-continuity