
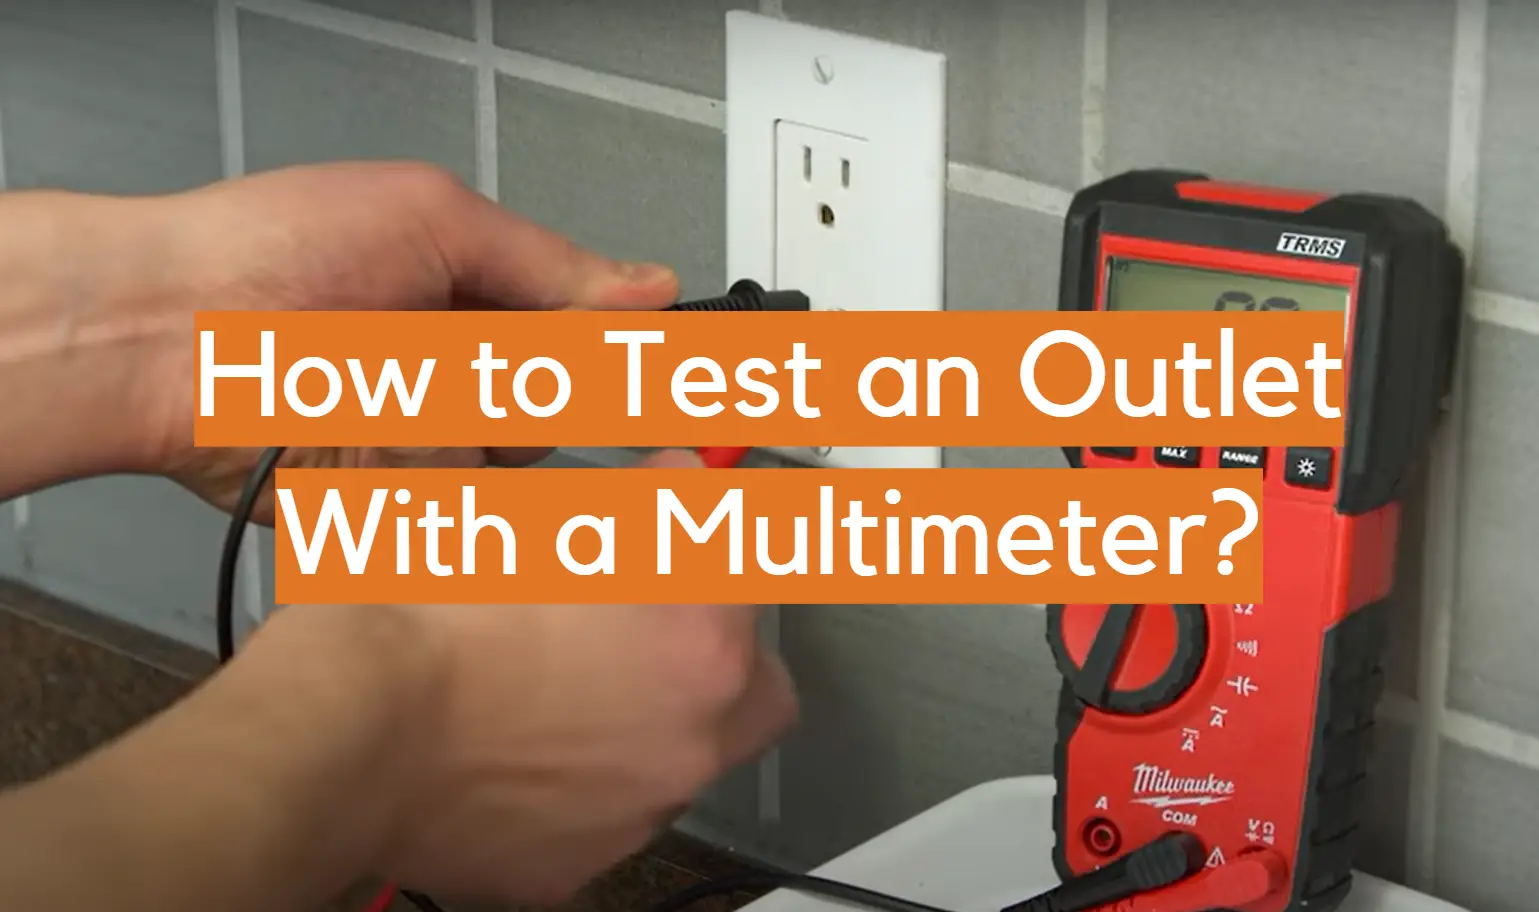
One of the most basic things that you can do with a multimeter is test an outlet. This is a simple process that can be completed in just a few minutes. In this blog post, we will walk you through the steps of how to test an outlet with a multimeter. We will also provide some tips on how to get the most accurate results from your tests.
What is a Multimeter?
A multimeter is a device that can be used to measure current, voltage, and resistance. It is a handy tool to have around the house for electrical projects or for testing outlets.
In addition, a multimeter can also be used to test for continuity. Continuity is the ability of an electrical circuit to allow current to flow freely.

There are 2 types of multimeters: digital and analog.
- Digital multimeters are more accurate than analog ones and are easier to read. However, they are also more expensive.
- Analog multimeters use a needle to indicate readings on a scale, while digital multimeters display readings on a digital screen.
Sometimes, you may need to use a multimeter in combination with another tool, such as an outlet tester, to get accurate readings.
There are some additional features that you may find on a multimeter, such as a backlight, which makes it easier to read in low-light conditions.
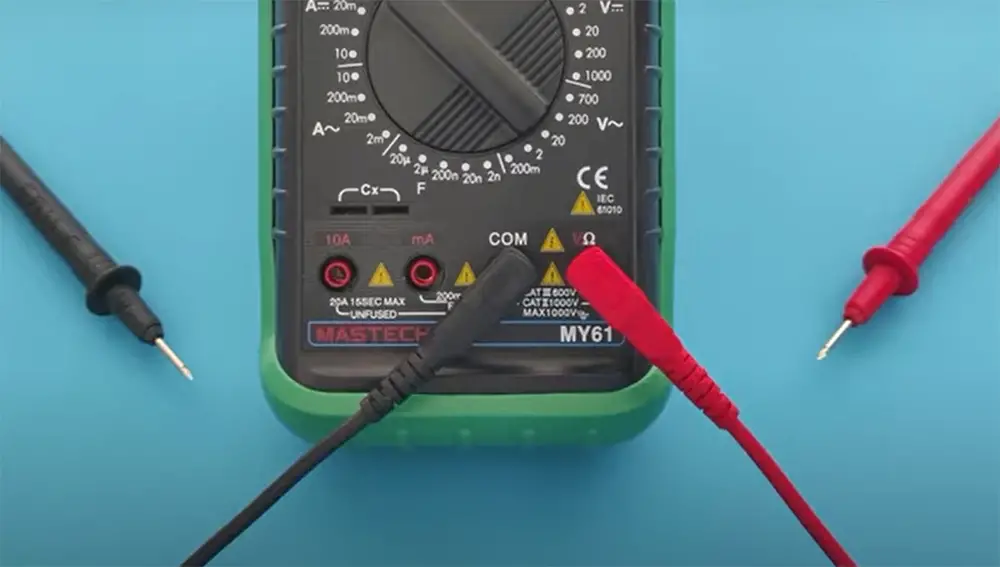
When using a multimeter, it is important to first set it to the correct mode. You will want to set the device to the “Ohms” or Ω setting. This will allow you to test the resistance of the outlet.
Pros and Cons of using Multimeter for outlet testing
There are also some benefits and drawbacks of using a multimeter for outlet testing that you should be aware of.
Pros:
- On the plus side, multimeters are very accurate and can give you a very precise reading.
- They are also relatively easy to use and don’t require any special training or knowledge to operate.
- In addition, multimeters can be used to test a wide variety of electrical devices and components, not just outlets.
Cons:
- On the downside, multimeters can be expensive, so if you only need to test an outlet once in a while, it might not be worth the investment.
- In addition, multimeters are delicate instruments and can be easily damaged if not used properly.
- If you’re not careful, you could end up damaging your outlets or even causing an electrical fire.
So, what’s the verdict? Is it worth using a multimeter to test your outlets? That really depends on your needs and preferences.
If accuracy and precision are important to you, then a multimeter is probably your best bet.
But if you’re only testing outlets occasionally and you’re not concerned about getting an absolutely accurate reading, then there are simpler and less expensive ways to test your outlets. Ultimately, the decision is up to you.
How Do Outlets Work?
Your home has electrical outlets in almost every room. They provide a place to plug in lamps, televisions, computers, and other devices that use electricity.
Outlets have two or three slots into which you can insert the plugs on electrical cords. The outlet is connected to wiring inside your walls that supplies electricity from your home’s main breaker panel.
When you plug something into the outlet, the electricity flows from the hot wire through the device and back out through the neutral wire. The ground wire provides a path for any excess electricity to flow safely away from your home.
How to Test an Outlet With a Multimeter?
If you do decide to use a multimeter to test your outlets, here’s how to do it:
Tools You Will Need For Testing An Outlet:
- A multimeter
- An extension cord (optional)
- A small screwdriver
So let’s get started:
- First, you will need to identify which type of outlet you have. There are two types of outlets: three-prong outlets and two-prong outlets. Three-prong outlets have a ground wire that is connected to the metal box that holds the outlet in place. Two-prong outlets do not have a ground wire.
- Next, you will need to gather your tools. You will need a multimeter, a screwdriver, and an extension cord. Once you have gathered your tools, you will need to turn off the power.
- You’ll want to make sure that the power is off to the outlet you’re testing. You can do this by flipping the switch on the circuit breaker panel. Or, if you’re testing an outlet that doesn’t have a switch, you can unplug any devices that are plugged into the outlet.
- Once the power is off, you will need to remove the faceplate of the outlet. To do this, simply unscrew the screws that are holding the faceplate in place. Once the faceplate is removed, you will see the wires that are connected to the outlet.
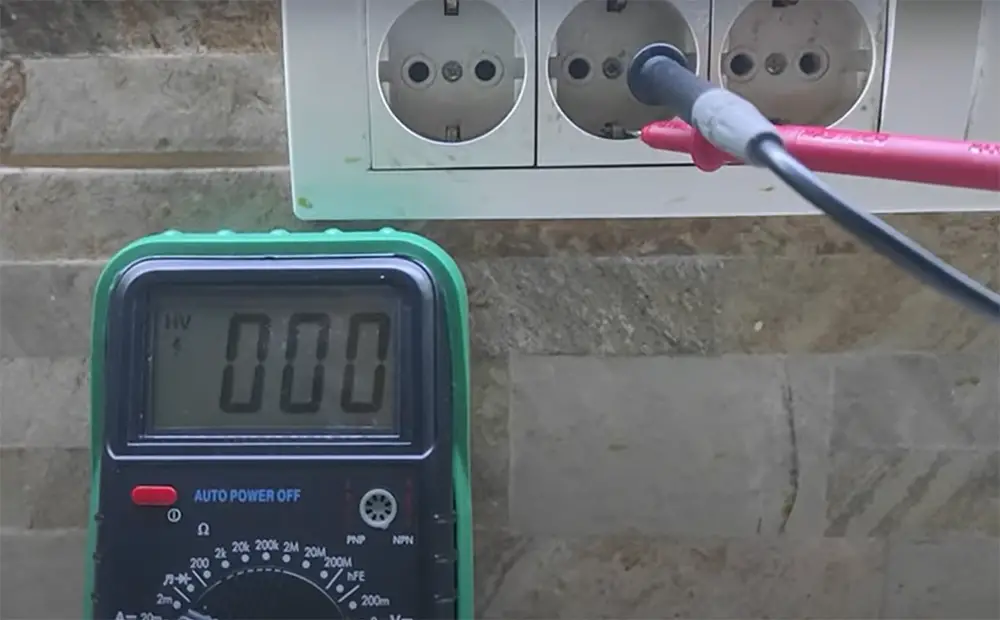
Now, you will need to test the outlet using your multimeter.
- To do this, you will need to set your multimeter to the “resistance” setting. Then, you will touch one of the leads to the brass screw that is holding one of the wires in place. Next, you will touch the other lead to the copper screw that is holding another wire in place.
- If you get a reading of anything other than zero or infinity, this means that there is a short circuit and this outlet is not working properly.
- Once you have tested the outlet, you will need to replace the faceplate and turn the power back on. Just screw the faceplate back in place and flip the switch on the circuit breaker panel.
And that’s it! You have now successfully tested an outlet using a multimeter.
Safety tips for testing electrical outlets with a multimeter
Safety is the most important consideration when working with electricity. Always remember to: [1]
- turn off the power to the outlet at the breaker box before testing – if you’re unsure which breaker controls the outlet, turn off all the breakers in the box
- use a multimeter that is rated for the voltage of your electrical system – most homes in the US are 120 volts, but some are 240 volt
- don’t touch anything metal on the multimeter while it’s turned on – it’s okay to touch the black and red leads, but not the metal casing
- never stick anything into an electrical outlet while it’s plugged in – you could get electrocuted!
- use a multimeter that is in good condition and has fresh batteries – if you’re not sure, ask a qualified electrician to test it for you
- test each outlet individually so you don’t accidentally shock yourself – you don’t want to be touching two different outlets at the same time
- wear rubber-soled shoes and avoid standing in water while testing outlets – if you do accidentally shock yourself, you don’t want the electricity to have a path to ground through your body
- wear safety glasses – you want to protect your eyes from any potential sparks
- use only serviceable equipment – if an outlet looks damaged, don’t try to test it, call a qualified electrician
If you follow these safety tips, you can test an outlet with a multimeter without shocking yourself.
Other ways to test the outlet
There are other ways to test the outlet, but they require special tools.
One way is to use a circuit tester. It is a small pen-like tool with a light bulb and two prongs.
- The circuit tester is placed into the outlet like a plug. This tool is inserted into the outlet and has lights that indicate if the outlet is working properly. Usually, the circuit tester will have a green light that comes on when it is placed into a live outlet.
- Another way is to use a continuity tester. This tool beeps if there is a continuous path between the two prongs. This is a more precise way to test an outlet. To use this tool, you must first turn off the power to the outlet at the circuit breaker. Then, you can insert the continuity tester into the outlet.
- One more way is to use a voltage tester. This is a tool that beeps or has a light that turns on when it is placed in an outlet with voltage. The advantage of this tool is that it can be used to test an outlet without turning off the power. However, you should use caution when using this tool because it can be dangerous to test an outlet with live voltage.
The best way to test an outlet is with a multimeter.
Comparison of Indicators to Test an Outlet With a Multimeter
In this table, we will compare different indicators that can be used to test an outlet with a multimeter.
| Indicator | Measurement | Normal Range | Interpretation |
|---|---|---|---|
| Voltage | AC voltage | 110-120 volts | If the voltage is within the normal range, the outlet is functioning correctly. |
| Current | AC current | 0.1-15 amps | If the current is within the normal range, the outlet is functioning correctly. |
| Resistance | Ohms | 0-0.5 ohms | If the resistance is within the normal range, the outlet is functioning correctly. |
| Continuity | Ohms | 0 ohms | If there is continuity between the hot and neutral wires, the outlet is functioning correctly. |
This table compares different indicators that can be used to test an outlet with a multimeter. The first indicator is voltage, which measures the AC voltage of the outlet. The normal range for voltage is between 110-120 volts, and if the voltage is within this range, the outlet is functioning correctly. The second indicator is current, which measures the AC current of the outlet. The normal range for current is between 0.1-15 amps, and if the current is within this range, the outlet is functioning correctly. The third indicator is resistance, which measures the ohms of the outlet. The normal range for resistance is between 0-0.5 ohms, and if the resistance is within this range, the outlet is functioning correctly. The fourth indicator is continuity, which measures the ohms between the hot and neutral wires. The normal range for continuity is 0 ohms, and if there is continuity between the hot and neutral wires, the outlet is functioning correctly. By comparing these indicators, you can determine whether an outlet is functioning correctly and ensure that it is safe to use.
FAQ
How do you check if a wire is live with a multimeter?
To check if a wire is live with a multimeter, you’ll need to set the multimeter to the “resistance” or “ohms” setting. Then, touch one lead of the multimeter to the hot (live) wire and the other lead to the neutral (return) wire. If the multimeter registers continuity, then the wire is live. If there is no continuity, then the wire is not alive.
Another way to test for a live wire is to set the multimeter to the “voltage” or “AC voltage” setting. Then, touch the lead to the live wire and the other lead to the ground wire. If the multimeter registers a voltage, then the wire is live.
You can also use the “continuity” setting on the multimeter to test for a live wire.
Can you get shocked using a multimeter?
Yes, you can get shocked using a multimeter if you’re not careful. Always make sure that the multimeter is properly insulated and that you’re not touching any bare wires. Also, be sure to set the multimeter to the correct setting before taking any measurements.
If you’re ever in doubt, it’s always best to err on the side of caution and contact a qualified electrician.
What are the reasons why an outlet might not work?
There are a few reasons why an outlet might not work. The first reason is that the circuit breaker might be tripped. If this is the case, then you’ll need to reset the circuit breaker. The second reason is that there might be a loose wire. If this is the case, then you’ll need to tighten the wire. The third reason is that there might be a blown fuse. If this is the case, then you’ll need to replace the fuse.
Another reason why an outlet might not work is that the switch might be turned off. If this is the case, then you’ll need to turn on the switch. Finally, the outlet might be defective. If this is the case, then you’ll need to replace the outlet.
Useful Video: Testing House Outlet with Multimeter—Easy!!
Final Thoughts
When it comes to electrical safety, it’s always better to err on the side of caution. If you’re ever in doubt about an outlet, don’t hesitate to test it with a multimeter. It only takes a few minutes and could save your life.
Now you know how to test an outlet with a multimeter. Just follow the steps above and you’ll be able to quickly and easily test any outlet in your home.
In addition to testing outlets, you can also use a multimeter to test other electrical components in your home. So, if you’re ever unsure about anything electrical, don’t hesitate to break out the multimeter and give it a quick test. It could save you a lot of trouble (and maybe even your life).
Be sure to share this information with others, so they can keep themselves safe as well. Stay safe!
Have you ever used a multimeter to test an outlet? Share your experiences in the comments below. Do you have any other tips for electrical safety? We’d love to hear them. Share your thoughts in the comments below.
Thanks for reading! Come back soon!
References:
- https://1stelectricians.co.uk/blog/how-to-test-an-electrical-outlet-with-a-multimeter/