
Testing an ignition switch with a multimeter is a process that can seem daunting to those who have never done it before. However, it’s really not as difficult as it may seem. In this comprehensive guide, we will walk you through the entire process step-by-step. We’ll answer some common questions and provide helpful tips along the way. So whether you’re a beginner or an experienced DIYer, you’ll be able to test your ignition switch like a pro!
Ignition Switch and Its Purpose
If the ignition switch is faulty, it can cause a variety of problems ranging from your car not starting at all, to intermittent issues like stalling or electrical components not working properly. [1], [2]
What are the Main Signs of a Faulty Ignition Switch?
There are a few telltale signs that your ignition switch may be going bad. If you notice any of the following, it’s time to get your switch checked out by a professional!
Your car doesn’t start
If your car doesn’t start when you turn the key, it’s a pretty clear sign that something is wrong with your ignition switch. This problem can be caused by a variety of issues, but a faulty ignition switch is one of the most common.
The ignition switch is very hot to the touch
This is usually caused by a build-up of rust or debris inside the switch, which can cause a short circuit. If you notice that your ignition switch is hot to the touch, have it checked out as soon as possible.
Car stalling
Another common sign of a faulty ignition switch is if your car starts to stall randomly. This can be caused by a loss of power to the engine due to a faulty connection in the ignition switch.
Engine doesn’t stop after removing the key
Finally, another sign of a faulty ignition switch is when the engine doesn’t shut off after you remove the key. This is a serious safety issue, as it can cause the car to roll away and you’re not in the vehicle.
If you’re experiencing any of these issues, it’s best to get your car checked out as soon as possible. Ignoring the problem will only make it worse and could eventually lead to a complete breakdown. [1]
Testing an Ignition Switch With a Multimeter
Now that we know the main signs of a faulty ignition switch, let’s talk about how to test one. The best way to do this is with a multimeter.
Remove the cover below the steering wheel
The first step is to remove the cover below the steering wheel. This will give you access to the ignition switch.
Please note that some covers may be held on by screws, while others may just snap into place. Be careful not to break the cover as you remove it. Once the cover is off, locate the metal connectors on the back of the switch. There are usually two or three connectors, depending on the make and model of your vehicle. You will need to test each one individually.
Configure the multimeter
Once you have located the connectors, it’s time to configure the multimeter. First, set the dial on the multimeter to the DC voltage setting. This is usually represented by a V with a straight line above it. Next, you will need to select the range. For testing an ignition switch, you will need to use a range of around 20 volts. This will ensure that you are getting an accurate reading.
Now that the multimeter is configured, it’s time to start testing!
Probe your ignition switch
You might have noticed that there are two probes on the multimeter, one red and one black. These are called the positive and negative probes. The black probe is always used for the ground or negative connection, while the red probe is used for the positive connection.
To test your ignition switch, you will need to connect the black probe to a ground point on your vehicle. This can be any metal surface that is not part of an electrical circuit. A good place to start is by connecting it to the chassis of your car. Once the black probe is connected, touch the red probe to each of the connectors on the back of the ignition switch.
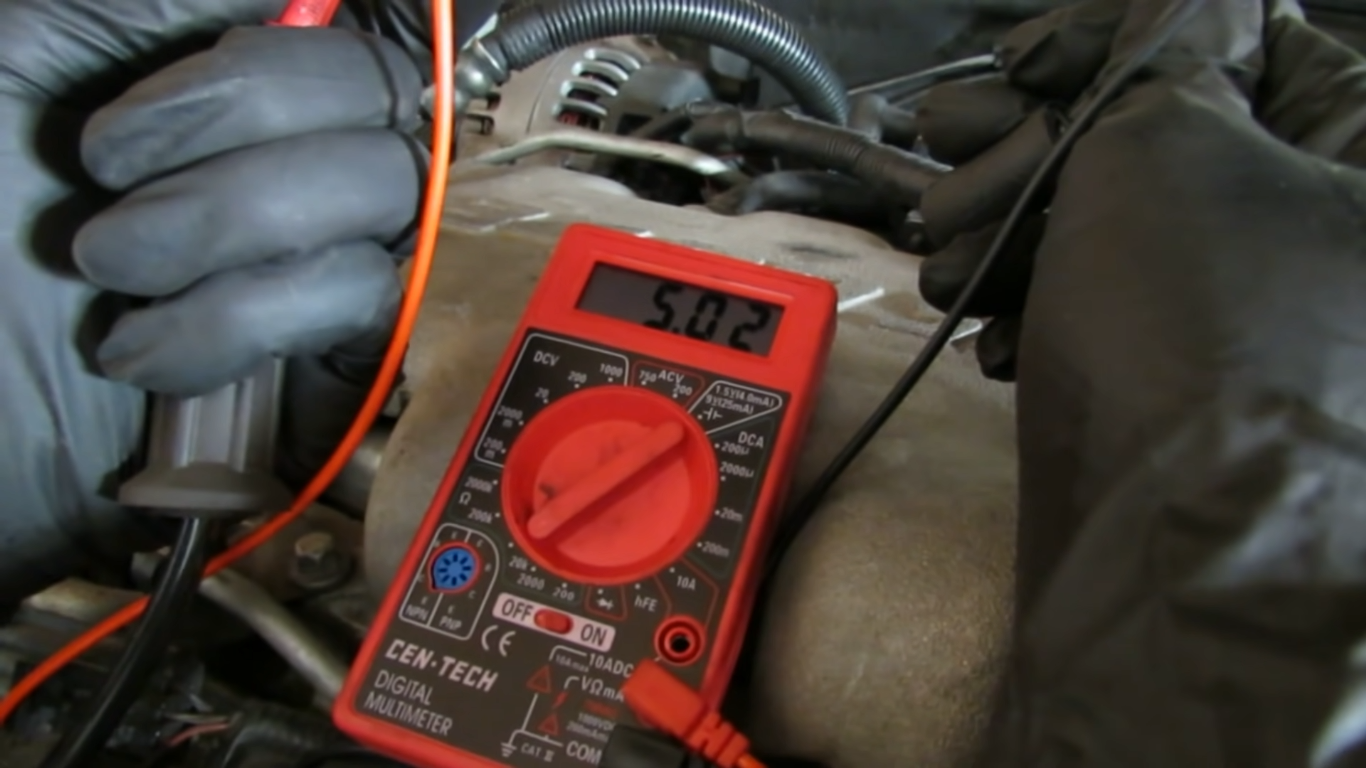
Turn your ignition switch on
After you have connected the multimeter, it’s time to turn on your ignition switch. You should see a reading on the multimeter display. If everything is working correctly, you should see a voltage of around 12 volts. The acceptable reading will obviously depend on the make and model of your vehicle, so it’s best to consult your owner’s manual. If you see a voltage reading that is lower than expected, this could be an indication that your ignition switch is starting to fail. [1], [2]

How to Test Battery
If you want to further test the health of your car, you can use the multimeter to test the battery and fuse. To proceed with testing, you will first need to open the shroud and remove the cover. This will give you full access to the battery terminals.
Remove the starter signal fuse
With the cover off, you should be able to see and access the starter signal fuse. Remove this fuse by gently pulling it out of its socket.
Visually inspect the fuse
Now that the fuse is removed, take a close look at it. If you notice any corrosion or damage, this could be the reason why your ignition switch isn’t working. In this case, you will need to replace the fuse. If the fuse looks fine from the outside, proceed to the next step.
Cross-check your battery’s voltage
With the fuse removed, you should now have full access to the battery terminals. Before doing anything else, it’s important that you cross-check your battery’s voltage with a multimeter. This will tell you whether or not the battery is receiving power from the car.
Similarly to the ignition switch test, you will need to ground the black probe to any metal surface on the car. Once you have done this, touch the red probe to the positive terminal of the battery. If everything is working properly, the multimeter should register a voltage between 12 and 14 volts.
If you don’t see any voltage or if the reading is lower than 12 volts, this indicates that there is an issue with your battery or your car’s electrical system. In this case, you will need to take your car to a mechanic to diagnose and fix the problem. [1]
How to Replace Ignition Switch
If you were unlucky enough to find out that your ignition switch is faulty, don’t worry. Replacing it is a pretty simple task that most people can do at home with just a few tools but it still requires some basic knowledge and patience.
Disconnect the battery terminal
Before doing anything, it is always important to disconnect the battery. This will prevent you from accidentally electrocuting yourself or causing a short circuit.
To do this, open your car’s hood and locate the battery. Once you have found it, start by removing any screws or bolts that are holding it in place then carefully pull it out of its socket.
Remove the bottom shroud
The next step is to remove the bottom shroud. This is the plastic piece that covers the lower part of the steering column.
On most cars, there are just a few screws holding the bottom shroud in place. Remove these screws and set them aside in a safe place. Once the screws are removed, gently pull on the bottom shroud until it comes loose. You may need to wiggle it a bit or use a flathead screwdriver to pry it loose but be careful not to break anything.
Pull the power cable out of the ignition switch
With the bottom shroud removed, you should now be able to see the ignition switch. There is a power cable connected to it which needs to be disconnected before you can remove the switch. You may need to use a pair of pliers to help but be careful not to damage the cable. Once the power cable is disconnected, you can remove the ignition switch by unscrewing it from the steering column!
Install the new ignition assembly
Installing the new ignition switch is simply a matter of reversing the steps you took to remove the old one. First, screw it into place on the steering column then reconnect the power cable. Finally, replace the bottom shroud and screw it back into place.
Test the new ignition switch
Once you have everything put back together, it’s time to test the new ignition switch. Start by reconnecting the battery then turn on the car. If everything is working correctly, the engine should start and run as usual. If not, you may need to check your wiring or consult a professional for help. [2]

FAQ
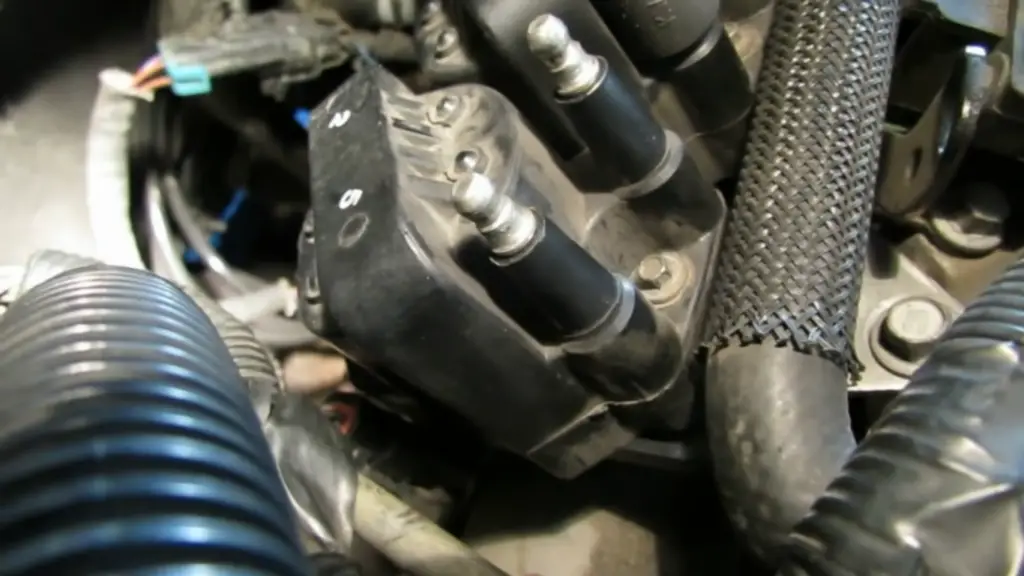
Can an ignition switch cause no spark?
Yes, an ignition switch can cause no spark. If the switch is not providing power to the coil, then the coil will not create a spark. You can test the ignition switch with a multimeter to see if it is providing power to the coil.
How do I know if I have a bad ignition switch?
It’s pretty easy to notice when your ignition switch is going bad. You might notice that your car’s engine is hard to start, or it might take longer than usual to turn on. The dashboard lights might also flicker or dim when you turn the key. If you’re experiencing any of these symptoms, then it’s likely that your ignition switch is going bad and needs to be replaced.
How do you test an ignition switch for power?
To test an ignition switch for power, you’ll need a multimeter. Begin by testing the battery to ensure that it has enough power to operate the ignition switch. Once you’ve confirmed that the battery is working, use the multimeter to test the voltage at the IGNITION SWITCH terminal of the ignition switch. If there is no power at this terminal, then the ignition switch is likely faulty and will need to be replaced.
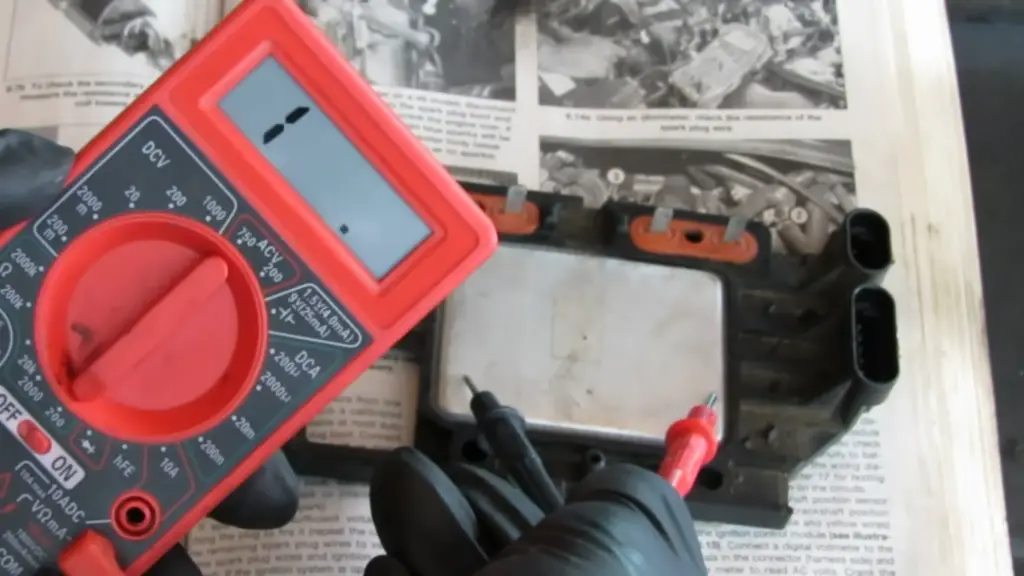
How do you test a cylinder ignition switch?
There are a few ways that you can test your cylinder ignition switch. One way is to use a multimeter. To do this, you’ll need to probe the connectors on the switch with your multimeter’s leads. You should see a reading of continuity if the switch is working properly.
Another way to test your cylinder ignition switch is manipulate spark plugs. To do this, you’ll need to disconnect the wire from the spark plug. Then, you’ll need to insert the spark plug into the plug’s boot. Finally, you’ll need to ground the spark plug by touch it to a metal surface on the engine. If the spark plug fires, then the switch is working properly.
When I turn the key nothing happens, no click?
This could be caused by a few things. The first thing you should check is the battery. Make sure the terminals are clean and tight. Check the voltage with a multimeter, it should be around 12 volts. If it’s lower than that, try charging the battery or jump starting the car from another vehicle.
If the battery is fine, then the problem could be with the ignition switch itself. This is a more serious problem and will require some testing to diagnose. You can test the ignition switch with a multimeter to see if it’s getting power.
Useful Video: How to test an ignition switch
Conclusion
Testing an ignition switch of your car is a must to keep it running in good condition. By doing this, you can avoid costly repairs and replacements. A multimeter is a valuable tool that can help you test your ignition switch easily and accurately. With this guide, we hope that you now know how to test an ignition switch with a multimeter like a pro! If you are still experiencing issues with a seemingly normal ignition switch, then don’t forget to test the battery and fuse box as well. Just be sure to follow all the safety precautions to avoid any accidents. If you have any questions or tips of your own, please feel free to share them with us in the comments section below. Thanks for reading!
References
- https://electrouniversity.com/how-to-test-ignition-switch-with-multimeter/
- https://vehiclefreak.com/how-to-test-ignition-switch-with-a-multimeter/