If you’re like most people, you probably don’t know what a GFCI breaker is. And even if you do, you may not know how to test one with a multimeter. Don’t worry, we’re here to help! In this article, we will discuss what a GFCI breaker is and how to test it with a multimeter. We’ll also provide some useful tips that will make the process easier for you. So let’s get started!
GFCI Breakers and Their Purpose
GFCI or ground fault circuit interrupter breakers are designed to trip and shut off power to a circuit when it detects current flowing through a path other than the intended one. This usually happens when there is a break or bad connection in the wiring, which can create a dangerous situation as it could lead to an electrical shock.
While GFCI breakers can be found in both homes and businesses, they are most commonly used in areas where water is present, such as kitchens, bathrooms, laundry rooms, etc. They are an important safety feature that can help prevent serious injuries or even death.
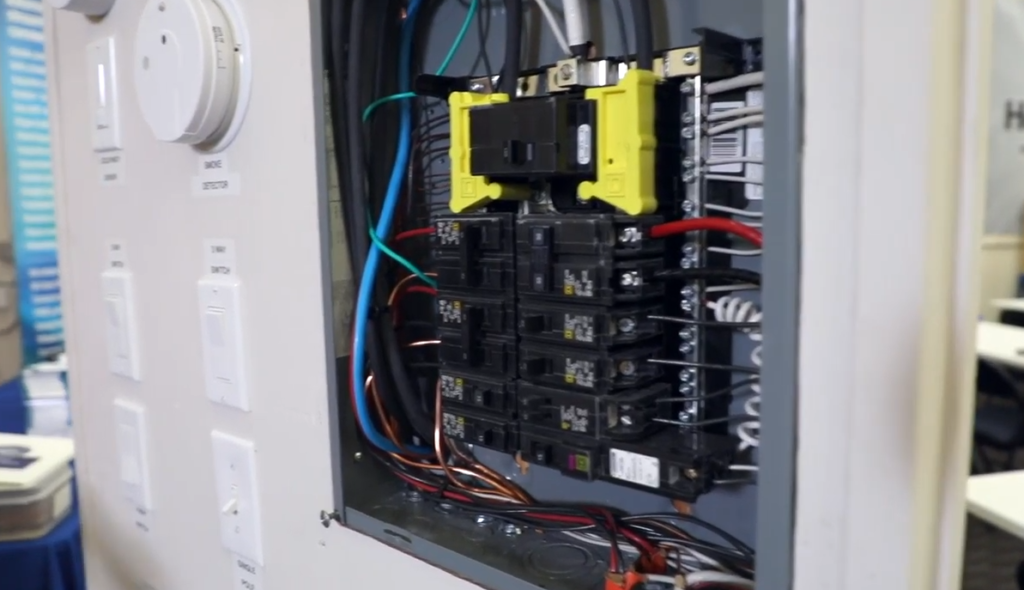
Some people confuse GFCIs with AFCIs (arc fault circuit interrupters), but they are two different things.
Just like any other type of breaker, GFCI breakers can go bad and need to be replaced. If you think your GFCI breaker might be going bad, it’s important to test it to be sure. Finding out something is wrong with your GFCI breaker is quite easy, it simply won’t operate as it should.
Tripping and resetting more often than normal, not tripping when it should, or not resetting are all signs that your GFCI breaker needs to be replaced. If you’re unsure whether or not your breaker is working correctly, the best way to test it is with a multimeter. [1], [2], [3]
Why Test a GFCI Breaker?
While GFCIs are designed to trip when they sense imbalances in the current, they are not infallible. Over time, wear and tear can cause them to become less sensitive, which means they may not trip when needed. Testing your GFCIs on a regular basis is the best way to ensure they are working properly and prevent safety hazards.
Testing a GFCI Breaker Using a Multimeter Detailed Guide
To test a GFCI breaker, you’ll need a multimeter. A multimeter is a testing device that measures electrical current, resistance, and voltage. It can also test for continuity, or whether there is a path for electricity to flow between two points. A multimeter is an essential piece of equipment for testing circuit breakers.
For this test, we will be using a digital multimeter. A digital multimeter is preferred over an analog multimeter because it is more accurate and easier to read.
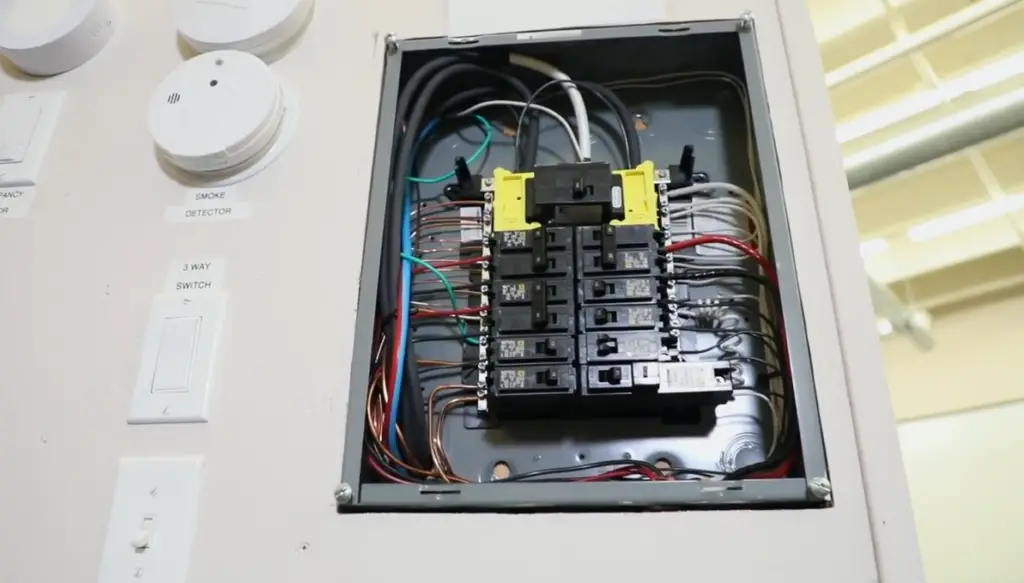
Wear protective equipment
Always wear protective equipment when working with or around electricity. This includes rubber gloves, safety glasses, and closed-toe shoes. These will protect you from electrical shock in case you accidentally touch a live wire.
Since GFCI breakers are designed to trip when there is current flowing through a path other than the intended one, it’s possible that you could receive an electrical shock if you’re not careful.
Push test and reset buttons
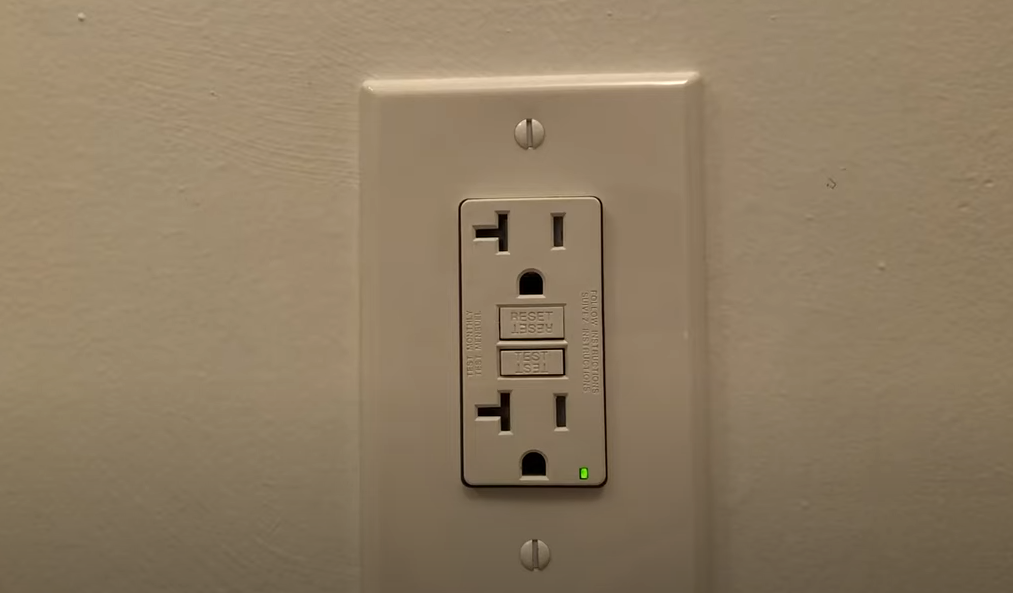
GFCI has two very important buttons: test, and reset. The test button is used to simulate a ground fault, and should trip the breaker when pressed. The reset button is used to turn the power back on after the breaker has been tripped.
Before testing your GFCI breaker with a multimeter, you’ll want to make sure that both the test and reset buttons are working properly. To do this, simply press the test button and then the reset button. The breaker should trip when you press the test button, and then restore power when you press the reset button. If either button produces no “click” sound, or if the reset button does not stay in position, the breaker needs to be replaced.
Check the breaker for signs of damage
Even if the test and reset buttons seem to be working properly, it’s still a good idea to check the breaker for any signs of damage. Look for cracks, missing pieces, or anything else that seems out of place. If you notice any damage, it’s likely that the breaker is not functioning correctly and needs to be replaced. [2], [3], [4]
Inspect voltage supply in the outlet
As you may know, the main schtick of a GFCI breaker is that it cuts off power to an outlet when it detects that there is current flowing through a path other than the intended one. This is why it’s so important to have GFCI outlets in areas where there is a risk of water damage, such as near sinks or in bathrooms. This is the first thing we are going to test.
To test your GFCI breaker, you’ll need to make sure that the voltage supply to the outlet is adequate. The first step is to check the voltage at the main panel. Most homes in the United States have a voltage of 120 volts. If your home has a different voltage, be sure to adjust your multimeter accordingly. To test this, you’ll need to measure the voltage supplied to the outlet with your multimeter.
Set multimeter to AC voltage mode
Most digital multimeters have an autoranging feature, which means that they will automatically select the range that is appropriate for the voltage that you are measuring. If your multimeter does not have this feature, you’ll need to set it to the lowest AC voltage range, which is usually 200 volts.
Press the test button on your GFCI
Once you have your multimeter set up, go ahead and press the test button on your GFCI. This should trip the breaker and cut off power to the outlet.
Probe the outlet slots with your multimeter leads
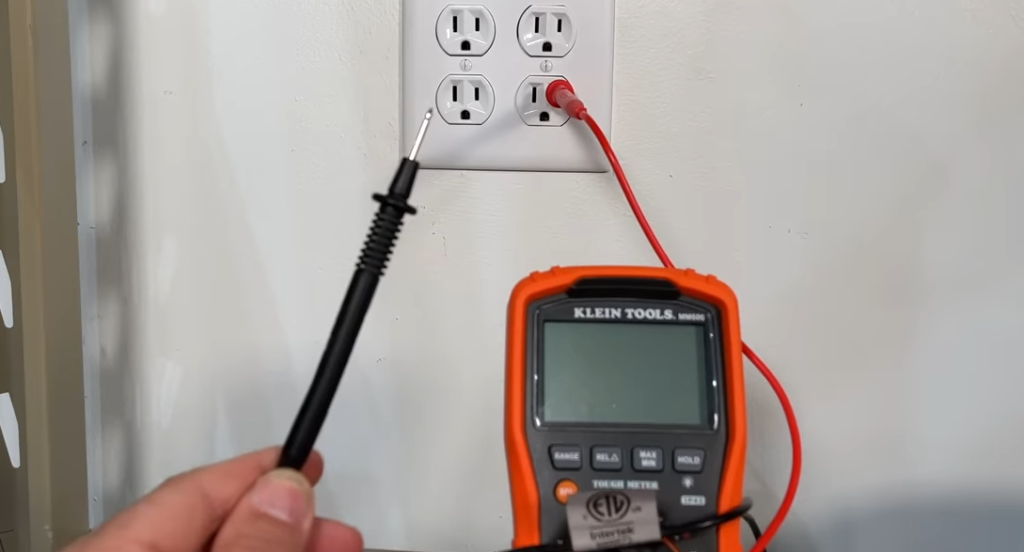
Next, you’ll need to probe the outlet slots with your multimeter leads. There are hot, neutral and ground slots. The hot slot is the one that has power even when the breaker is tripped. The neutral slot is the longer vertical slot, and the hot slot is the shorter vertical slot.
You will need to touch the black lead to the neutral slot and the red lead to the hot slot. Now, if your GFCI is working properly, the power should’ve cut off to the outlet and you should see a reading of 0 volts on your multimeter. If you don’t see a reading of 0 volts, then your GFCI is not working as it should and will need to be replaced. [3], [4]
Inspect the Reset Button and Overall Voltage Supply
Now that you have tested the main function of a GFCI, it’s time to move on to the reset button. As we mentioned before, the reset button is used to turn the power back on after the breaker has been tripped. Don’t remove the probes from the outlet slots just yet.
First, press the reset button. The power should come back on and you should see a reading of 120 volts on your multimeter. If the power does not come back on or if you see a reading that is different from 120 volts, there may be an issue with the reset button or with the overall voltage supply to the outlet. Some small derivations can be forgiven however, so don’t freak out if you see a reading that is slightly off.
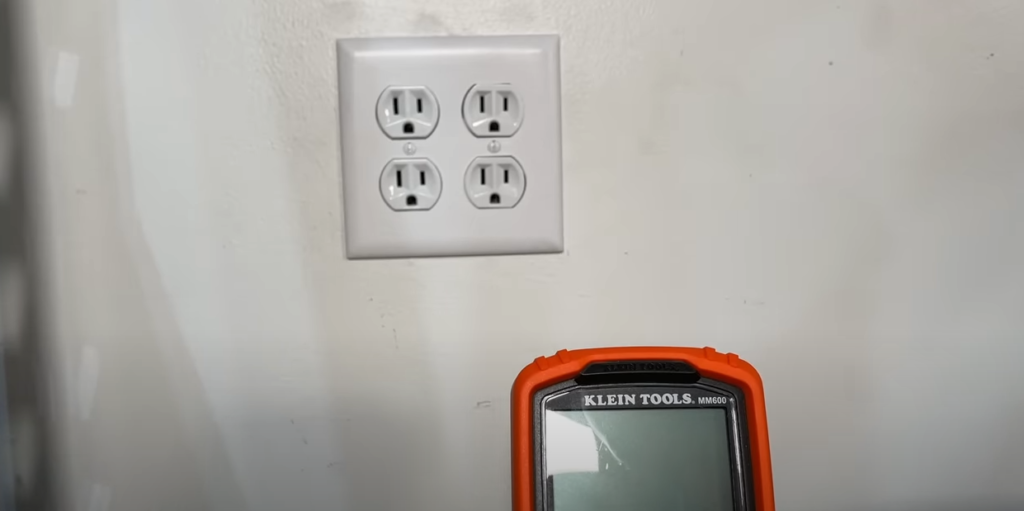
If you get no readings, or they are completely off, the problem may be caused either by a busted GFCI or wiring. To eliminate the possibility of the wiring being at fault, you will want to test it as well. [3], [4]
Testing the Wiring of a GFCI breaker
This can be done by flipping the switch on the breaker box to the “off” position. You don’t want to be working with live wires, so it’s important to make sure the power is off before you begin.
Wiring is the most common cause of problems with GFCI breakers. A break in the wiring or a bad connection can cause the breaker to trip, even when there is no ground fault. To test the wiring, you’ll need to remove the cover from the breaker box and locate the wires going to the GFCI breaker.
There are two sets of wires going to the GFCI breaker – the line wires and the load wires. The line wires are the ones that bring power into the breaker box, while the load wires are the ones that take power out of the box to other parts of your home.
Distinguishing one wire from another is easy, each wire will have its own color. The black wires are usually the line wires, while the white wires are usually the load wires. However, it’s always best to check with your local electrician to be sure.
Now check if both wires are connected to their respective screws. Occasionally, one of the wires can come loose, causing the breaker to trip. It’s worth trying to tighten the screws even if both wires appear to be connected. [3], [4]
Check for Ground fault current
Now that you have tested the reset button and the wiring, it’s time to check for ground fault current. Ground fault current is what trips the breaker in the first place, so it’s important to make sure there is no current present before you declare your GFCI breaker fixed.
To test for ground fault current, you’ll need to keep the red probe on the hot slot and move the black probe to the ground slot, usually shaped as “U” or “V”. You should see a reading of 0 volts. If you don’t see a reading of 0 volts, then there is still ground fault current present and you’ll need to find the source of the problem.
You should also perform a ground test with the power turned on. Again, simply follow the instructions on testing the outlet voltage, but keep the probe positions for ground testing. You will want to see a reading of 120 or 110V with the ground test. If you see anything else, then there is a problem with the grounding of your electrical system.
Once you have checked for ground fault current and everything appears to be in working order, you can put the cover back on the breaker box and turn the power back on. Your GFCI breaker should now be working properly!
If not, you will need to look for a replacement or consult with an electrician. [3], [4]
FAQ
What is the purpose of a GFCI outlet?
They are commonly found in areas where there is a risk of water exposure, such as kitchens and bathrooms.
GFCI outlets are located in between the circuit breaker and the outlet itself. They contain a sensing mechanism that can detect when there is a current flowing through the outlet that is not balanced. This imbalance occurs when there is a difference in the current flowing through the hot and neutral wires. When this happens, the GFCI outlet will trip and shut off the power to the outlet.
How do you troubleshoot a GFCI outlet?
If you’re having trouble with a GFCI outlet, the first thing you should do is check the breaker. If the breaker is tripped, reset it and see if that solves the problem. If the breaker trips again, there may be a short circuit or ground fault somewhere in the wiring. To troubleshoot this, you’ll need to use a multimeter to test the outlets for voltage.
Do GFCI breakers go bad often?
GFCI breakers can go bad for a variety of reasons. One common cause is simply age and wear and tear. Over time, the mechanical parts inside the breaker can become worn out, causing the breaker to trip more frequently or not trip at all when there’s a ground fault. Another common cause of GFCI breaker problems is moisture. If the breaker is installed in an area that’s prone to dampness or high humidity, that moisture can corrode the internal parts of the breaker and cause it to fail.
Useful Video: Testing Every Ground Fault Circuit Interrupter (GFCI) in my Home
Conclusion
GFCI breakers are a great way to protect yourself and your family from electrical shock. By testing your GFCI breaker regularly, you can be sure that it is working properly and providing the level of protection that you need. A multimeter is a useful tool for testing a GFCI breaker, and by following the steps above, you can easily test yours at home.
In this article, we have covered several ways on how to test a GFCI breaker with a multimeter. From testing outlet voltage, to testing the breaker during the simulated tripping test, we have covered all of the bases. By following these steps, you can be sure that your breaker is working properly and providing the level of protection that you need.
If you have any questions about how to test a GFCI breaker with a multimeter, or if you would like to share your own tips, please leave a comment below. We would love to hear from you!
References
- https://homeinspectionms.com/ground-fault-circuit-interrupters-types-and-testing/
- https://www.hunker.com/13414126/how-to-determine-if-a-gfci-outlet-is-bad
- https://electrouniversity.com/how-to-test-a-gfci-breaker-with-a-multimeter/
- https://www.galvinpower.org/how-to-test-a-gfci-breaker-with-a-multimeter/





Leave a Reply